
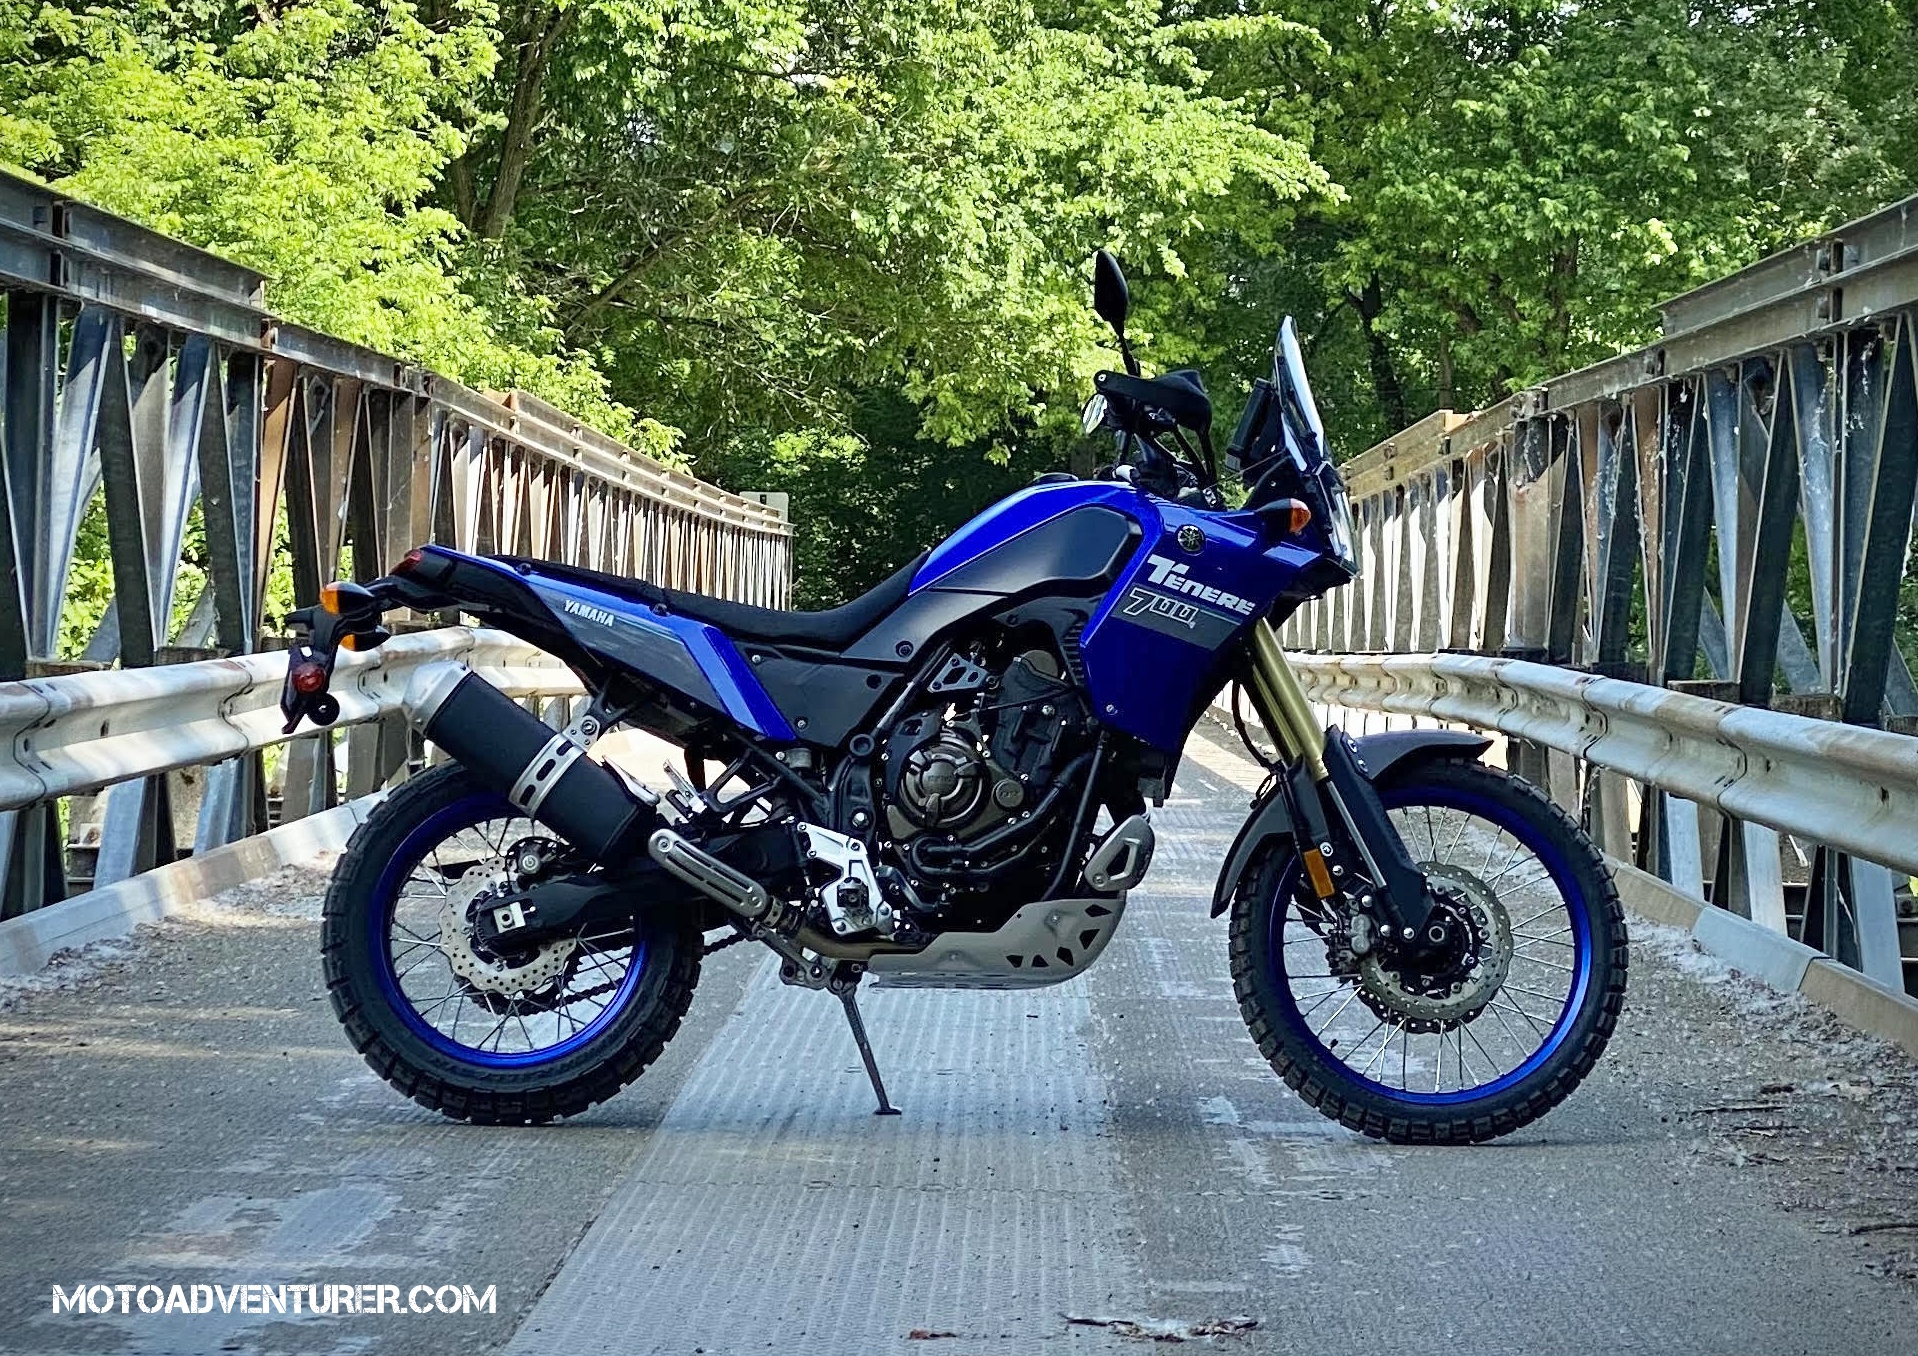
You’ve spent months dreaming about a new ADV motorcycle, and now it’s finally in your garage. Undoubtedly, you expect to bolt some accessories on this new “dual purpose” machine, but where do you start?
1. Change the Odometer

Whatever that odometer reads on the new machine in your garage, ride it until it’s about 1,000 miles higher. I get it, we all want luggage, phone mounts, and anodized farkles, but the number one priority should be understanding what the bike is like in stock form. The internet is full of people trying to sell you something. You need suspension upgrades because “it wasn’t sprung for American waistlines”, you need a new intake because “the EPI has choked out all the power”, and lord knows what else. All of those things may be true, but don’t take some “influencer’s” word for it, you may find much of the stock equipment suits your needs just fine. Far better to spend that money on gas and tires than dealing with “The People of Marketplace” trying to get your money back out of an unneeded accessory.
2. Functional Form
As the odometer starts counting up, you’ll quickly decide if the bike fits you ergonomically. Are the levers set at a tilt angle that’s comfortable when riding in your preferred terrain while sitting or standing? Are the foot pegs & pedals set to the correct height? Does the wind screen cause buffeting?

Pegs, levers, pedals, handle bars and even the seat are all adjustable and replaceable if necessary. The longer you spend on the bike, the more comfort dominates your attention (or distracts for that matter), and thus why it’s the first priority after simply riding it. Hat tip to my buddy Andy over at Heavy Enduro, he re-iterated to me how important this is. Make the motorcycle fit you, and if you’re struggling to make it work, instructors like Heavy Enduro, Appalachian ADV, and even Chris Byrch’s videos will usually drive you in the right direction. If you’re struggling, leave a comment and I’ll get you connected with someone.
3. Plug In
Like cars, motorcycles sit more than they move and their batteries are notoriously short lived. Lots of people already know this, but buy a Battery Tender and a “pigtail” to make it easier to keep your battery topped off when it’s parked, especially during colder months.
Truth be told, while I am a proponent of the former, my battery tender pigtail is actually used more to power accessories on my bike than keeping the battery charged. Yes, you can pull off the tank and wire all kinds of accessory harnesses to the battery, but for the more frugal among us, lots of accessories run just fine off an SAE “pigtail” connector. That’s how I’ve powered my GPS, gear, and phone chargers for a decade but more on that later.
4. Protect Your Digits
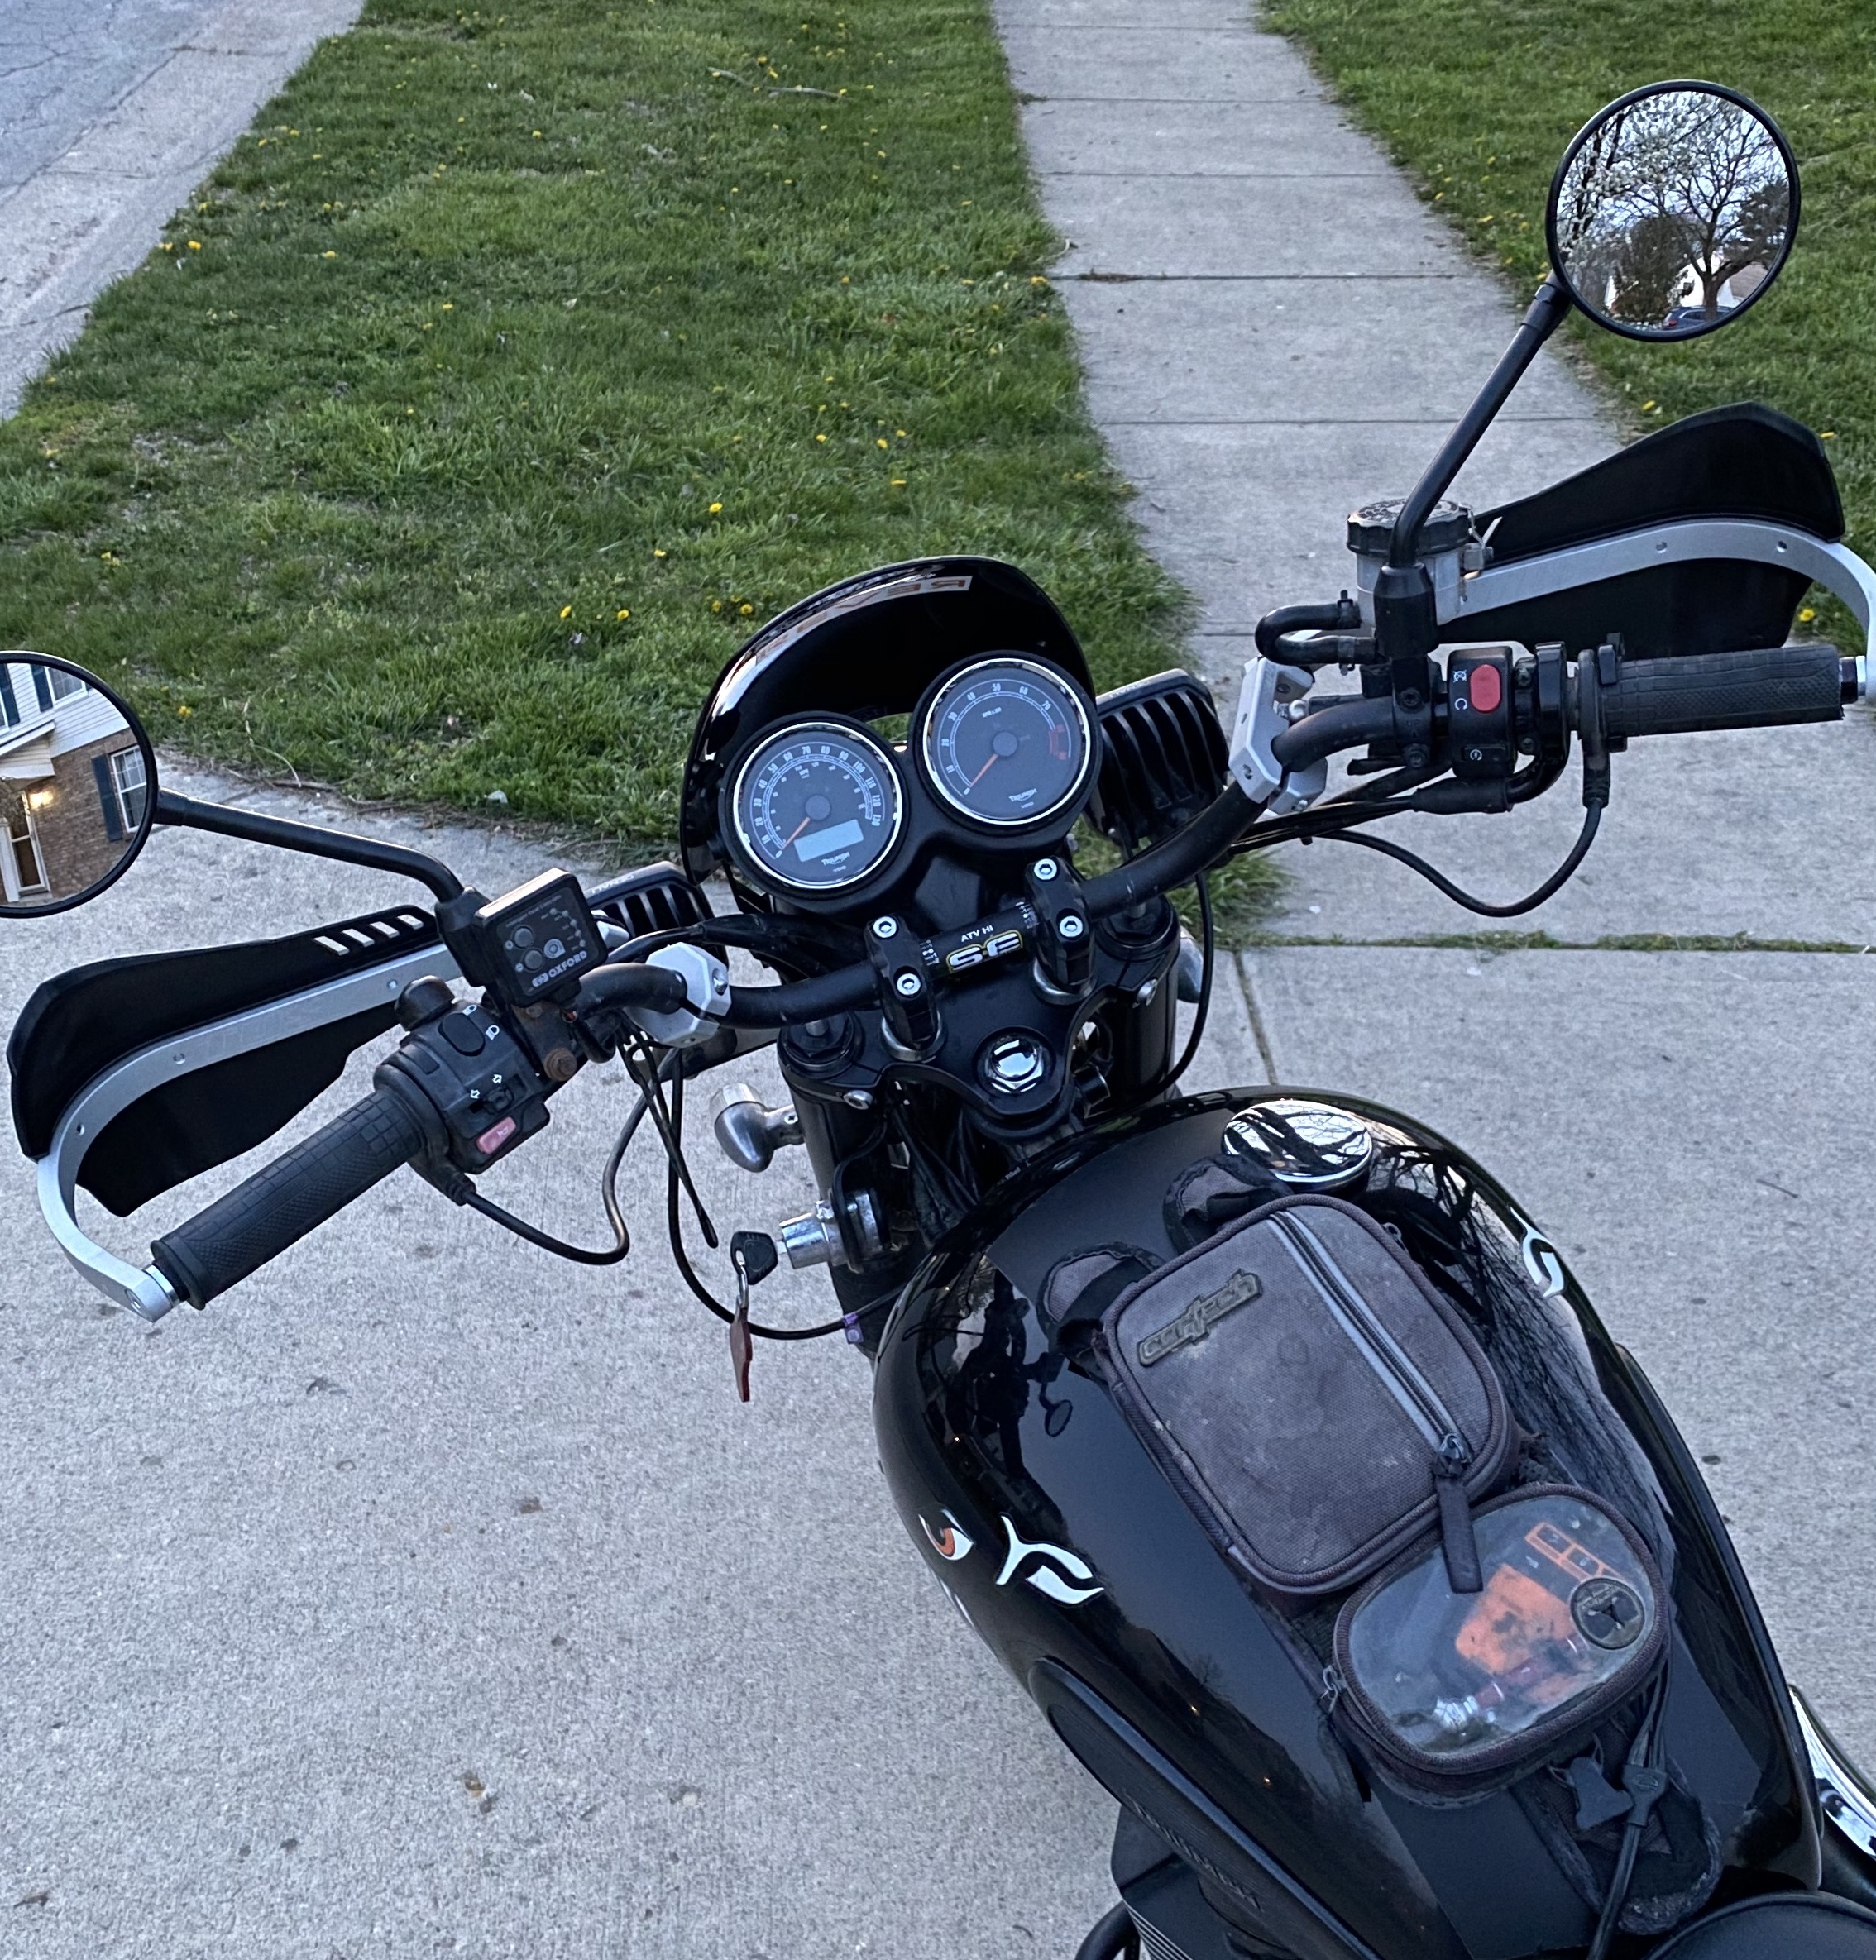
While most of us ADV folk aren’t chasing down their buddies through the roost of a harescramble, the occasional tree branch or sapling is still a threat to your fingers. More importantly, a set of hand guards can protect your brake and clutch levers from being bent or broken in the event of a tip-over. Lots of internet wisdom is going to insist you buy a set of metal handguards to properly protect your hands and levers. While I don’t entirely disagree, many touring ADV riders will find there are plastic alternatives, including factory options that work decently in many situations. Metal “wrap around” style hand guards are the most effective I’ve encountered for preventing a broken lever, but I’ve also seen asphalt crashes where factory (Triumph Tiger) plastic hand guards still protected the levers; your mileage may vary (YMMV).
5. Bolster Your Undercarriage
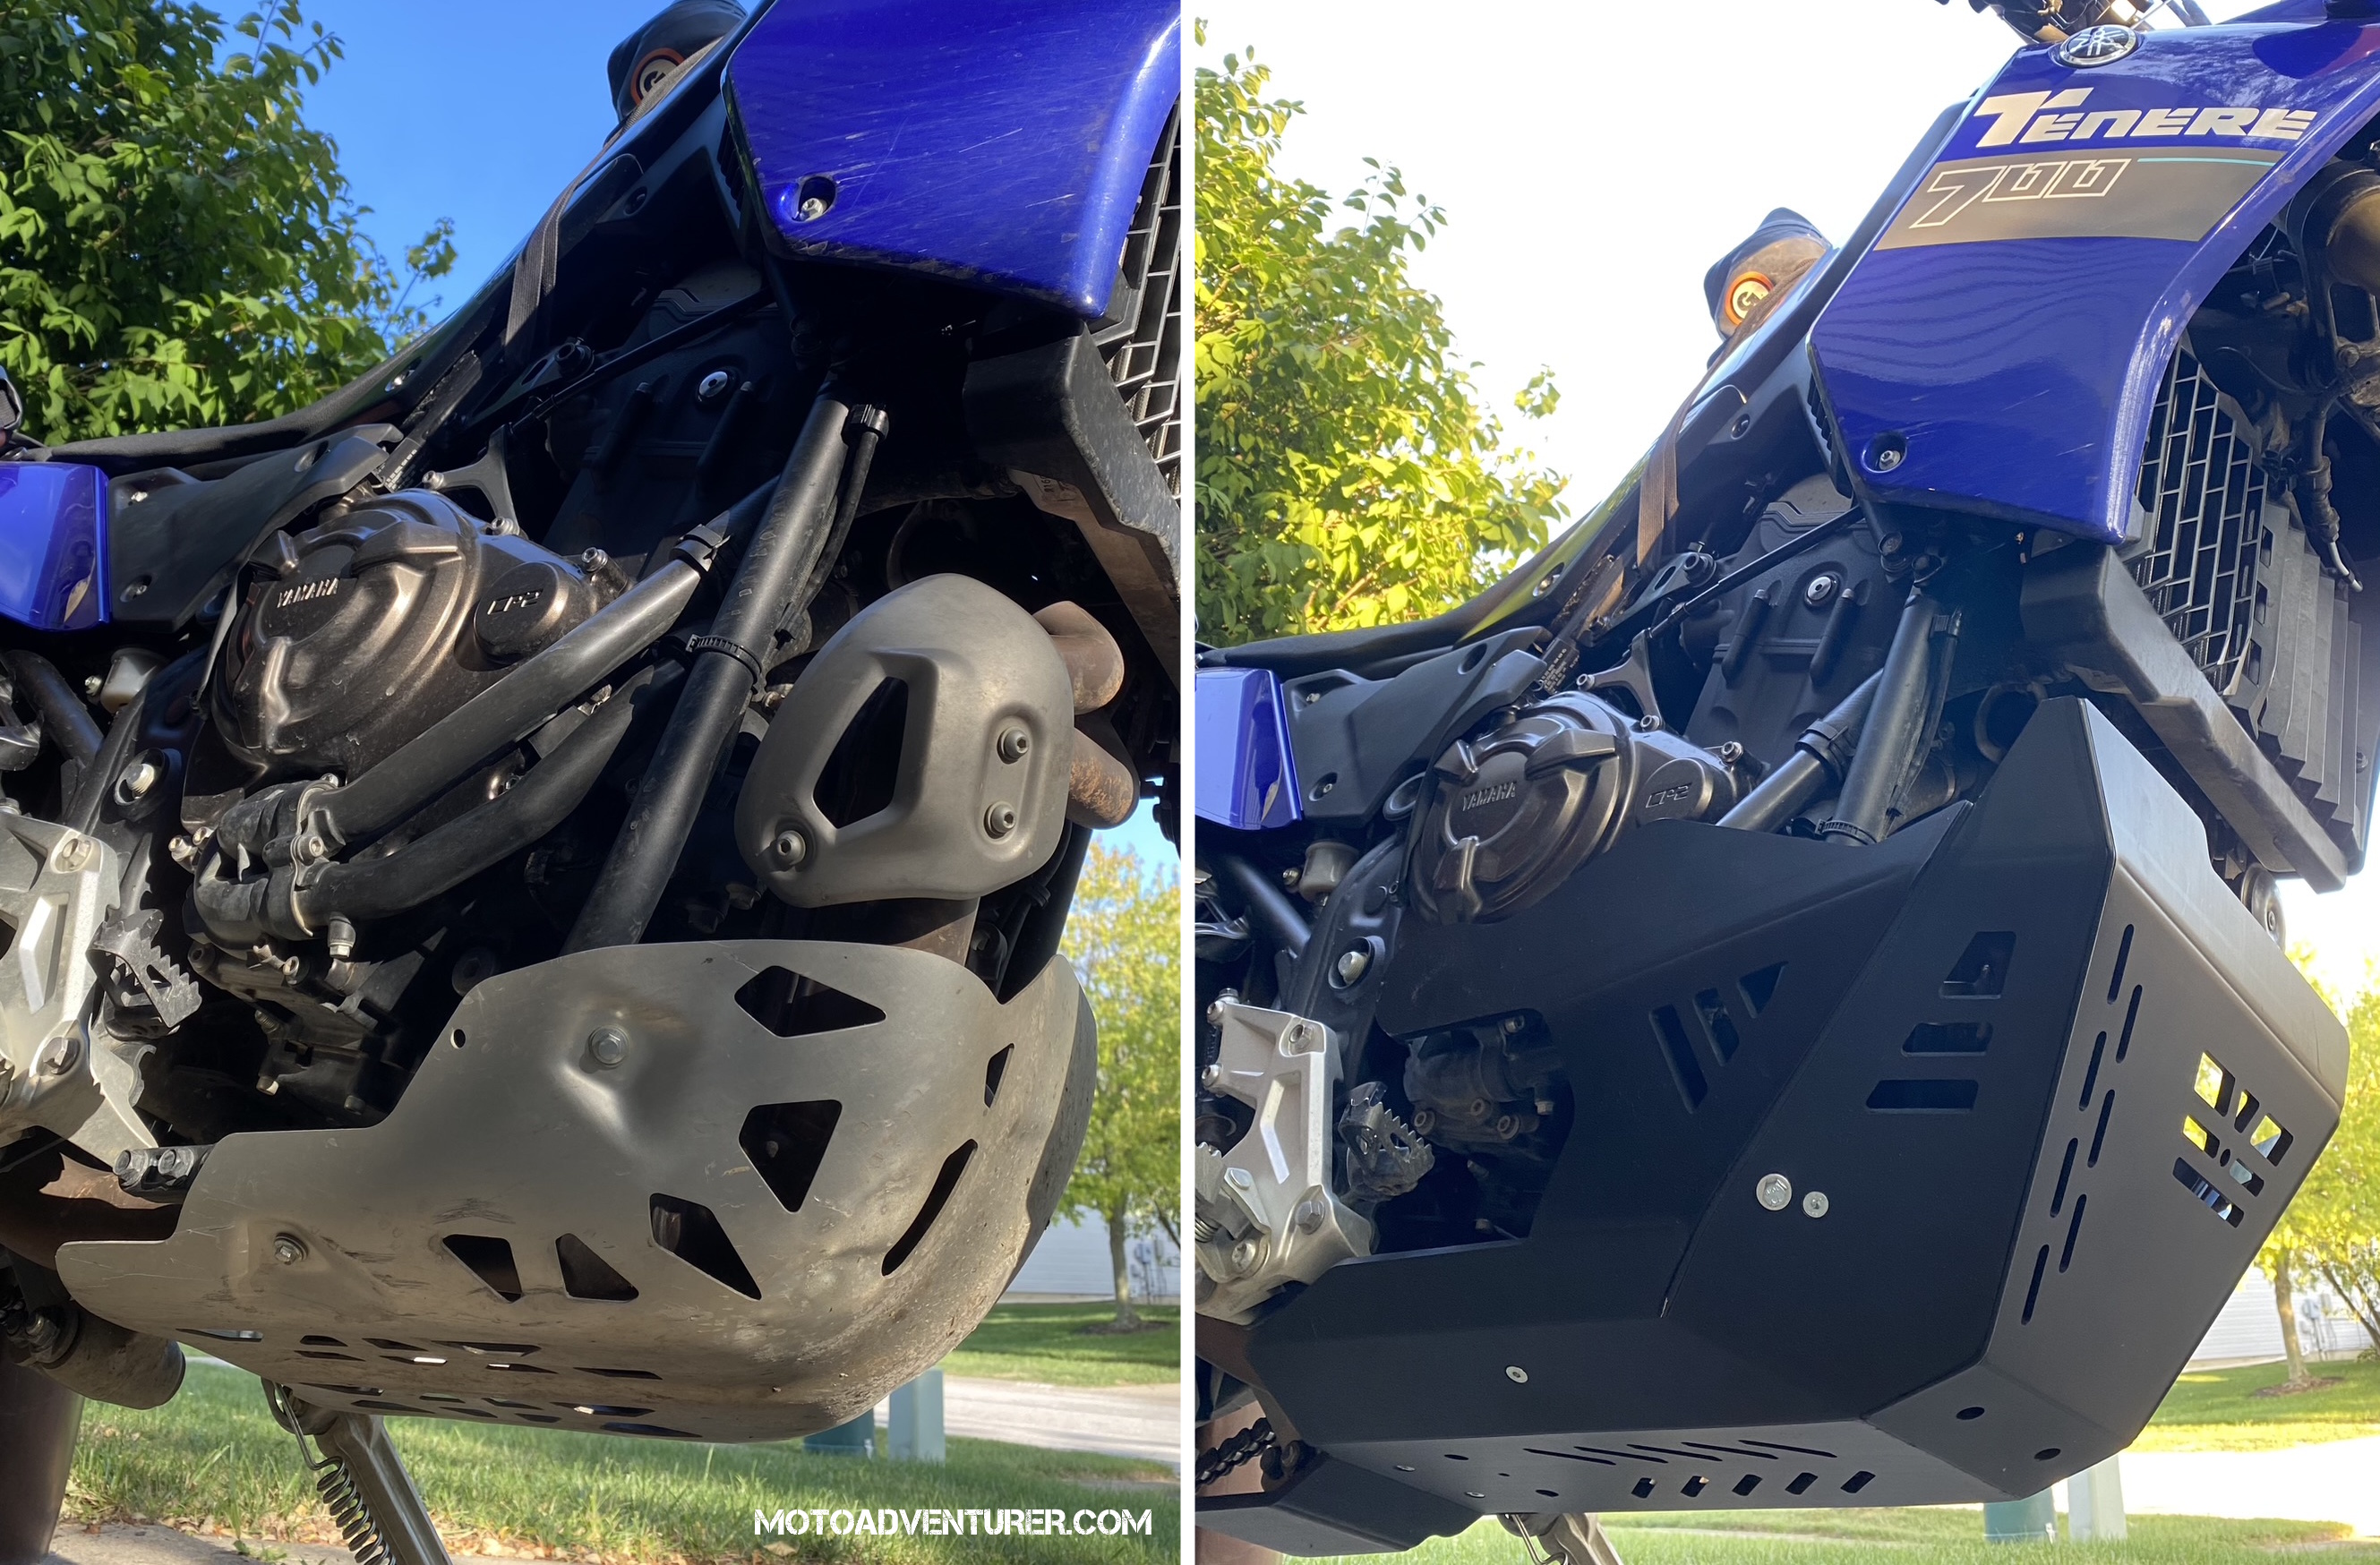
Similar to handguards, off-road oriented ADV riders will benefit significantly more from a sturdy skid plate more so than touring riders. If gravel fire roads are the deepest you want to venture into the woods, many factory skid plates will be sufficient. For folks looking to dip their toe into more adversarial terrain, aluminum is recommended, but there are also several High-Density Polyethylene (HDPE) plastic skid plates that are up to the task. When choosing a skid plate, it’s wise to chat with someone else that not only owns the same bike you have, but also prefers similar riding terrain. Aluminum can handle the bumps and rogue rocks, but can often be dented and scratched which can get hung up on obstacles. Plastic tends to be lighter and “slide” better over fixed objects, but flexes under pressure and can result in an oil sump puncture depending on your bike design.
6. Baggage Claim
Again, for off-road focused adventurers, skid plate probably takes priority over “where do I put my stuff”, but undoubtedly this step is again inverted for touring riders. Luggage is a very wide segment, from tank, tail, and fender bags, to panniers and backpacks; let alone the hard versus soft luggage debate. Even when I’m packed as light as possible, I typically have a tank or bar bag to hold visor cleaner, charging cables for my comms, phone, or navigation. In spring and fall all the required layers will quickly mean I need a tail bag or panniers to stuff all the thermals into mid-afternoon, and obviously a weekend camping trip is an entire discussion about luggage and packing.
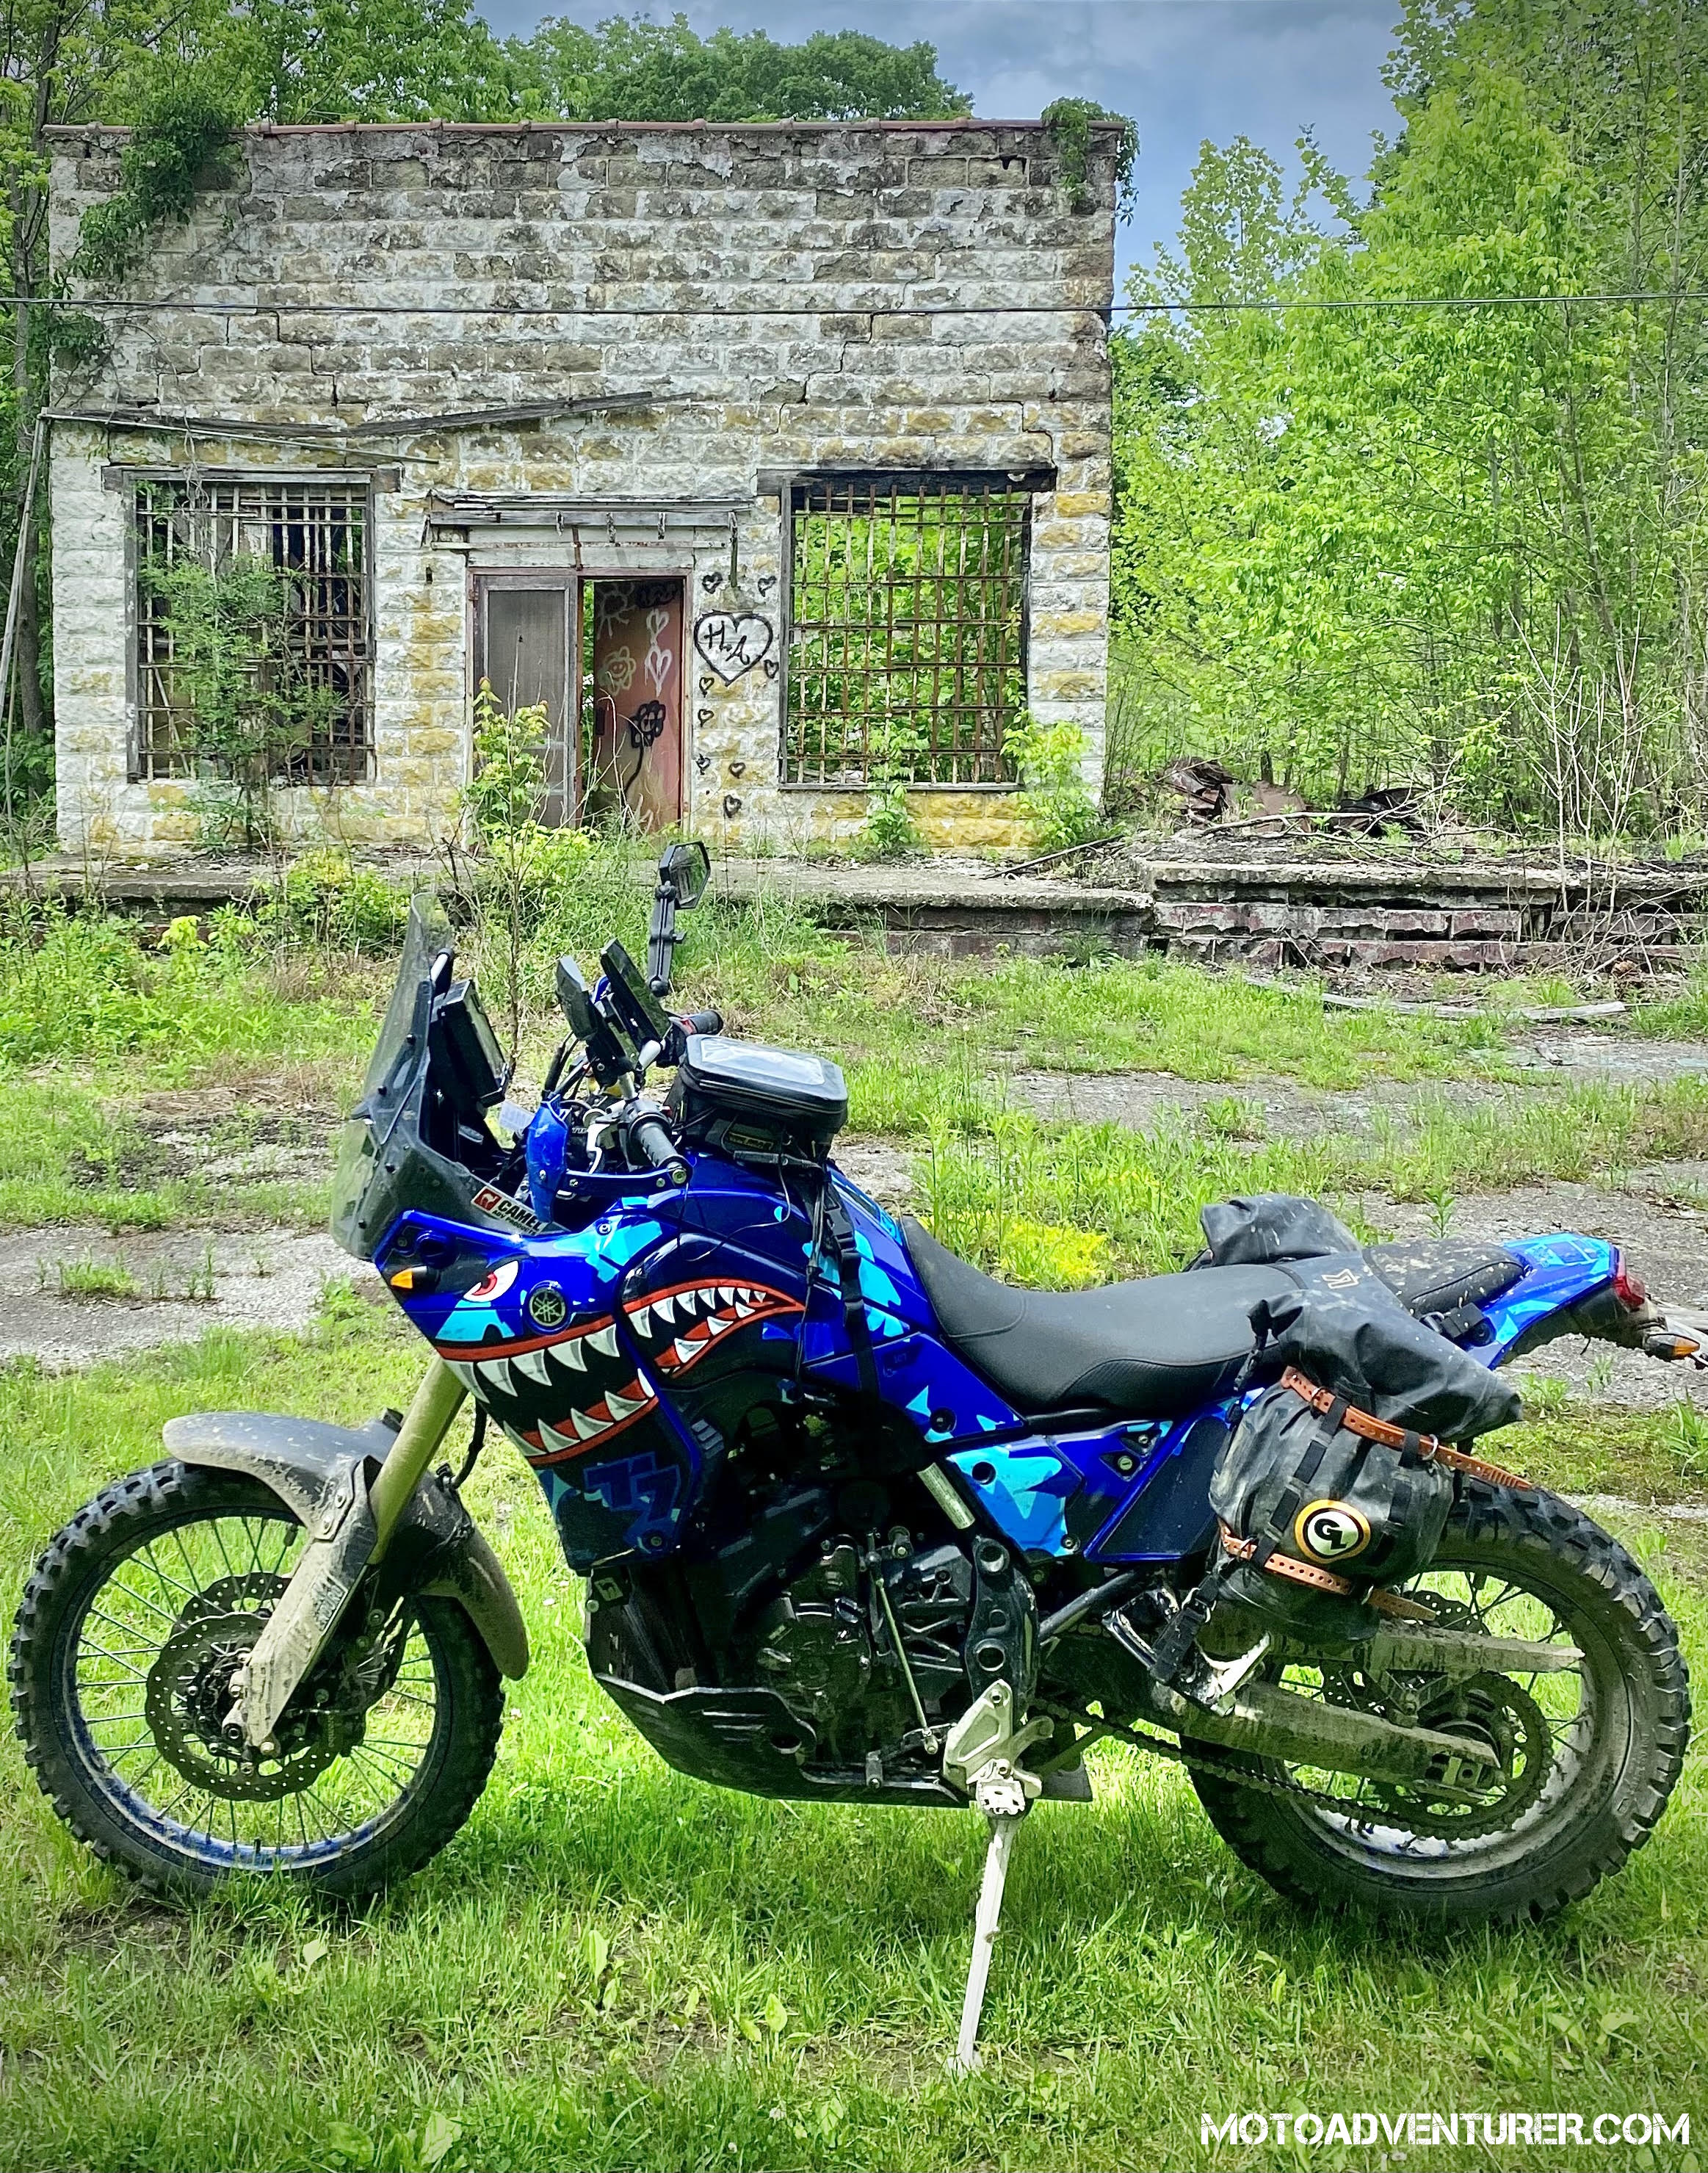
A couple things to keep in mind when shopping luggage, when riding off-road, lower is better. Tall tail bags, “top boxes”, or bulky tank bags raise the bike’s center of gravity, which you’ll be fighting in the event of a tip-over. Tank bags are infinitely user friendly in the parking lot, and yet tend to open in a stupid fashion, which often means stuff falling out at inopportune times when parked awkwardly on a side-stand in the middle of the woods where your essential items are likely to find convenient camouflage right behind some old dry leaves. I run a tank bag almost constantly, but know now, they do make motion more difficult when riding off-road (you can’t lean forward if they’re bulky). In a similar fashion, I’m a proponent of soft luggage. There are many advantages to hard luggage, especially when traveling long distance and not tent camping among others, but off-road soft luggage usually offers more forgiveness when you make a poor line choice. That said, I’ve been hung up on a tree and knocked over by soft luggage as well. Soft luggage does have some “give”, but if you pack too much crap and don’t realize how wide those panniers make the back end of the bike, you’ll get schooled by nature pretty quickly in the woods.
7. Tired Tires
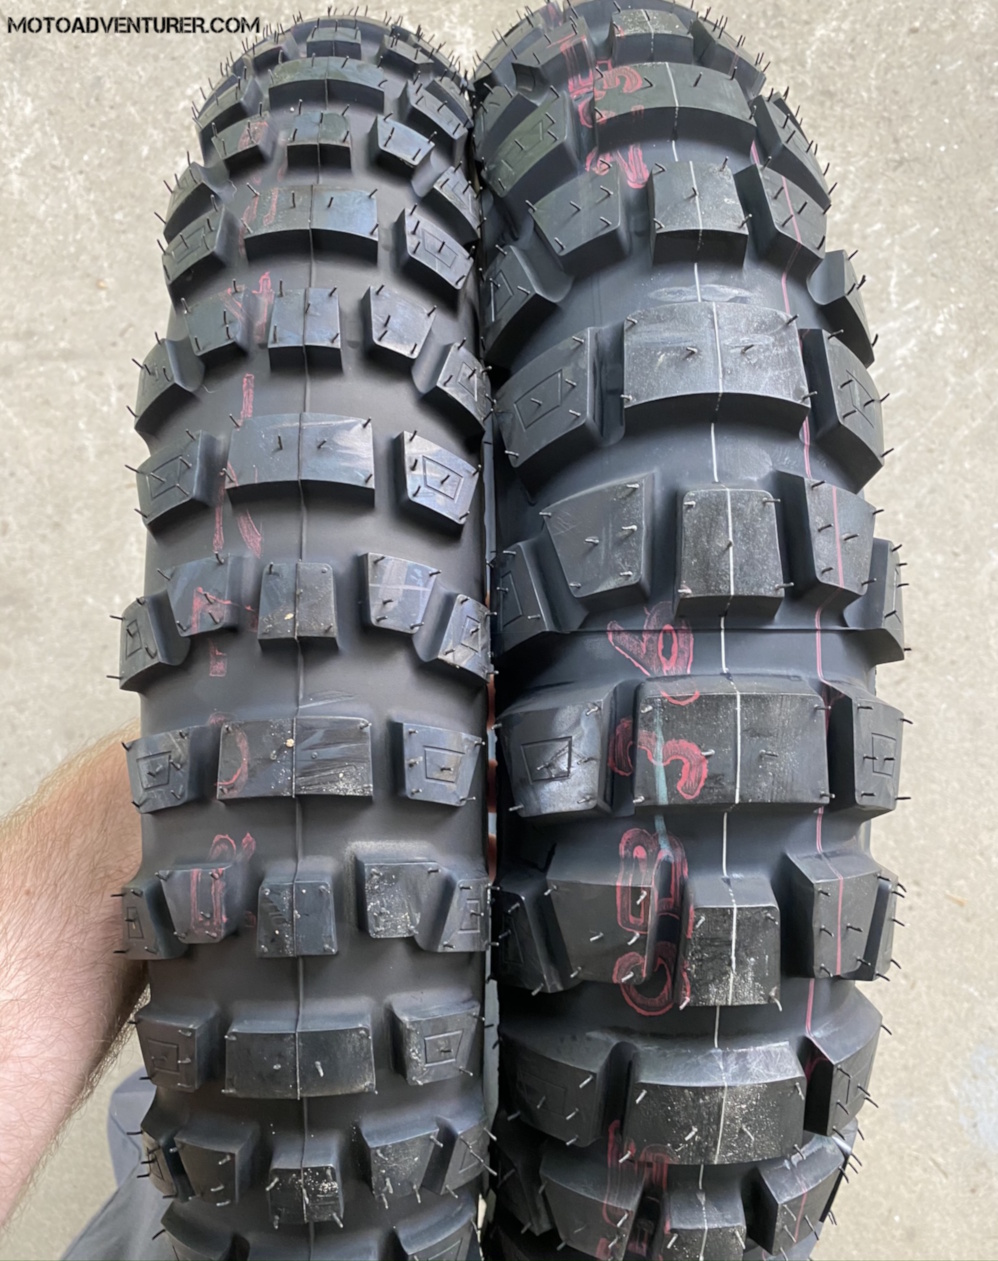
If your bike is new, you paid a lot of money for new tires, you should really get your money’s worth, hence driving up the odometer. At some point you’ve worn out the factory buns, so it’s time for a replacement. I’ve written a list of articles about tires, so be sure to check those out, but ultimately, I recommend purchasing more tire than you need as replacement. If you’re newer to off-road riding, even if you lean toward touring, I recommend looking for chunkier ADV tires with larger gaps between the lugs so you’re better prepared when the pavement ends. An experienced rider can handle gravel roads confidently on almost any tire, but when pavement riders are first learning off-road skills, the added confidence and stopping power that comes with a fresh set of 50/50 Adventure tires is worth it initially. Per previous articles, you can spend all kinds of money on ADV tires, but there are many affordable aggressive ADV tires available as well. Once you’re comfortable on your chosen terrain, it makes more sense to nitpick ADV tires and shave pennies or gain mileage.
8. Wayfinding
Most of us end up following our friends around most of the time, but at some point, it’s convenient to have a little help getting to the start locations for rides or have the ability to leave mid-stream and not be lost. There are more navigation options than ever these days, from mobile apps, dedicated GPS devices, to the more advanced rally style navigation tablets. Traditional nav device installation means removing the tank, installing a wiring harness to the battery, routing it around all the factory cables and up to the handlebars. Alternatively, with an SAE pigtail connector, you can buy an SAE extension cable or cigarette lighter adapter and connect your devices in a tank bag. I run the same 2 navigation devices on all three of my motorcycles, so this has been my go-to for many years now. I recently installed a 1-meter SAE pigtail under the tanks of two of my bikes, so the power connection is actually near the handlebars at all times; removing the need for a tank bag (assuming your device cables are tied up neatly).
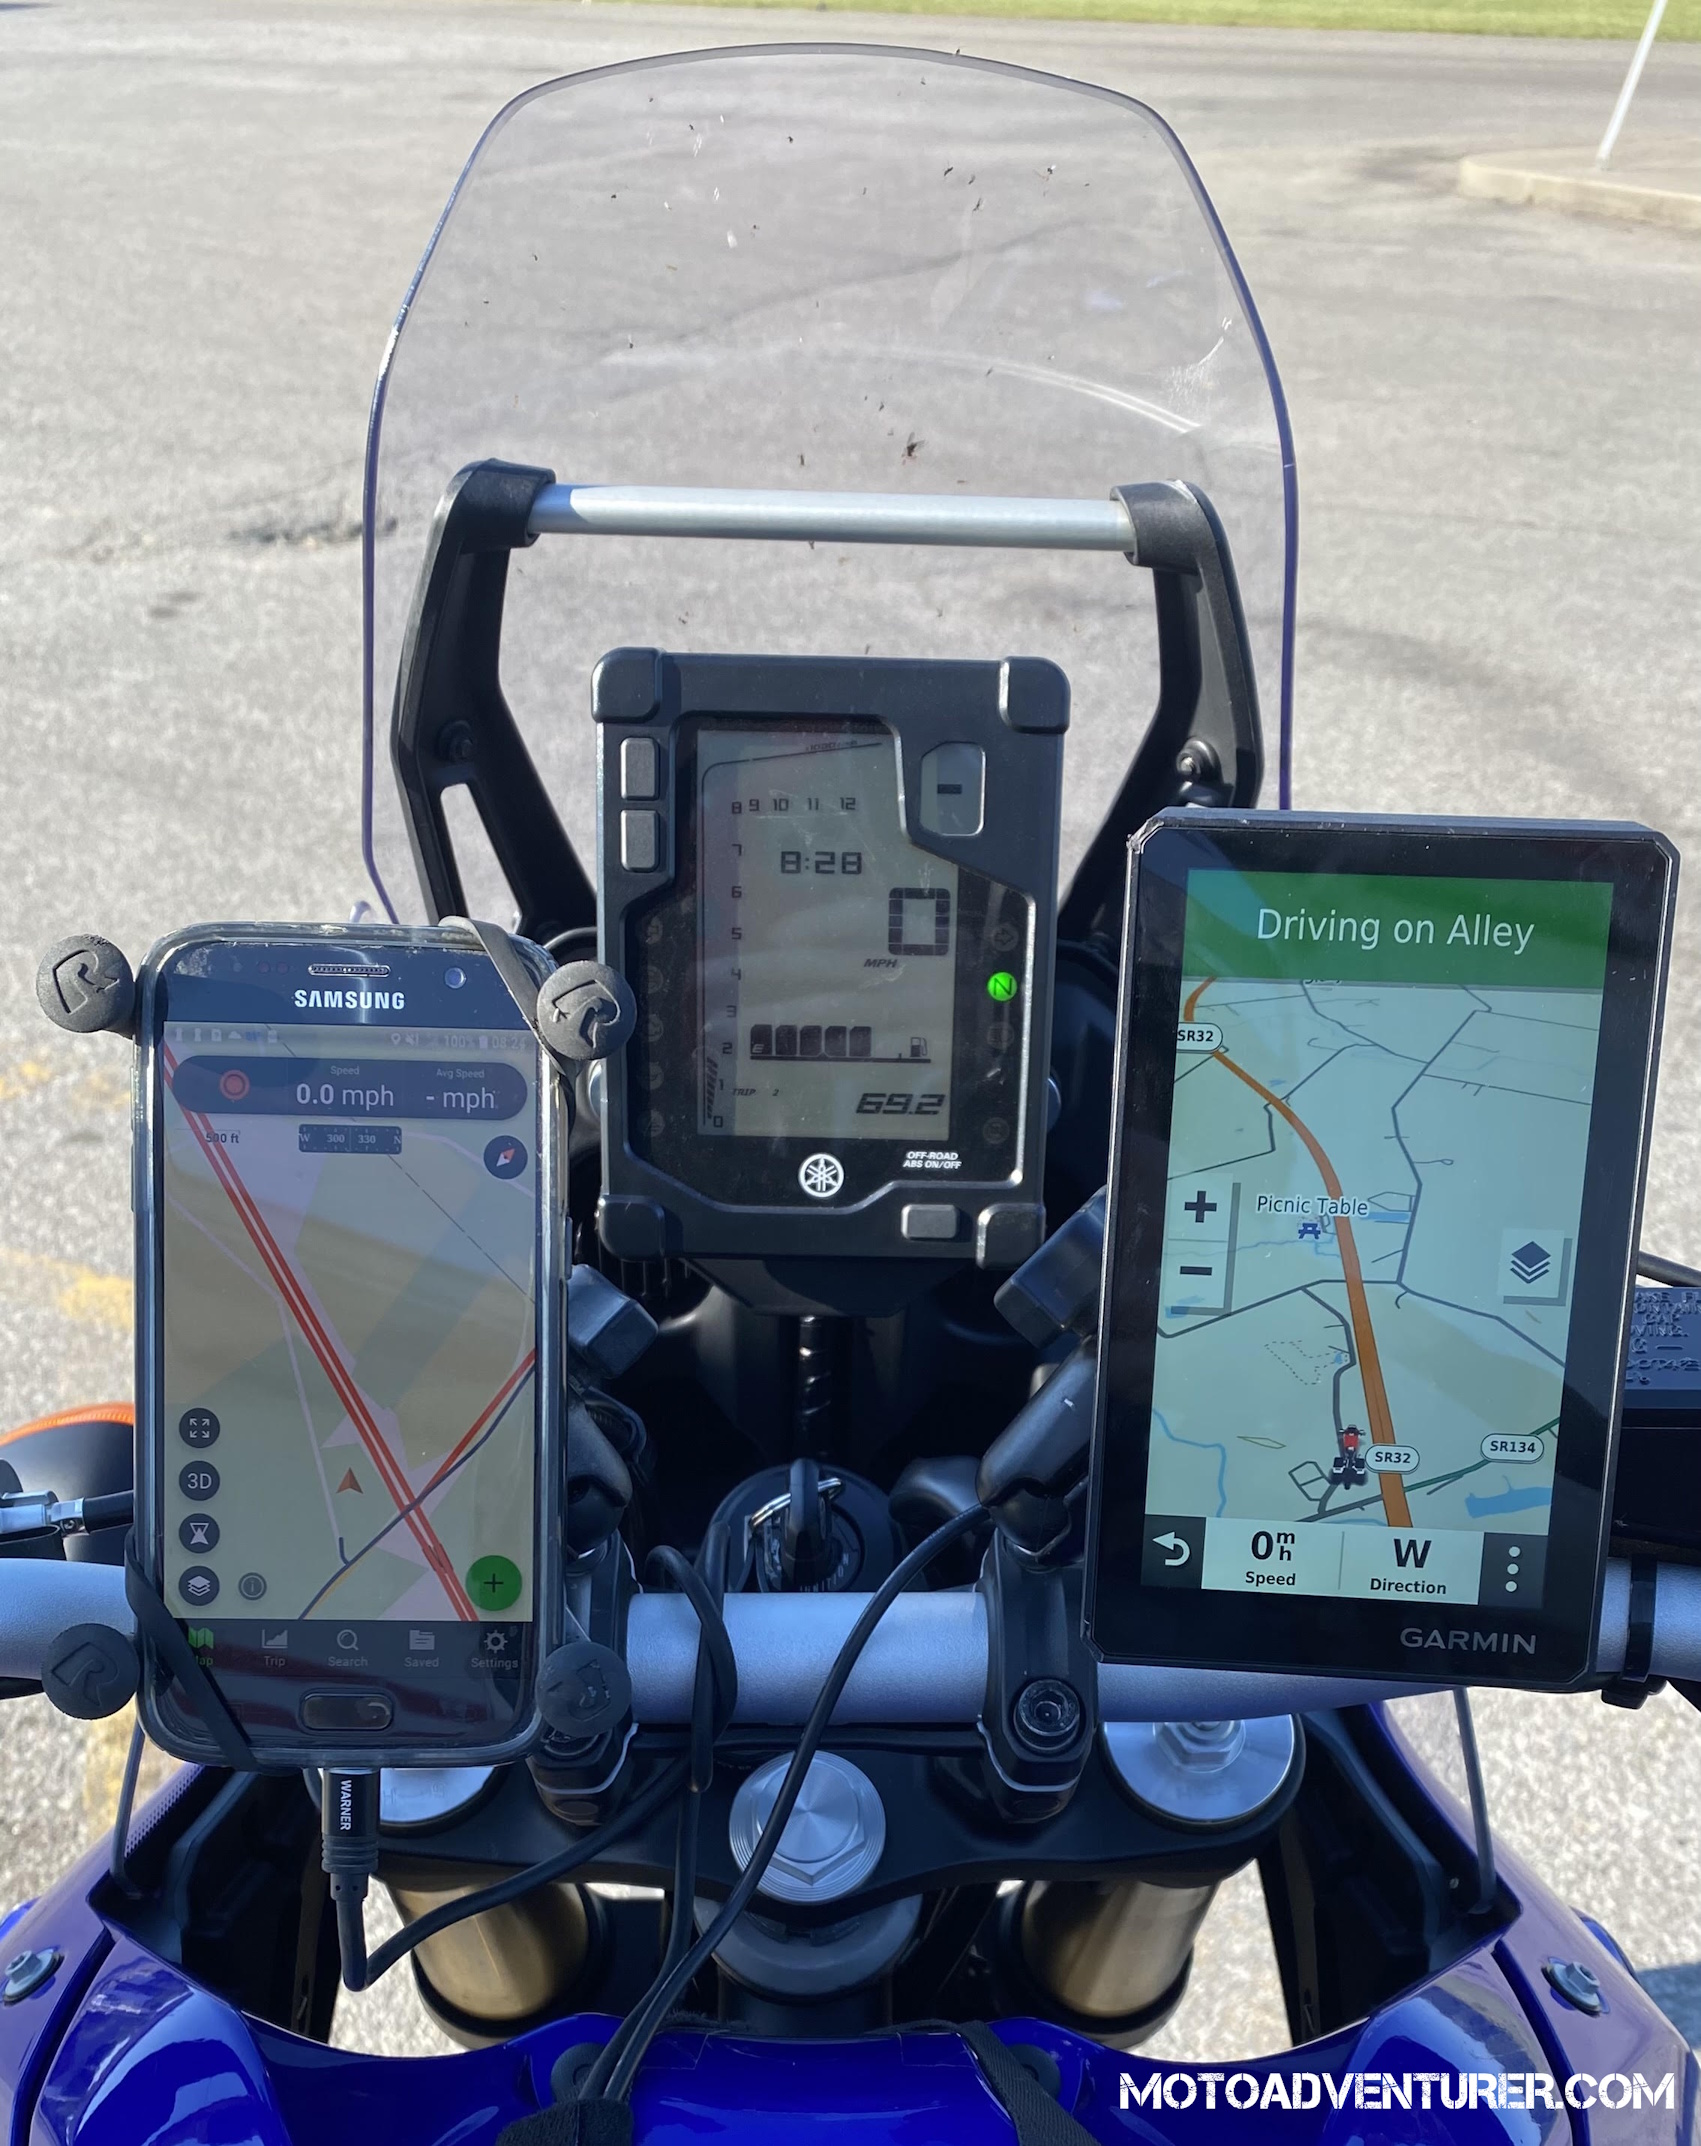
In addition to supplying power, you need to mount said devices with some sort of handlebar or dash clamp. There are a bunch of namebrand phone mounts out there. For GPS and tablets, RAM sells several different mounting options, which have served me well for a decade, but more and more options are showing up on the market almost daily. When choosing a mounting location, keep in mind the mount needs to handle heavy shocks and vibration from unimproved roads. You want to make sure you can read your speedometer unless you plan to use your device to track your speed. A word to the wise, most phone apps don’t display current speed very large on the screen, so your attention will be distracted from the road a lot longer than you want it to. Reaching up to check your trip odometer and knocking your phone off at 35MPH is something none of us want to experience, so remember to leave toom to reach your key to turn off the bike. You’ll also want to see your trip odometer or fuel gauge. There are apps out there that can keep track of all that, but it’s also one more thing you may need a gloved hand to search for, which is less than ideal in cold weather, even with touchscreen gloves.
9. Brace for Impact
Crash protection is heavily debated. There are typically 2 schools of thought here: first, buy crash bars to keep the bike looking clean in case of a tip-over, then just remove (or paint) them when selling the bike; or second, just replace the broken plastics from the crash (some people buy a second set of plastics right away and put the factory covers back on when they sell the bike).

I’m of the mindset that energy has to go somewhere; if you bolt bars to an engine to protect your plastics, said bars are translating the crash energy into the frame or engine instead of cracking a radiator shroud. “Crash” bars on some bikes handle that just fine; others can crack an engine case in a bad spill or freak crash. As with skid plates, talk with other people who have your bike and the same impact protection you’re looking to buy. Look at how it’s mounted, pay attention to how it will bend when it falls over, and also when it gets grabbed by a tree or a root when sliding in a fall. Per previous comments, ADV touring riders are less likely to have adverse effects from installing engine bars if they fall over infrequently; riders on more difficult terrain are likely to drop the bike often enough that over time the impact protection will bend. Another wise comment from my buddy Andy, when you disassemble the impact protection for bike maintenance, it may prove impossible to re-install it because it’s now bent so heavily. The more modern bikes are now being designed with better impact protection from the factory, which are less likely to damage important parts and easier to work around, but if you’re on an older generation bike, be mindful.
10. Chop Don’t Shop
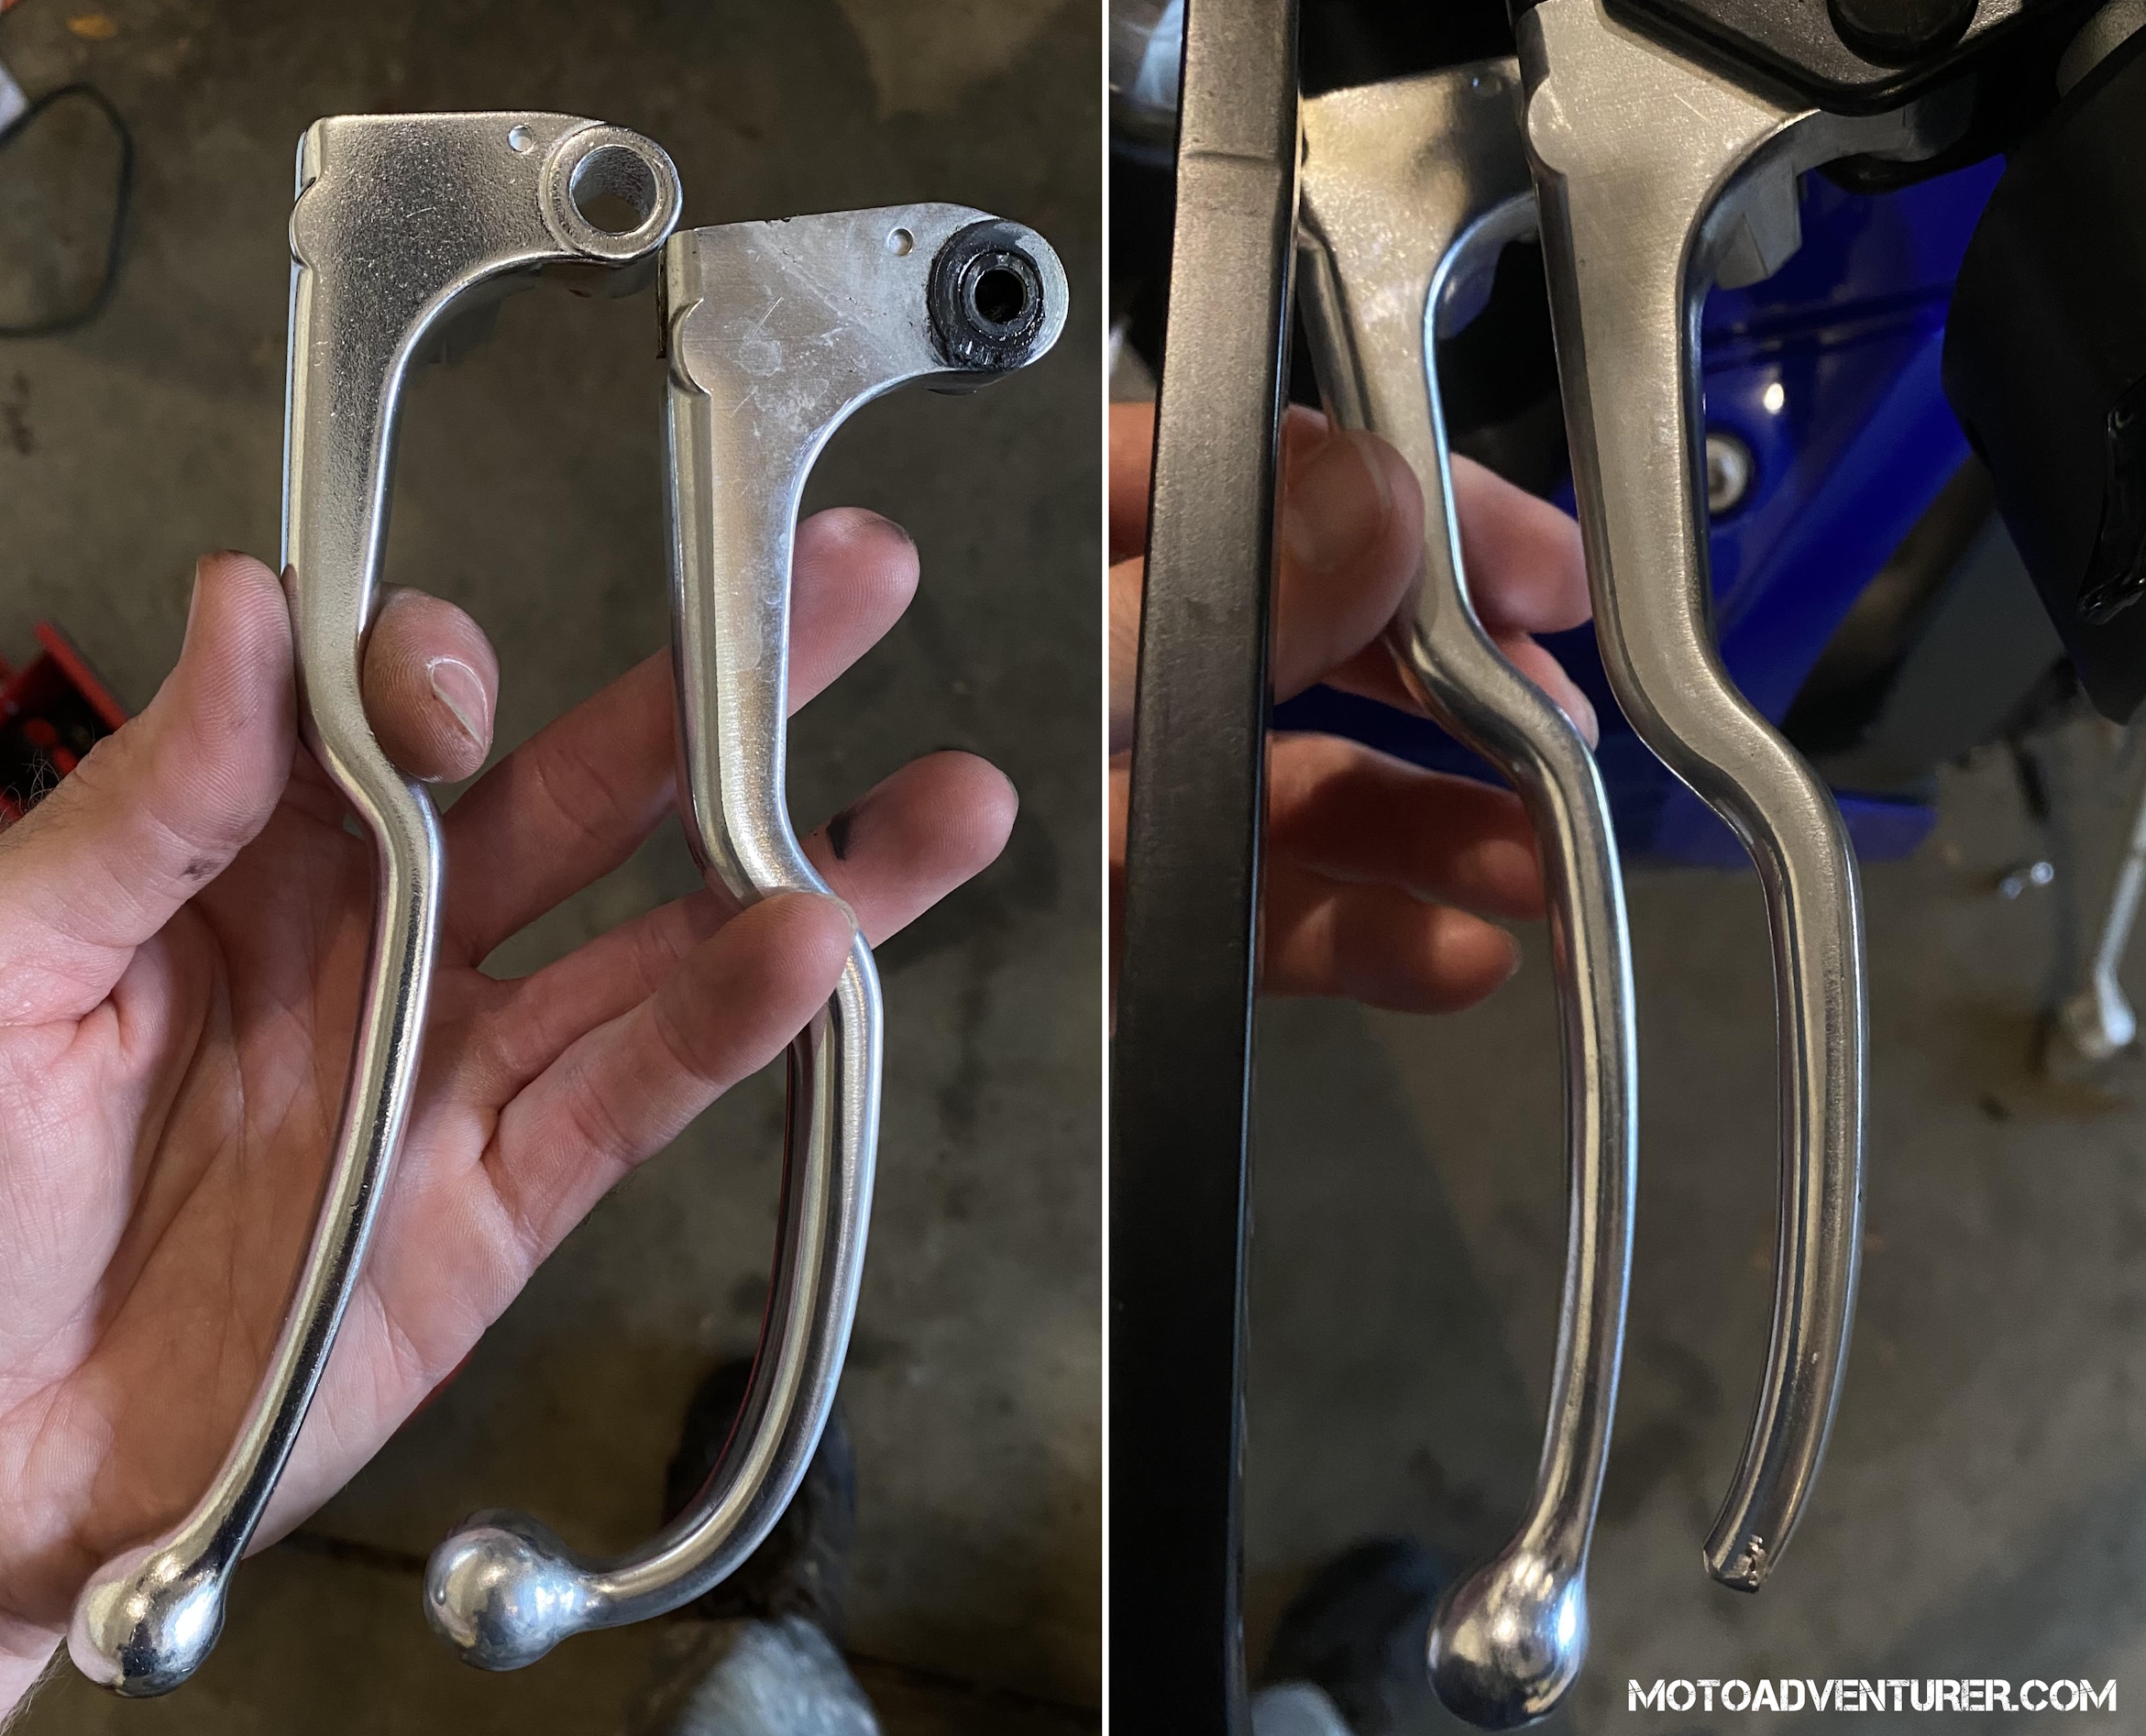
Unless you’re buying the first generation of an ADV machine, there’s (almost) guaranteed to be an entire catalogue of color matched farkles from every brand under the sun to customize your motorcycle. If how your bike looks is the majority of why you like motorcycles, the world is your oyster (and I doubt you made it this far into this article). On the flipside, if function trumps fashion in your world, sometimes a Dremel tool, wire cutters, and a utility knife will save you money and get you where you want to go faster. You can spend $200 on a “tail tidy”, but sometimes you can cut all the excess plastic crap off the factory “fender” pretty cleanly for free. If the bike falls over and bends a lever, you can hack off the bent end with a band saw, sand down the corners and have a new shorty lever for free-ninety-nine.
I lean heavily into 50/50 off-road pavement riding, thus I typically end up breaking factory turn signals and levers before spending money on aftermarket options. However, if you speed date a new motorcycle every 2 years, that’s probably bad advice. Used buyers would prefer to see a motorcycle that looks like it rolled off the factory floor yesterday, so scratched paint and dirt stained accessories is less appealing. Alternatively, if you’re shaving pennies or in it for the long-haul with this machine, factory equipment usually works just fine. If something breaks, now you have a good excuse to upgrade to something more robust; along with seeing what has practical value versus what looks cool.
Zero Sum Game?
Ay Dee Vee is actually an old Indian expression for “compromise”. The adventure segment is always trading road performance for more off pavement performance or vice versa. You can up-armor your ADV steed to keep from breaking stuff when you fall. Simultaneously you’re making it heavier, making it harder to pick up, straining your endurance, which makes you fall more. You can choose tires that last forever, but suck in the mud; you can install dirt bike tires for awesome off-road grip, but then change tires every 2,000 miles or less. There is no magic bullet; so keep in mind, you can go bankrupt buying stuff for your bike, but in the end, saddle time, gasoline, and training are usually worth more than the gadget someone is selling you to “make you a better rider”.
What’s been your experience with ADV accessories?
If you want an even deeper dive into this, check out this podcast

Great tips well explained well done!
LikeLike