
If you’re a regular follower of this blog you may have read Part 1 of this trilogy, and if you’re not, I recommend you go back and read that before continuing here. The main reason for that request is the need to get a bit of background on what was going on with the bike and why. 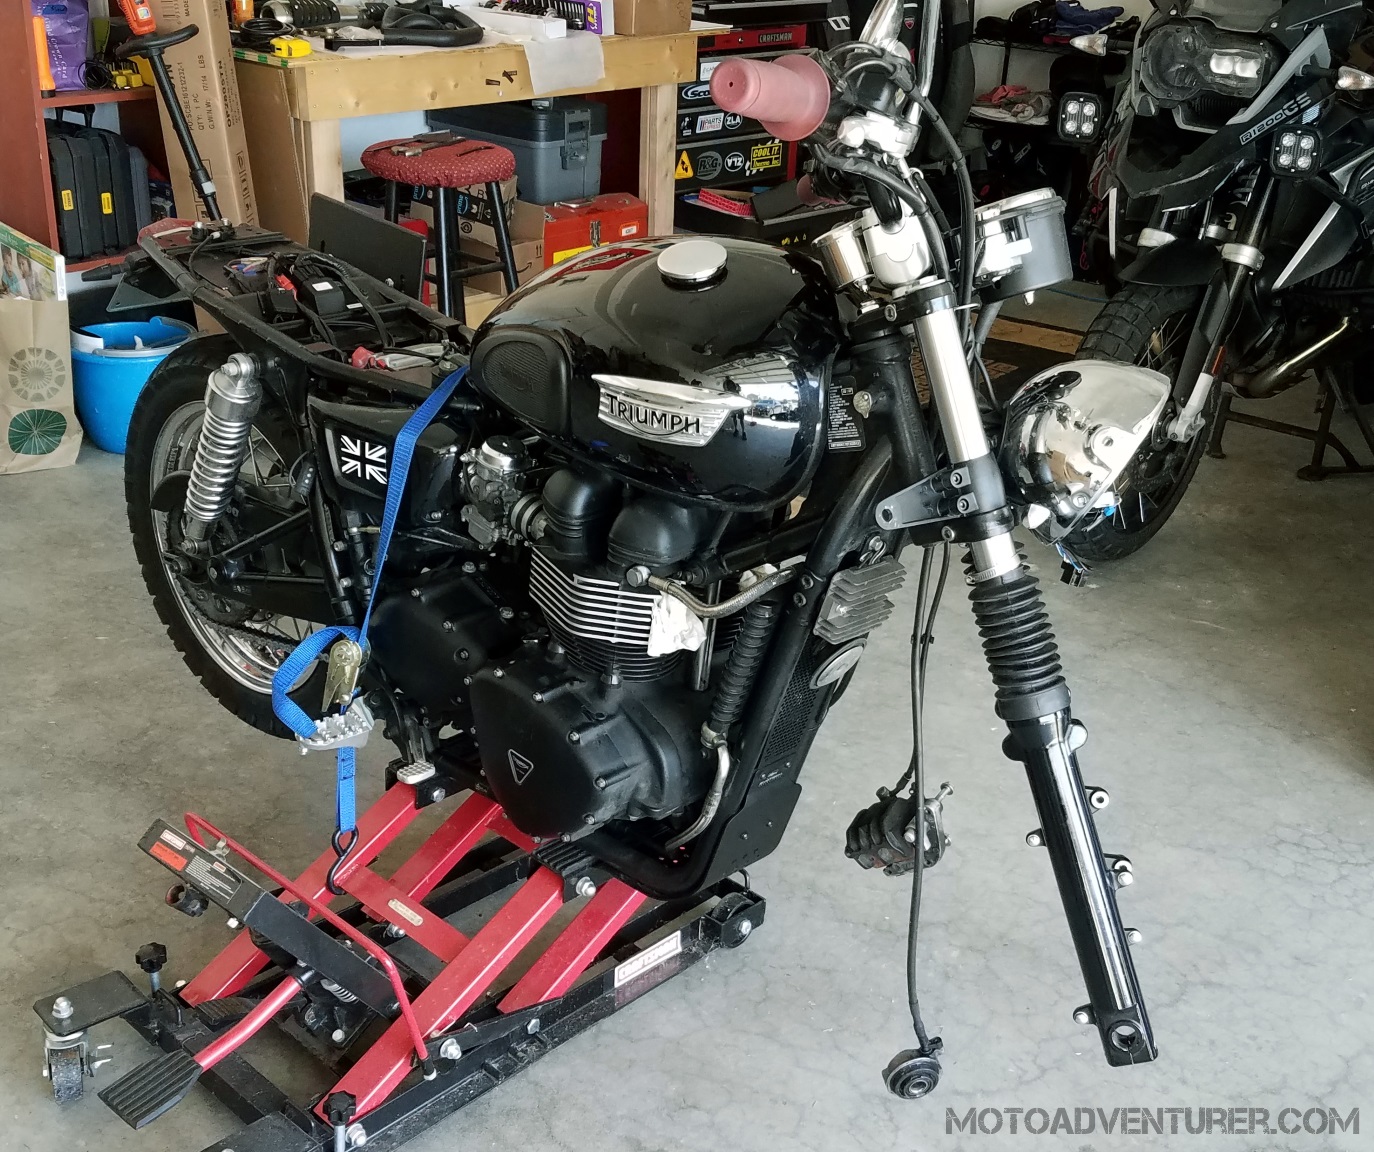 This particular episode is not going to reflect the consecutive order of the build, but it’s going to jump forward to the final build stages, and deal with the suspension work that was completed around April and June of this year. This culminated in an all-day wrenching session for both Drew and myself at my house in Indianapolis. We had been talking about various ideas on how to achieve what I was looking for, and what parts would be needed in order to arrive at what we perceived as the final stance of the bike. From the moment the build was conceived, it was going to be an aggressive green laner with faster steering than a Bonneville and a higher seat height to enable more ground clearance.
 Drew’s Scrambler has the 270º crank and a few other notable differences from the more street dwelling Bonnie. The exhaust pipe and headlight are the most noticeable, but the off-the-shelf modifications for the Scrambler and Bonneville’s are in large part interchangeable because of the shared componentry and modular design philosophy Triumph’s team(s) have taken during the design phase of these bikes, and to expanding their product line with minimum amount of effort and cost, at least as far as the modern twins are concerned. That’s a lucky stroke for all of us owners because of the plethora of available parts.
 Along with that comes the consequential pricing of those parts, which itself reflective of a marketplace with abundant competition. That’s right, the parts are relatively cheap, especially compared to pieces for other European machinery. The fact that a turn signal relocation bracket can be marketed for more than one bike in a lineup is advantageous to the after-market parts developer as much as it is to the model owner.
While discussing the pros and cons of the Bonnie vs the Scrambler, (or Scrambler vs the Bonnie, if you ask Drew), the two main topics for immediate improvement were the jetting and suspension for the Bonnie.  Arguably, the major characteristic of the Scrambler is the 270º-crank motor. It’s obviously a bit of a task to convert a motors firing spacing, but it’s not so difficult to wipe out a flat spot, make the engine more tractable through improving overall power and increasing throttle response in an engine which in a low state of tune out of the factory. Low end grunt and top end power can be helped if you lower the gearing a bit to let the bike rip away from lights for a standing start, (all while embarrassing bikes almost twice the volume -no names mentioned Here Dear, if you get my drift).
Having dealt pretty successfully with the fueling on the bike I was ready to tackle the bouncy bits. As already mentioned, I wasn’t about to pitch this bike against the Monster I owned, I wasn’t about to go totally nuts on it, but a good weight savings and improvement in handling through better suspension and a slight change in geometry were defo on the cards. No budget was assigned for this stage, but I had an idea I wanted to do it all for less than the cost of a pair of Ohlins shocks for the back of the bike, around $1300, give or take.
Two things figured in this decision: –
- Ohlins are great, but you pay a lot for some yellowish gold anodizing, and…
- The Bonnie frame really isn’t up to the task of getting the best out of that kind of investment.
Now we had to decide which brand we were going to employ, and what length the rear shocks were going to be. The OE Bonneville shocks are 340mm, the Thruxton and Scrambler’s are 365 or 370mm, depending on who you ask. Straight off the showroom floor, one of the more common mods to the front is to put heavier oil in the forks and put a plastic spacer in the spring tube to add preload to the OE spring. This may also have the effect of giving it a bit more height on the front, which also compounds the slowness of the steering and makes the back shocks work even harder, which isn’t a good thing as they aren’t up to the task to start with! The simplest way to correct the geometry is to slide the forks up through the tree about 12mm (1/2 an inch) to compensate, but if you add length to the back you can leave the front stretched and gain height at both ends without trading off one end for the other, you get to enjoy the sacred cow of off-road bikes – added ground clearance. This is where we were going.
 After quite a bit of research on various forums, and a few phone calls to people we regard as friends and experts in Triumph, and or suspension, I ended up having a pair of the Australian Gazzi Sport-Lite shocks built. We settled on a length of 365mm and sprung them for my, delicate, 196 pound frame. The length was arrived at with the decision to replace the fork springs with HyperPro Progressive Springs and 10W fork oil, and the request for more ground clearance. This meant the forks could be left at full length without pulling them up through the triple trees, and a rider with 30” inseam could easily flat-foot the bike with knees slightly bent.
What was even better was the price came in far enough under budget that a rear caliper relocation bracket was also ordered, and there was still enough change to almost cover the cost of an Acewell 2853 digital gauge.
On the actual day we chose to do the conversion, it was cool and dry. The garage was readied the day before and most of the tools were already on the bench awaiting Drew’s arrival. The build plan was discussed before we began. The order was to be as follows: –
- Place bike on stand and strap frame to stand.
- Remove front and rear wheel, and caliper bracket.
- Remove rear caliper from bracket.
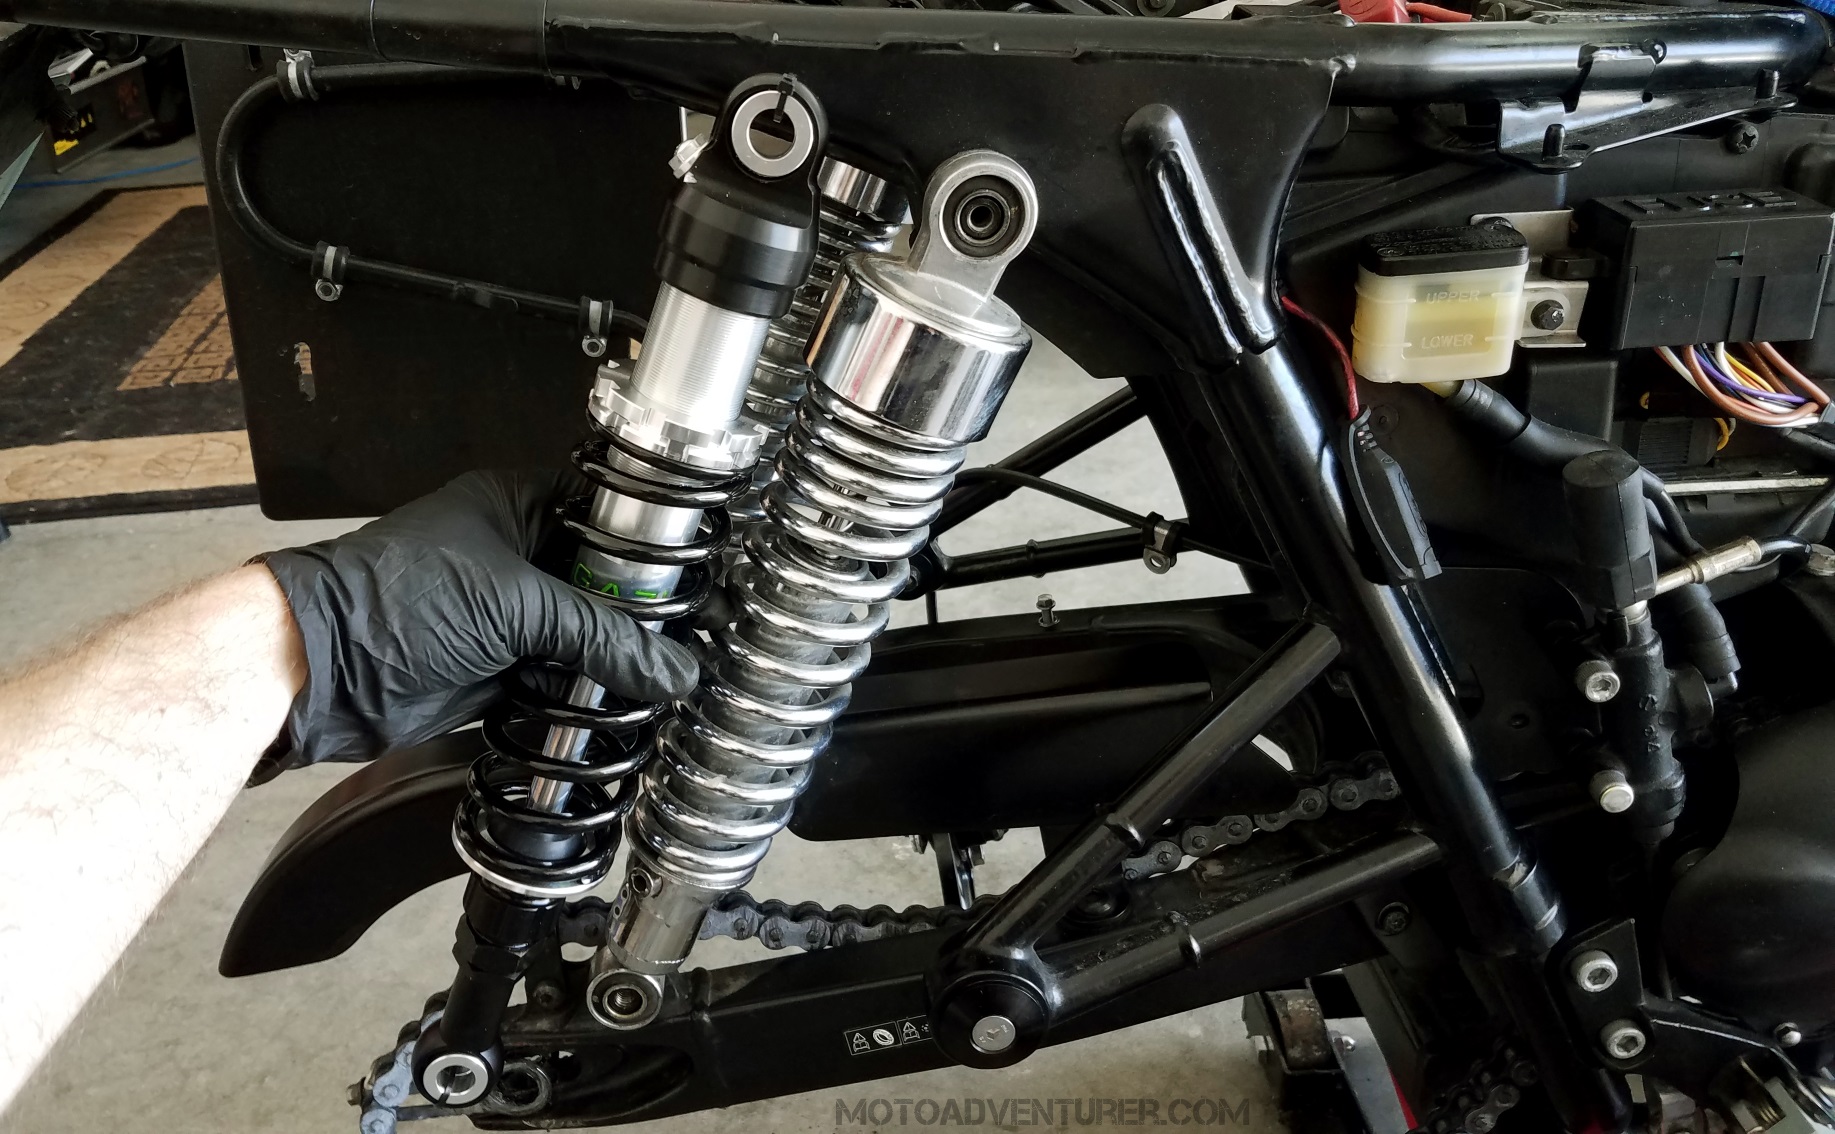
- Remove rear shocks.
- Re-routing rear brake line.
- Place rear caliper on new bracket.
- Install new rear shocks.
- Re-install rear wheel with new caliper and bracket.
- Remove one front fork.
- Dis-assemble and drain fork.
- Inspect fork for damage.
- Re-Assemble with new springs and fill with measured amount of fresh fork oil.
- Replace each fork.
- Re-install front wheel.
- Take bike off stand.
- Static brake check.
- Test Ride.
Everything went pretty much as planned. All the new parts were checked a upon arrival, and again a few days before installation, and rechecked before they were installed. No fit issues presented themselves and it was pretty much an exercise in part swapping. The only task that required a bit of adaptivity was routing the rear brake line after moving the rear caliper from below to above the swingarm. It was obvious the banjo bolt needed to rotate 180º but there really wasn’t enough slack in the braided line to look like a factory fit without re-routing the line behind the frame under the battery box. The line and caliper were separated, and the end of the line wrapped to stop any fluid leaking out while the line was moved to its new home. This was an ideal opportunity to bleed the entire rear system and replace the fluid with new DOT4.
The forks were easy to take apart, and luckily the internals were still in factory configuration, – there had been no spacers added. 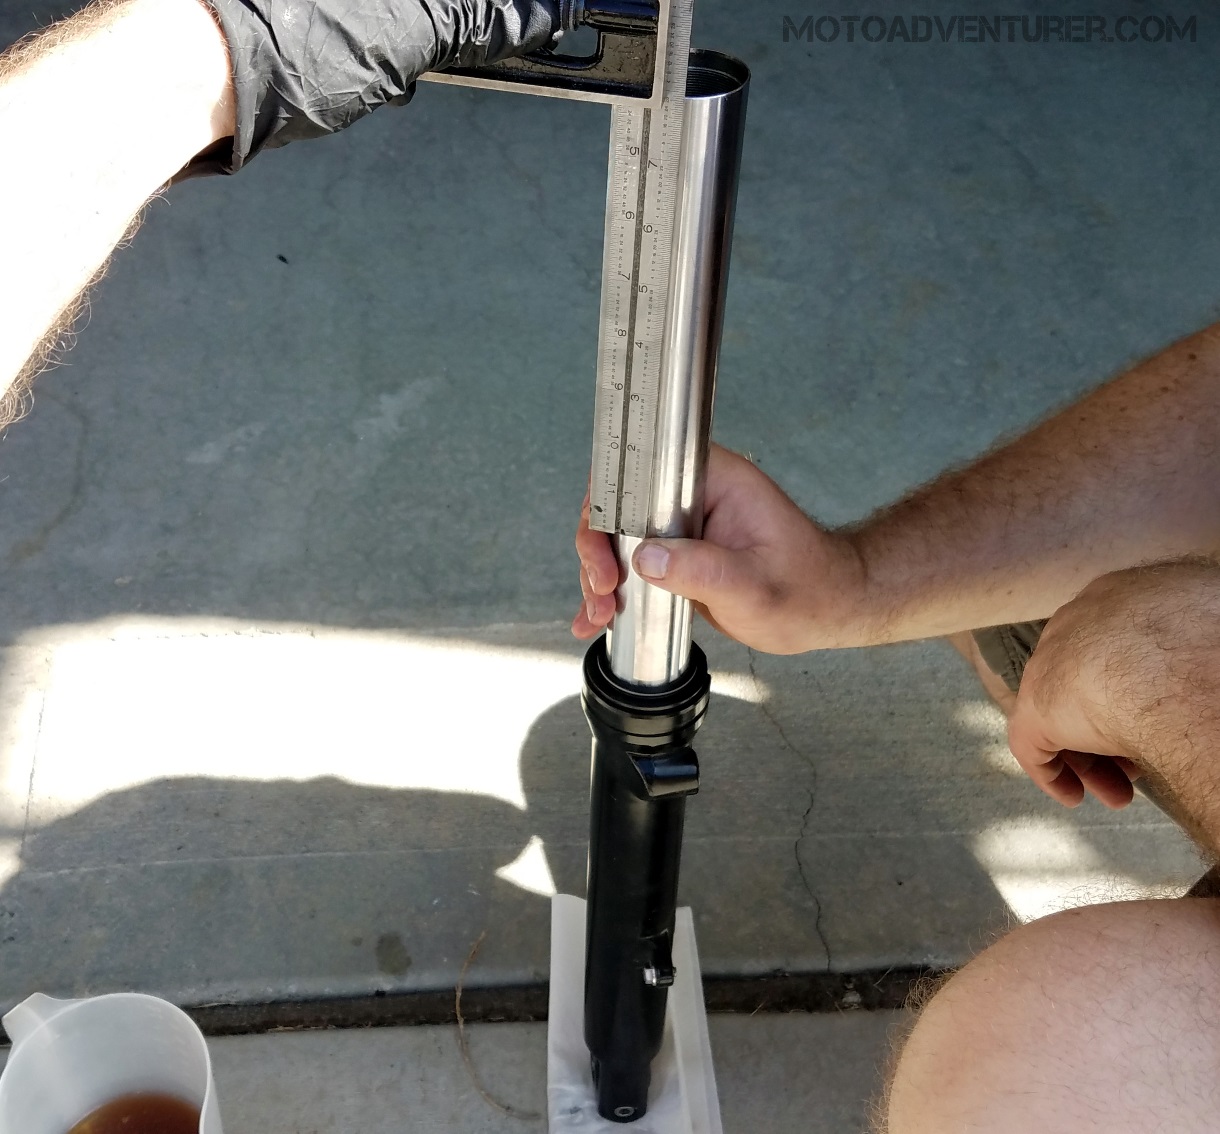 They were inspected for damage and pitting, but nothing was found that hindered the re-assembly process. The only drama was figuring out who was going to hold the fork tube and who was going to replace the top nut on the fork leg.
I had ordered some preload adjusters that were guaranteed to fit, but guess what, they didn’t, so on went the original top nuts. That will be revisited at some point as some of the adjusters require trimming the spacer tube to retain factory length at full length. I’ve wondered if they fit without doing that, and if so, is there a need to add more fork oil? Things to try later, perhaps.
Test Ride Notes from Drew:
 Once Andy and I got the “Bon-bler” put together and jotted down some notes about suspension sag, he handed me the keys to take it out for a test ride. Andy’s Trumpet makes the 4th Bonneville I’ve taken for a spin, and the 3rd carbureted iteration. Andy’s comments about dialing in the fueling cannot be overstated, both in importance, and reward when done properly. Having owned two fuel injected 865 twins, I’m here to tell you, the convenience of EFI on cold mornings is great, but the “snatchy” throttle response is the price you pay for (mostly) fuss free winter starting.
I’ve told many people, I love the tractor-like character of the 270° Scrambler mill, but it’s simply not as “British” as the traditional 360° crank of the air cooled Bonnie. The sound alone is as iconic as the tank badges; it makes the bike. Moreover, as much as I love the Bonnie’s snore, the way the 360-crank puts down power is far superior on the road; the extra eight ponies aren’t too shabby either.
Per my comments above, out on the road the throttle response and fuel delivery was like butter. The new suspenders were exactly what the doctor ordered; unlike the harsh rear-end I have on my Scrambler, the new shocks on Andy’s Bonnie soak up all the flaws of the pavement while still composed enough to carve lines through the corners with precision and confidence. I’ve said elsewhere, I would shameless park a 360° crank Bonnie, just like Andy’s, next to my Scrambler as my road-fairing touring bike (yes I said touring); and I told Andy, his Bonnie is unquestionably the best I’ve ever ridden (on pavement).
To Be Continued…


Pingback: Bonneville to Scrambler in 145 Easy Steps: Part I | Moto Adventurer