
As the temperatures have dropped and the joy riding has slowed, I’ve spent the last few months consuming a lot of “adventure” riding media. I’ve also dedicated a lot of thought to reviewing “best practices” from various motorcycle events I’ve attended, both in preparation for Red River Scramble, while also in the hopes of helping other motorcyclists (including myself) improve their riding skills.  Not all that different from road riding, I find that riding off-road with folks of comparable skill level (or those willing to ride at your level), plays a part in what makes a group ride enjoyable. There’s obviously a lot more to this, and a group doesn’t necessarily need to be composed of uniform skill levels, but it’s a good starting point when putting together a handful of strangers. My biggest concern being, novice riders are sometimes “sucked in” to riding beyond their abilities when following more advanced riders, potentially causing an injury, and in some cases, advanced riders get frustrated when waiting on “slower”, less experienced riders. As far as pavement is concerned, Lemmy over at Revzilla has covered the topic of group riding in great detail, and I recommend taking a few minutes and checking out that article. As far as adventure riding is concerned, for this year’s Red River Scramble I wanted to publish a guide for evaluating your skill level, along with highlighting trail difficulty. This also ties in with how I’ve graded the Daniel Boone Backcountry Byway, and other trails around that area of Kentucky, but more on that in a moment.
Evaluating Your Skills
I caught a podcast on Adventure Rider Radio a few months ago that ultimately led to this blog post. 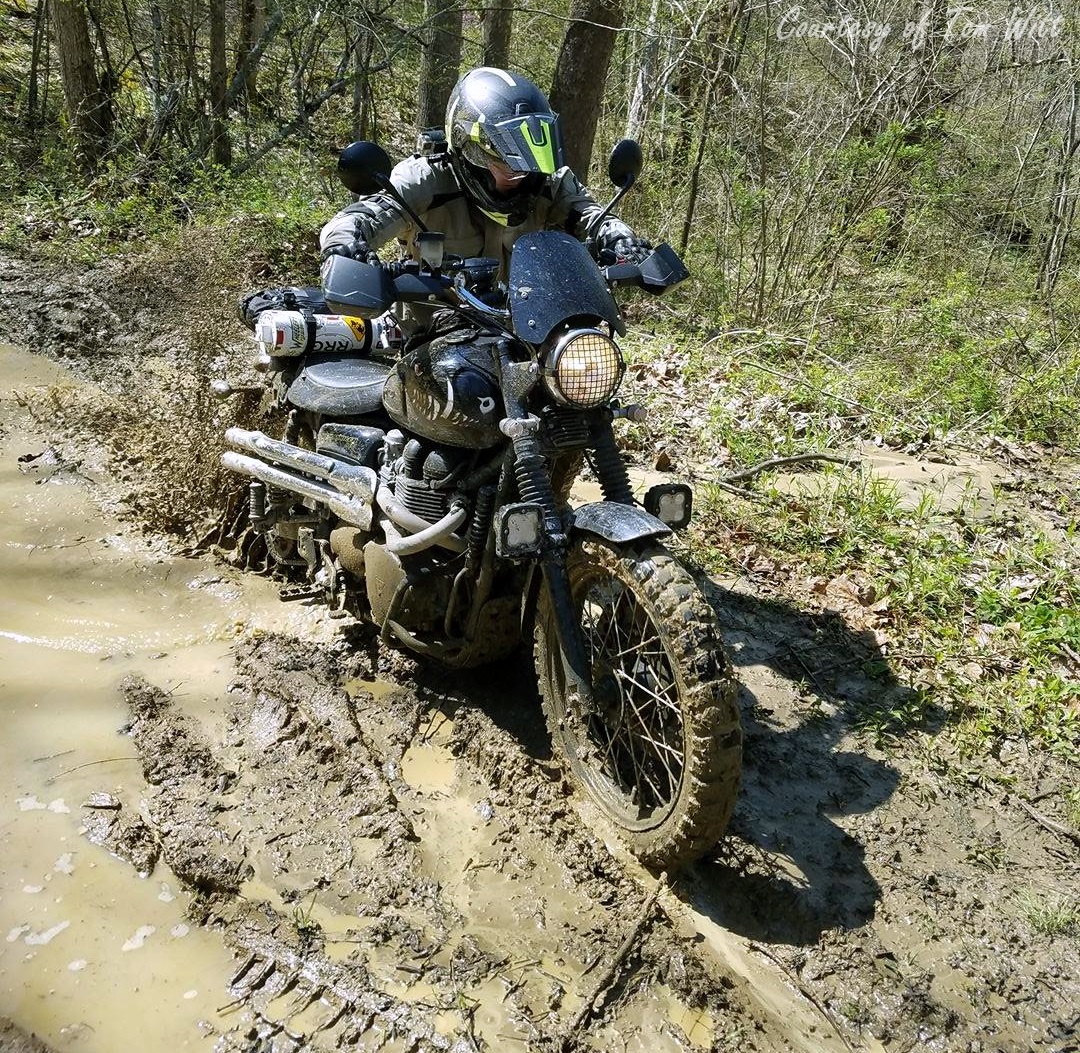 Bret Tkacs from Puget Sound Safety Off-Road (PSSOR) put together this rating system based on his experience as an instructor. To properly evaluate your skill level, you need to look at the terrain features on a given route, and match that against how well you can safely navigate a given obstacle. Skill levels aren’t necessarily uniform grades, but more of a collection of skills for progressively more difficult trail conditions. For example, some riders might be very comfortable with water crossings, but tense up when riding through sand or mud, and so on. PSSOR has a matrix that describes your skill competence on a given terrain feature:
Please note: This system is targeted at 600-1200cc Adventure bikes carrying light loads, riders on lighter dual-sport bikes can also use this as a guide, but these tasks are generally easier on smaller, more dirt-oriented bikes.
Riding within your Skill level means:
- Not falling or having near misses
- You don’t expect damage to the motorcycle because of terrain
- Riding the given terrain is not tiring
- Breaks are only needed for food, water, so on, not for resting
- You’re capable of multi-tasking while riding (i.e. reading GPS, talking, etc.)
You’re transitioning into higher skill level if:
- Tip overs, falls and near misses are infrequent
- You don’t expect damage to the motorcycle because of terrain
- You need modest breaks between obstacles but are not exhausted
- You can multi-task if needed
You’re significantly outside your skill level if: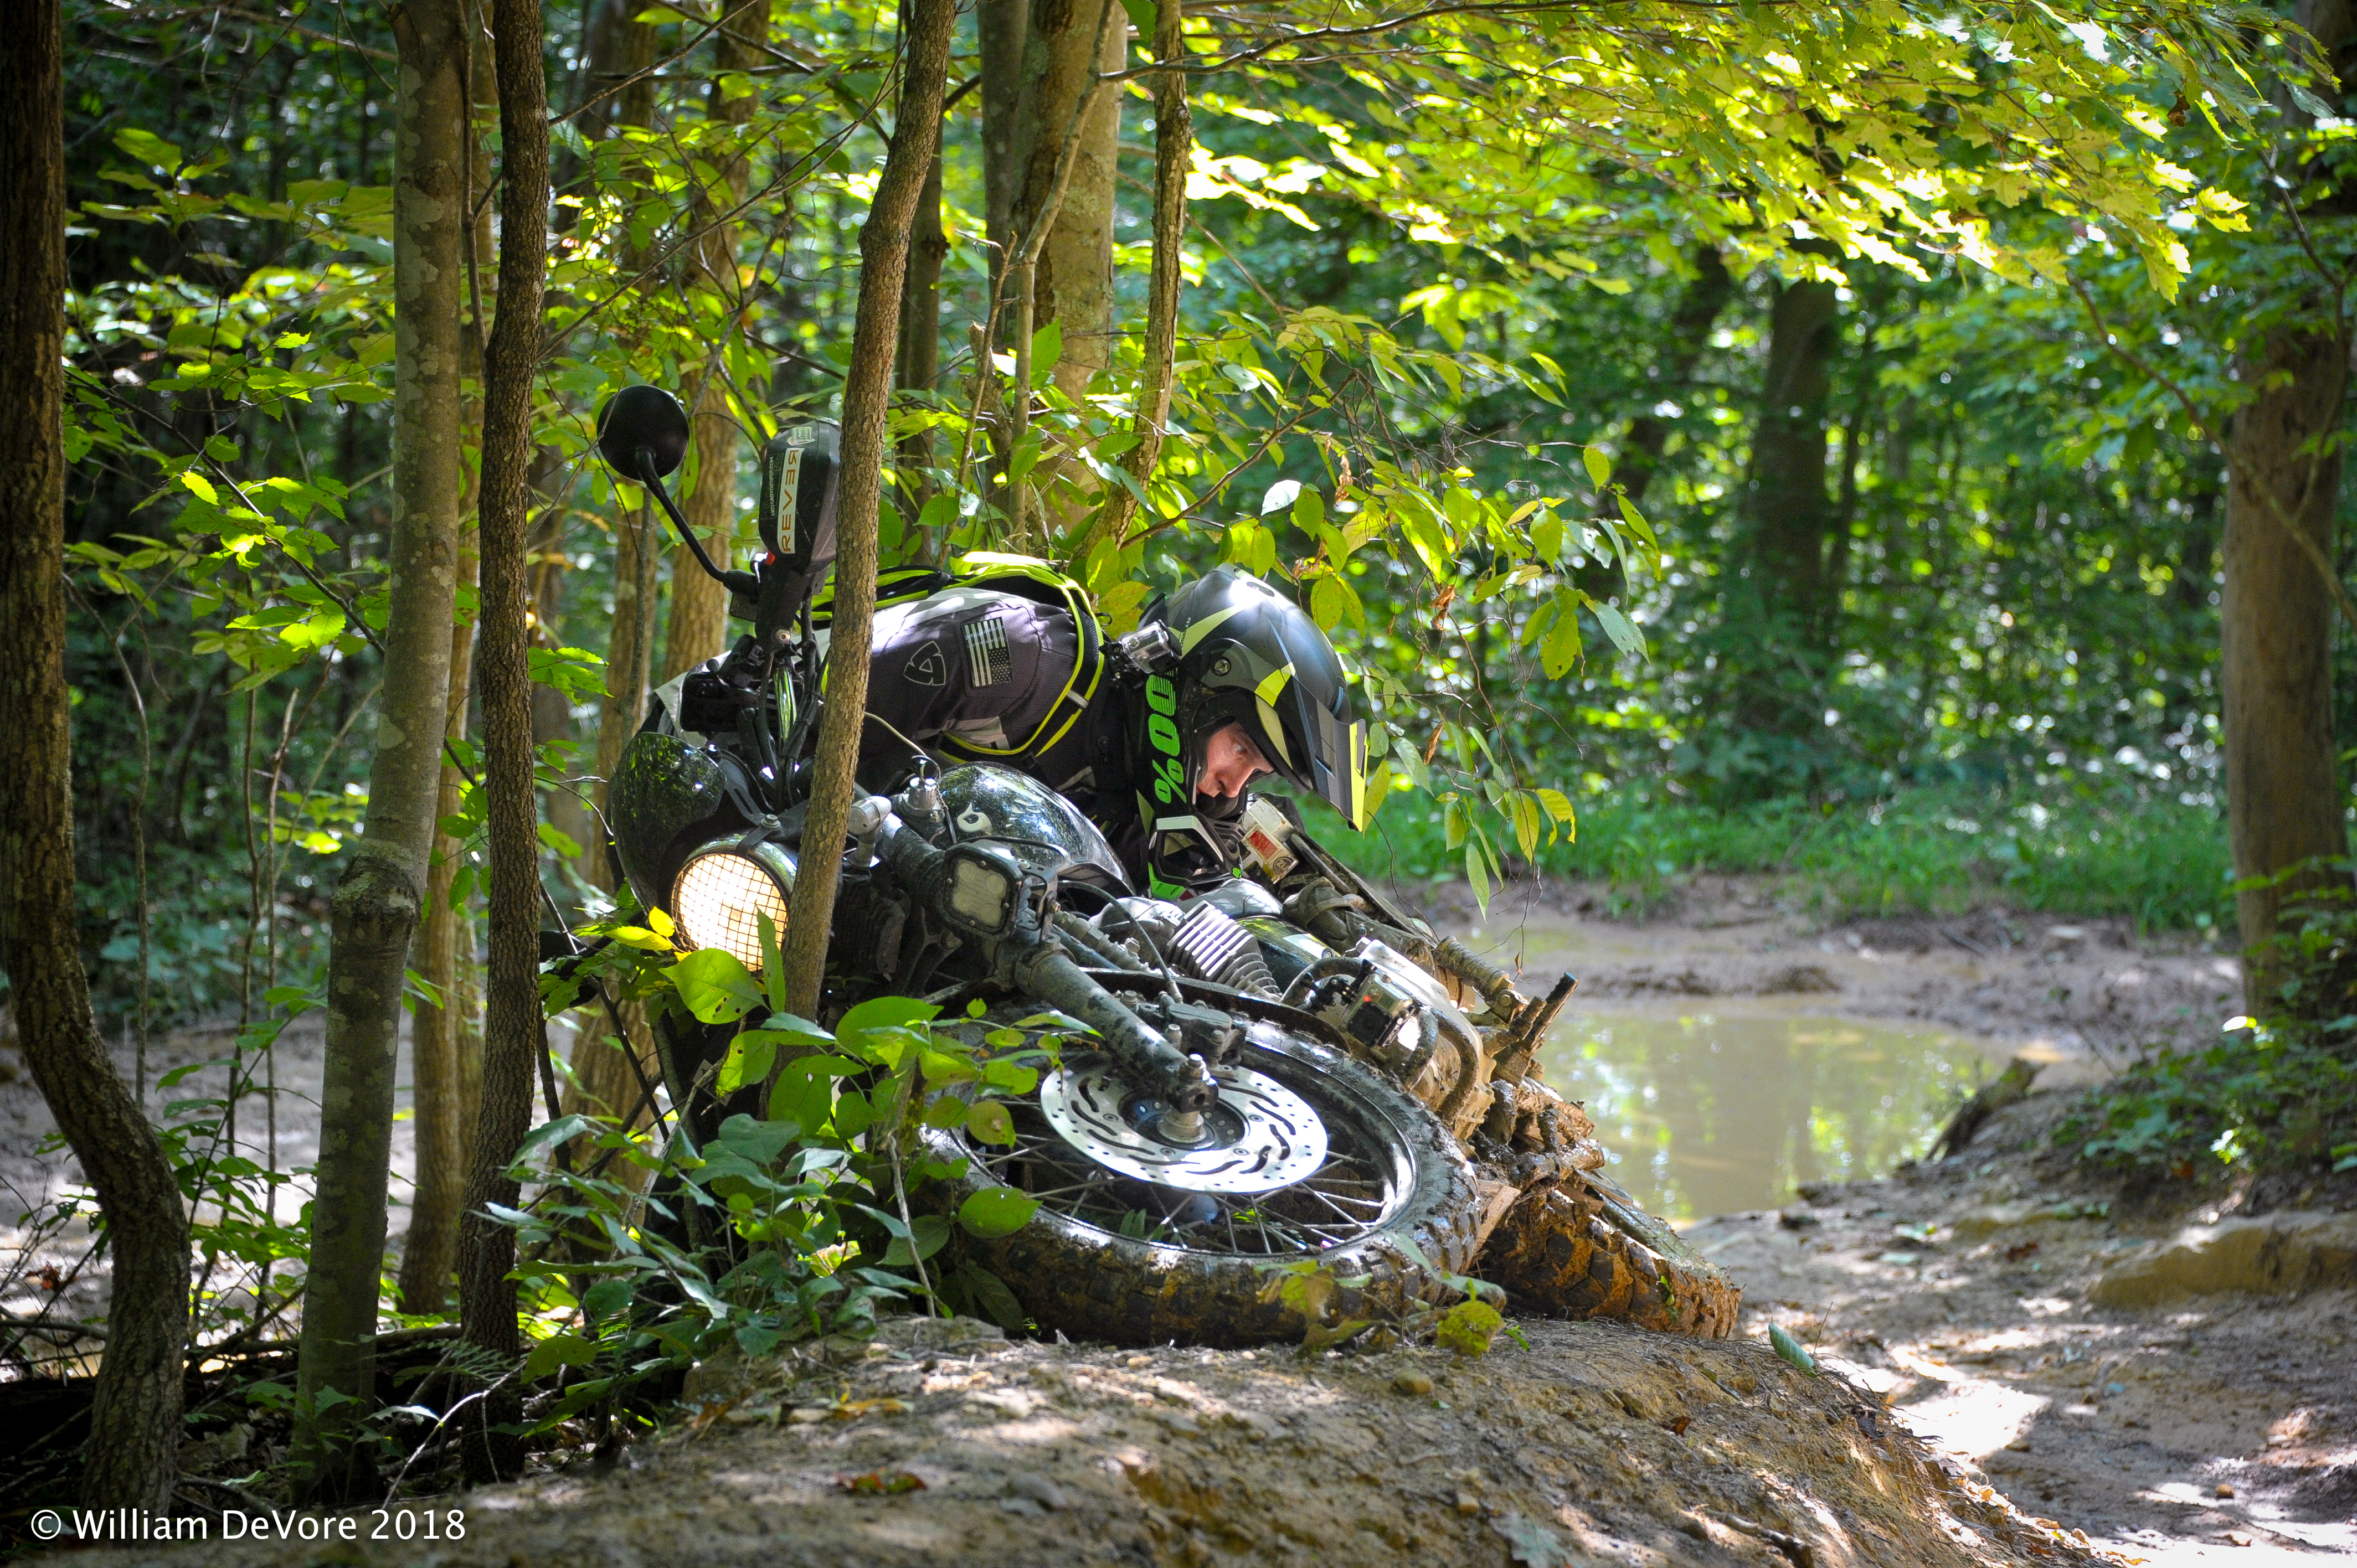
- Falls and near misses are frequent
- You crash or have frequent near crashes
- You have or expect damage
- You’re exhausted from riding
- You’re unable to multi-task
Evaluating the Route
PSSOR rates a given route based on terrain features and inherent difficulty. If a stretch of the route contains two or more of these obstacles, it is given that rating.
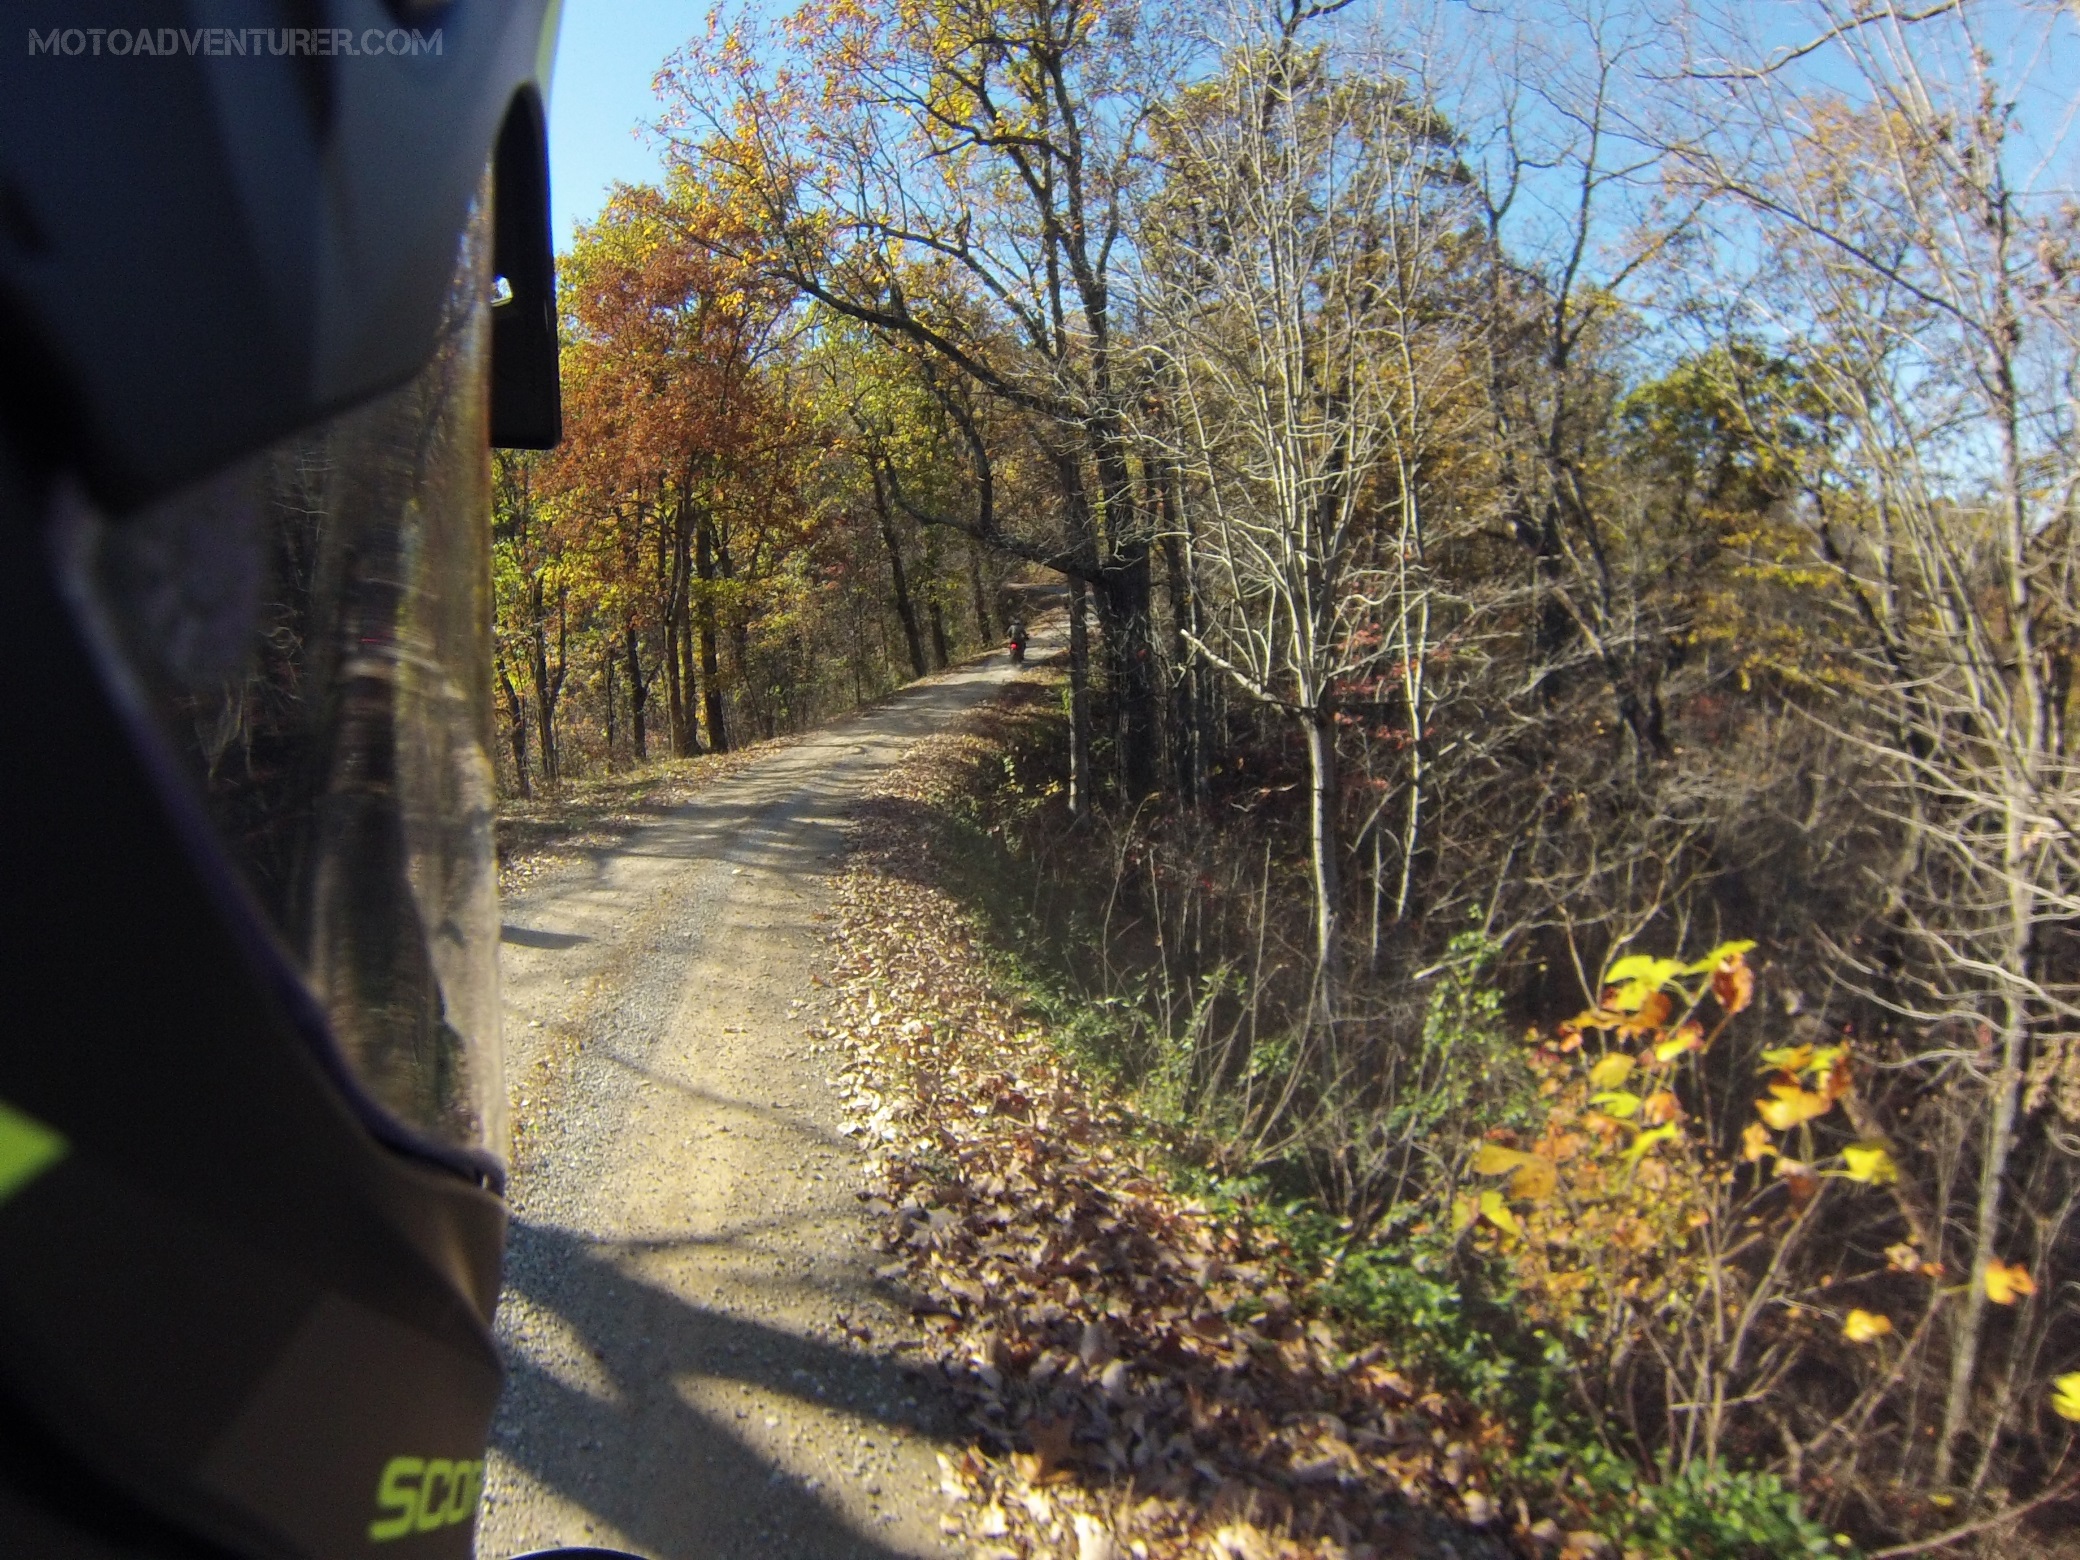
Novice
- Typically old or poorly-maintained paved roads and maintained dirt/gravel roads
- Water crossings less than 2 inches deep
- Sticks of small tree limbs
- Modest inclines or declines (road-like grades)
Basic
 Full lane or two-track
- Graded dirt/gravel roads
- Wide and shallow ruts and washboard
- Packed sand
- Minor water bars (weather ruts)
- Slow-moving water crossings less than 4-inches deep
- Obstacles/Ledges less than 4-inches high
- Loose rock or gravel less than 3 inches deep
- Patches of soft gravel, shallow sand, or surface mud
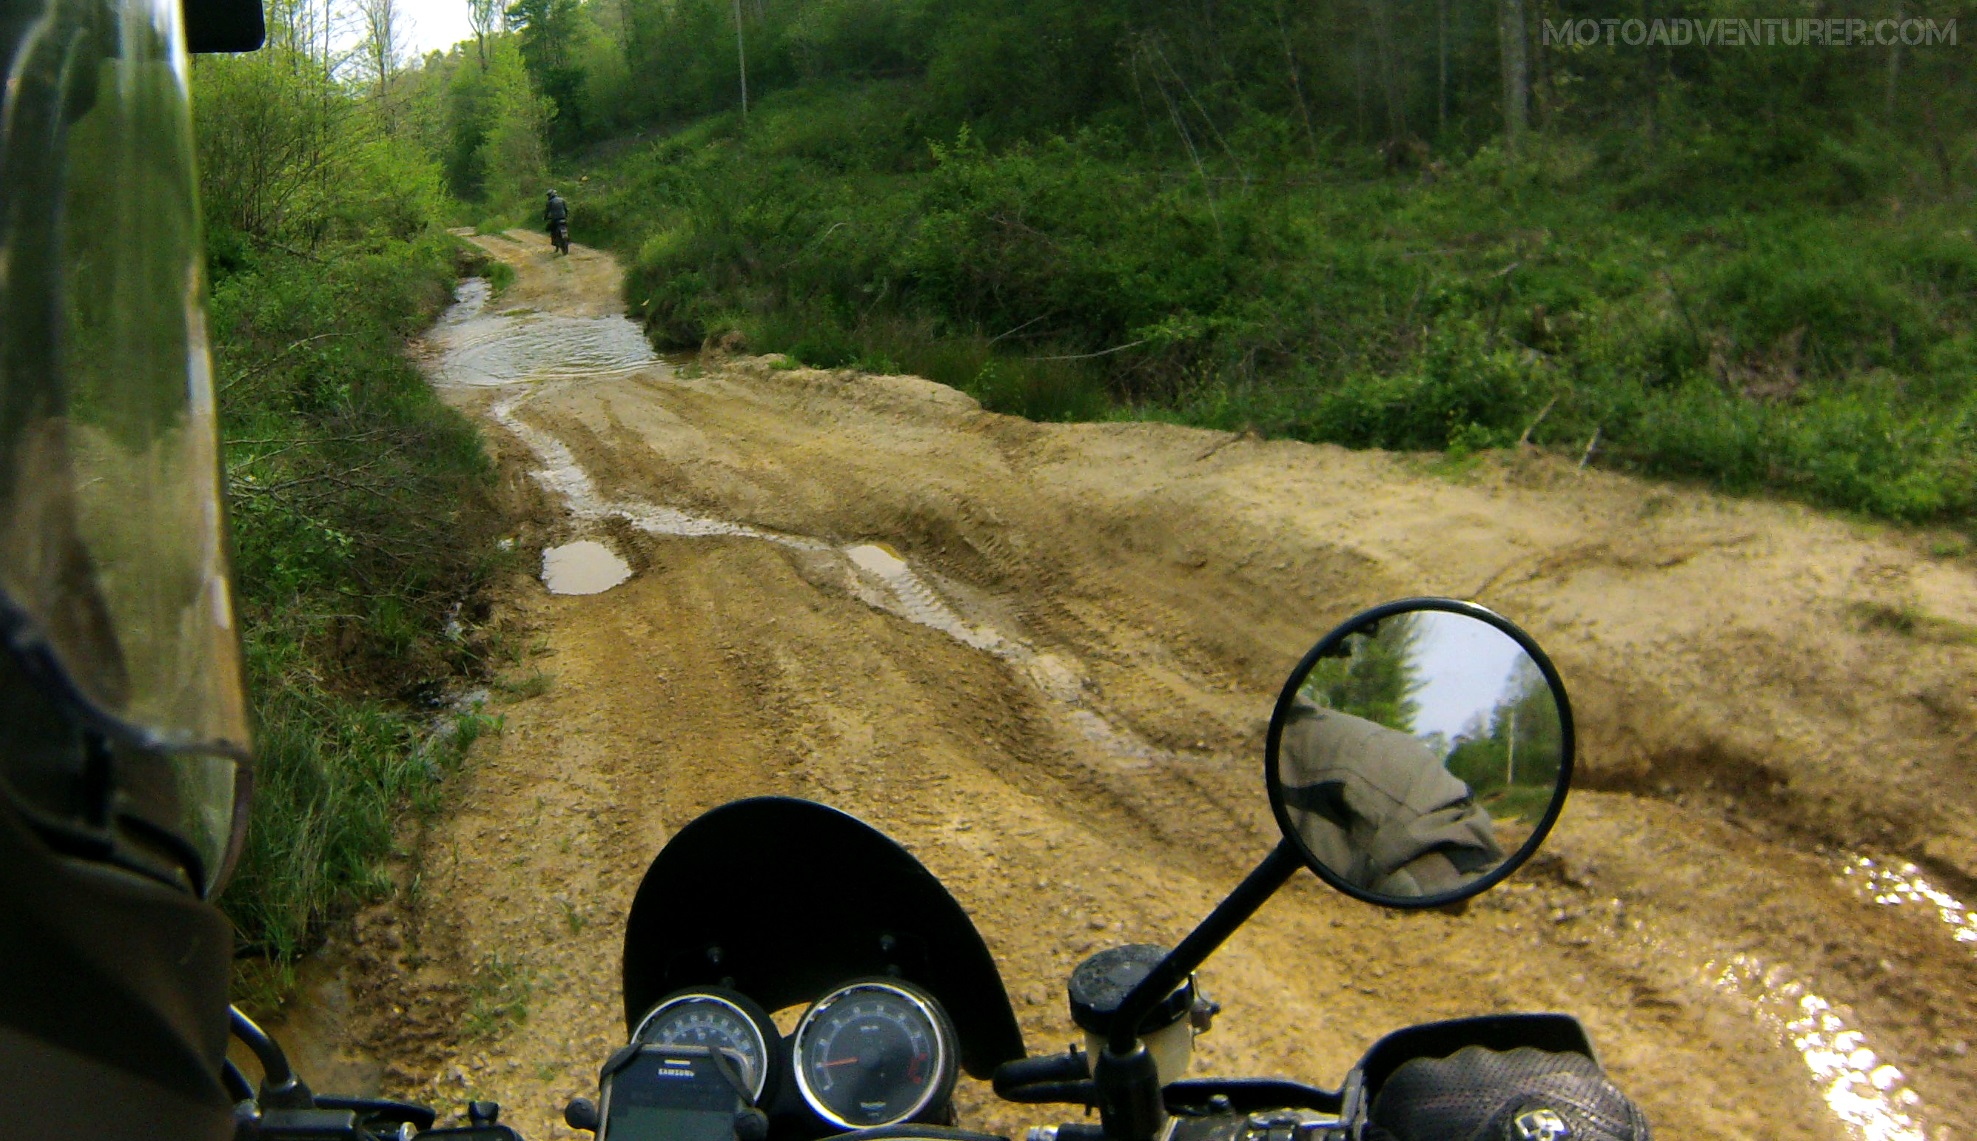
Intermediate
 Dry, narrow single-track ruts
- Shallow mud
- Soft gravel deeper than 2-inches
- Short sections of soft sand (less than 100 ft. long)
- Water hazards with mud base or loose rocks
- Water crossings up to 6-inches deep
- Obstacles up to 6-inches
Advanced
- Snow
 Narrow Two-track switchbacks
- Sections of loose rocks larger than 5-inches
- Long sections of soft sand (beyond 100 feet)
- Narrow, wet, single track ruts
- Water crossings with loose base or rocks
- Fast flowing water crossings greater than 7-inches
- Modest flowing water crossings deeper than 9-inches
- Deep soft gravel
- Mud/sand requires checking to proceed
- Mud that may need momentum to cross
- Hill climbs with mud or loose rocks larger than 6-inches
- Ledges/obstacles over 6-inches tall
Expert
 Dirt bike like trails
- Single-track with switchback sections
- May be impassible unless ideal conditions
- May need mechanical assistance (winch)
- Narrow, off-camber sections
- Fast moving water crossings
- Water crossings deeper than 12 inches
- Obstacles or ledges taller than the front axle
- Deep soft sand
- Sticky mud
- Vertical drop offs or inclines
This guide is not about who’s better than who, it’s about having a “standard” for conversation purposes. That way folks know what to expect when they’ve been given a recommendation for a trail or perhaps when they’re trying to figure out how to put together a group. This is also the “abridged” version of the PSSOR guide, I highly recommend that you check out their page, and study the guide more closely. Also, be sure to check out Bret Tkacs at his website, his YouTube channel, and the training section of his webpage.
How this translates to Red River Scramble
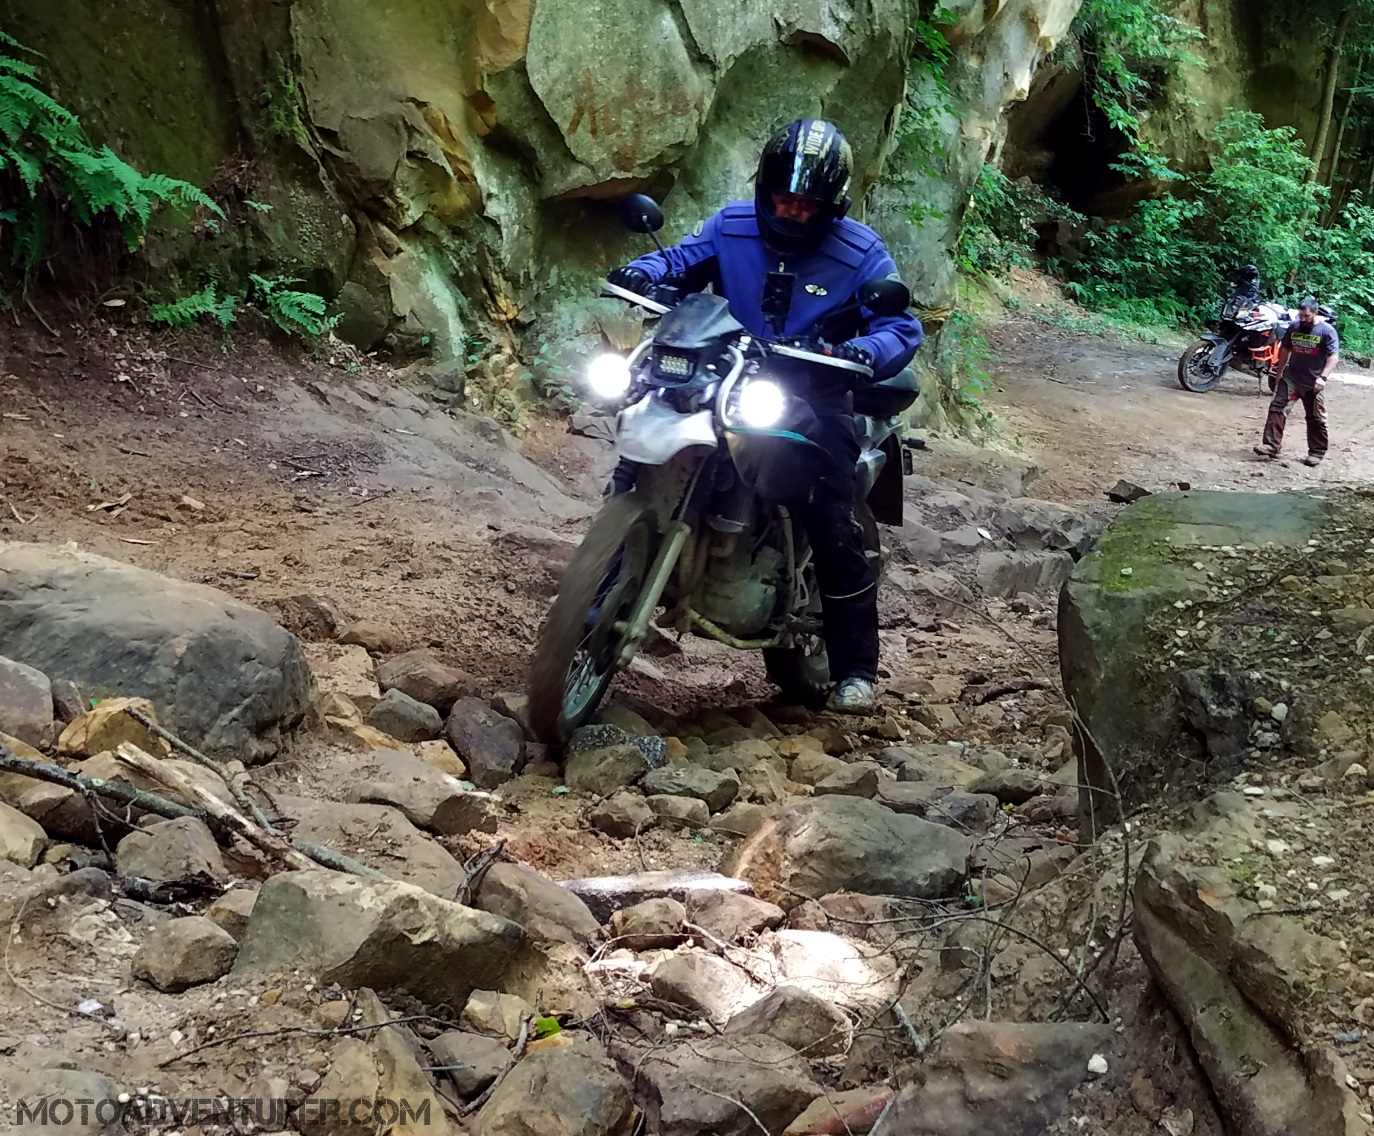
 Beyond meeting new people, riding with old friends, and sampling some of the best Pizza in Kentucky, Red River Scramble is also about discovering the Bluegrass Backcountry, which at times is un-paved. While not required, I encourage adventurous riders to take their first excursion off the pavement and down the gravel roads of the Daniel Boone National Forest to see some of the best views of Red River Gorge while they’re in Kentucky. I obviously want to make people as comfortable as I possibly can in taking that first step, so I’m publishing this guide, and promoting PSSOR’s work.
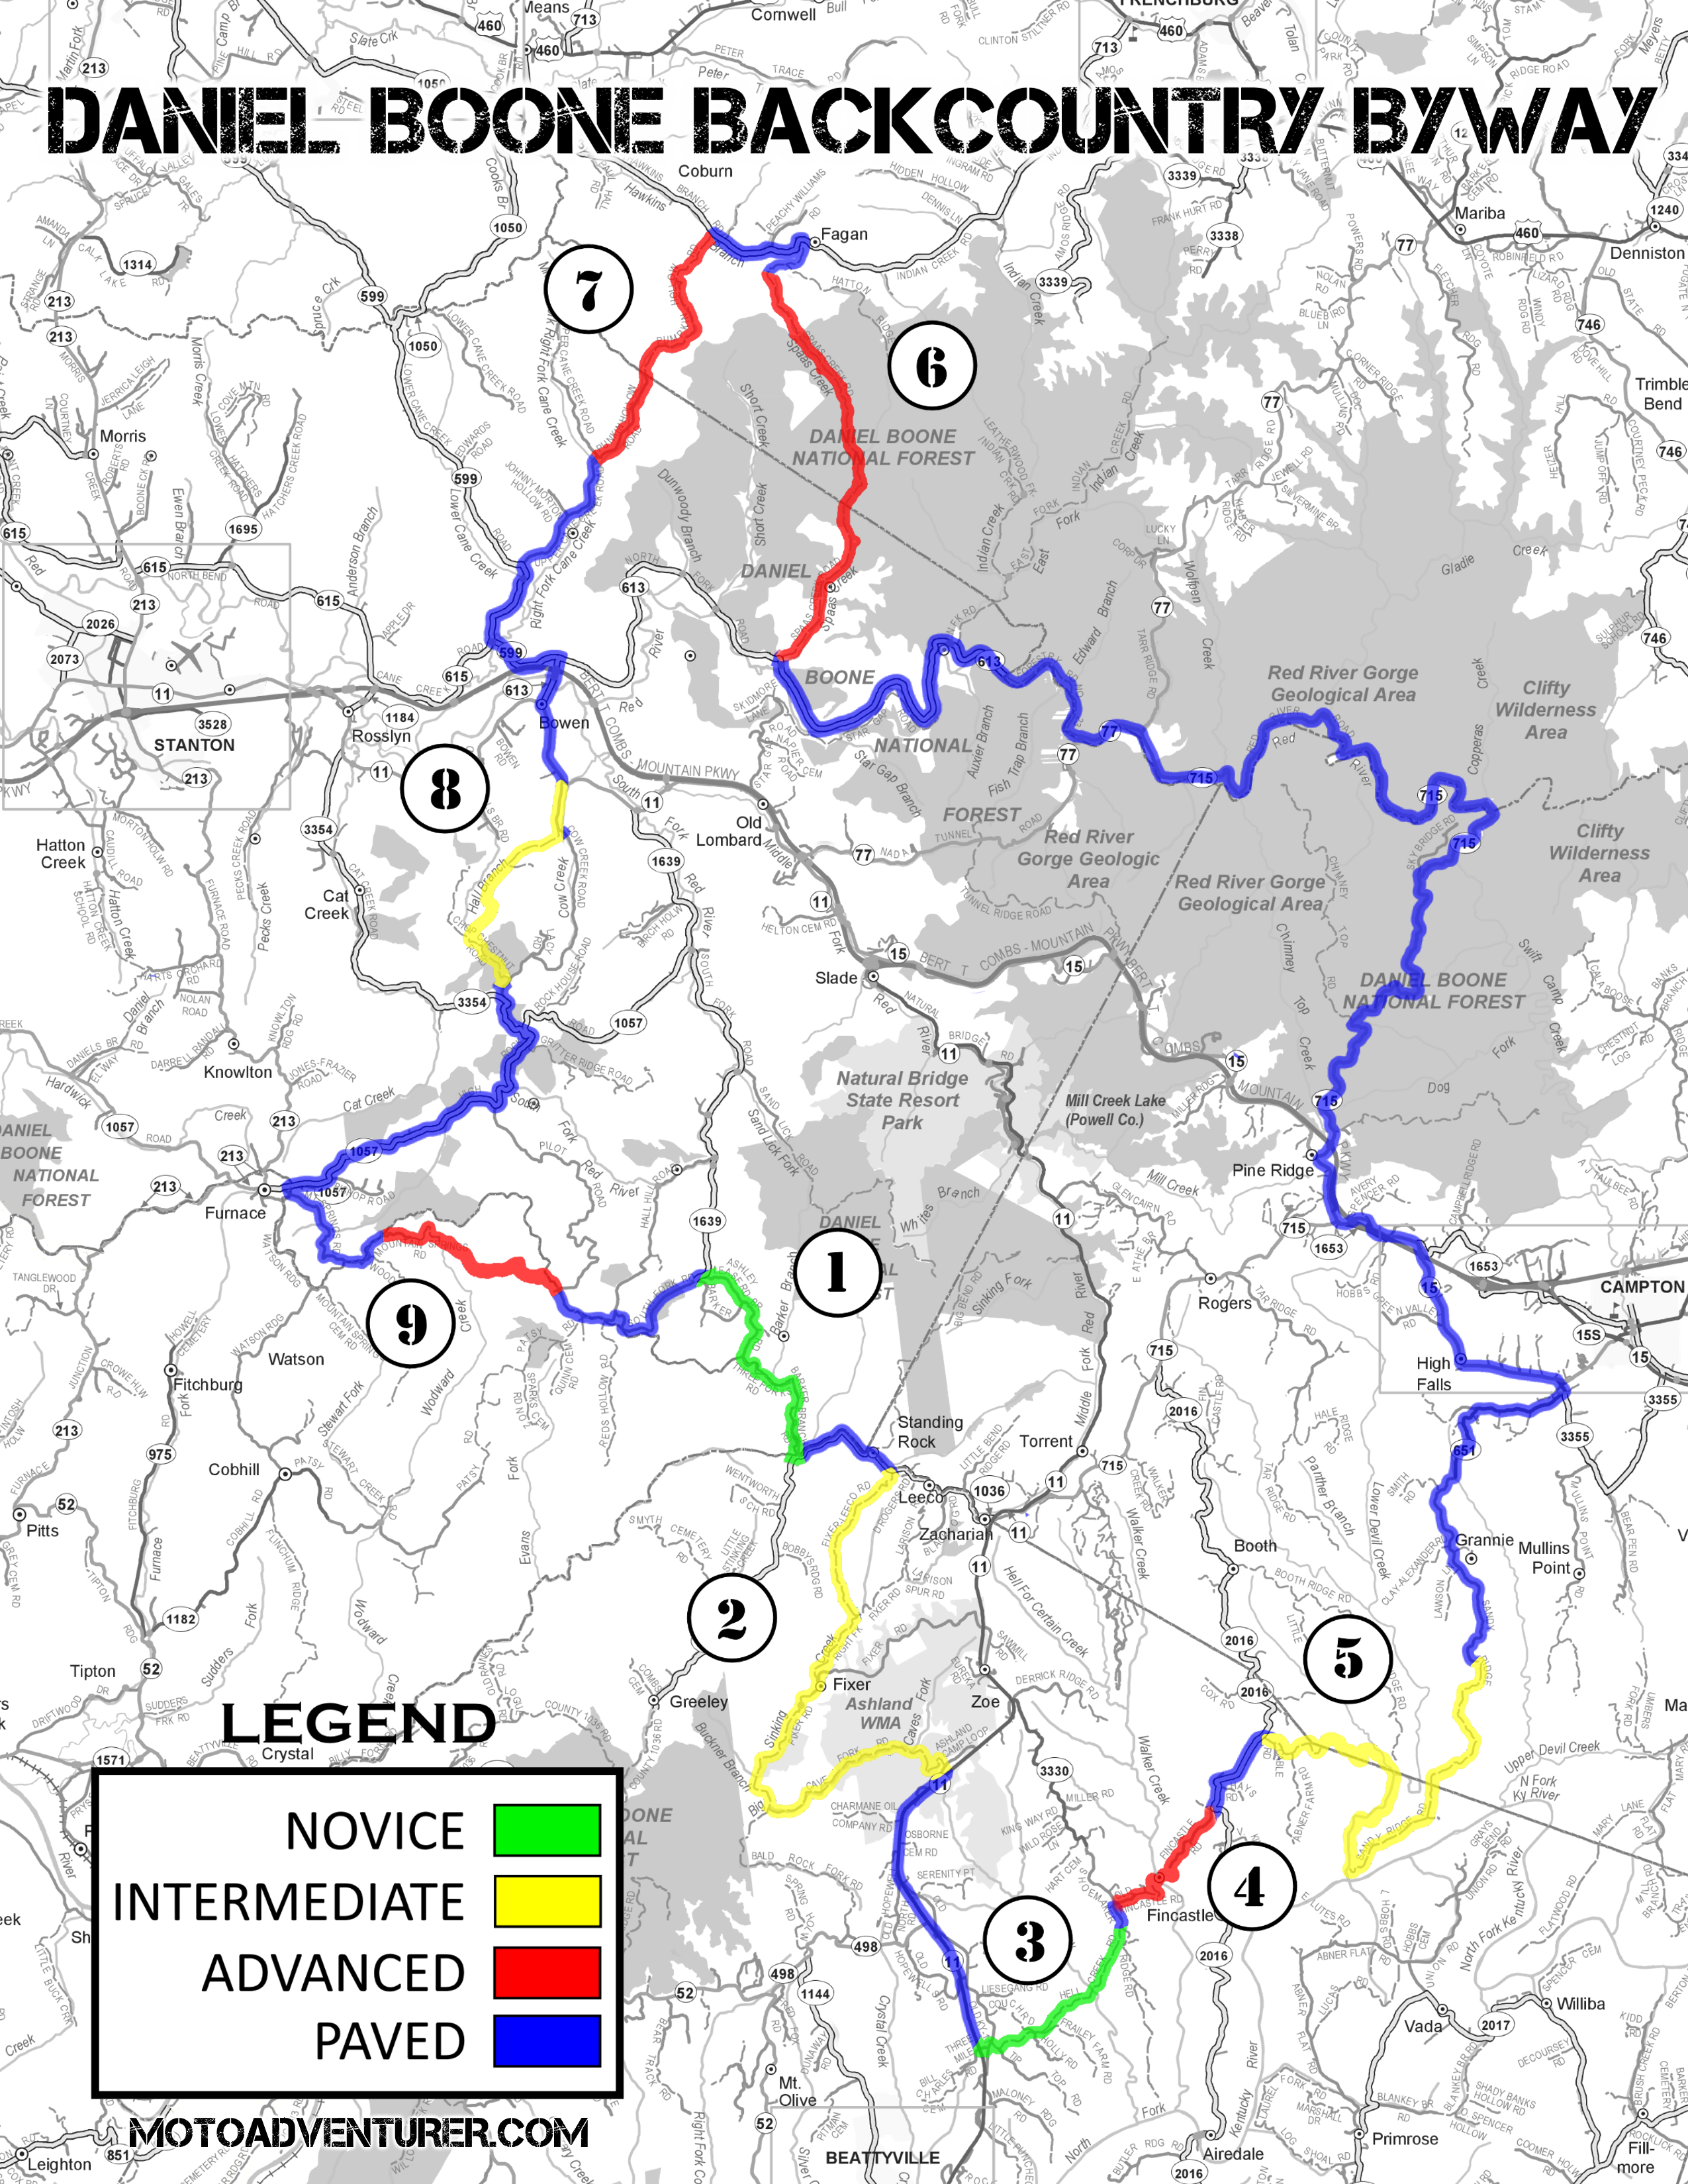 Next, I’ve also taken the time to “rate” each unpaved section of the Daniel Boone Backcountry Byway based on the obstacles you’ll encounter. Admittedly, I’ve combined PSSOR’s “Novice” and “Basic” terrain features into “Easy” for the sake of brevity. If you look at the map posted on the DBBB Guide I published a few months ago, you’ll find each section numbered and color-coded based on difficulty, along with photographs or videos of each section. I plan on providing an abridged, text only, file for download and potentially paper copies for reference at the event in May, just to keep folks from wading in too deep by accident.
As always, these are recommended guidelines and considering weather, trail conditions can evolve by the hour. I also ask folks to leave comments below if they have additional pointers with regard to group riding, measuring your riding skills, or any recommendations on how to make group riding more enjoyable for everyone, be it on or off road.

Pingback: Daniel Boone Backcountry Byway: An Adventure Guide | Moto Adventurer