
 Being a regular reader of this esteemed blog, I’m figuring you’ve already read Parts 1 and 2 of this build trilogy and are settling in to digest the contents of the final piece. You are asking yourself “What happened between getting the jetting and gearing right-on, and getting the stance of the bike set-up by dialing in the suspension for some intrepid green-laning?” – Well here goes.
 At the end of this piece is the list of parts that were used in the make-over. Recall we are going from a nice example of a 9-year-old Bonneville Black, to a rip-roaring green lane scrambler now known affectionately as ‘The Bonbler’. Some of the parts that were originally on the bike have been upgraded or replaced due to a compatibility issue with another part added at a later date.
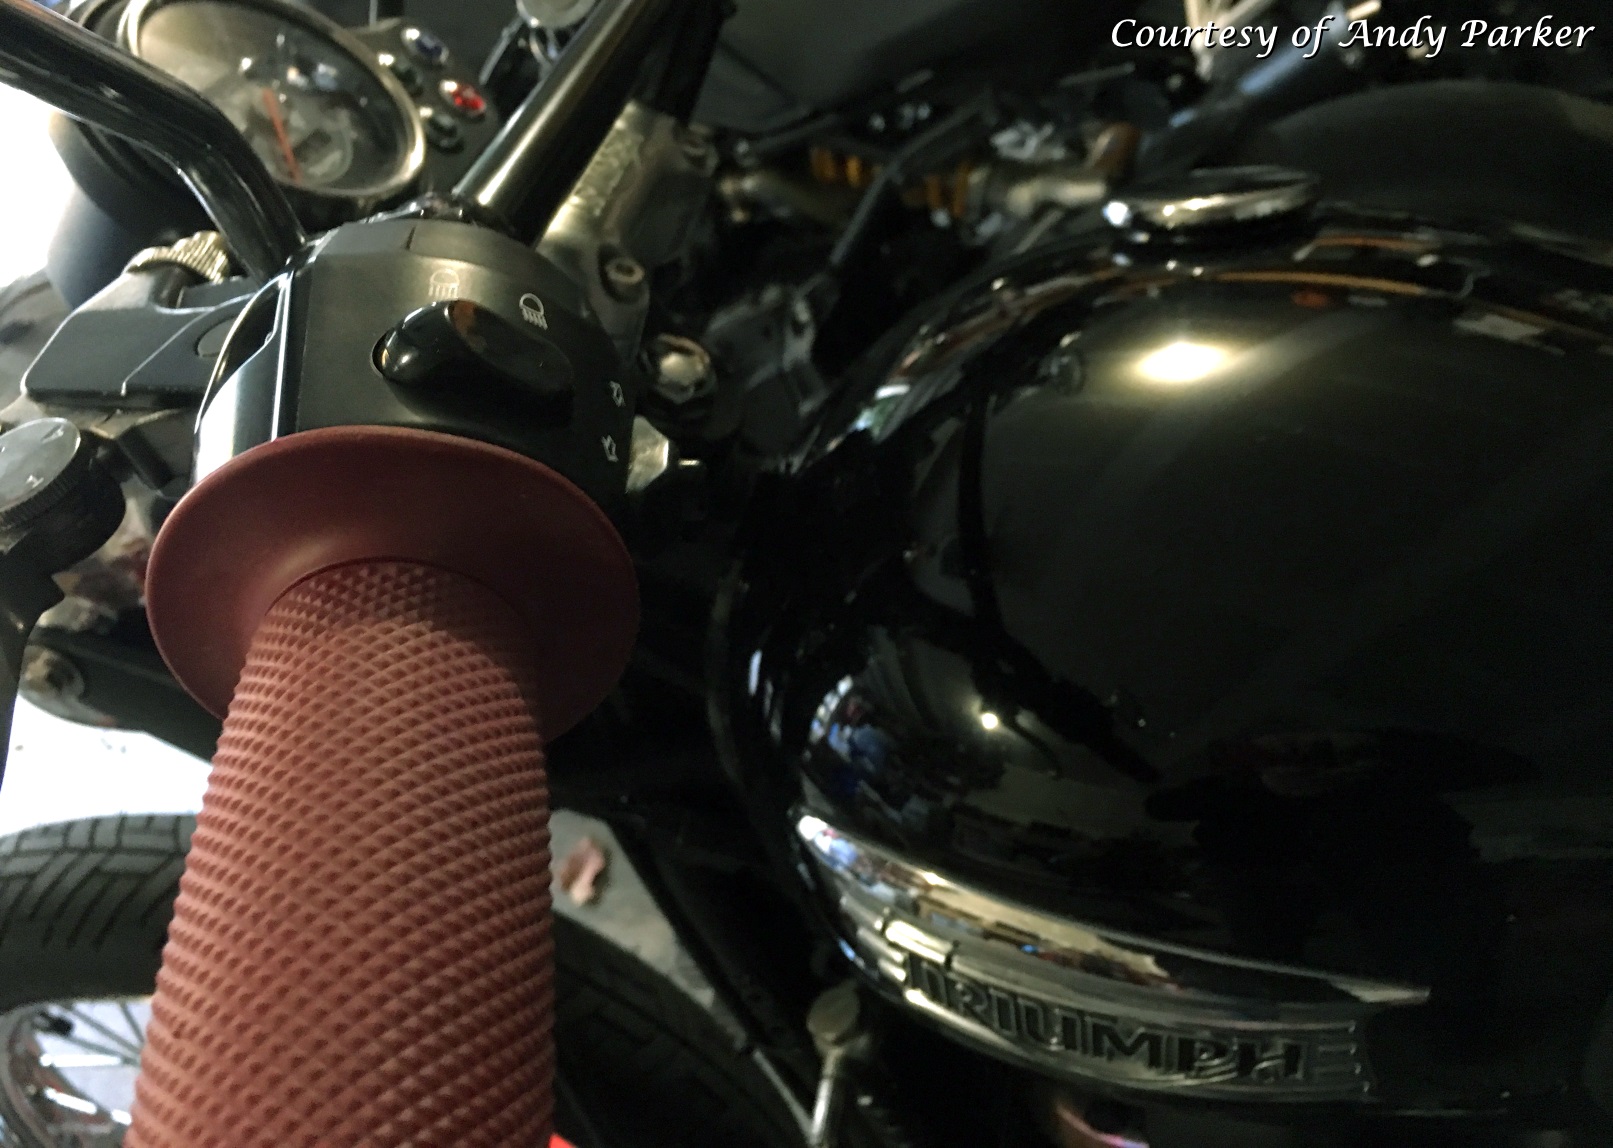 Feeling a measurably less-than-smug sense of self-satisfaction over getting the jetting and gearing sorted out the best I could, I started working on updating the parts of the bike that I thought needed attention. Some of these parts I considered required add-ons, like a tachometer, and some are whimsical ‘nice to haves’ that I consider to be tasteful upgrades, such as the Rizoma Action Turn Signals, or the Biltwell Renegade Oxblood Red Grips.
The less than smug feeling I was experiencing was due to a niggling feeling that I thought I could get the fueling better,  but I was unsure how to accomplish this, or more accurately, apart from doing it all over again, where to start? …After all, the response was crisp when you opened the throttle anywhere in the rev range, it pulled hard from tick-over to redline with no glitches or soft spots and when you closed the throttle you could feel the power recede instantly and the engine braking was good, even the plugs were a nice dark biscuit color. I was unsure where the unsettling feeling was coming from, so I eventually moved on, hoping the reason would reveal itself in due time, which of course it finally did – but more of that later.
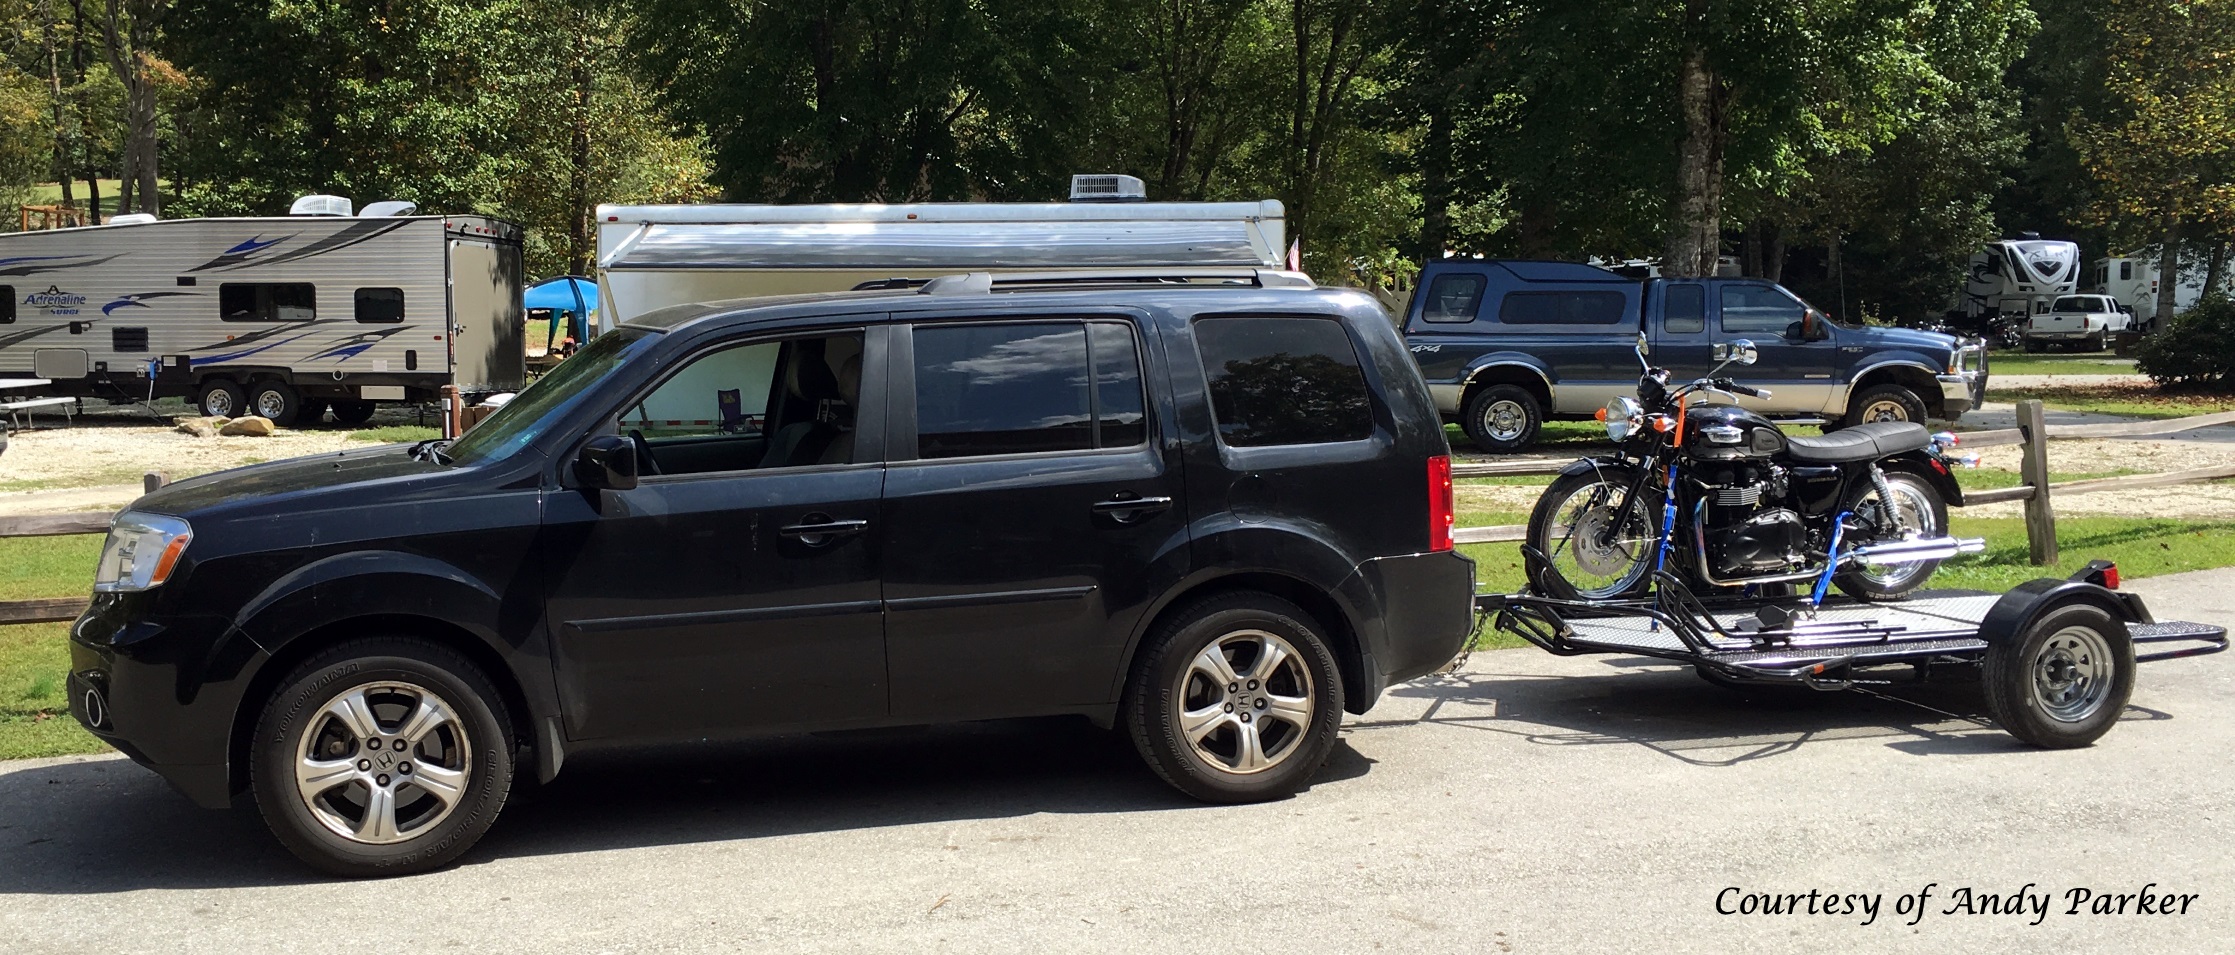
As I mentioned in Part 1, the first things to come off where the wheels so the tires could be replaced with some nice new Shinko 705’s. Knowing full well that was going to take a day or two to get done, I figured I’d dig right in and strip it right down to frame, engine, loom, brakes and suspension.
Here are the initial build lists.
Strip down List
- Remove Seat
- Remove Tank
- Remove Battery
- Remove Side Panels
- Remove Front Fender & Remove from Brace
- Remove Headlamp bowl
- Remove Front Turn Signals (label wiring)
- Remove Reflectors
- Remove Horn
- Remove Rectifier
- Remove Exhaust
- Remove Rear Fender (label wiring)
- Remove Front Wheel
- Remove Front Forks
- Remove Headlamp Brackets & Ignition switch
- Remove Gauge and Idiot lights
- Remove Rear Wheel, Shocks, & Caliper
- Remove SAI
- Remove Coil & Wires
- Take Wheels to fit tires
- Remove Mirrors
- Remove Handlebars
- Remove Fork Guards
- Remove Rear Pegs
- Remove Snorkel
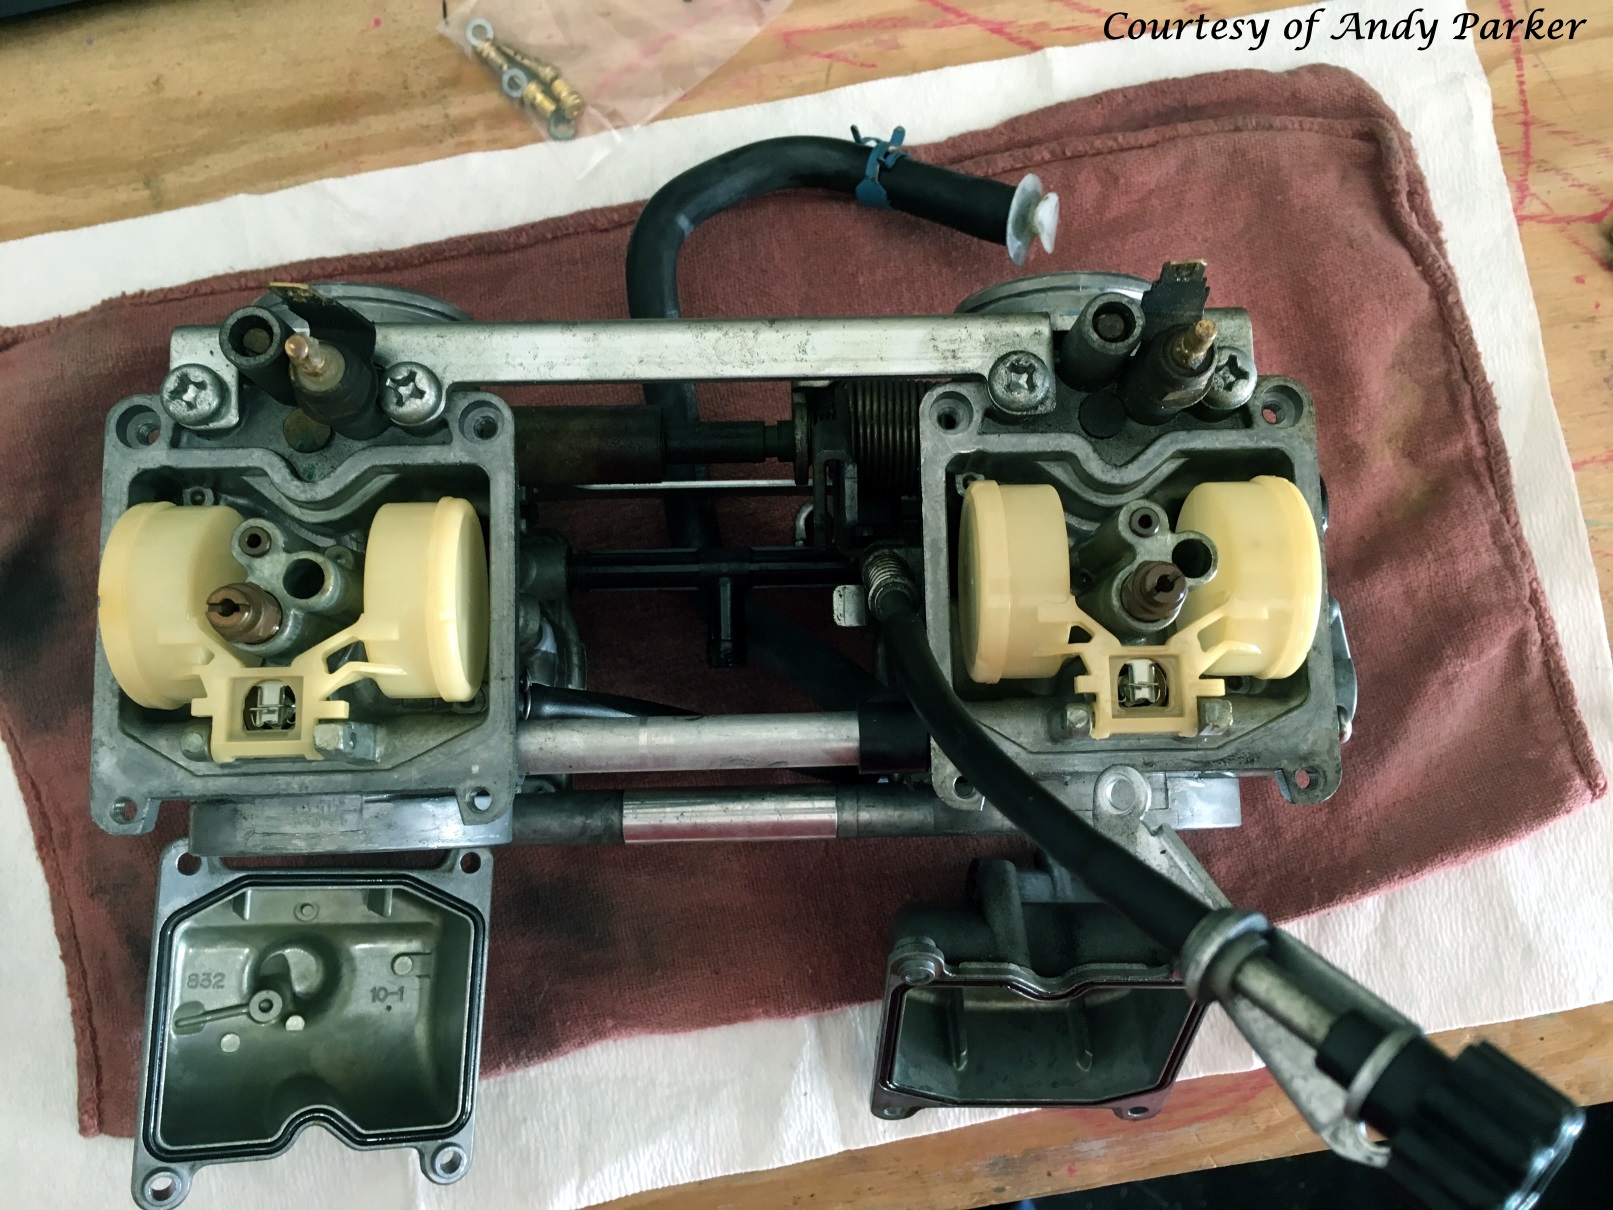
- Remove Air Filter, Carbs and Rubbers
Re-assembly List
- Install SAI Removal Kit and Resistor
- Install Nology Coil & Hot Wires
- Install Biltwell Motobar Handlebars
- Install TTS Air Intake, & Dynojet Kit
- Install New Air Trumpets
- Install BB Gauge Bracket and Acewell Gauge
- Relocate Ignition Switch
- Relocate Rectifier & Horn
- Re-Install Front Forks
- Install Gaiters
- Install Headlamp Brackets
- Reinstall Headlamp Bowl
- Install Mini-Screen
- Install Turn Signals on Relocation Bracket and Tail Tidy
- Install Tail Tidy
- Install Front Turn Signal Bracket
- Install Exhaust
- Install Rack & Hardware
- Install Side Panels
- Install Bobbed Front Fender & Brace
- Install Wheels
- Install SAE Lead
- Install CTEK Lead
- Install Tank
- Install Battery & Test lights, indicators, start engine check dash lights
- Install Comfort Seat
- Install NB Oil Cooler and Sump Guards
- Install NB Blanking Plates for Rear Pegs
 As you follow down through the Re-assembly List you can see how some items would be so easily replaced while other required planning or required other parts to be in place before they could be installed. The trick while doing the carb work was to keep the bike looking roadworthy for the test runs. I did not want to attract the wrong type of attention, if you get my meaning [“Let’s just say, we’d like to avoid any Imperial entanglements.” -Ed.]
While the wheels were off for new tires, I also had the rubber sealing strips and tubes replaced and had the spoke ends cleaned up. They were not in bad shape luckily, so the main task of dis-assembly could begin. It only took a total of four hours, one night after work, for the heavier stuff. The fiddlier secondary stripping down of all the parts like gauges, regulator and rectifier removal, ignition switch relocation, coils and SAI removal, air filter and funnel replacement took another couple of hours the following night. As part of the SAI removal, I decided to completely remove the little fan motor and replace it with a soldered resistor and use the freed-up space under the tank to move the coil further back or as the possible new location for the horn.
Pretty much all the parts that are marketed for these bikes are well developed, tried and tested items that essentially just plug-n-play and any accompanied wiring is usually terminated with OE connectors, but some of the cut-price alternatives show signs of wider manufacturing tolerances and sometimes require a bit of ‘bespoking’ to make them fit nicely.
Those of us who are on the OCD side of cautious keep a chest full of various JST’s, waterproof connectors and quick disconnects, just in case things aren’t as tidy as we’d like.  I’d rather install a new set of connectors than have enough slack in the wire to loop it around, so I go through quite a few when I’m doing a job like this. I can almost laugh about it now (seriously, I’m close to being able to), but a few years back I ordered a set of lights and complete wiring kit for a CAN Bus bike. When it arrived, I didn’t like the way the light loom was built. It was a “Y” shape and supposed to be model specific, but it was too long in one place and just long enough in two others, while also requiring dis-assembly of both sides of the bike. I stripped it down and built my own using the switches, relay blocks, and connectors. My version split right at the front of the bike requiring only one side of the bike to be disassembled (and fit much better, even if I do say so myself) and there was just enough slack in the loom to tuck it away nice and tidily.
The engineer in me is always looking for improvements in functional and aesthetic design, especially if there’s an efficiency gain to be had in the process. In this case, the work was worth the effort for the space it saved under the seat, even if it was probably less than a wash by the time it was completely fitted and the bike was back together. 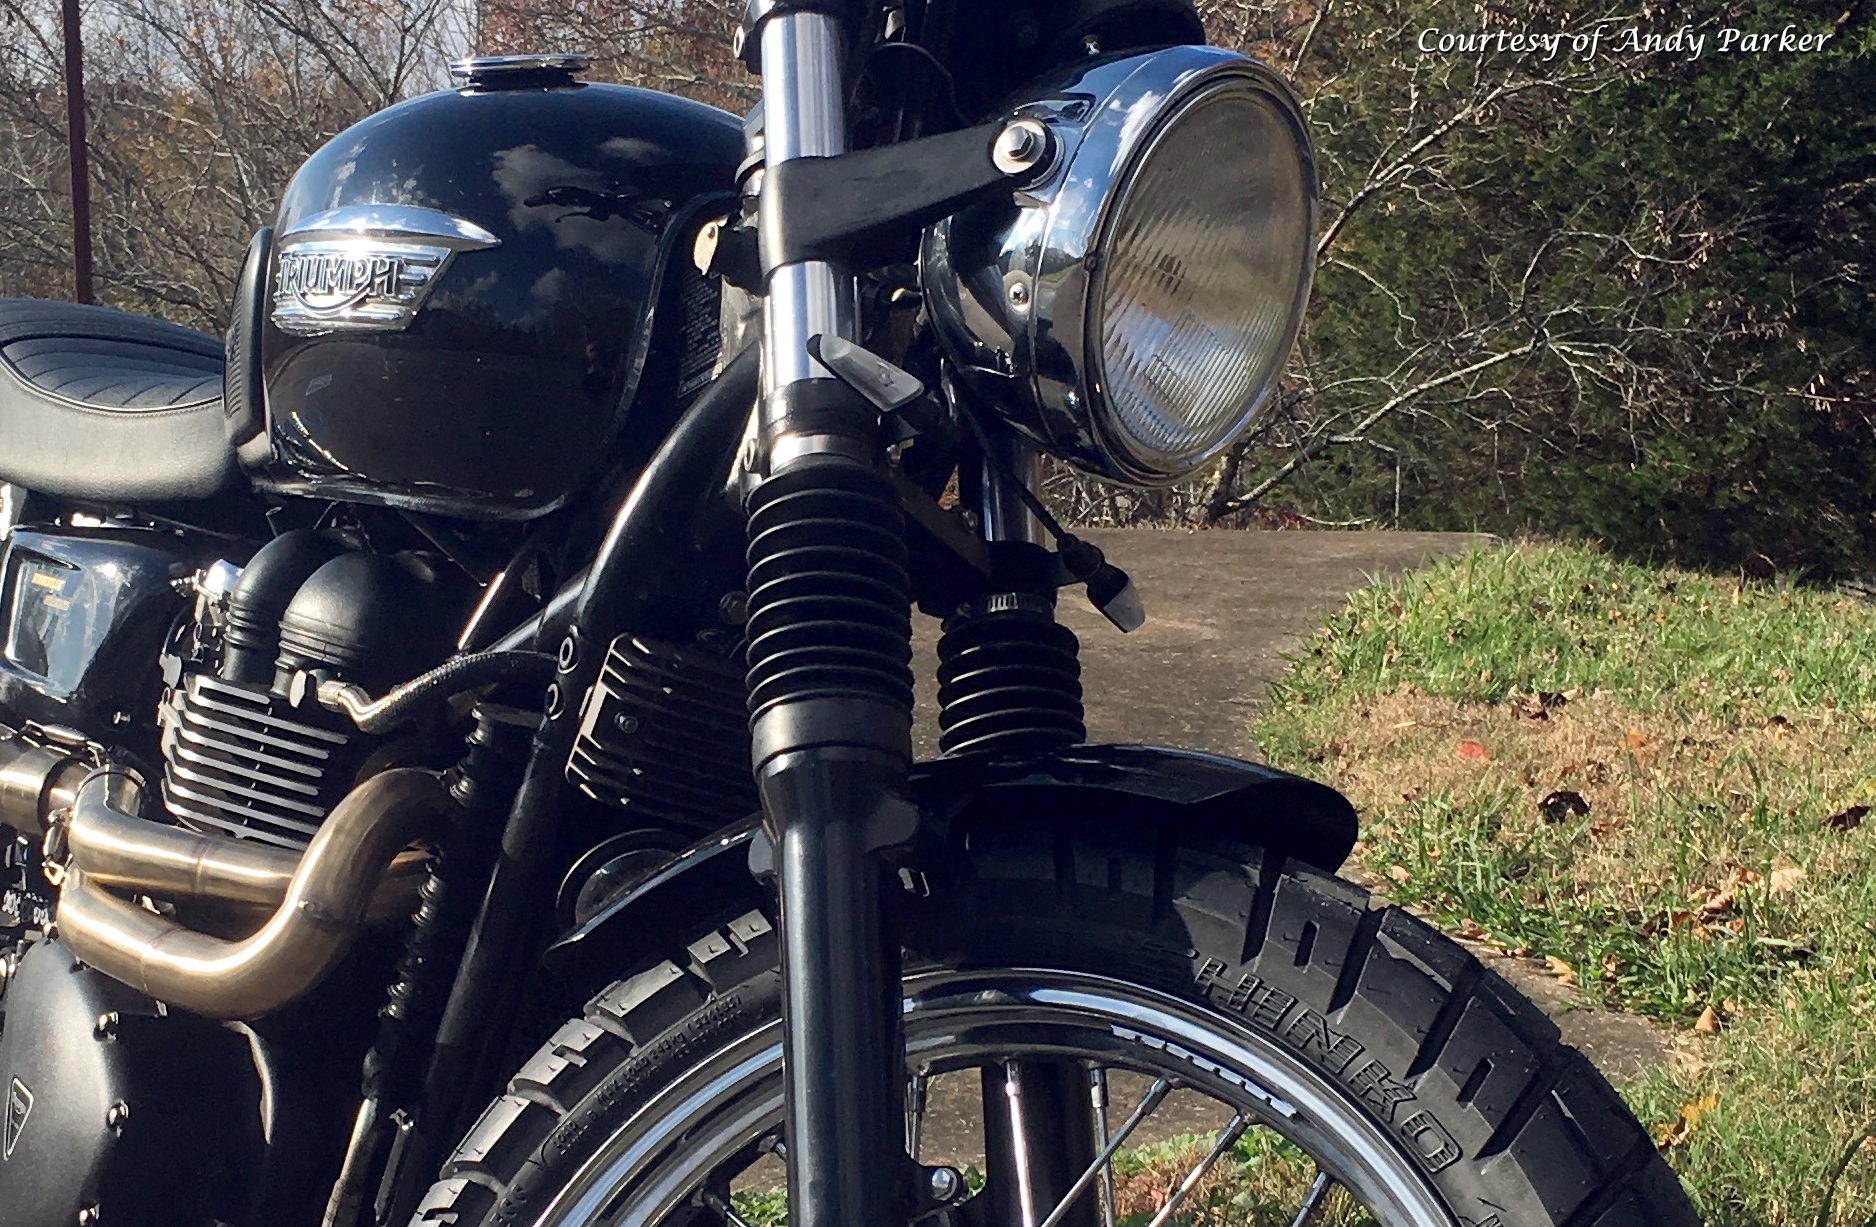 Obviously universal parts vary immensely in user-friendliness, and this is often where a couple of days garage work can save you half an hour research on the forums. (See what I did there?) Rizoma makes some beautiful universal fit parts, but you need to be prepared to spend time perfecting the fit. On the other end of the spectrum, a well-known parts supplier sells wares that often require trimming or squaring to give even an average looking fit, and that’s not what we’re looking for here. The intent is to create a custom bike that looks like the original but has a focus on old school scrambling. We want a sleek looking make-over with tidy looking parts that appear to be part of the original design, they cannot look out of place. I don’t want a flashy look-at-me kind of bike, but a refined bike that people in the know recognize as having a high level of personal customization to help it do what the owner wants to do with it. (If that makes any sense?)
The decision to go with an all-in-one gauge that contains the speedo, tachometer, trip  meter, idiot lights, and other measurables like temperature and fuel level was born out of a desire to add the tachometer, and to relocate the ignition key to the dash area. I’ve always been happier when I can see the key in front of me, and I really distrust the location on the side of the headlight bracket. The answer came one day when I found the Bonneville Bracket Ignition Relocation Single Gauge Mount for the earlier non-CVO Bonnies. I really didn’t want to pay for a new Triumph tachometer, or the money they were going for used on eBay. I’d bought a 2” LED Rev Counter and Battery Volt Meter I found a deal on and had formed up a template using thin aluminum as a mounting bracket to locate it on the riders’ side of the handlebar ala the current Scrambler models. This had been the result of some researching to figure out where to get the signal for the Tach.
 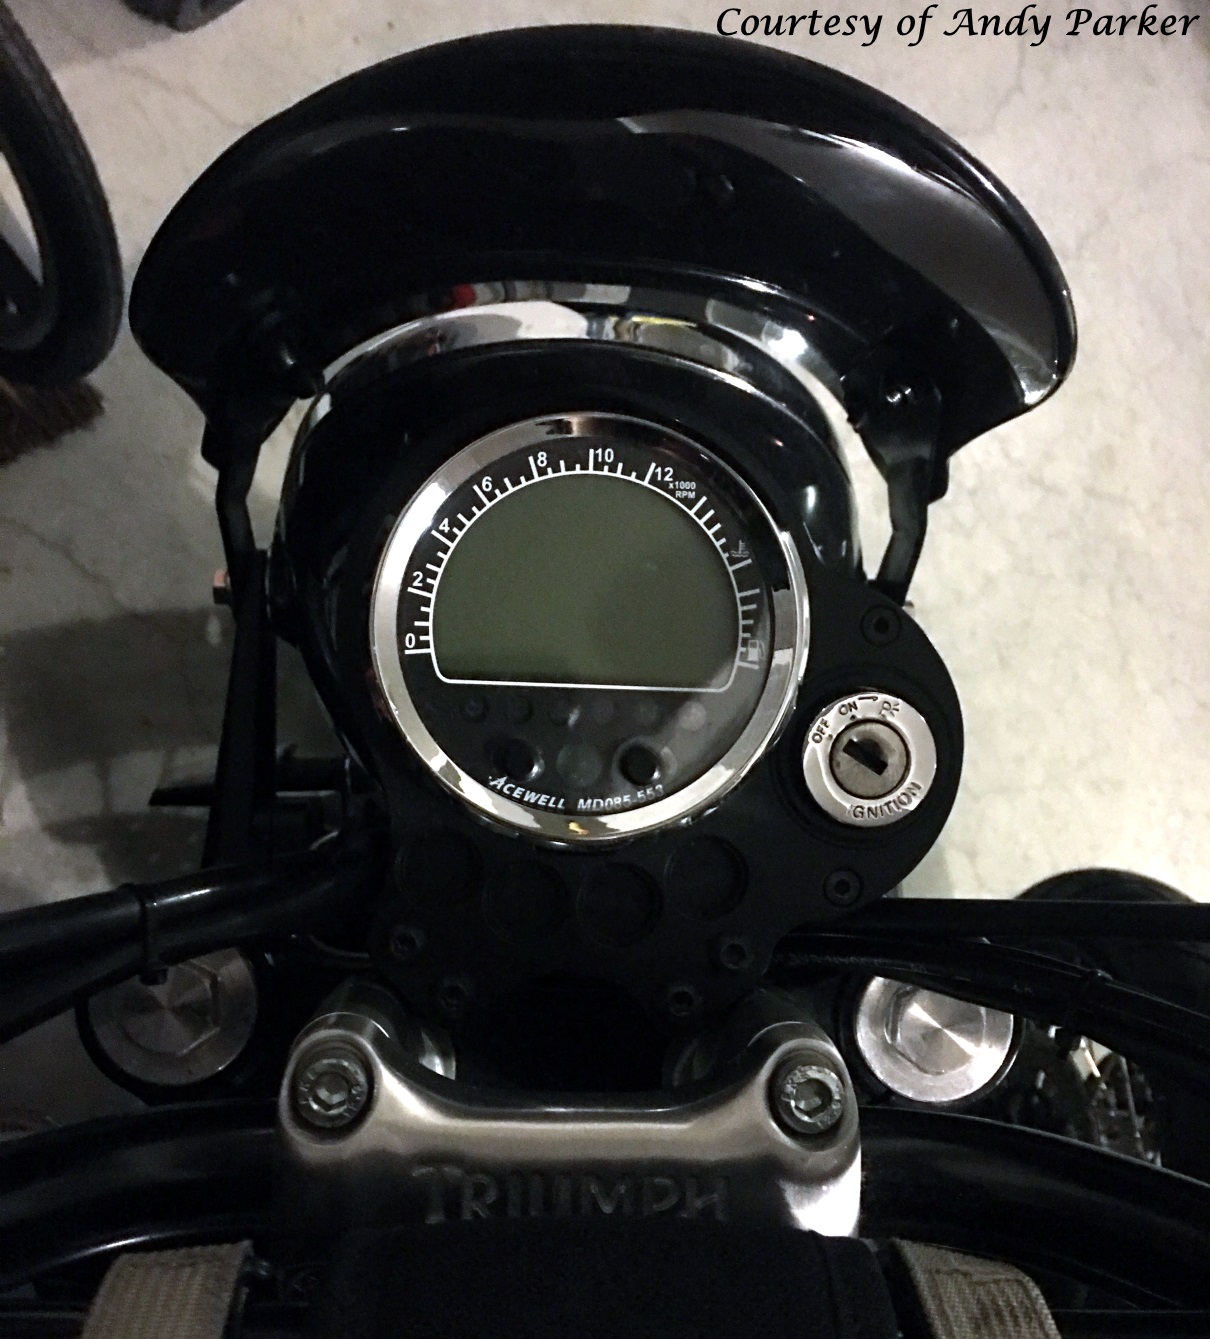 It turns out the wiring is already in place and terminates in the headlamp bucket. All I had to do was tap the running light for the 12v power source, ground the gauge, and pick up the signal to the Tachometer that appeared on other Bonneville models. Once mounted it was pretty cool, and I was about to get the bracket laser cut and formed when the OE speedo started acting up, it was starting to flick around a bit at the 70mph+ range, so with a bit more looking about and up pops an Acewell Gauge via a Dime City Cycle email. Things were looking interesting again as the size was close enough the OE gauge to work with the Bonneville Bracket mount, and voila, a nice off the shelf set up ready to roll.
Deciding on a seat was not an easy decision. I liked the Brat look of a thin narrow board-like seat,  and lucky for me the bike came to me with the thin Triumph Comfort Seat. I didn’t realize how much I liked that particular seat until I bought a single seat with an integrated rear rack and rode that around for a couple of weeks. I’m blaming Drew for this diversion because his Scrambler looks really good with this setup and if I recall correctly, he did an Iron Butt Ride using that setup. It lasted about a fortnight (two weeks) on my bike before I swapped it back to the comfort seat. While I was playing on a forum one day, I saw a post about a long-forgotten mod that required a Vespa seat pin and a Kawasaki ZX6 seat latch. As you can tell, I went ahead and dropped $15 on a used seat latch and $6 on the Vespa part, and now I have a cable release for my comfortable seat.
After the little bits were taken care of, and I was settled into our new Indianapolis home, I got to work on the suspension set up.  I gathered all the parts (as shown) and Drew and I took the best part of a Saturday getting the parts fitted, as detailed in Part 2. During this process, we were chatting about some of the fueling work I’d done on a Hypermotard using a product called an Electronic Jet Kit. This little magic box took the electronic signals from the o2 sensors and the ECU and fed them through an onboard chip containing a fuel bias map, it essentially modified the signal to the OE fuel pump and ejectors letting you tune the bike in a number of parameters without the need for a PC.
During this conversation I suddenly had an Aha-Moment.  I realized that I was expecting the carb’ed Bonnie to feel like a well-tuned Fuel Injected bike, and anyone who’s in the know is well aware of the subtle differences between carb and FI bikes. I took the Bonbler out after Drew returned from one of our initial post-suspension work test-runs and realized the bike was actually pretty peachy the way it was. This impression was in no doubt due in part to Drew’s comment when he returned saying it was one of the best carb’ed Bonnies he’d ridden [One of the best Bonnevilles. Period. -Ed.].
I guess a new dog can teach an old dog a trick or two after all.
Not To Be Continued…
PS. The Bonbler is a real hoot to ride. It’s not uber powerful, but it’s predictable with enough attitude to rip it up in a fun way.  The gearing is just right for getting up to speed quickly, the suspension is nice and firm with plenty of feedback to the rider, and the engine is smooth with a nice crisp throttle response. It’s the bike I wanted to build. I am happy the way it’s turned out. I think it’s going to be with me for a while, and if you’ve read my other blogs on here you’ll know that is a strong testament to the finished product [I mean, it is the longest standing bike in Andy’s possession right now… -Ed.]. Thanks for bearing with me. I hope there’s something in here you can take away for your own project(s).
Regards, and Ride Safe. – Andy

Great project 👍
LikeLike