

The answer to this question is as unique and diverse as the motorcycles said tool kit will be servicing. That said, at some point a rider is planning a long trip, is nursing an aging machine, or is preparing for a race and it becomes evident that some sort of tools will be needed to service the bike in the field. But how does one get started?
Factory tool kit
Want to hear a good joke? “Factory tool kit”, get it? Before I got into motorcycles I’m told many bikes were shipped with basic tools from the factory. That’s all but evaporated for most street bikes, however there are marked exceptions. KTM and Ural both provide excellent tool kits with their motorcycles. If you’re outside of the U.S., the CRF300L is shipped with a tool kit in the lockable side case. KTM’s adventure bike tool kit typically includes axle wrenches, spark plug wrench, necessary hex keys or Torx bits, small spanners and more. In most cases, the factory tool kits won’t be the most comfortable tools to use, but they’re compact and typically the bare minimum tools to fix most basic trailside calamities as long as you have a spare tube, some tape and a little know-how.

While not “factory”, several brands also make aftermarket tool kits that are available from various retail outlets. Unlike the factory kits, these kits try to cover the range of commonly needed tools without size or shape specific items. Most of these kits are an assortment of sockets, spanners, pliers, and ratchets. Unfortunately when it comes to axle wrenches, most of these kits will be lacking the larger hex sizes, so it will still be necessary to source these items, which are also less likely to fit in the kit, and find a place to put them so they don’t get lost.
How do I build a bike specific tool kit?

If your starting point is a factory kit or an aftermarket solution, in almost every circumstance, you’ll find yourself looking for additional tools to put in your kit, “just in case”. Similar to “risk acceptance”, one’s comfort level with “preparedness” varies wildly, which undoubtedly shapes the capacity and capability of a given tool kit. Thus, regardless of your parameters, I recommend going over your motorcycle for the following activities, and writing down the type and sizes of the tools you use.
Minor adjustments
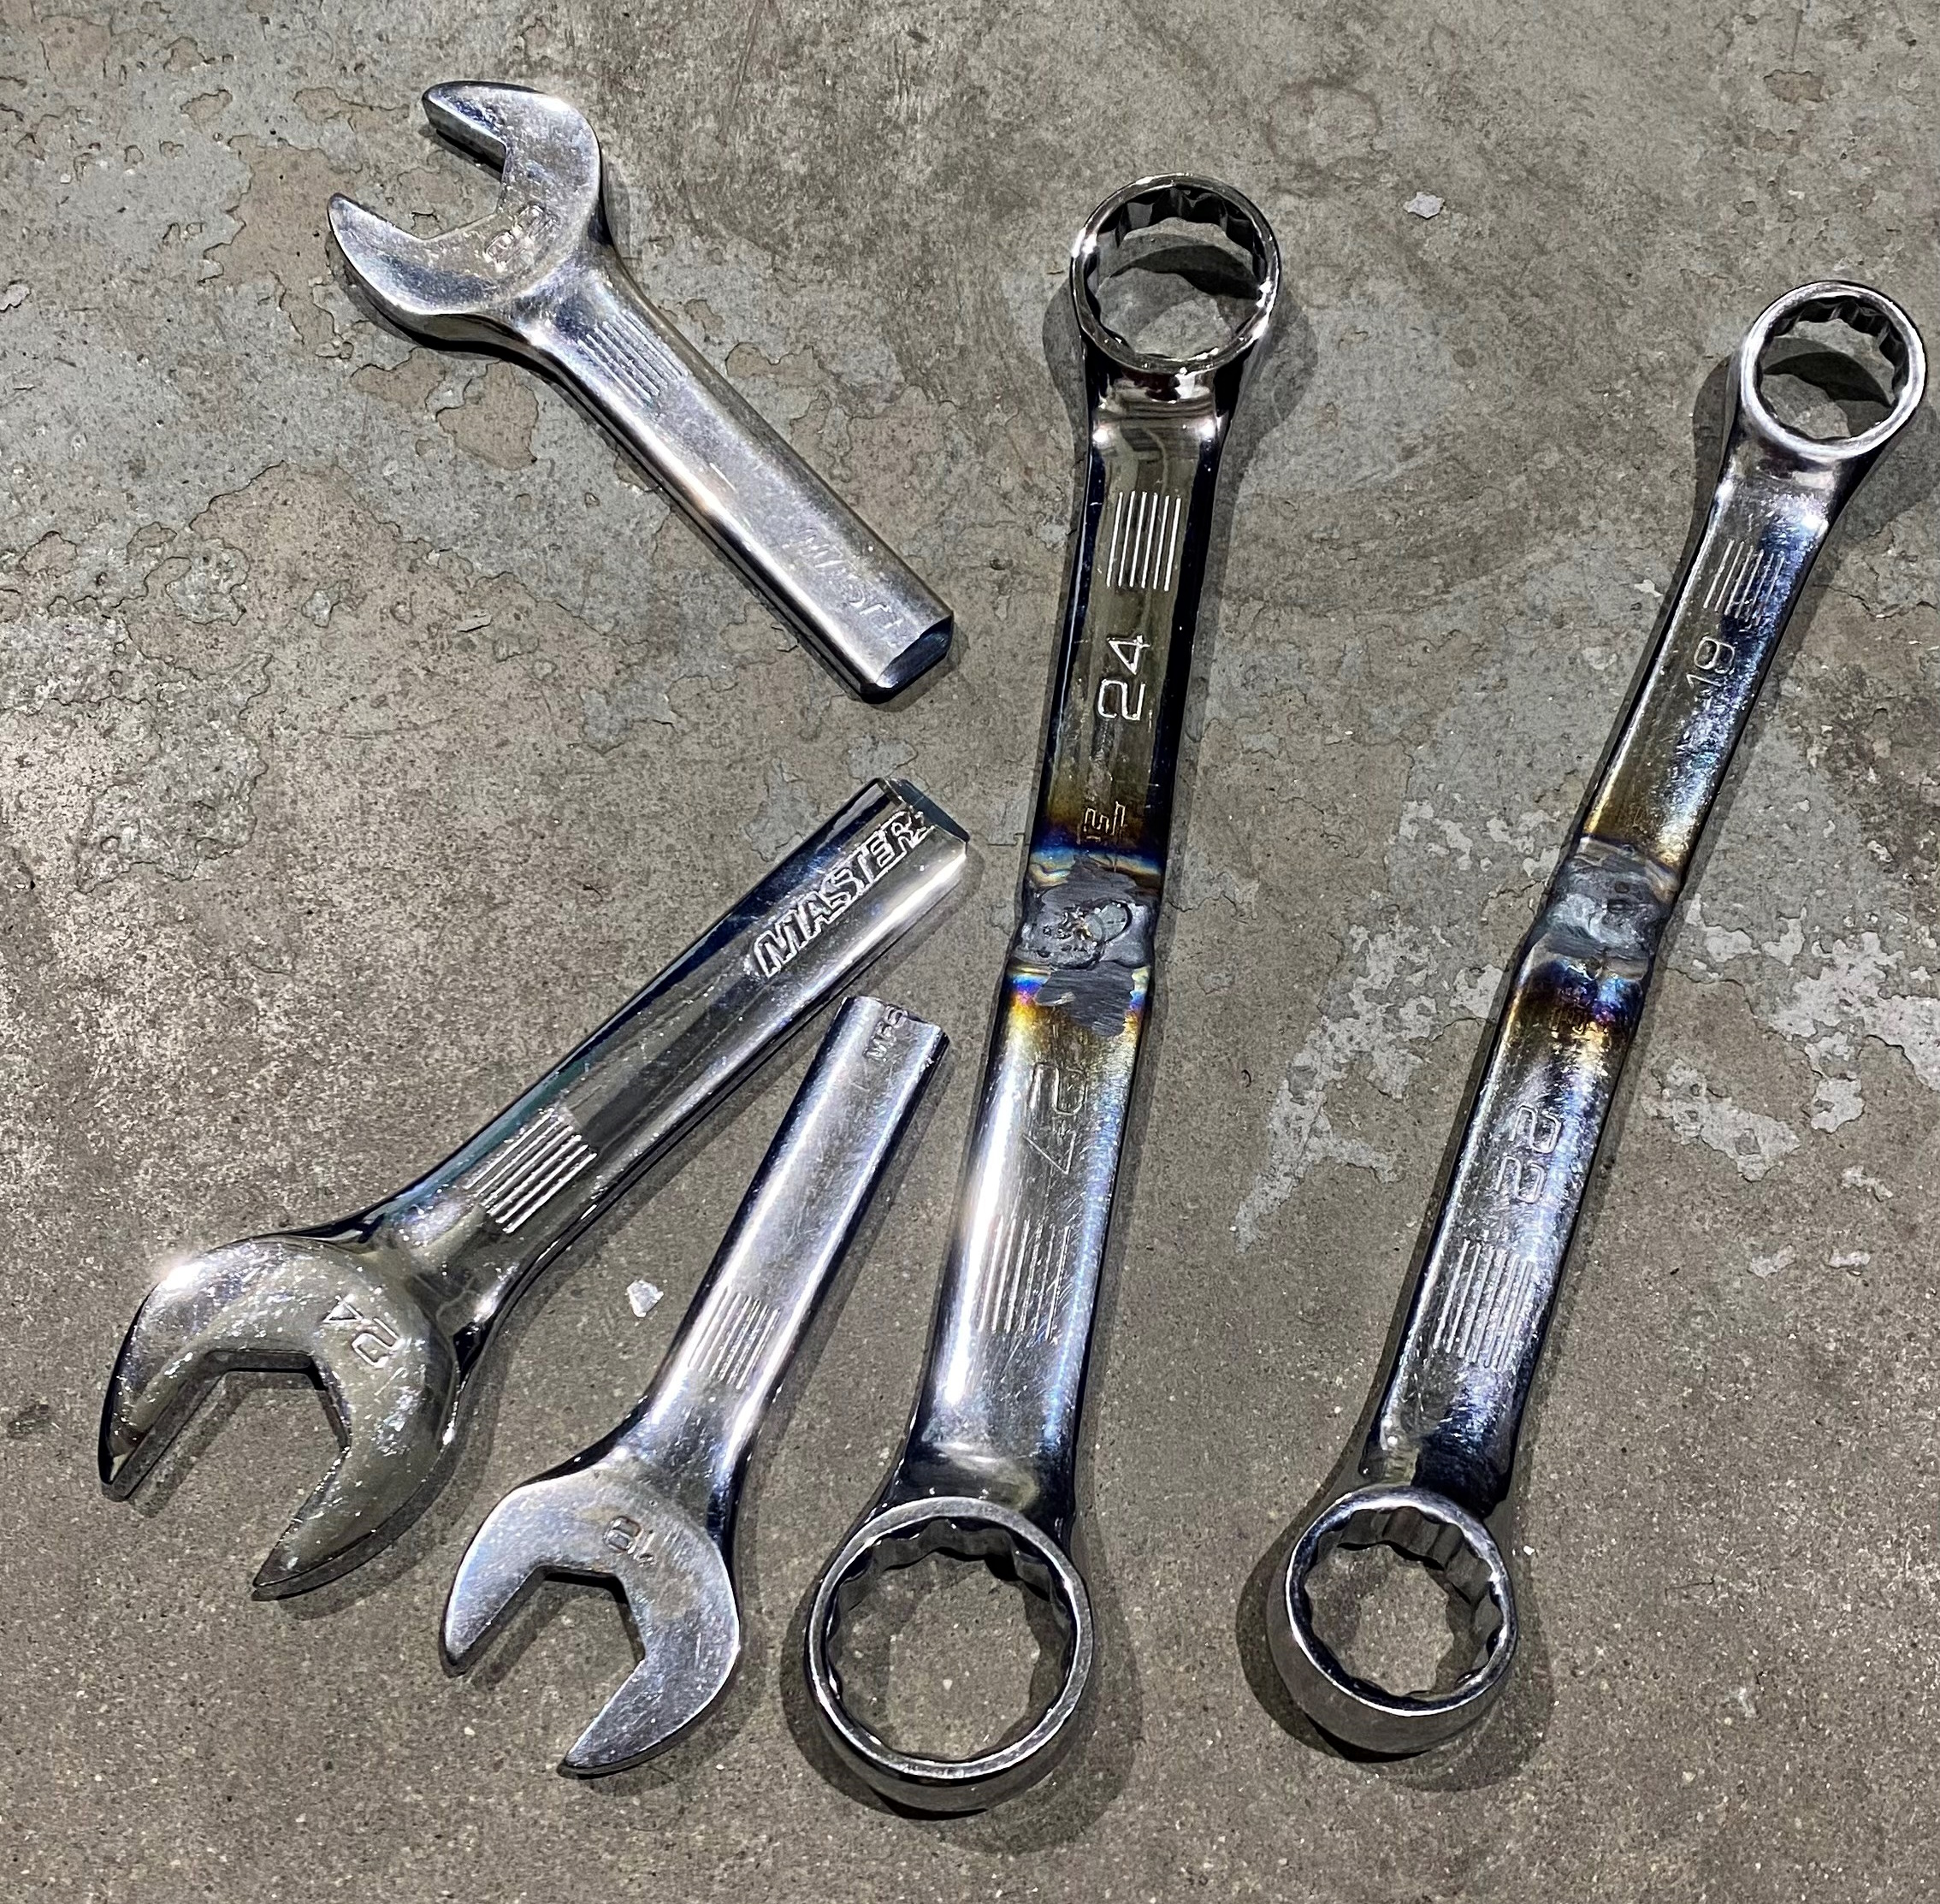
On any given track day or trail ride, you may need to adjust levers, handle bars, fix hand guards, adjust a carburetor, suspension, and tighten loose fasteners. On metric bikes this typically means 8, 10, & 12mm spanners or “box end wrenches” for hex-head bolts. Depending on the bike, you’ll need to decide if simple spanners can do the job, or if a socket and extension bar is necessary to reach bolts or screws. Sockets with a ratchet are almost always faster and more comfortable, but it means having a container that holds the sockets or lord help you if you drop one in the woods. On the other hand you can typically pick up spanners cheap at a garage sale and most tool kits have elastic slots for wrenches, and if you’re spendy, you can even find titanium wrenches to save weight. A combination screw driver with flathead and Philips are almost always needed, bonus points if you can put Torx bits on the end. Hex keys or “Allen” wrenches are almost always needed, and if you own an Austrian machine, Torx or “star” bolts are extremely popular. Make sure you take the time to check the sizes required; I’ve taken shortcuts in the past and realized I didn’t pack a larger Allen wrench needed to tighten my hand guards after a crash. Fortunately a zip tie held the parts in place, but I had to replace that bolt that backed-out on the trail later.
Fix a flat

After the most basic items, fixing a trailside flat is likely the next order of business, especially for off-roaders. To be prepared for a flat, you’ll need tools to remove the wheels, which includes wrenches for the axle, hex keys or wrenches to loosen pinch bolts, and sometimes, special tools to remove “inverted” hexes up to 18 – 22 mm. To remove the tire you’ll need tire irons or “spoons”. Some folks like to pack a “bead buddy” to hold one side of tire while they spoon on the other side (I just use an iron and my knee). Depending on space and expertise, you’ll need a patch or plug kit, a spare tube, and a valve core removal tool (they also sell valve stem covers with valve core removers). To save on elbow grease, I recommend a valve stem “puller” and a travel bottle of shampoo. Getting the valve stem to poke through the rim when you’re stuffing it into a muddy tire is a pain, so the valve stem puller makes that a bit faster and a little water from your hydration pack and some soap helps the bead slip over the rim. If you’re deep in the woods it’s not tough to find a tree or a log to rest your bike on to pull off a wheel, but if you’re out in the open, a trail stand like the Tirox Snapjack or X-trail is a good investment if you have the space to carry it.
Field fixes and attachments

Fouled plugs are less common these days, but lord help you if you drown your bike in the creek. Fixing a swamped bike sucks, but it happens. In that instance you’ll likely need a spark plug wrench for most singles. You may or may not need to remove the tank to access it, so you may need wrenches for that. Sometimes oil sump drain bolts are an odd size, so be sure to check that so you can change the oil in the auto parts store parking lot later that evening.

After Ergos, tires, and plugs, it’s wise to pack items like zip-ties (of various sizes), electrical tape, a length of electrical wire (I recommend 10-12 gauge), side cutters or “dikes”. Some electrical issues are simple and can be fixed by swapping a fuse or twisting some wires together, but for maximum preparedness, you’ll want a multi-meter. A wise adventurer packs JB Weld (two-part epoxy), which will typically repair a small puncture in an engine case or attach something important that cracked or fell off the bike. Lastly, while it does everything but is good at nothing, having a multi-tool or pocket knife is almost never a bad idea. Sometimes a mini-saw will remove a precarious tree limb or you need to cut the shielding off some wire or cut paracord for a tow strap. Speaking of which, I’ve used tow straps on more occasions than I care to admit.
Where do I put all these tools?

The trusty “tool roll” has been around for a very long time. Many a Harley are still rolling around today with a leather tool roll attached to the fork yokes. Lots of the luggage brands make canvas, tarpaulin, or textile tool rolls with zipper pockets and elastic slots for various tools. The hardware store often sells water-resistant zip-top canvas bags, and the before mentioned aftermarket tool kits almost always come with a nice storage case. For most of these solutions, packing a tool roll or bag usually means attaching it to the bike, storing it in a pannier or fender bag.

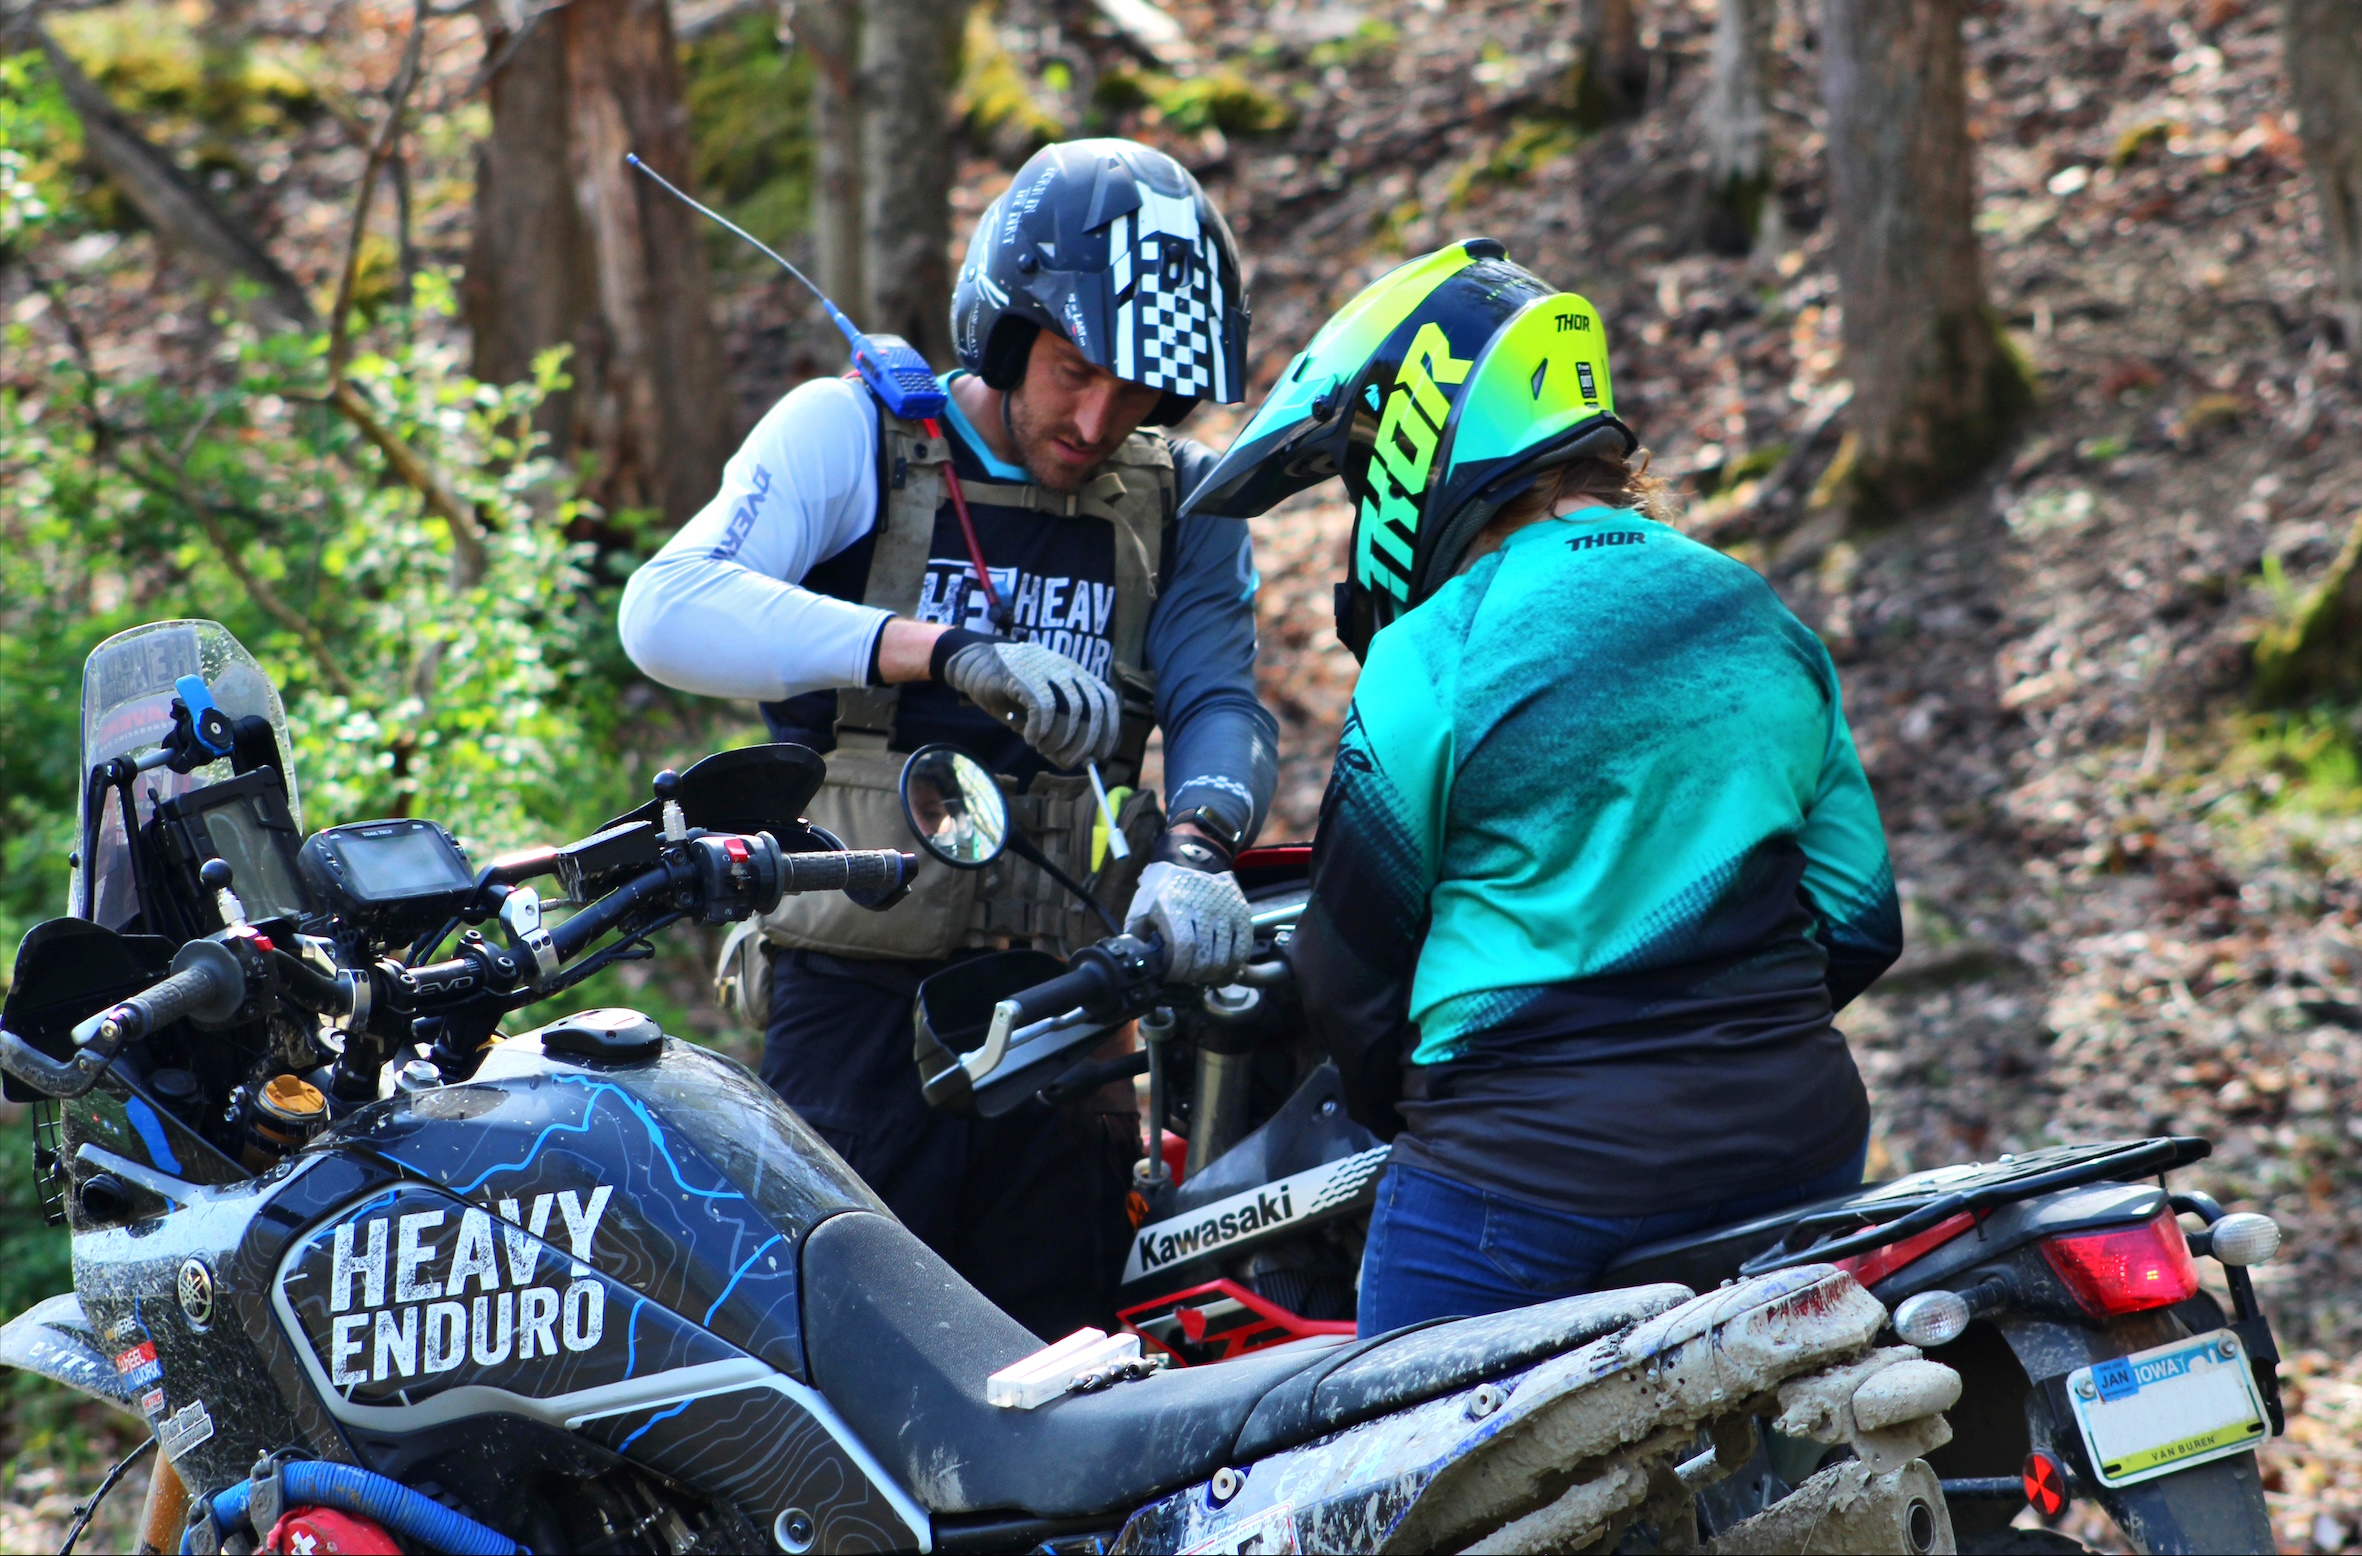
For racers and off-roaders that are concerned about poorly placed weight on the motorcycle, some folks choose to “wear” their tools. Several major brands make waist belts and hydration packs with tool compartments. I raced for two seasons with a waist pack and was a big fan, other than the redundancy of having to slug on a tool belt and then a full hydration pack before each race. WLF Enduro now sells a “Pack Vest”, akin to the tactical vest modern soldiers wear. Said Pack Vest has since replaced my previous setup and I have no intentions of going back.
Prepared for anything
The longer the ride and the more remote the ride the more prepared you want to be. In the same vein, there’s a school of thought that suggests that even if you don’t know how to use a tool, it doesn’t hurt to have it because it may be easier to find a knowledgeable bush mechanic than a model specific tool. As you familiarize yourself with your bike and gain more skills, you’ll likely find that you don’t need to carry as many tools or you may find ways to combine one tool into two (I’ve cut wrenches and welded opposite ends together). For dedicated pavement travelers, sometimes a phone and a credit card is enough. Roads are built for travel, so if you sit along the roadside long enough, eventually someone will happen by. For off-roaders however, the ability to fix a flat or tow a fellow rider is priceless as tow trucks seldom traverse the best parts of the holler.
To check out a full list of what I pack for Adventure, dual-sporting, and racing, check out my personal tool list.

My 1983 nighthawk 650 came with a nice little tool pack under the side cover; my 2015 triumph scrambler came with a single hex key😂
Nice write up on a perennial topic of discussion. I try to make a note of what tool I use and for what then pack it – or a version of it – when I hit the road. Ahead of the scramble I try to only use what I have in the tool bag, but it’s also helpful when one of your riding buddies brought something you forgot.
LikeLiked by 2 people
There isn’t a day on the trail I don’t spot a cool tool a buddy has and I’m like damn… i need that instead.
LikeLiked by 1 person
Well considered, wise words indeed thanks!!!
LikeLiked by 1 person
Racing and hosting a rally for 7 years has really revitalized my tool kit. I also hate grabbing two or three different bags or worse forgetting to move a tool from my tool box to a pannier. The new setup is heavy but efficient. Hopefully it helps some folks! 🙌
LikeLiked by 1 person