

SW-Motech Bar Risers (30mm)
As I mentioned way back when, I already had an extensive list of goodies picked out; having ridden over 6,000 miles with Rosie the Scrambler I established prioritized list of modifications, on the top of which was bar risers. I was immediately surprised by how comfortable the stock bars were in and around town, combined with the fact I could easily reach the bars when standing. That said, on longer days, straight stretches of highway, and when standing up while riding gravel, I realized that the bars could stand to be a notch higher. Thanks to a little help from Revzilla, I picked out a set of SW-Motech 30mm bar risers that were direct bolt-on accessories to the standard Triumph bar clamps. I carefully laid a thick towel over the tank, and methodically removed the stock bar hardware, gently resting the handlebars on the tank. The SW-Motech kit includes the riser inserts and increased length fasteners in the box. The 30mm risers easily go in place and I hand tightened the bolts down to check comfort and fitment. The electronical connections and clutch cable were both long enough for sufficient suspension travel, however the front brake line was a little taut because of the clamp on the triple tree. With a little elbow grease, I slid the brake cable up slightly for proper fitment.
After putting a few miles on the bike with the risers in place, there’s no denying that a one inch change in rise equated to a significant difference in feel. I do feel slightly more upright and much for comfortable when standing. That said, it feels a bit unnerving leaning into the twisties at first; your hands just feel so close to you face initially. I would recommend these risers to casual riders, and folks that take the Scrambler off-road; however, if you prefer spirited riding or mostly stick to the urban jungle, the stock bar height is probably better. I expect I will keep these risers long-term as I have adapted to the initial change after several trips to Kentucky in the last few weeks (and some off-road in Shawnee Forest). I have considered rolling the bars back just a bit for increased “touring” comfort, however I’m afraid that will negatively affect the off-road riding position.
Denali D4 Auxiliary Lights
Riding down the Dragon this year it was abundantly clear that the stock lamp is absolutely helpless.  Item two on the buy list was some sort of lighting upgrade. I was on the fence between the Denali M5 headlight replacement and a set of Denali D4 auxiliary lights. After a short chit-chat with the gear geeks over at Revzilla, we agreed that the D4s would put down the most light and provide the best service for the type of riding I do. I admit that I was extremely excited about getting the D4s up and running, while at the same time a little intimidated by the wiring. I put heated grips on the Speedmaster (link) no problem, but that was a simple lug to the battery ordeal. The Denali setup includes two direct connections to the battery, and a third connection to a positive 12V wire on a switched connection to make sure the bike is on before the lights will operate.
  Having push started the Speedmaster no less than twice because I left the heated grips on, killing the battery, I’m a huge fan of this idea; however that didn’t make the install any less intimating. Fortunately, I had my trusty Haynes manual laying around, but the concern wasn’t about reading the wiring diagram, it was more about finding the actual wire on the bike, everything is easy on paper. Considering most of the wiring was going under the seat, I decided that the rear “running” light was probably the best candidate for this “Tap-in” for +12VDC. As it turns out, the wiring harness for the tail light is quite close to the battery box, so I was really concerned for nothing. Having positively identified the best solution for the third connection, I installed the battery connections and the “Posi-tap” on the running light, then ran all of the connections down to one of the lamps just to test the system.
  Pressed the button, light came on, done deal. At that point it was time to remove the tank and run all of the cables properly. I also purchased Denali Fork Tube Auxiliary Light Mounts (50-60mm) to go along with the D4 setup as I didn’t have many other mounting option for the Scrambler. The kit comes with necessary tools and fasteners to bolt right onto the lower fork tubes. Once the mounts were in place, I installed the lights, checked the cable runs up to the headstock for necessary free play, stashed the fasteners behind the headlight bulb, and then tidied up the rest of the cables under the gas tank. All said in done, probably two hours to get things set.
Triumph Engine Dresser Bars
I find the term “dresser bars” to be a bit humorous because we’re talking about a Scrambler here; you can “dress” this bike up all day, but it’s a shadow of any bagger I’ve ever seen.  At any rate, I wanted some sort of crash protection for Rosie as I knew it was going to be a very short time before I started riding in places where the pavement stopped. Despite my teasing, I assume Triumph calls them “Dresser Bars” because they don’t want to call them “Crash bars”. Beyond the negative connotation of “Crash”, I also suspect they were called “dresser” bars because they’re going to need a slight modification to make them a tad sturdier; the crossbar under the engine doesn’t actually contact the mating bar on the opposing side. Obviously, they’re better than nothing, but I intend to do a little shopping at the local hardware store and remedy this situation in short order.
At any rate, these bars are about $180, and virtually the only option on the market that will fit the Scrambler. These bars are obviously a factory option and come with all of the necessary hardware; following the directions from Triumph’s parts website I had the bars installed in about fifteen minutes. I also expect that long-term I may find a bolt-on “highway peg” option for these just make touring a bit more comfortable.
Oxford Heaterz Premium Adventure Heated Grips
If I had to guess, I expect that Rosie the Scrambler will undoubtedly spend more time on the road during the winter months than Lola the Speedmaster; that pretty much made heated grips a sure thing from day one. 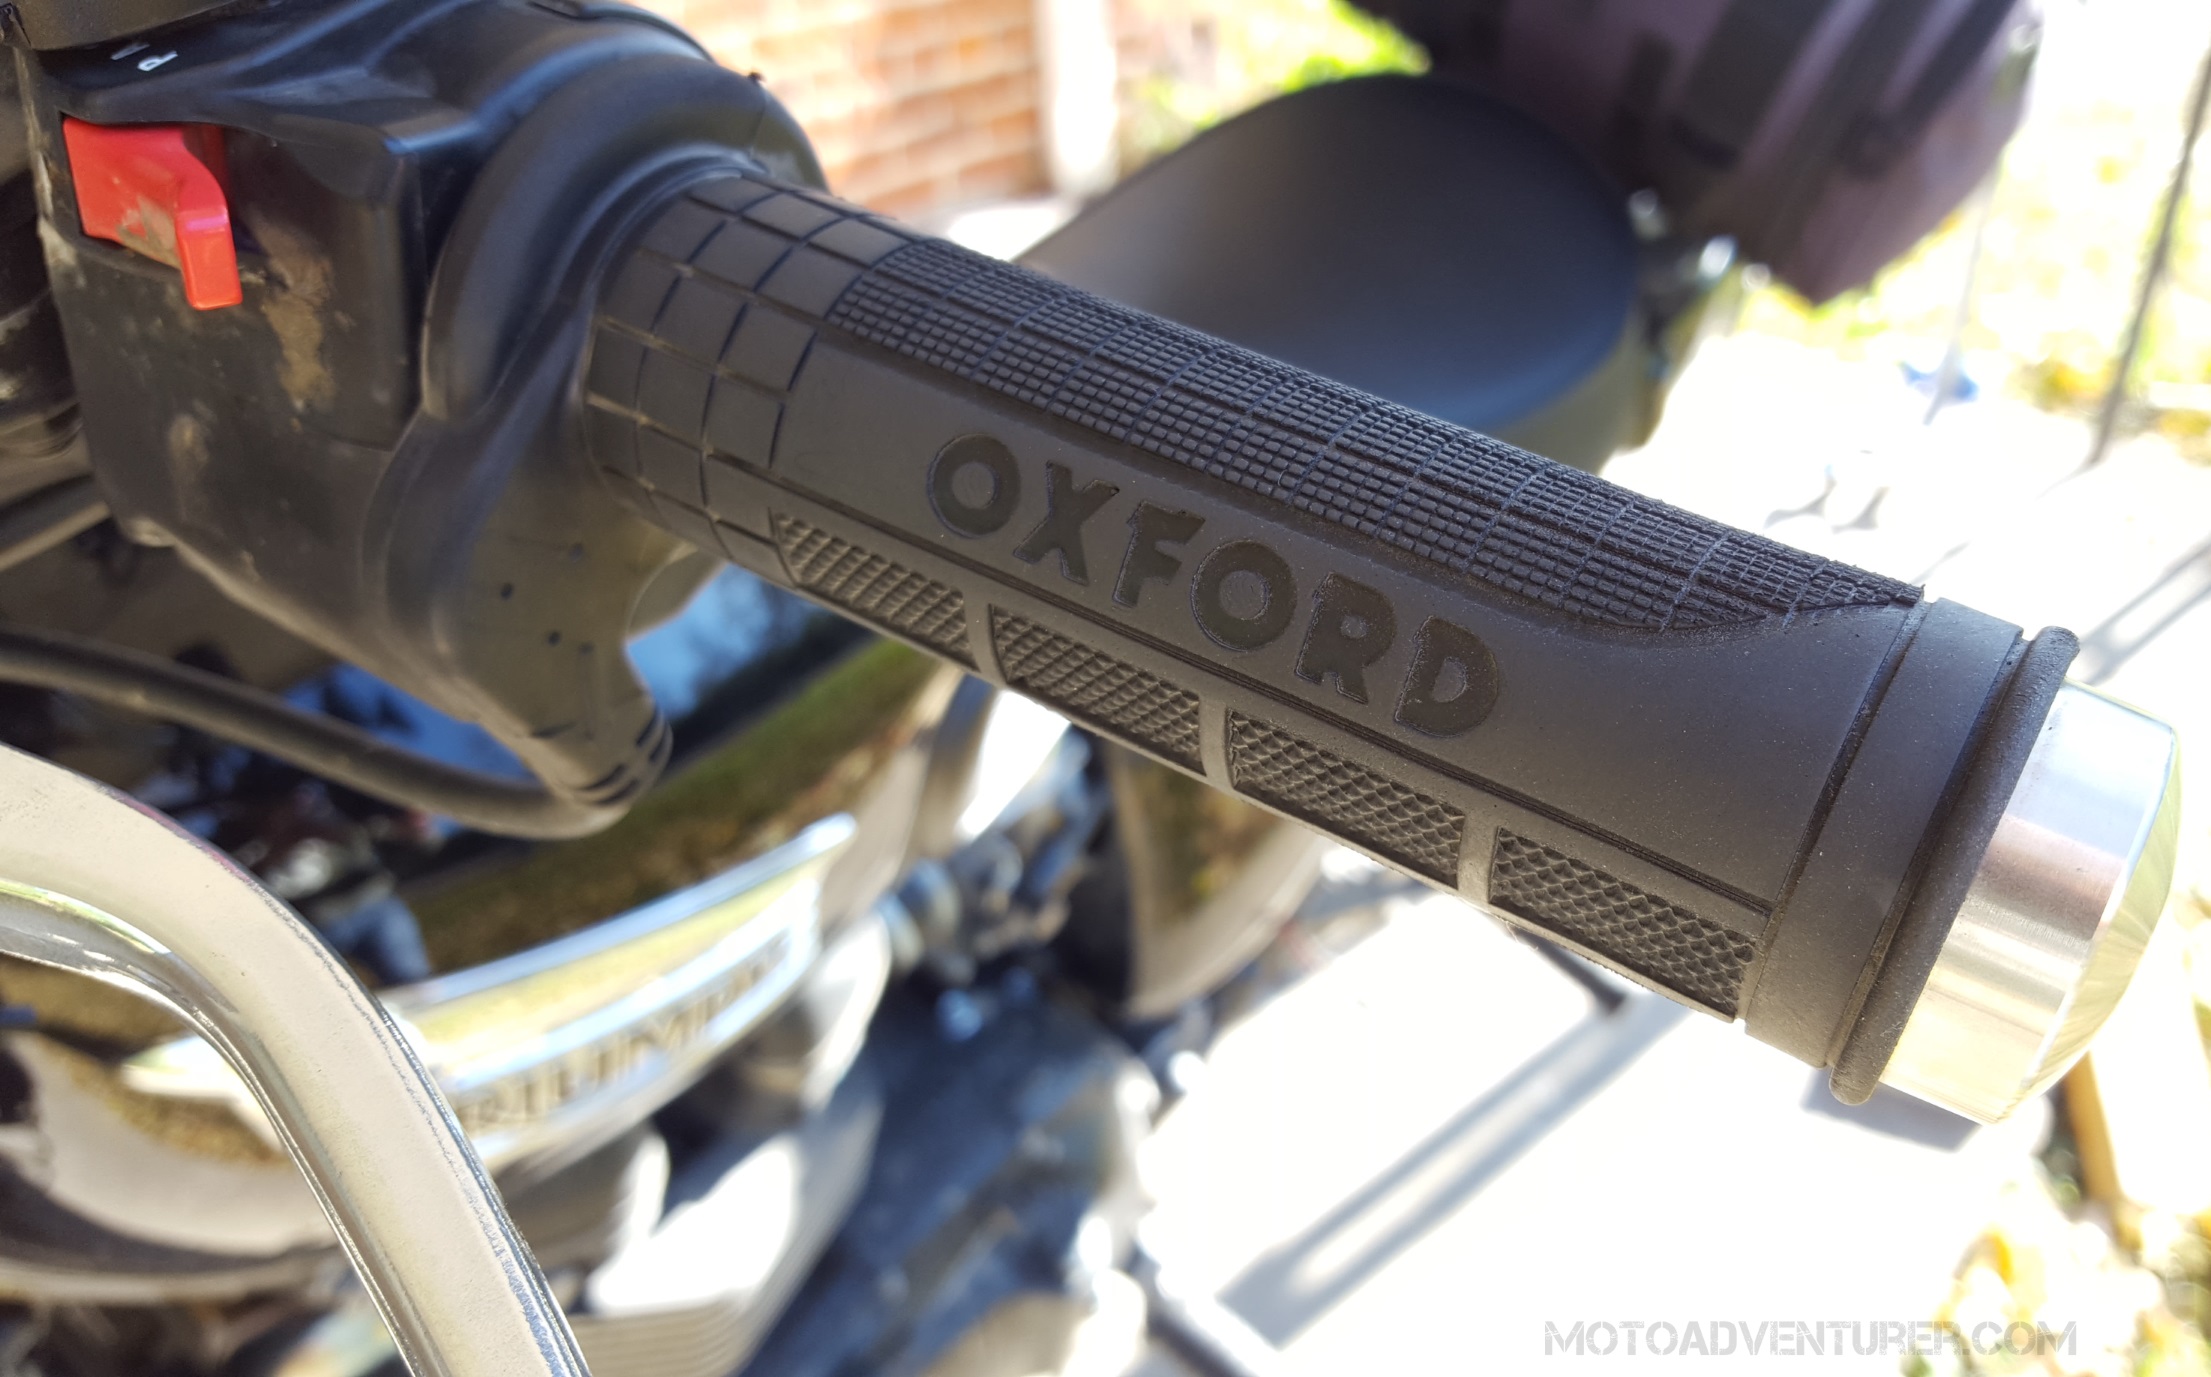 After perusing the ADVrider Scrambler Board, I discovered that many riders have had a lot of success with Oxford brand heated grips. I had BikeMaster heated grips on the Speedmaster, but without handguards, once below freezing, the heated grips were really struggling to keep up with the cold air. Considering that Oxford Heaterz were included in the Revzilla Adventure Parts Guide, I threw them on top of the stack of new add-ons.
Heated grips are actually a really cheap and easy upgrade; I’m somewhat surprised that more people don’t have them. I get many folks on touring bikes get them standard, but the grips on my old bike were only like $50 and were plenty warm for most riders (IMHO), and it’s honestly an easy install. Speaking of install, in this case, with a little Windex and an extremely small screwdriver, the stock grips come off pretty easily and can be set aside for later use. 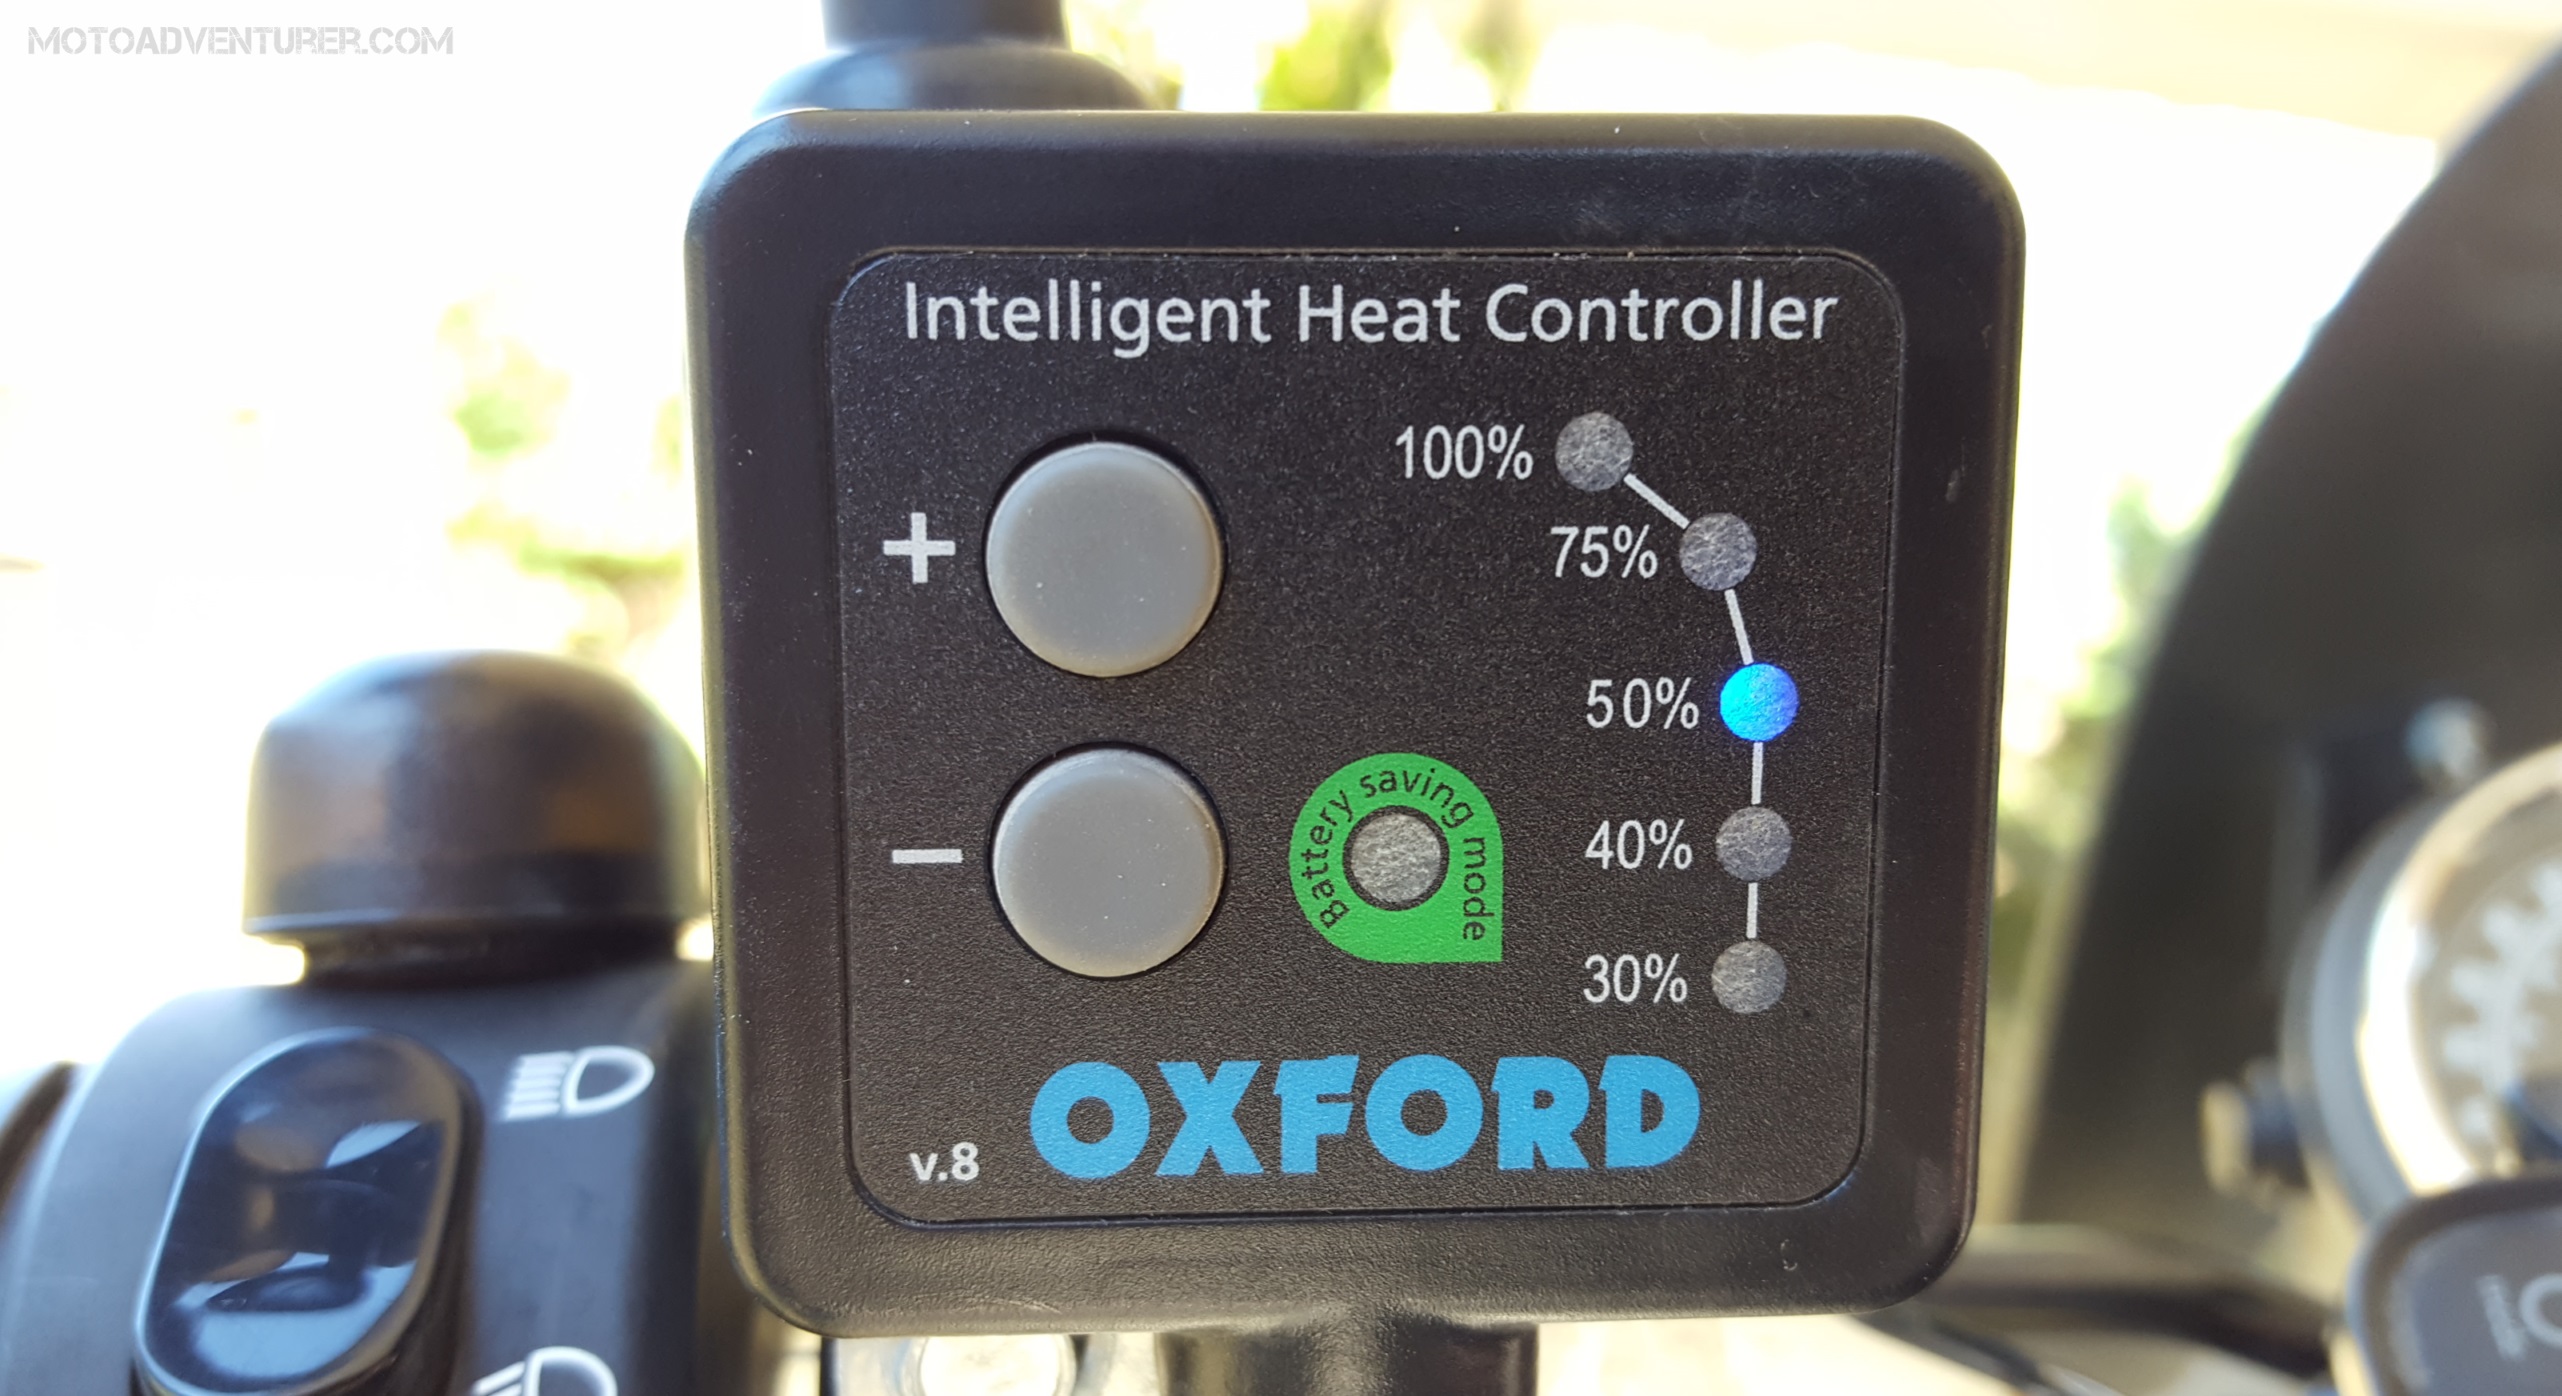 I took the tank off again to make sure the wiring harness ran cleanly along the frame spine with the other electrical bits from the auxiliary lights. From there it is just two direct leads to the battery. I was a little hesitant to install another set of grips connected directly to the battery, however the Oxford Heaterz come with some sort of electronic sensor that monitors the supplied voltage from the battery and shuts off when low power is detected. I’ve had these grips installed on the bike for over a month now, thus far I have been really impressed with the level of heat I’m getting. This morning in fact, it was 32F on my commute to the office, while I did have my heated gloves on, I did not need the grips at full power while on the highway. That’s a welcome change considering I have no handguards at the moment. I have also left the grips on at gas stops with the bike turned off; after a few moments a warning light starts flashing on the rheostat to tell you they are about to shut off because the bike is not running.
Hagon 2810 Shocks
I admit that I had really big dreams of upgrading the Scrambler’s suspension to a 6” travel kit. I’m not going to say that will never happen, but I did not anticipate that riding the Scrambler on the street would strike my fancy as well as it did; I expected that the different geometry might shake things up a bit, but I didn’t realize how much “faster” it would feel.  Making that discovery at the Dragon, I had some long conversations with fellow, long-term, Bonneville owners at the raid. Ultimately I came to the conclusion that as it stands today, I have very little dirt experience, and very few places to ride dirt locally (best locations are at least 2 hours away); keeping that in mind, it will be best to invest a little into some better street oriented suspension upgrades, and consider increased travel as a long-term project.
 Thus, after some shopping around on the web, a little back and forth via e-mail, and a conversation with my local Triumph Dealer (Joe’s Cycle Shop), I landed on the Hagon 2810 rear shocks for the first upgrade. The 2810 shocks come with 3 preload adjustment settings and 10 dampening settings. I am by no means a suspension expert (layman… at best), so I thought that 10 dampening settings was a bit excessive. That said, over the past month I have found that just a small bump in dampening can make a big difference in the overall ride behavior; besides, they’re black… what’s not to like?!
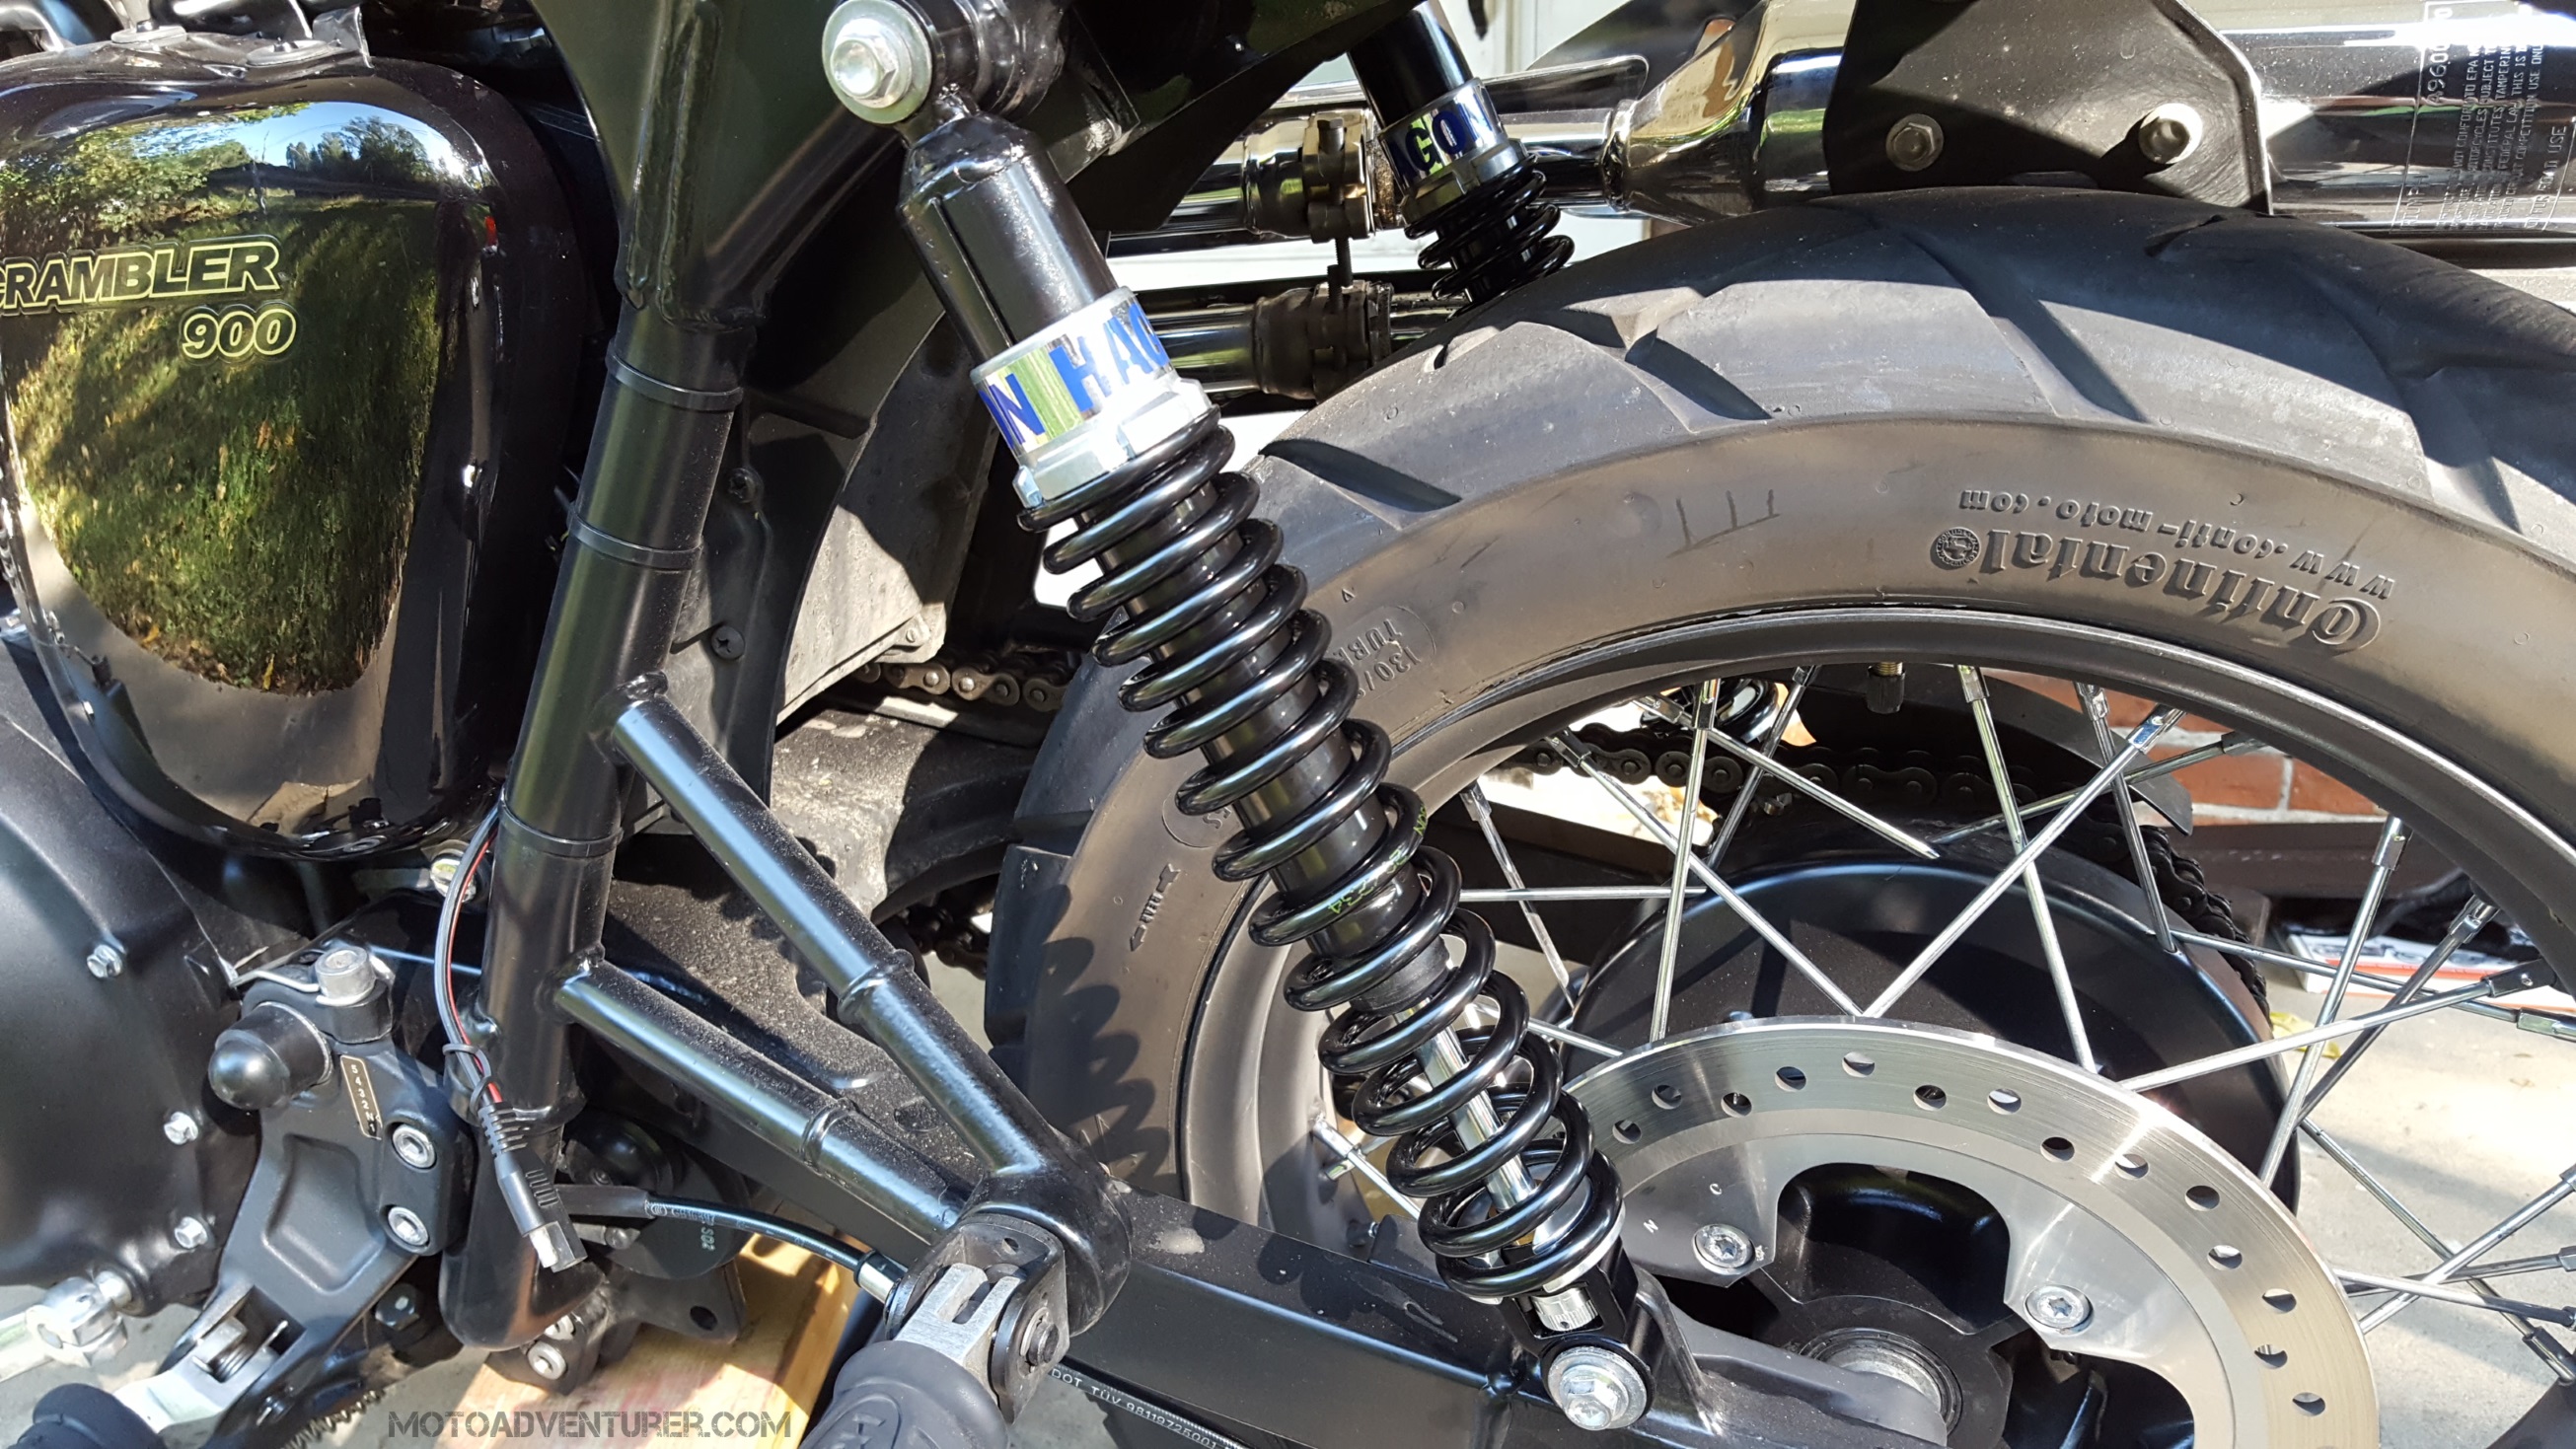 Once you’re able to get the weight off the rear swing arm (Motorcycle jack preferred), swapping out rear springs is a just four bolt affair. Just make sure you don’t break one of those bolts while torqueing them to spec, that mistake adds an hour to the process, take my word for it.
MSF Folding Shift Lever
This one is kind of like adding a piece of chrome to your bike (or in my case something black in lieu of chrome),  but I also installed a folding shift lever shortly after the above upgrades. Determining what would fit was a bit tough, so I sent an email to the gear geeks over at Revzilla. They informed me that replacement shift levers for a 2008 Honda CRF70 have identical fitment to the Scrambler,
 however they didn’t currently keep anything in stock. Fortunately, Motorcycle Superstore had MSF shift levers for under $20, so I ordered one, and the install is self explanatory.


I don’t know why folding shift levers aren’t stock with every bike.
LikeLiked by 1 person
It was such a cheap price, easy install, and benign change (with respect to “feel”), I don’t either.
LikeLike
Pingback: Triumph Scrambler Project: Planning | Moto Adventurer
Pingback: Scrambler Adventures: Shawnee State Forest | Moto Adventurer
Pingback: Putting more “Adventure” into Moto Adventurer | Moto Adventurer
How are you getting on with the Hagon shocks ? I have just put some on my Scrambler and I find the 2 up small bumps like bridge joins in the road surface still thud through the bike jarring my pillion.
LikeLiked by 1 person
Roland, for what you spend, I don’t think you can go wrong with the 2810’s. They only have 3 pre-load settings, and honestly I don’t use the 1st setting very often (I probably should have gotten a stiffer spring), however there are 10 dampening settings which makes a world of difference. I typically run on the middle pre-load setting and dampening level 3. When things get sporty I usually bump the dampening up to 5, and then when it’s REALLY gets sporty I bump the pre-load to max. I bought the “slim” springs because I wanted a more “open” look on the tail of the bike. If you decide to go that route make sure your ask for the plastic protectors that cover the shock “body” as the slim line springs tend to rub the shock body from time to time which will scrape off paint. The folks on various Scrambler forums have also recommended YSS and TEC shocks, but I had a hard time finding any info on them here in the Midwest, plus my dealer was a Hagon rep so that seemed like the best thing to do. If you’re going to stay on the street, I don’t think you can go wrong with the 2810s; if I continue to ride off road significantly, long-term I may upgrade to the Works 6″ travel setup for the entire bike (but that’s over double what I paid for Hagon shocks and progressive fork springs).
LikeLike
Pingback: Tried and True Dual Sport Tires: Shoe Shopping with Rosie the Scrambler | Moto Adventurer
Pingback: The SaddleSore 1000: An Iron Butt Tour of Appalachia | Moto Adventurer
Drew,
I have had to replace ($$$) bent gear shifter shaft due to tip over on the left side. So I would like to replace with folding shift lever like yours. When you go Motorcycle Superstore site you have to specify year, make, model etc but this isn’t possible for scrambler (or CRF70). Which bike did you specify when you bought yours?
Thanks & Regards,
Rick
LikeLiked by 1 person
Hi Rick! Sorry to hear about that; I actually dropped mine in the parking lot, which scratched the left case cover. I ordered that shift lever the next day! I ordered an MSR shift lever for a 2008 Honda CRF70F. I looked at some websites this morning, I can’t seem to find the black option, but there are several in bare aluminum; just throw some mud on it, it’ll work out. http://www.motorcycle-superstore.com/11068/i/msr-aluminum-shift-lever
LikeLike
Thanks, have ordered now. Also fitting handguards to protect levers !
LikeLiked by 1 person
Lots of options out there for hand guards. If you’re running stock bars they’re threaded with an M5 thread. I ordered longer bolts (45mm) from Amazon for the Tiger 800 hand guards and I’m very happy wit them. They’re obviously not the most robust, lots of Bark Buster options available as well.
LikeLike
Hello Rics, You can try it from MCmotoParts (eBay) store. They will provide it at reasonable price.
http://stores.ebay.com/mcmotoparts/
LikeLike
Pingback: 2017 Triumph Street Scrambler Review: Rivaling its Predecessor | Moto Adventurer
Pingback: Triumph Scrambler Project: Off-road Rally Planning | Moto Adventurer
Pingback: Ride Every Day: Reflections On 180 Days in the Saddle | Moto Adventurer
Pingback: Triumph Scrambler Project: Stage 4 Upgrades | Moto Adventurer