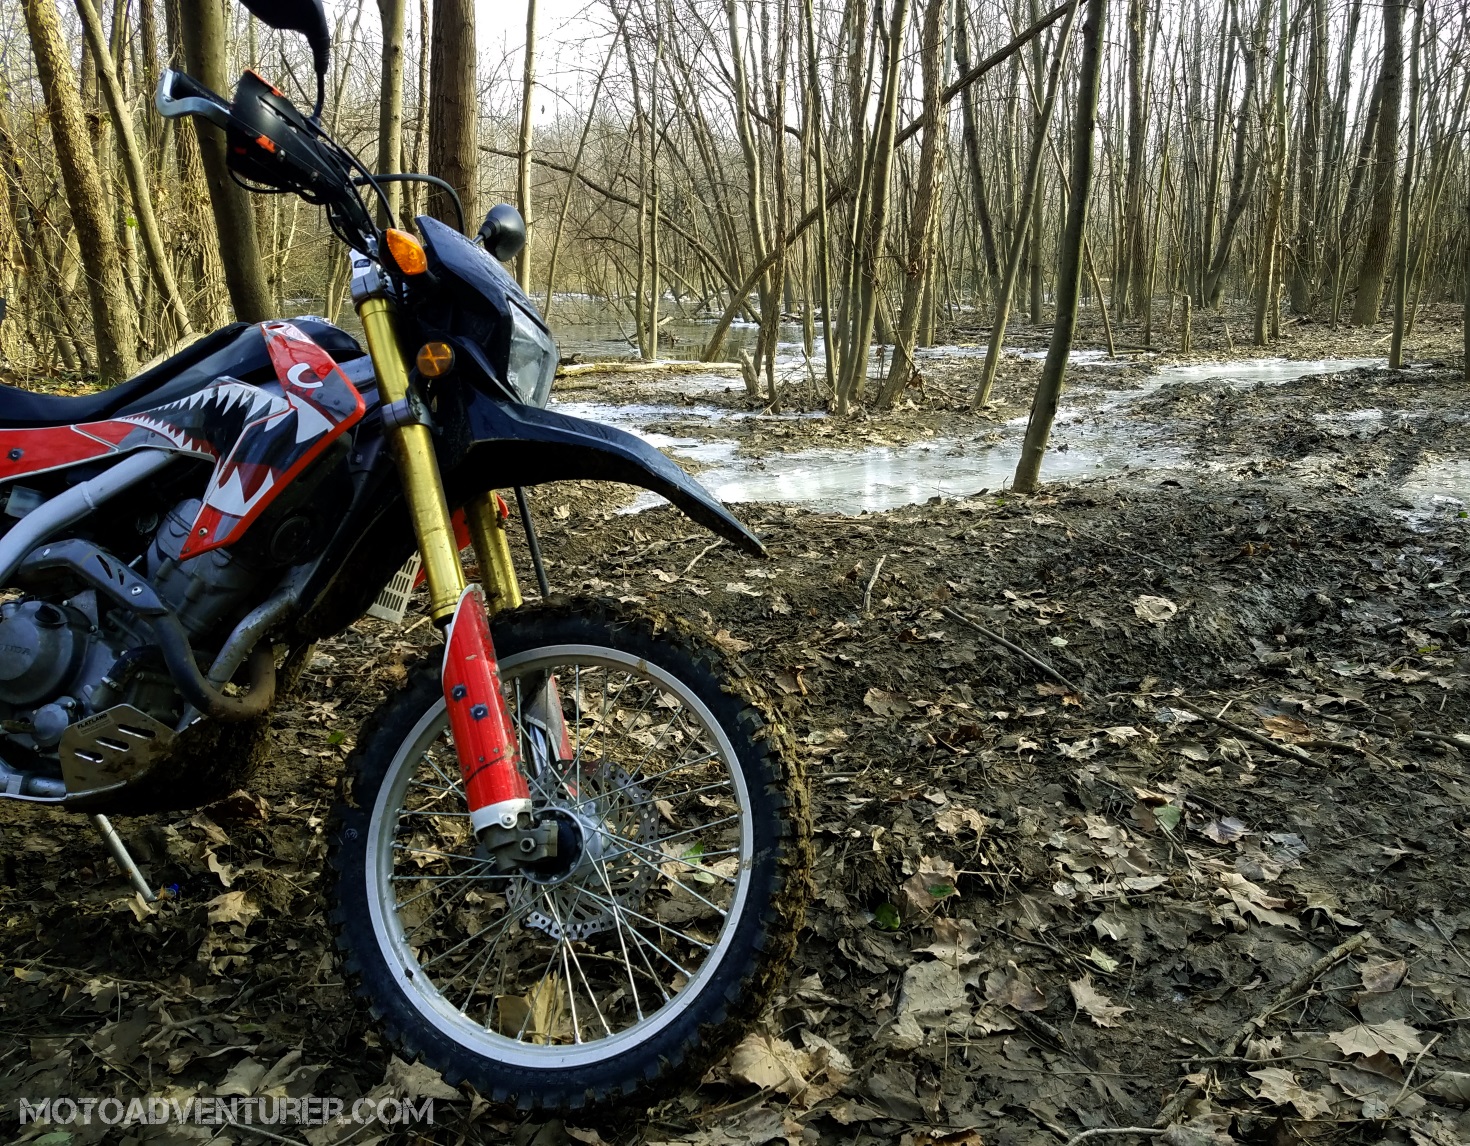
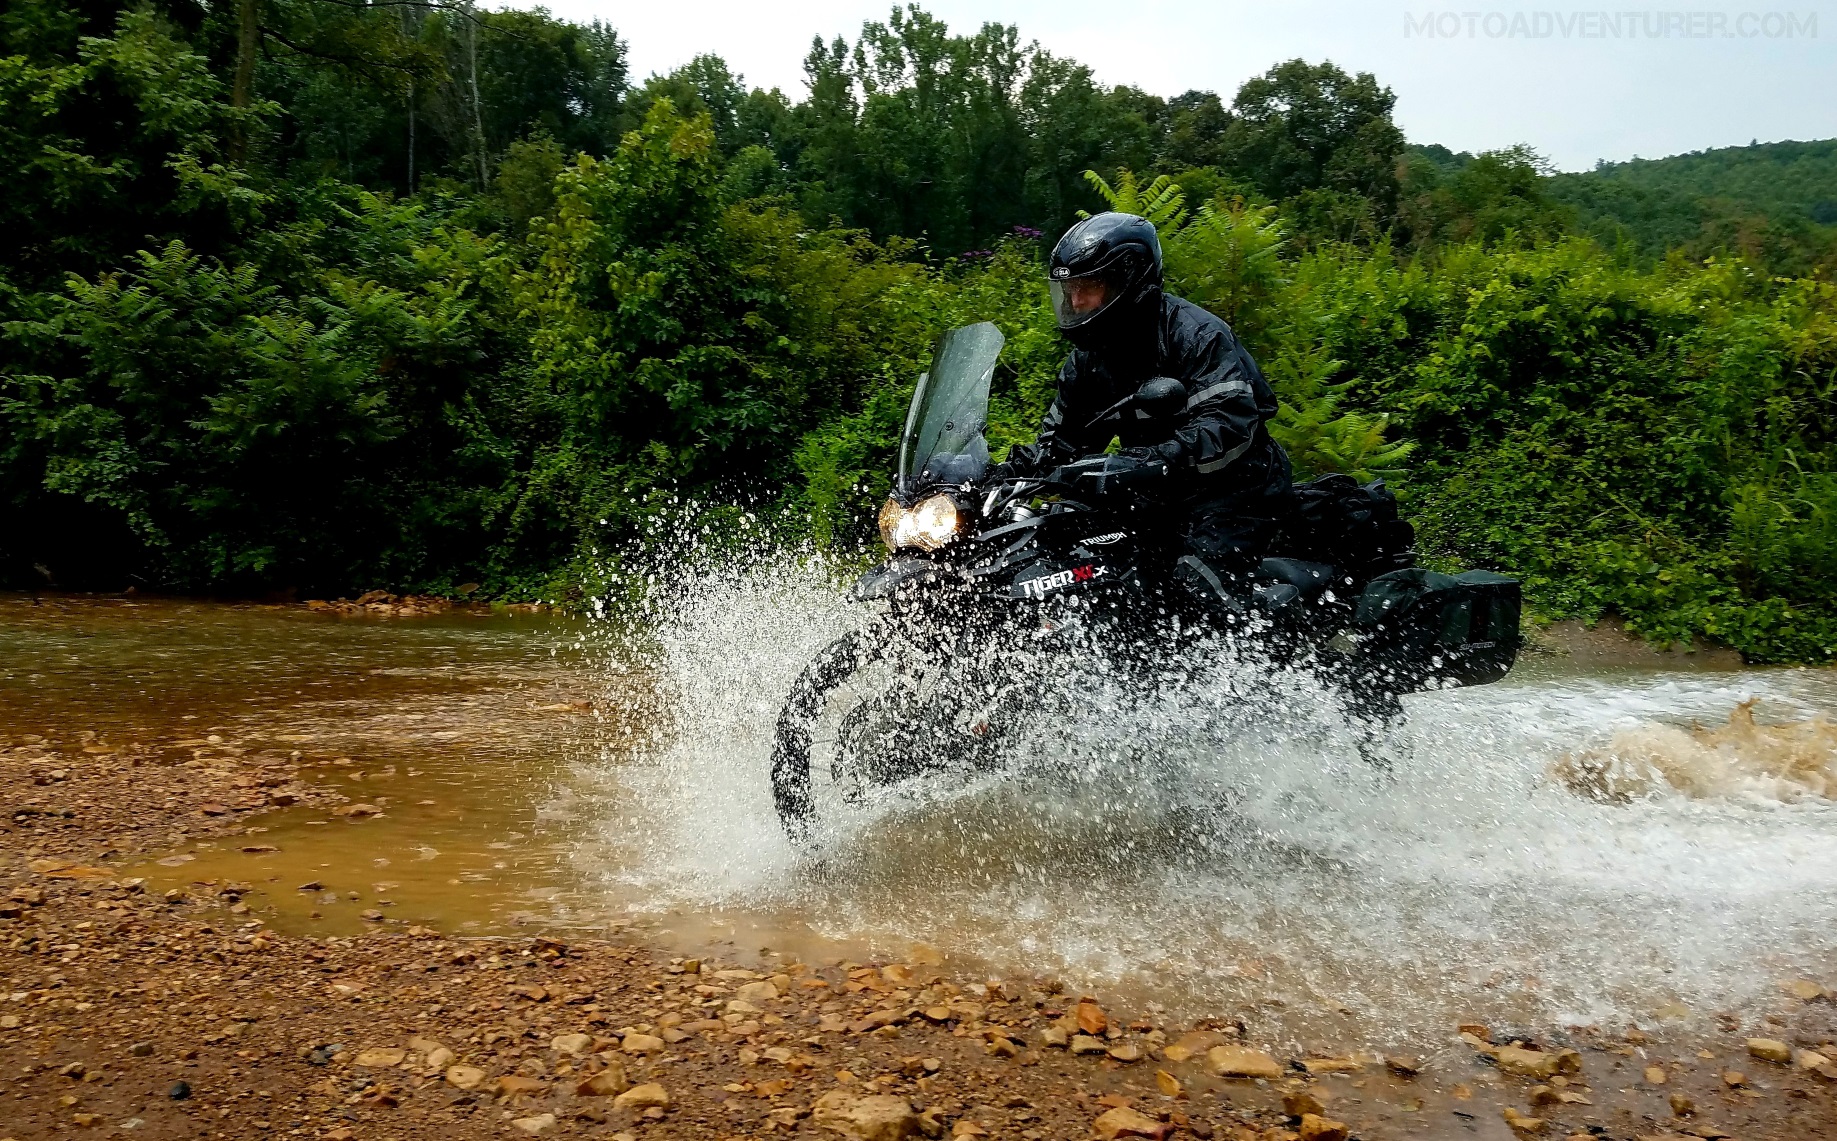
I’ve recently welcomed another rider into the “adventure” world. To his credit, he rode dirt bikes “back in the day”, but has been dedicated to street riding for many years now. After seeing all the crazy photos here on the website and social media feeds, he decided to once again venture off-road. Apparently, I’ve unconsciously been trying to excite folks into taking their motorcycle on a woods adventure, but today, I’m making that a conscious effort. Needless to say, I’m enamored with adventure riding, but beyond “because it’s fun”, here are 14 reasons why you can and should give adventure riding a shot.
Go anywhere
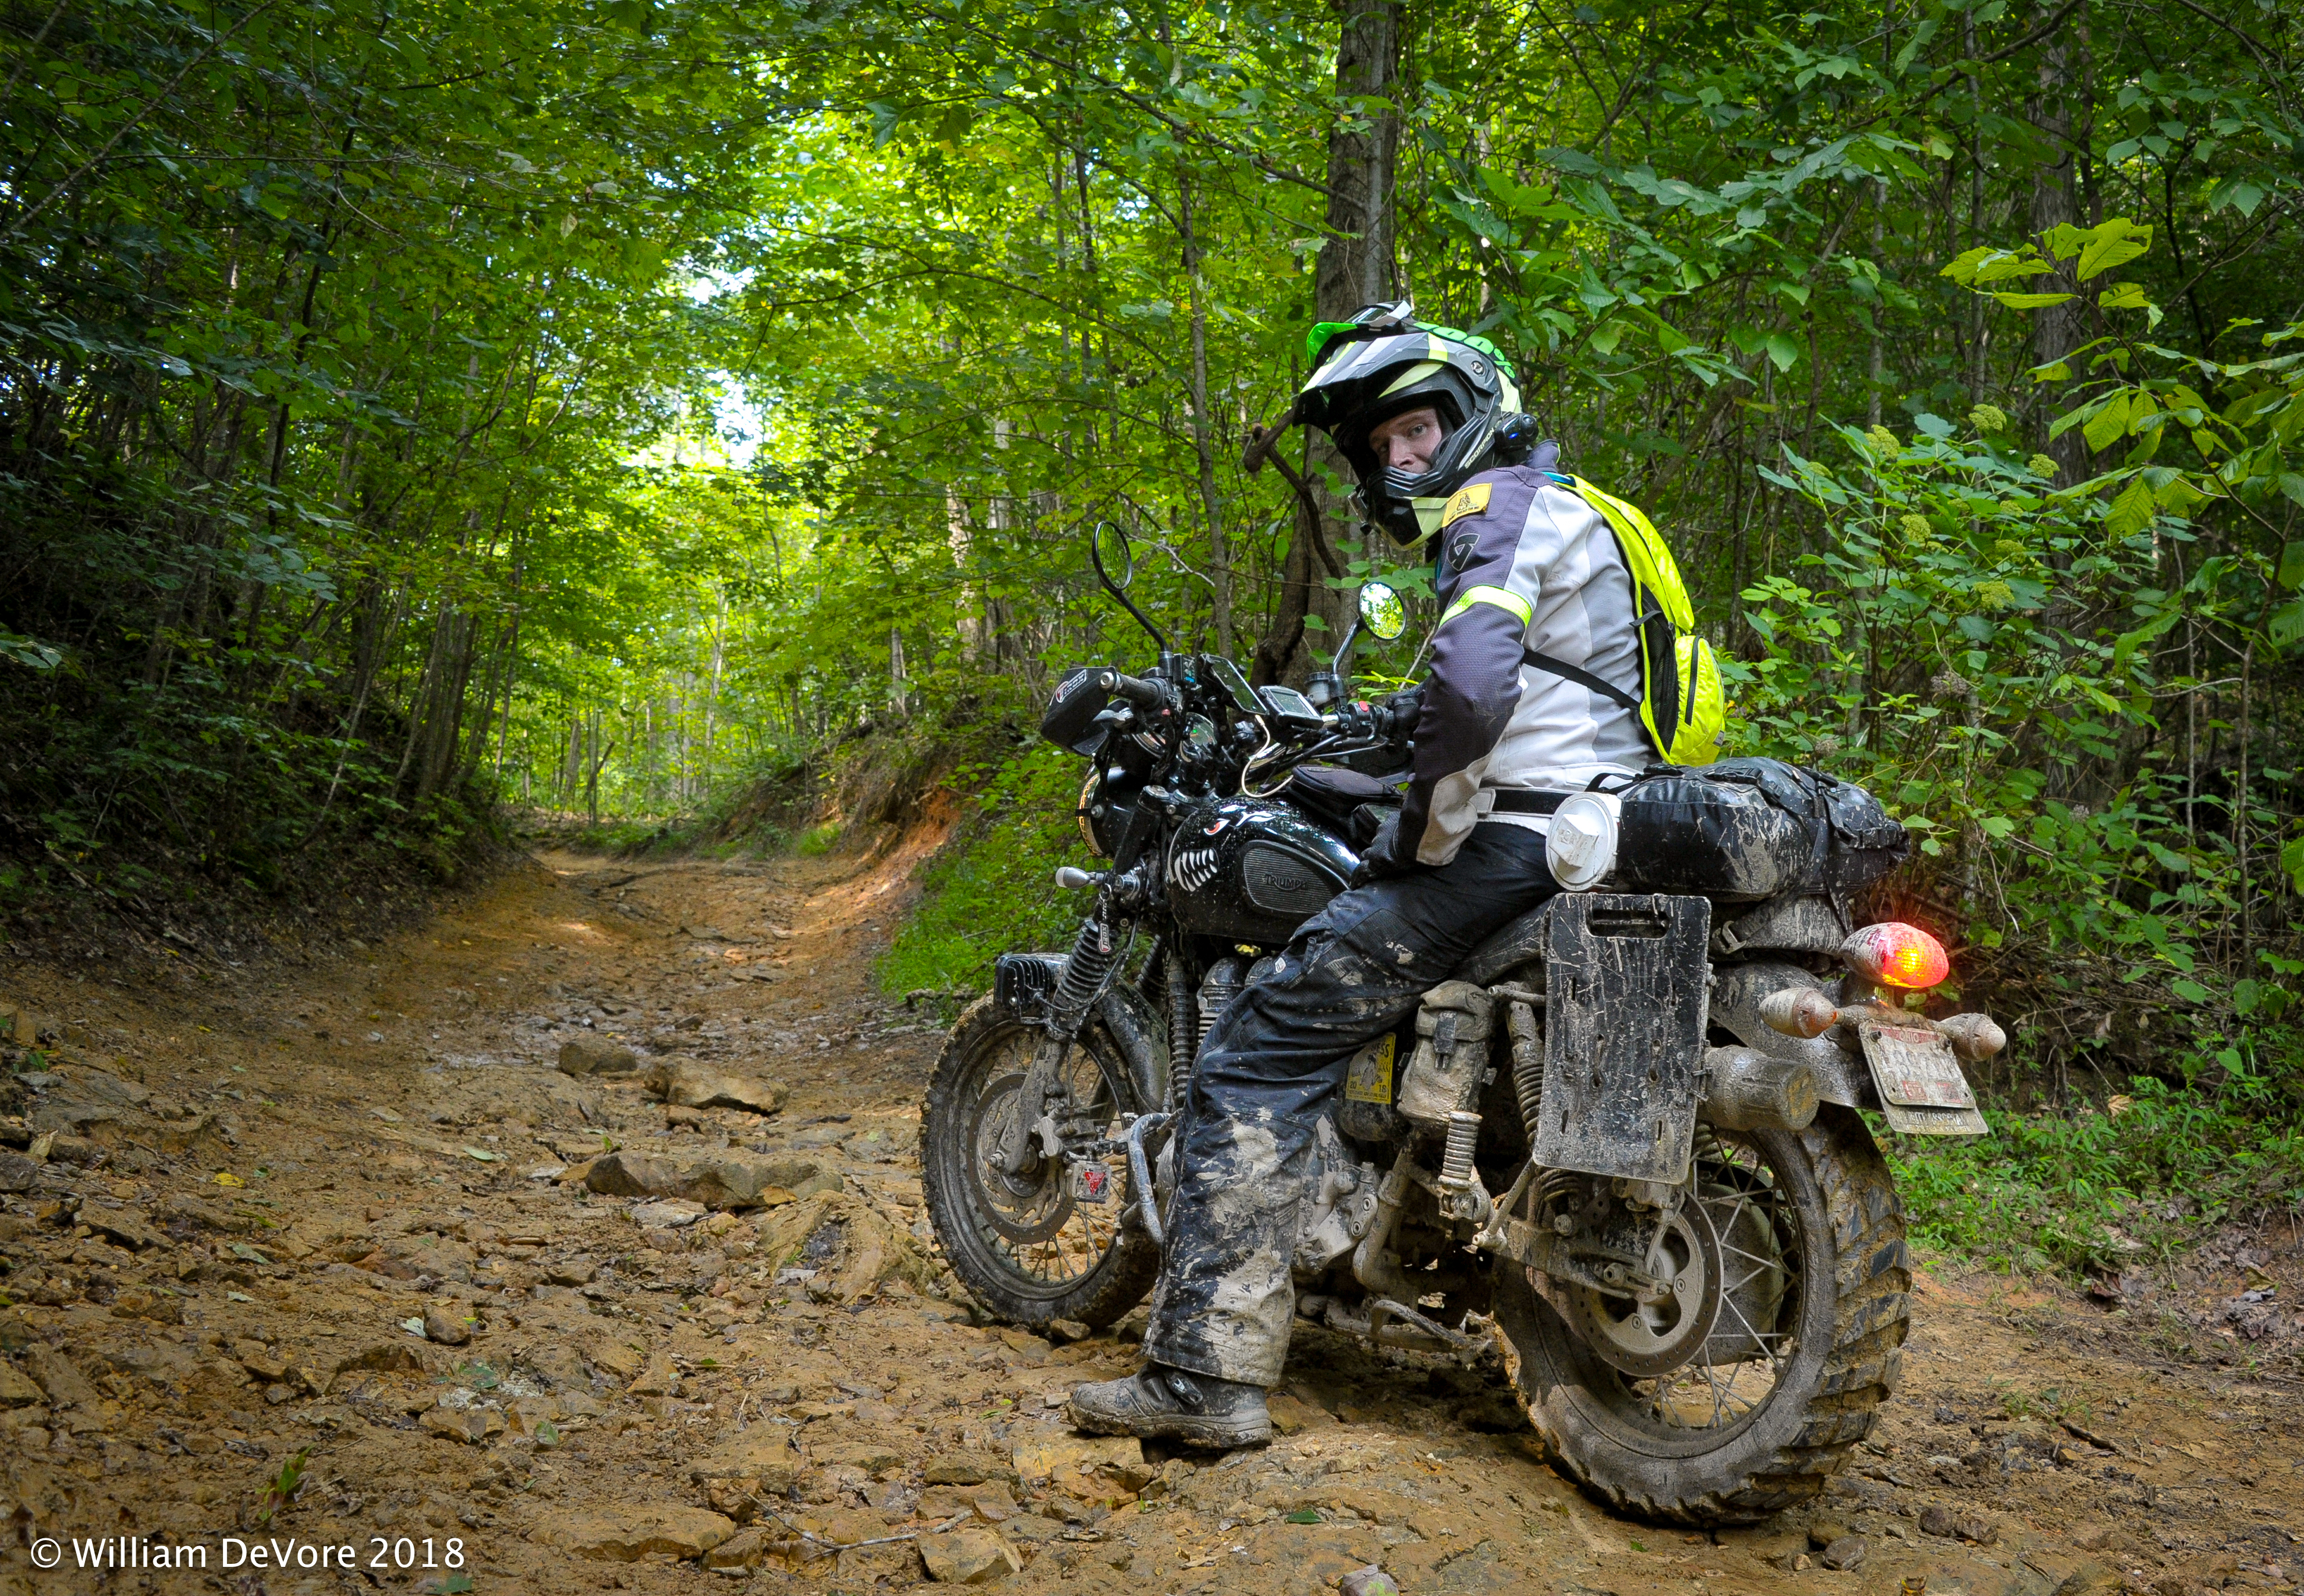
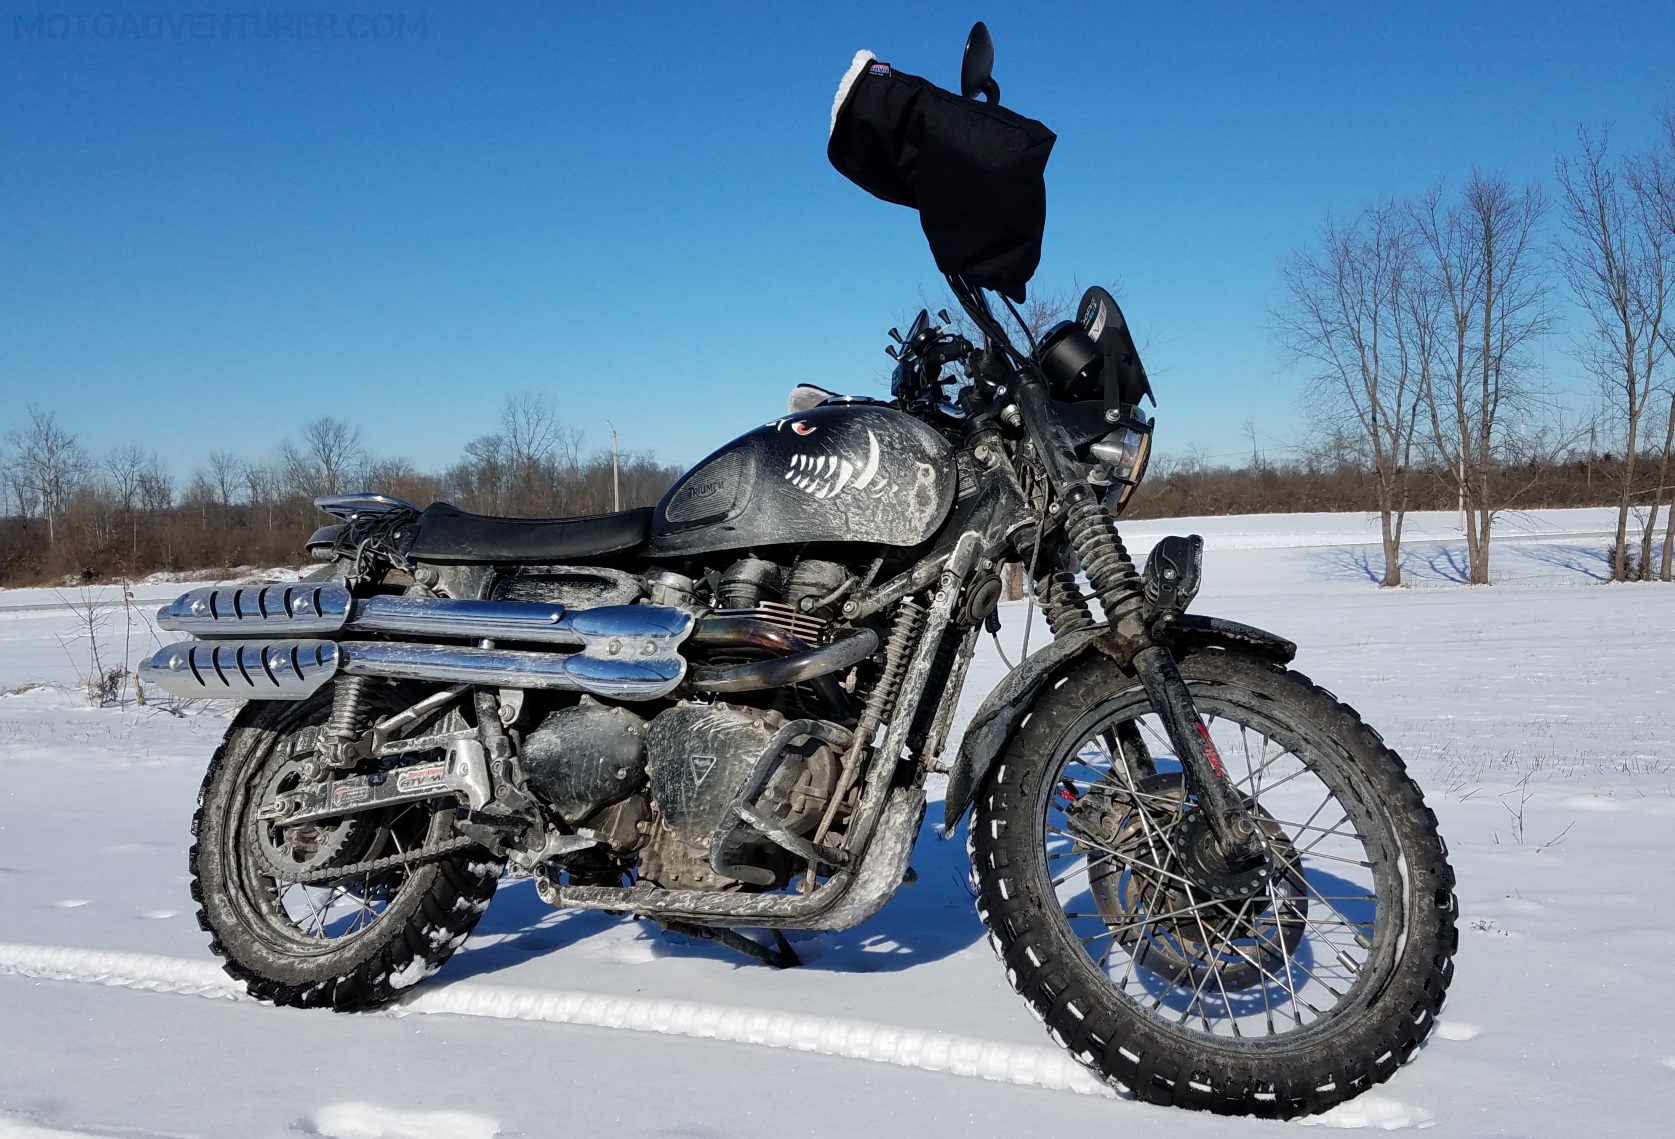
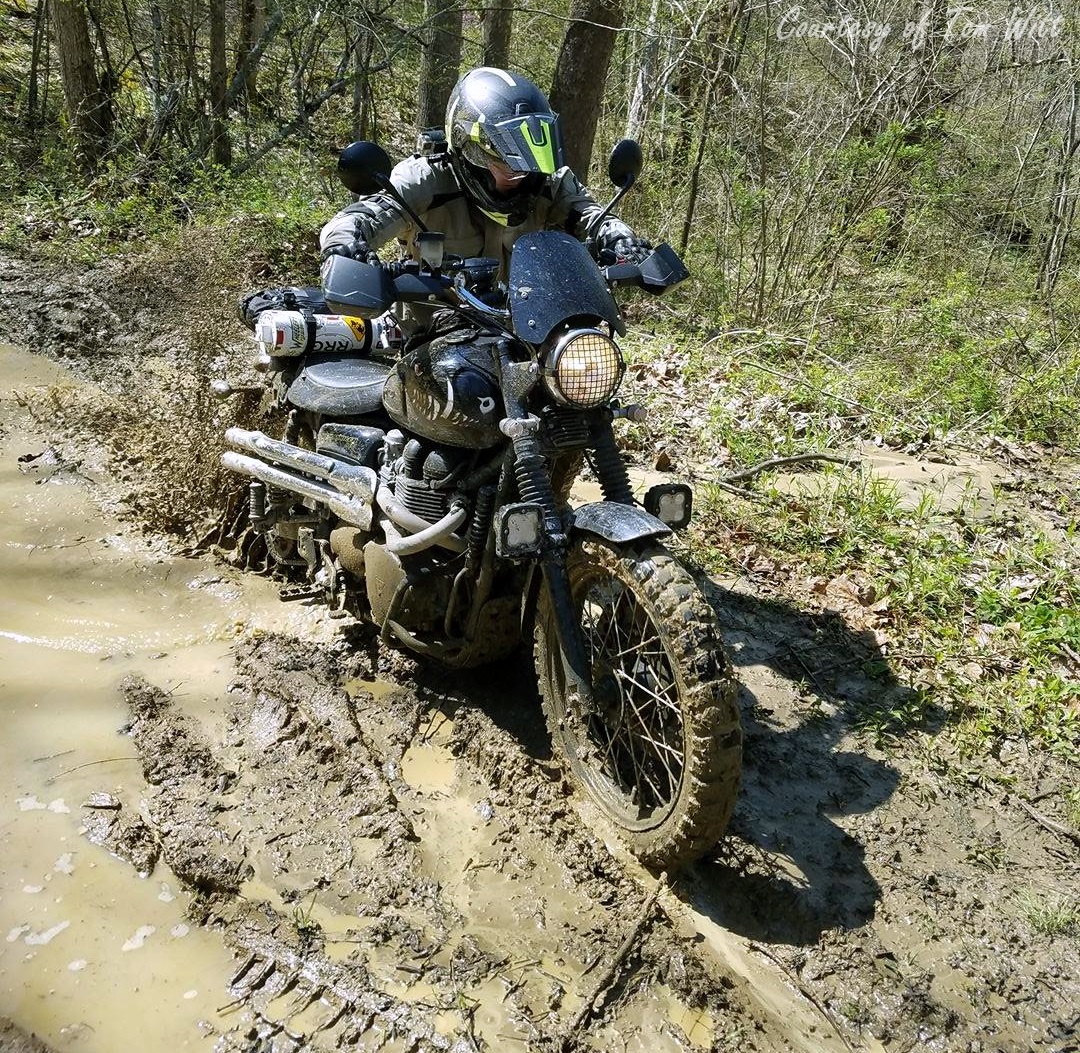
Back in 2016, I published “Putting more Adventure into Moto Adventurer“, after I brought home new (to me) Triumph Scrambler.  Long-term followers of the site are no doubt familiar with Rosie’s accolades, but I bring up that story because it marked a clear transition from asphalt to dirt. Even today, there’s little I enjoy more than a lonely stretch of Appalachian twisties, but with the right attitude, when that pavement ends, I think you should keep riding. I’ll go further by saying that, with the right bike, you can arguably ride anywhere. This, of course, is a matter of taste, comfort, budget, and perhaps the right tires, but there are many ways to skin this cat, and this is easily why I enjoy adventure riding so much. There have been countless times when I’ve been out in the boonies and I spot a great photo opportunity, which frequently means leaving the safety of the tarmac; something that is now seldom a second thought. “Anywhere” again depends on those before mentioned factors, but it goes without saying, once you’ve left the asphalt, your riding opportunities essentially double.
Experience nature
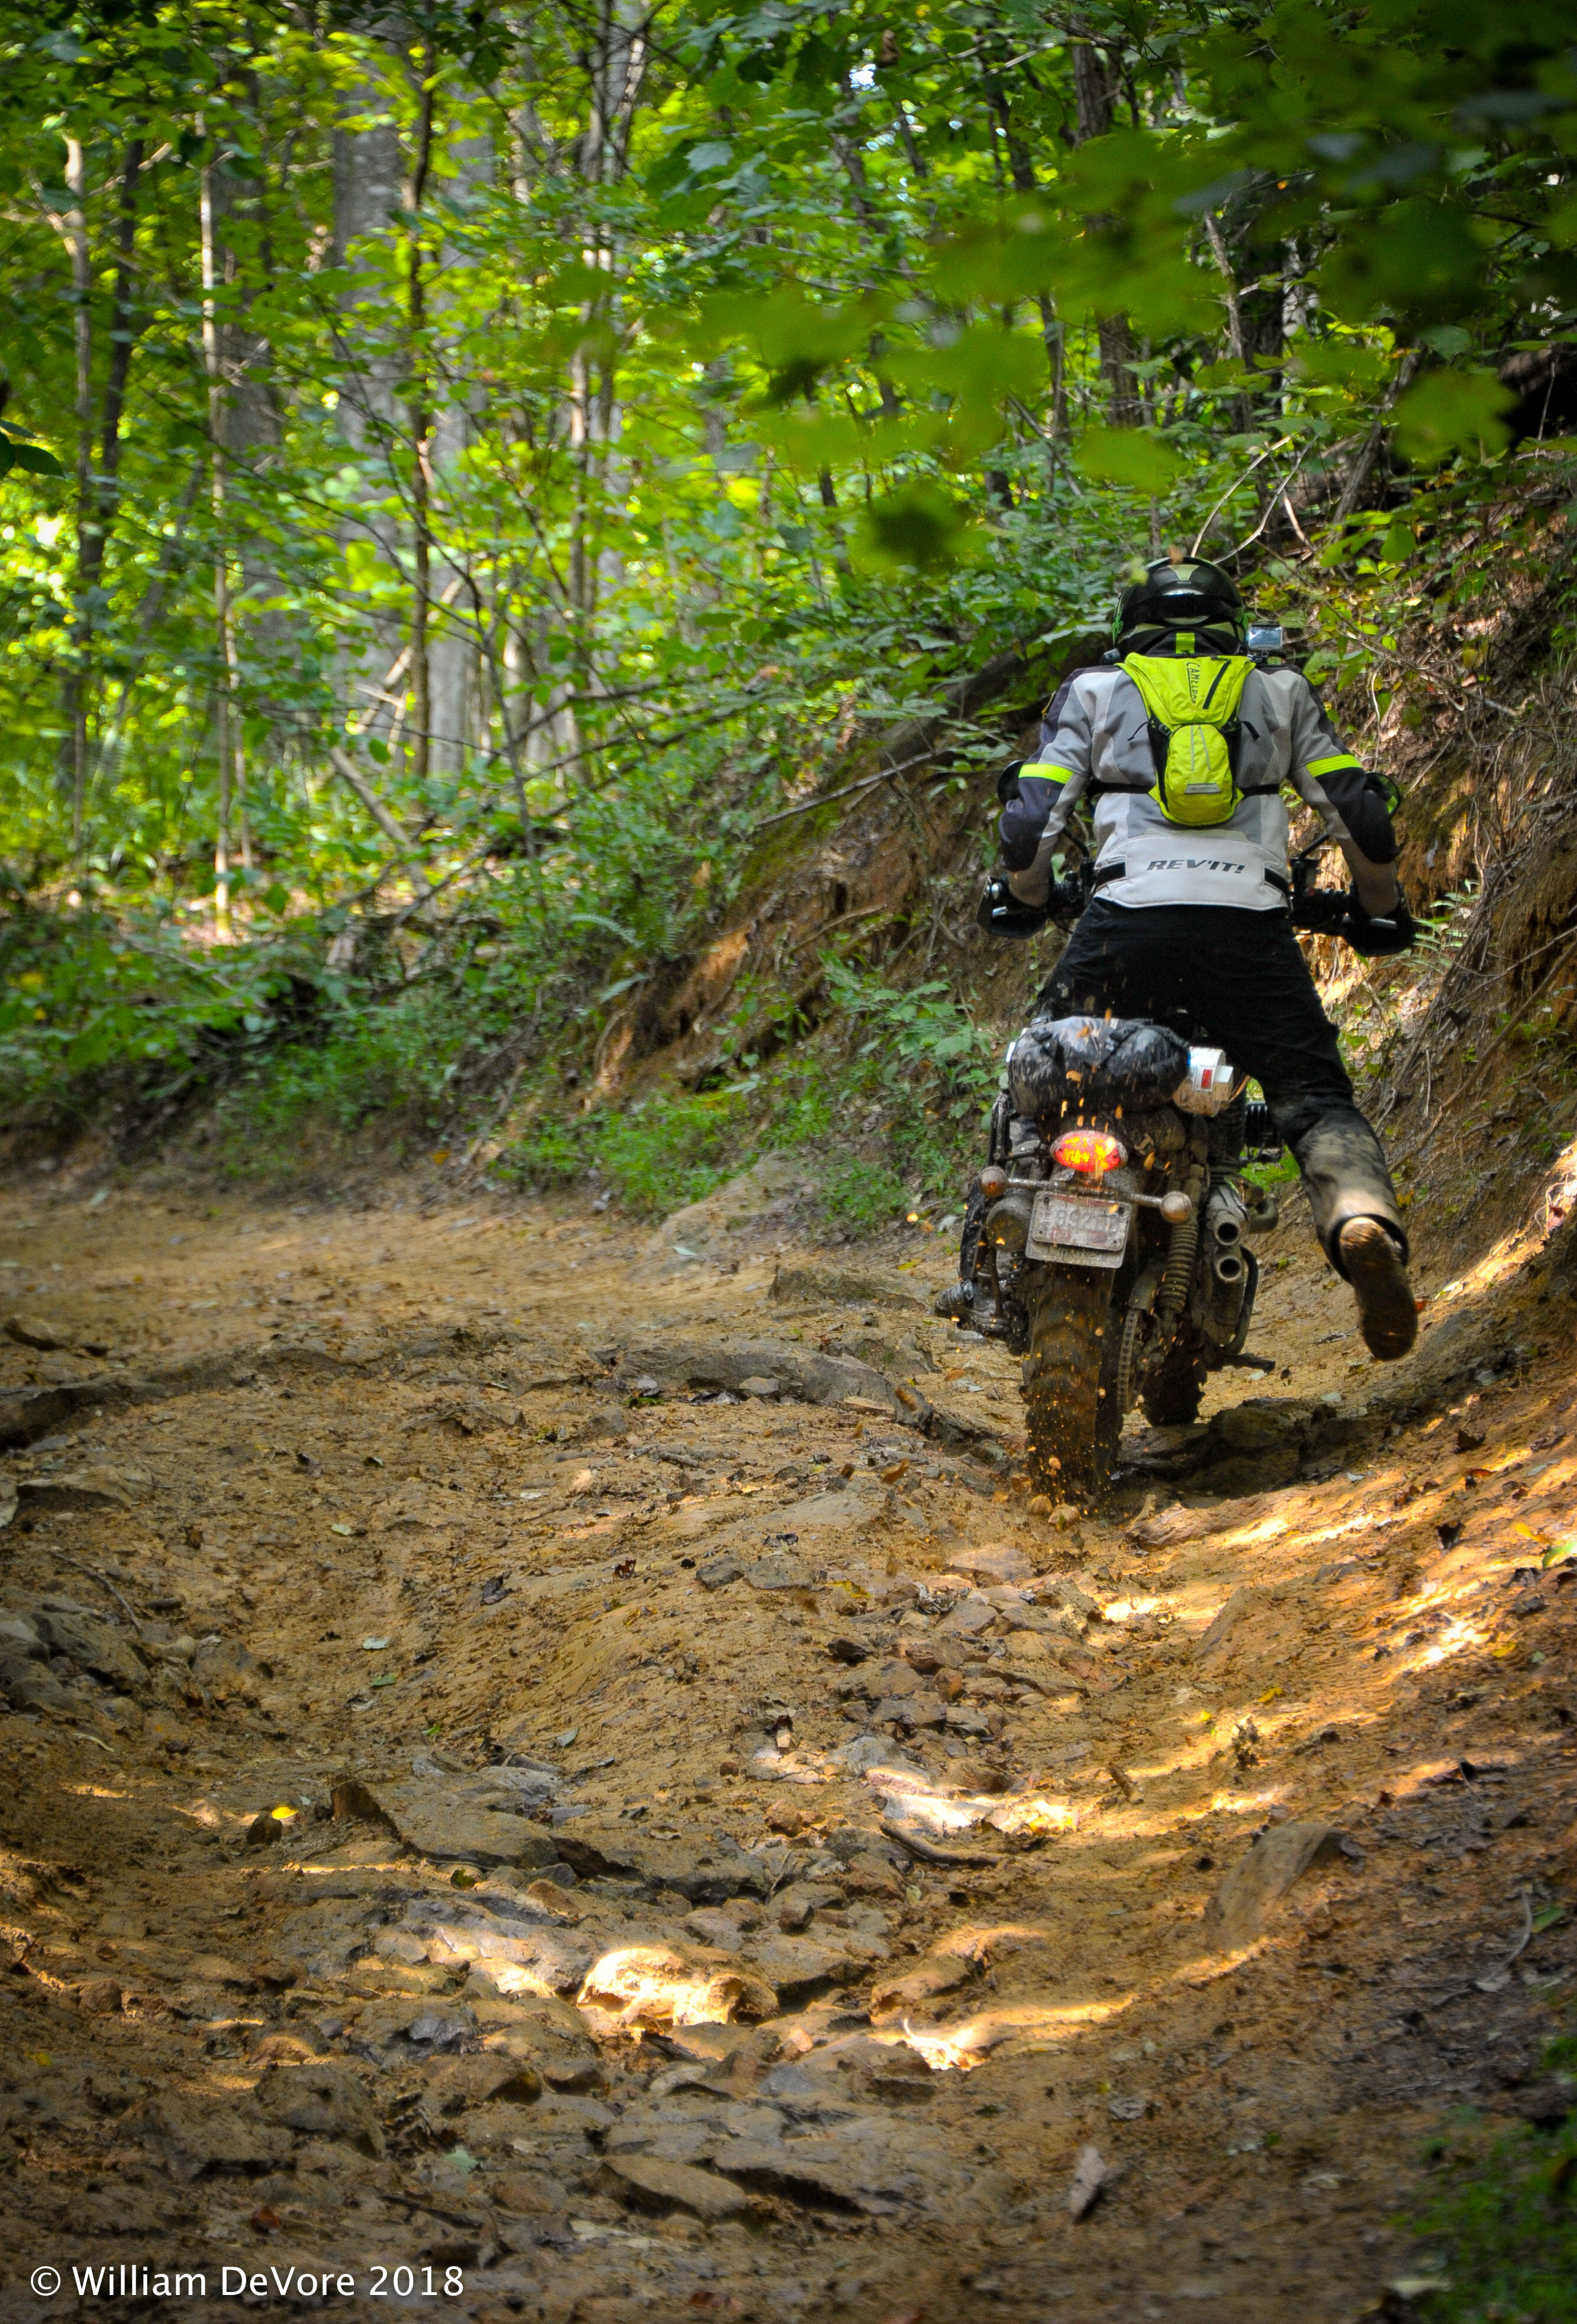
I really enjoy a good hike, among other outdoor activities. Unfortunately, prime hiking weather is often prime motorcycling weather; adventure riding means I have the opportunity to do both.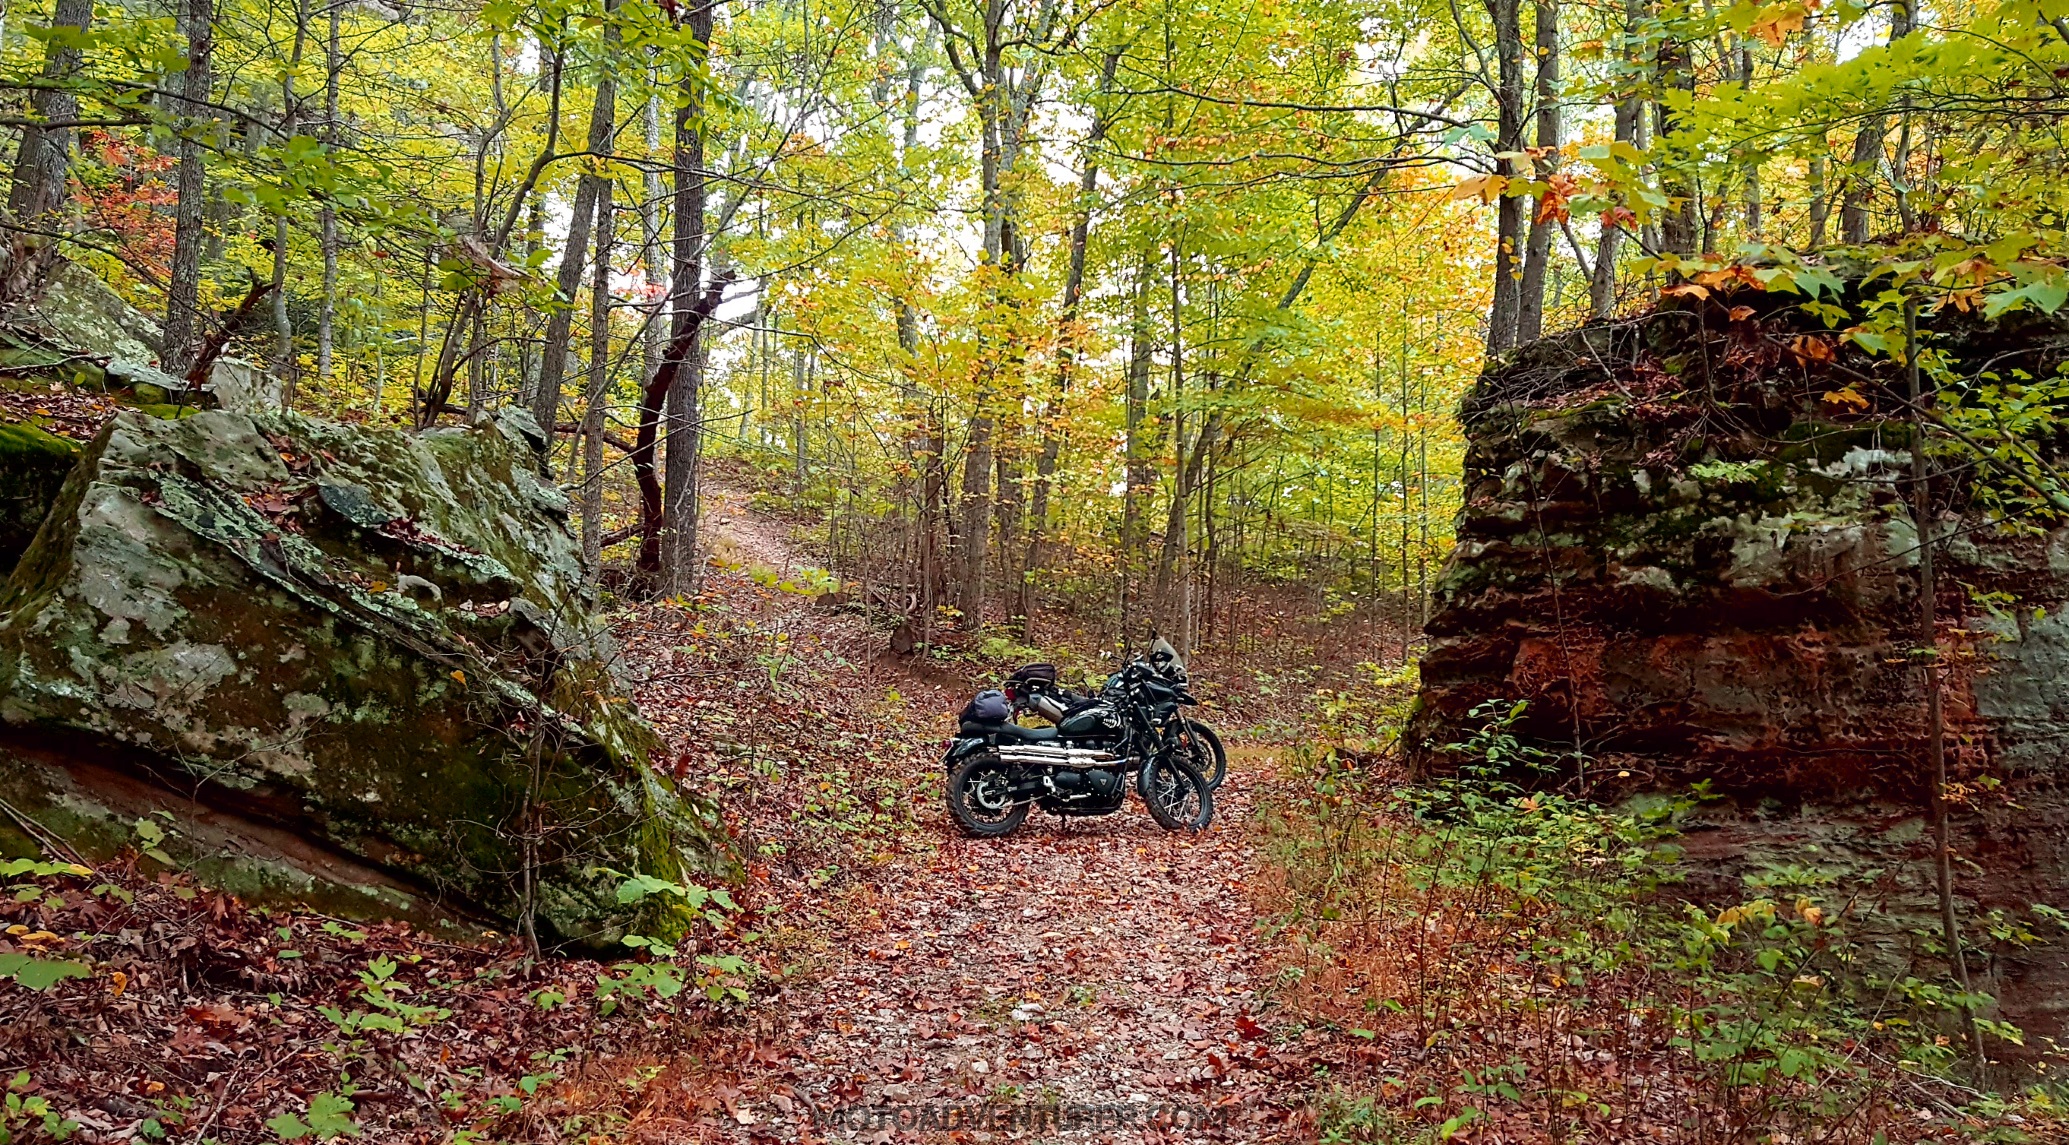 While I don’t often ride and then hike, it’s happened before. More than anything else, it’s nice to disappear into the woods, find a nice scenic spot next to a creek, shut down the engine, and just listen the birds singing. With that, a typical jaunt through my beloved Bluegrass means I have run-ins with deer, wild turkeys, guinea hens, and occasionally snakes crossing the trail. Considering gas stations and restaurants are seldom near the prime off-road locations, packing a sandwich and having a picnic on the trail is often standard operating procedure. With a good hammock, it’s even easier to turn this whole experience into an overnight affair.
The best scenery is seldom on a paved road
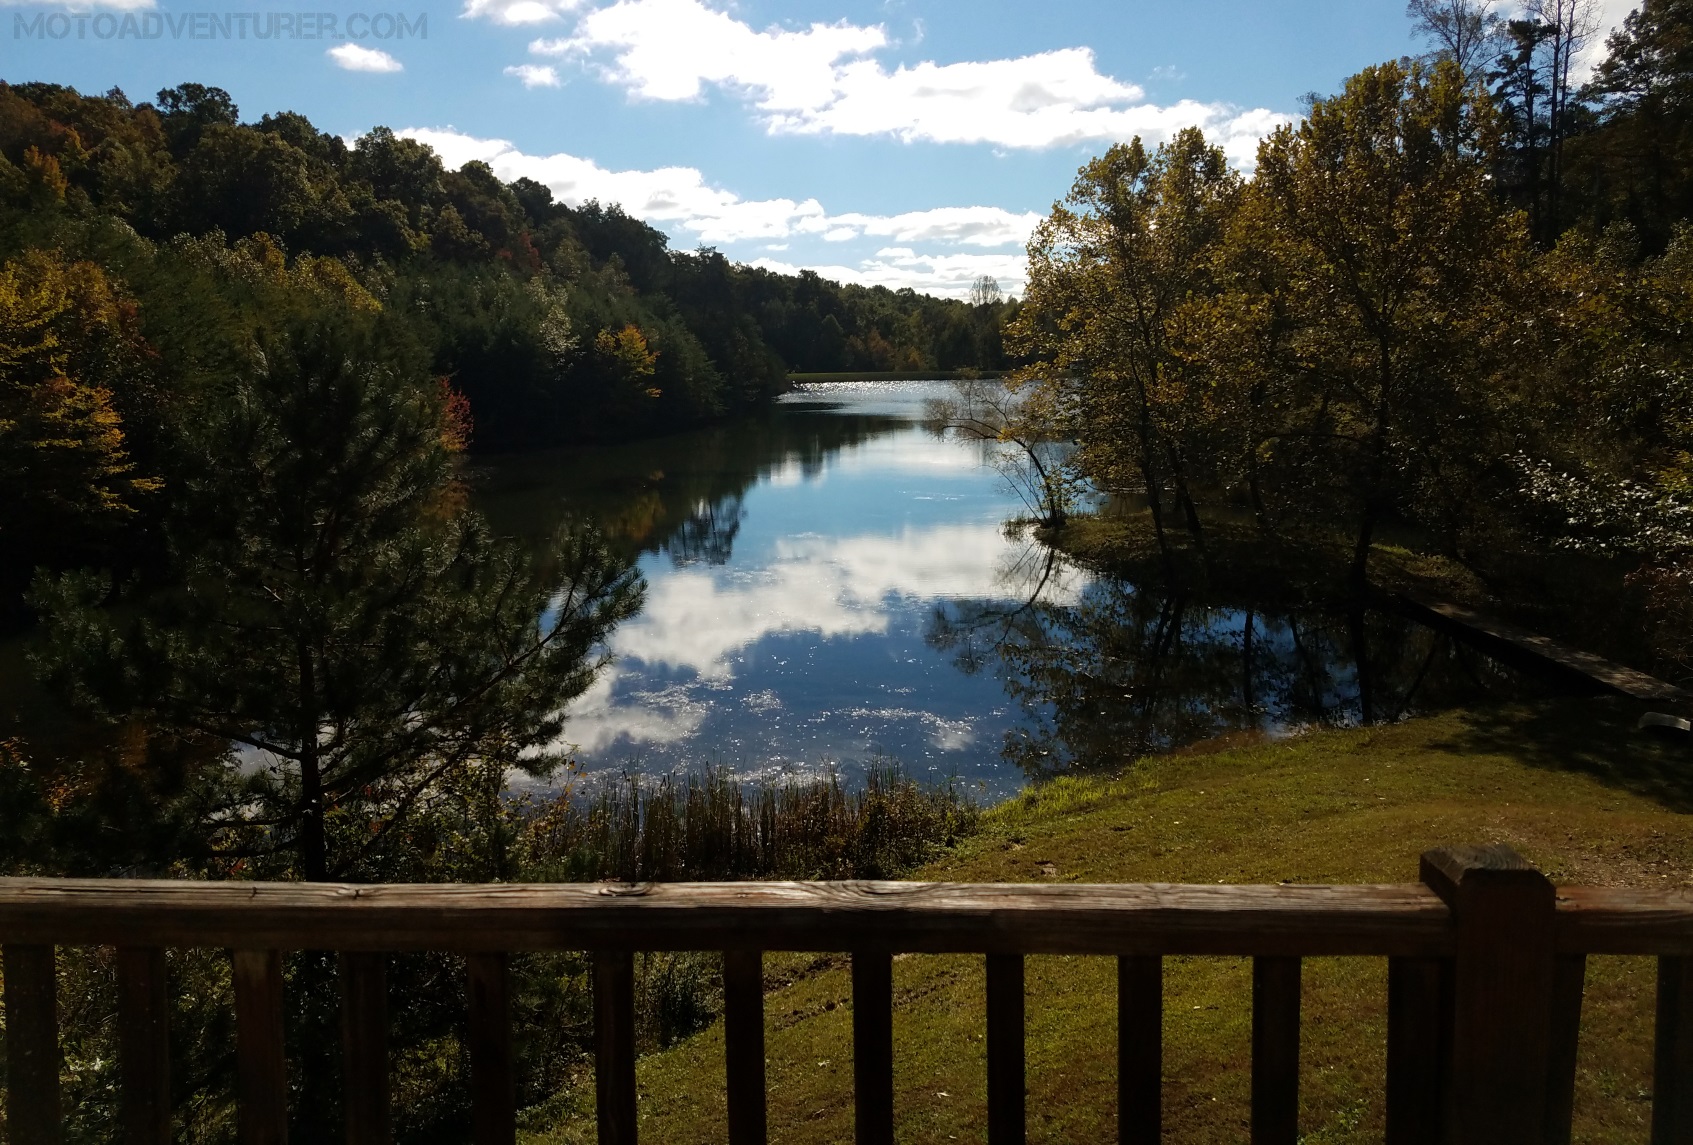
Here on the east coast, the powers that be have put a lot of effort into paving more roads as a convenience to tourists;  but like I said about an impromptu creekside lunch, some of the best views are still found at the end of a dirt road. In many cases, the “road” itself is the view. While riding the Triple-Nickel last spring, my GPS led me astray which turned into an off-road adventure. That adventure led to a random covered bridge hidden in the forest. Last week while scouting routes for Red River Scramble, we encountered a waterfall over a rock shelter that was literally part of the trail. Aside from the likes of the Blue Ridge Parkway, paved roads seldom reveal such gems.
Riding off-road improves your street skills
As a guy who learned to ride on the pavement first, the sensation of the rear end of the motorcycle sliding out of line with the front wheel was especially unnerving. 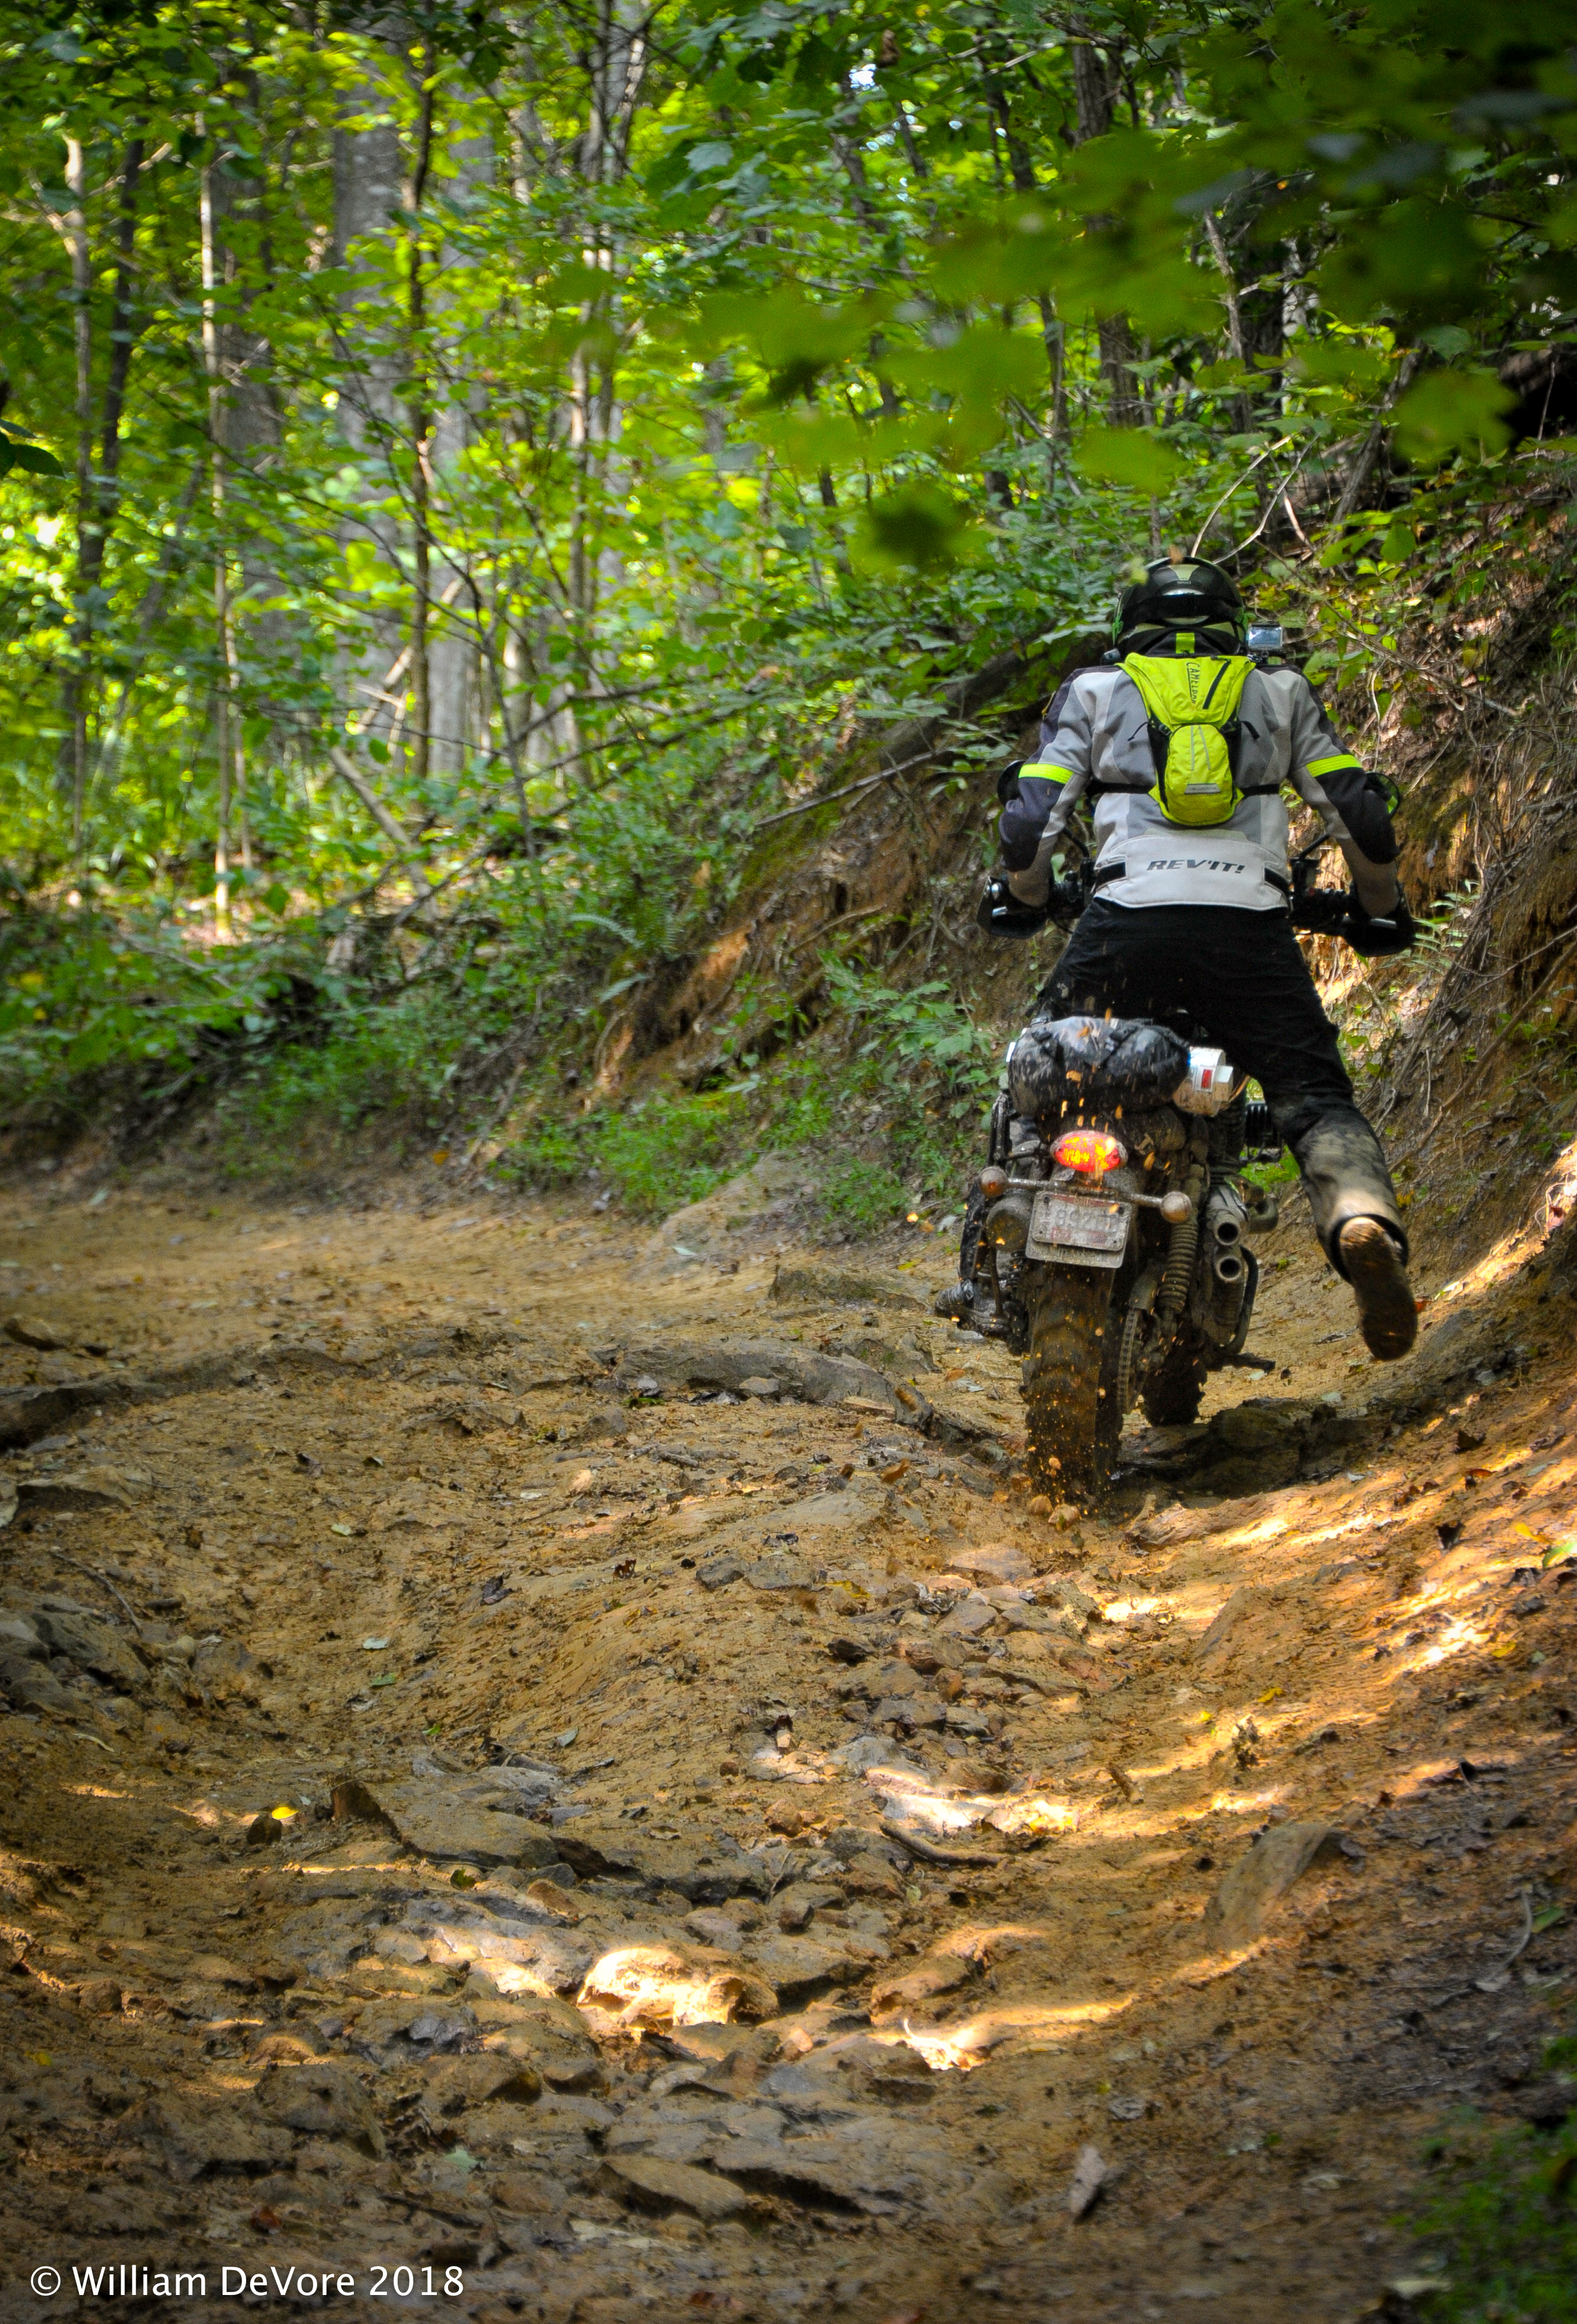 However, once you realize it’s all part of the process, and get comfortable with the rear wheel doing its thing, you suddenly have a new appreciation for a motorcycle’s capabilities on asphalt. You rapidly find yourself far less intimidated by limited traction conditions. “Sliding” is often a tactic used off-road to get the motorcycle into position for the next obstacle; worst case it’s something that happens and you learn how to manage it without incident (more on that in a moment). Again, once you’ve mastered that experience, you now know what to do in a bad situation on the tarmac. Most importantly, riding off-road will teach you how to look where you want to go, with a quickness; a critical street skill that at times, still evades veteran street riders.
Dirt is more forgiving
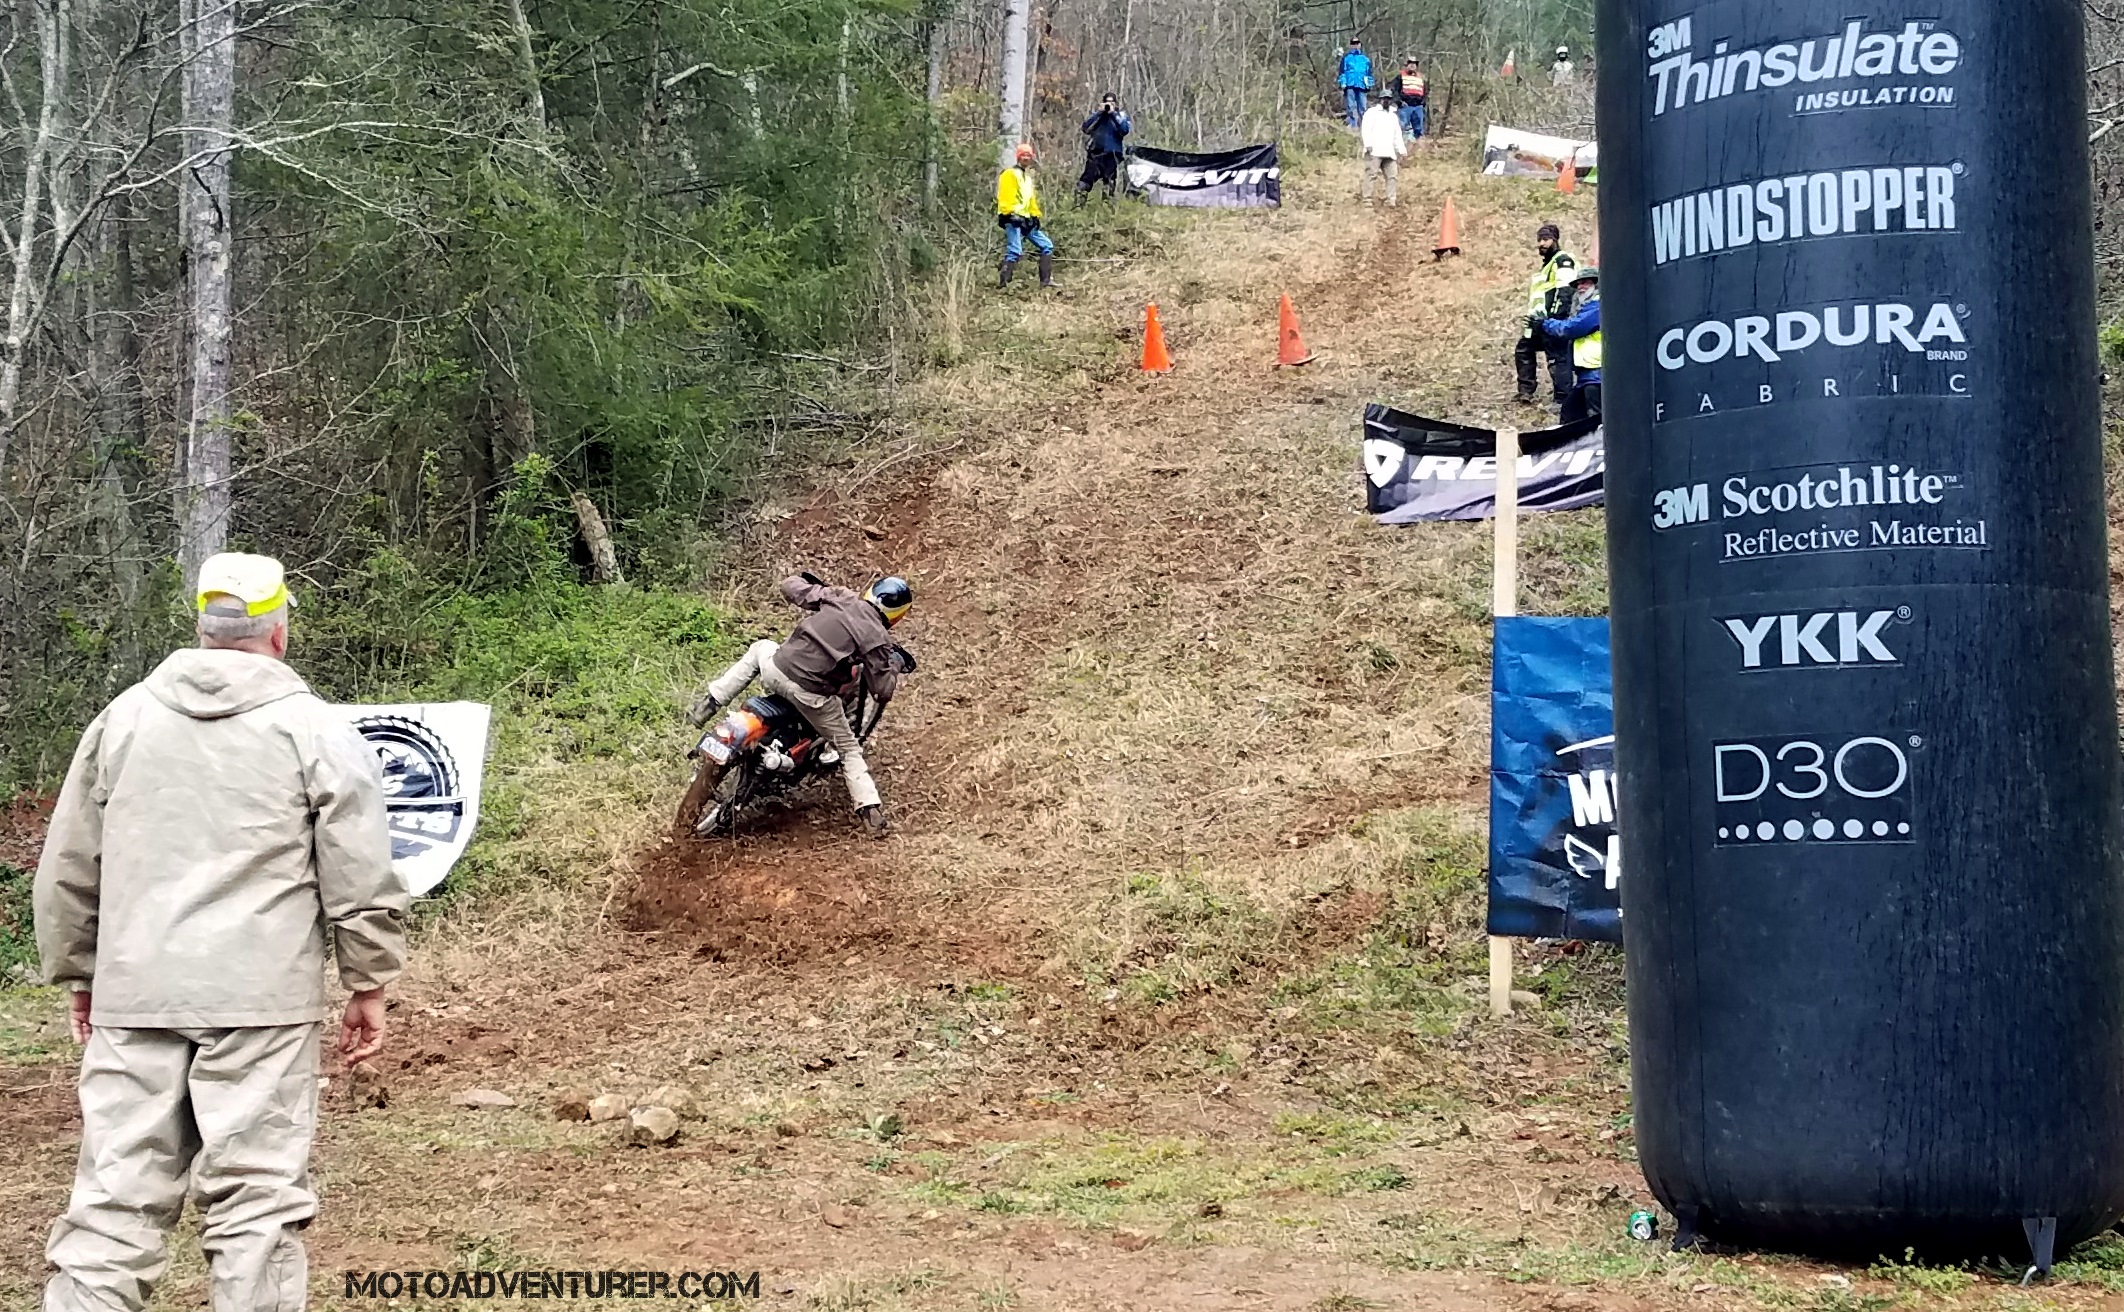
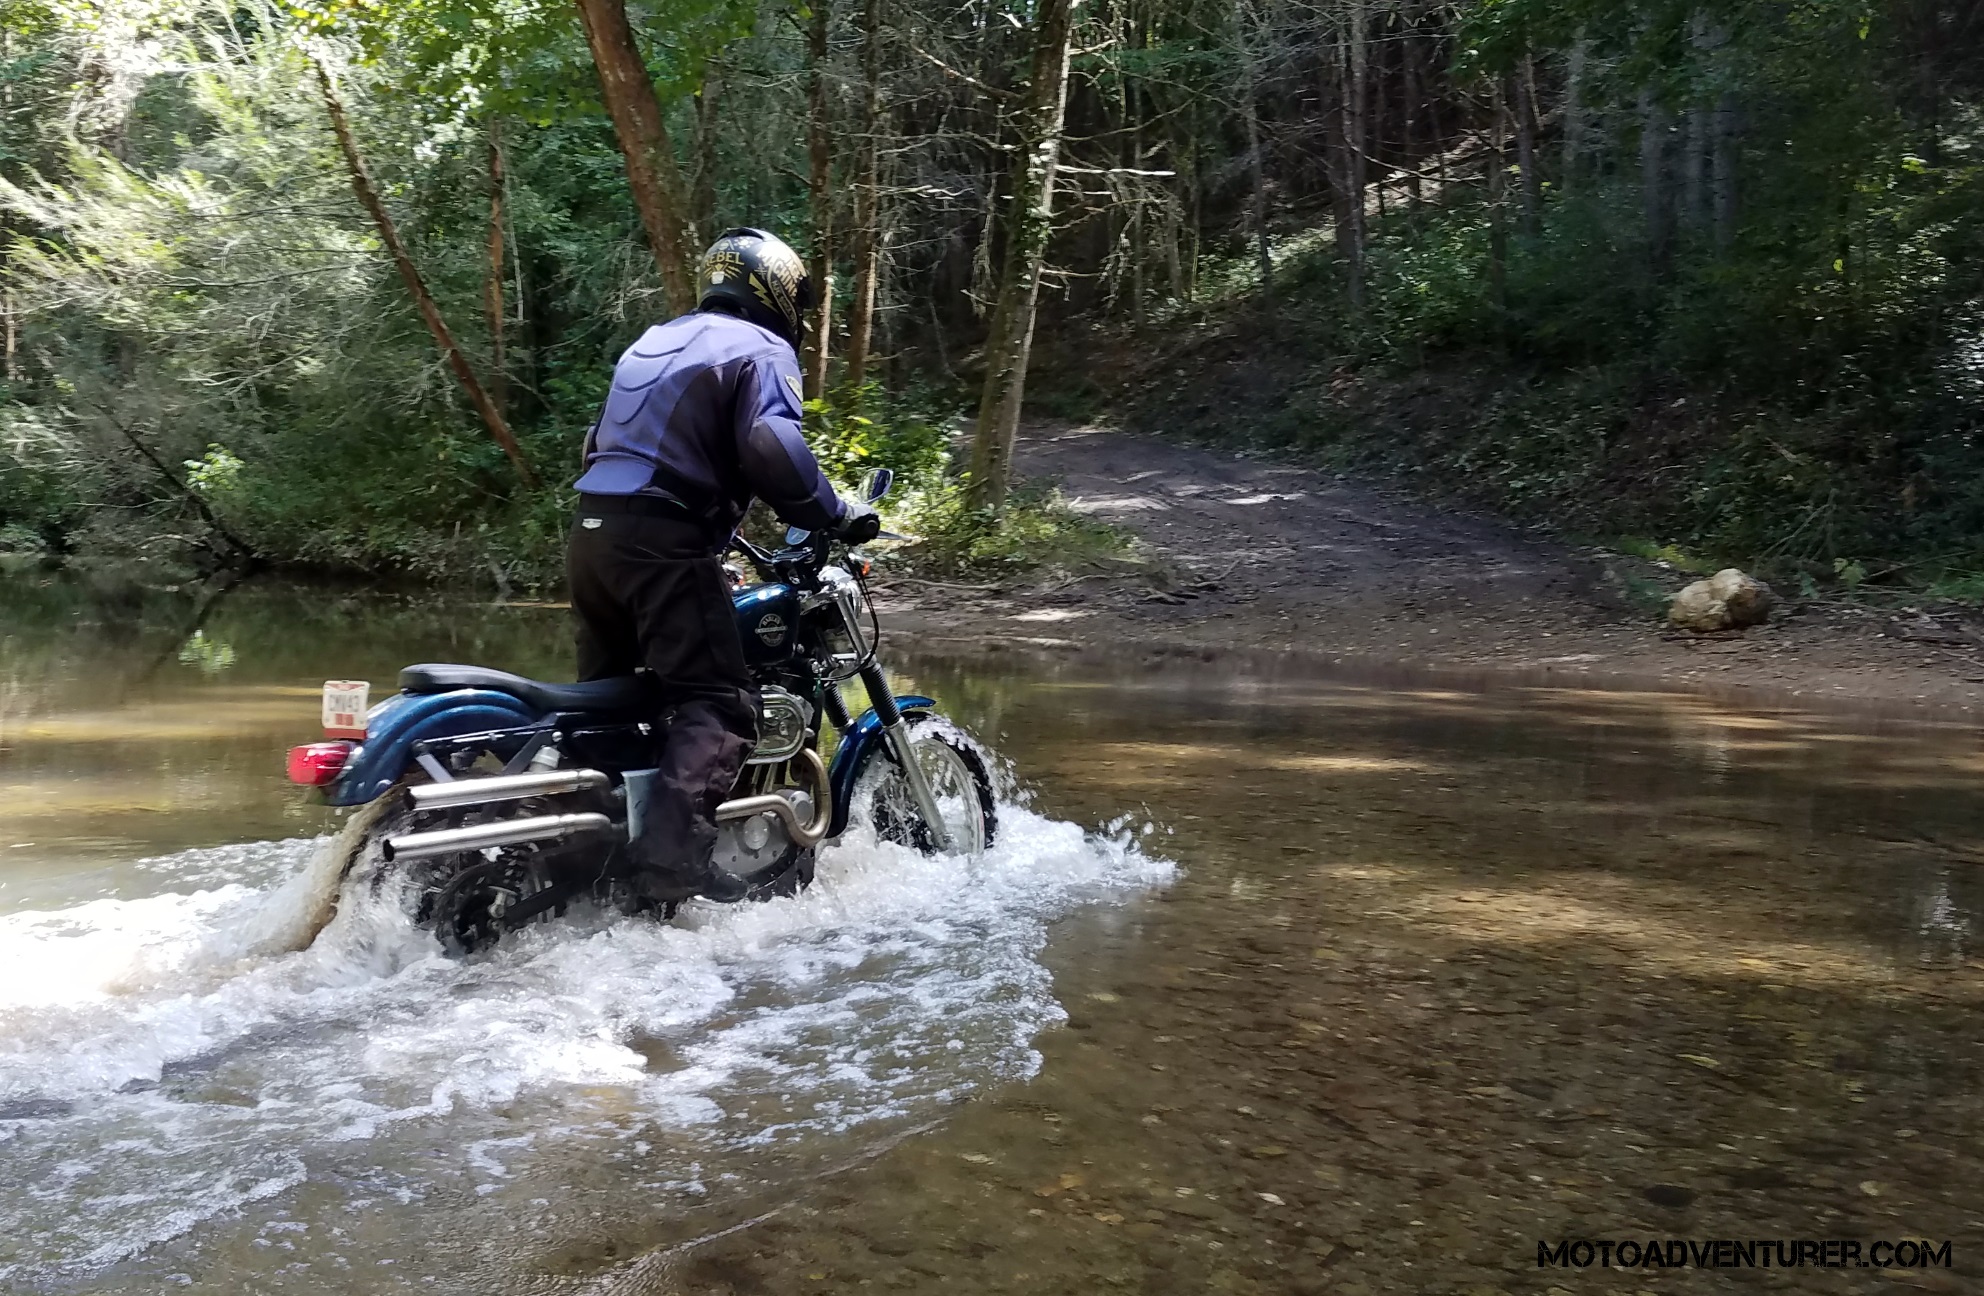
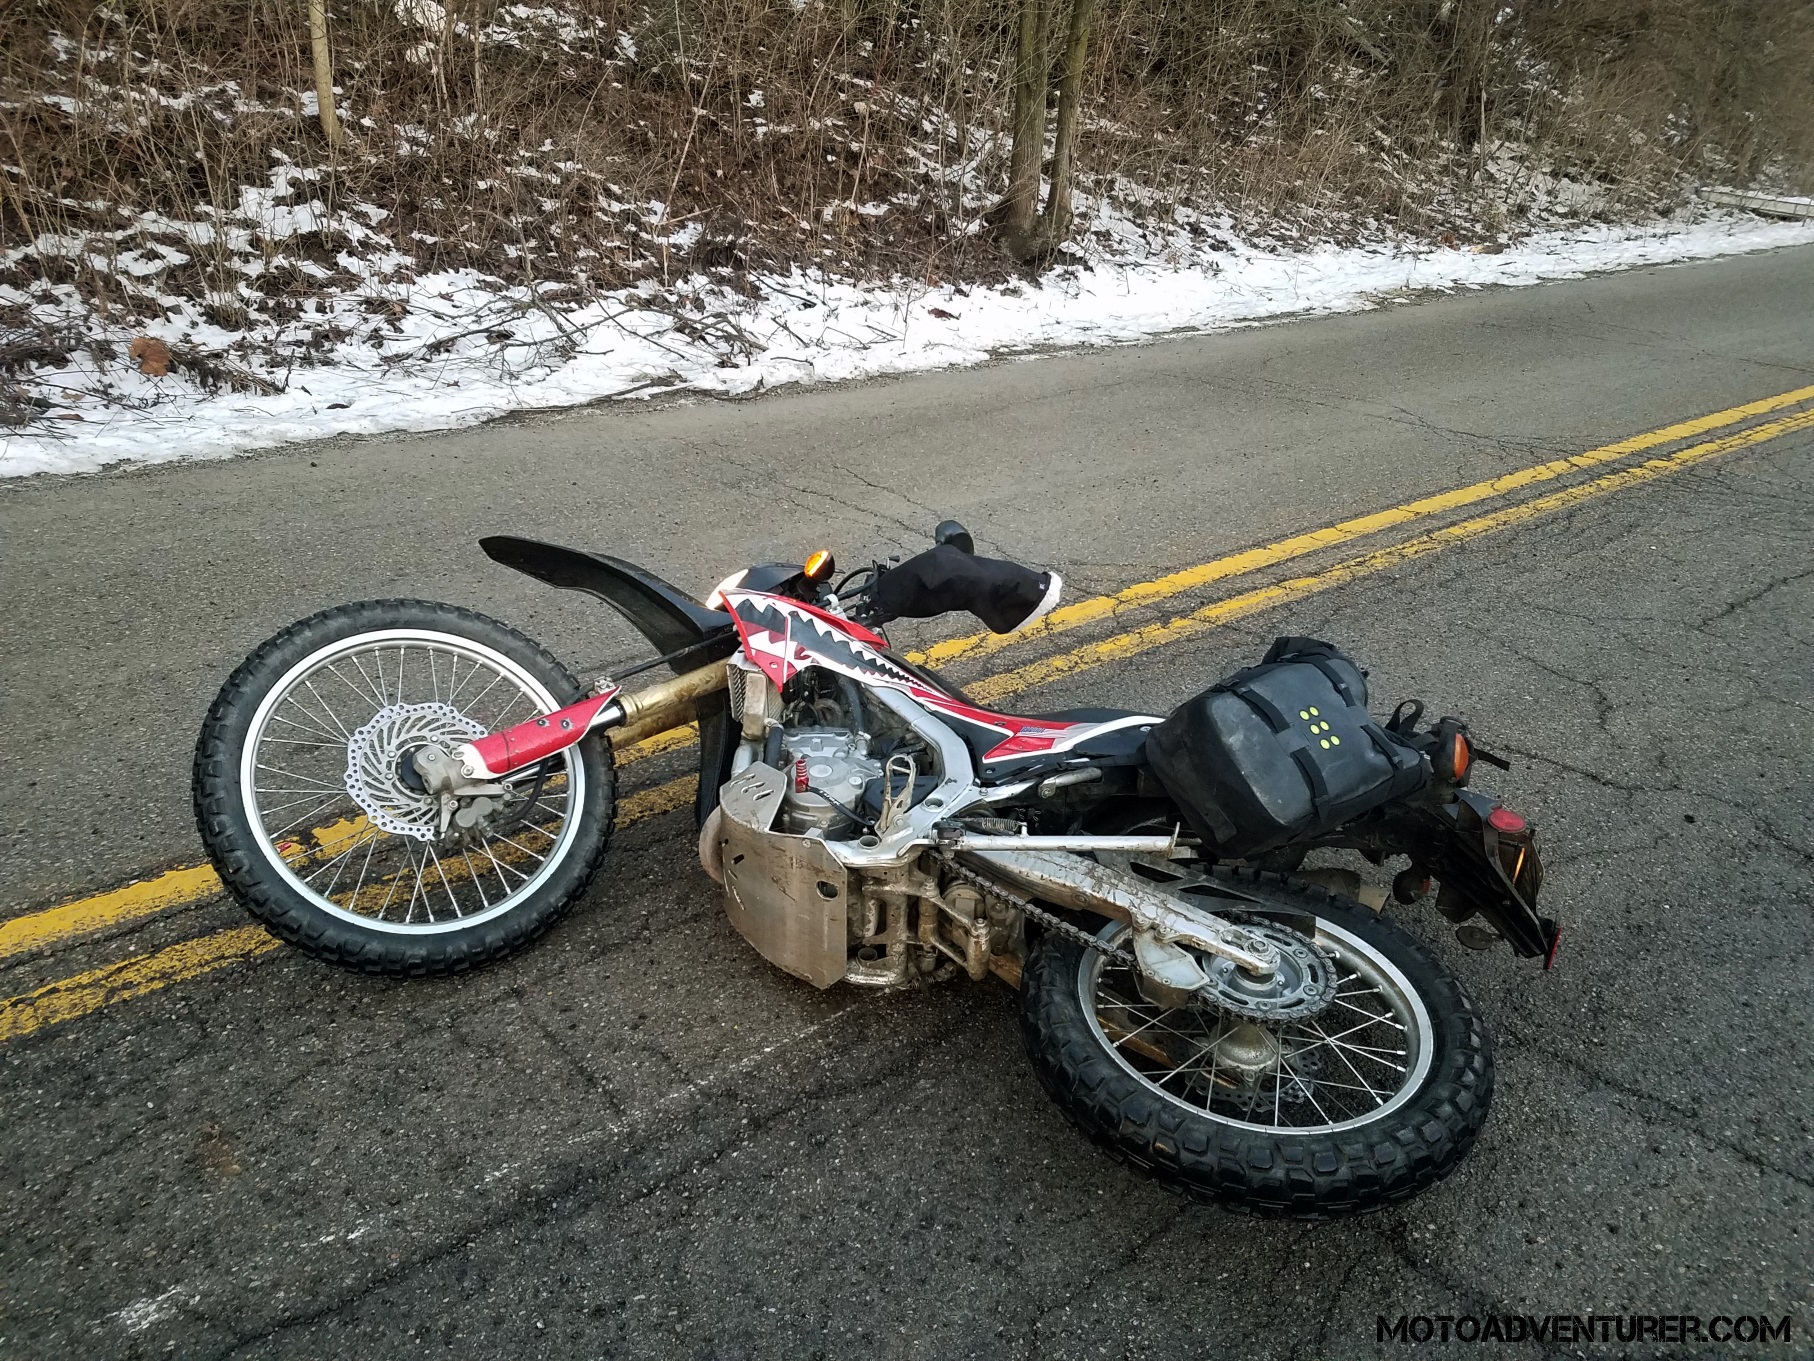
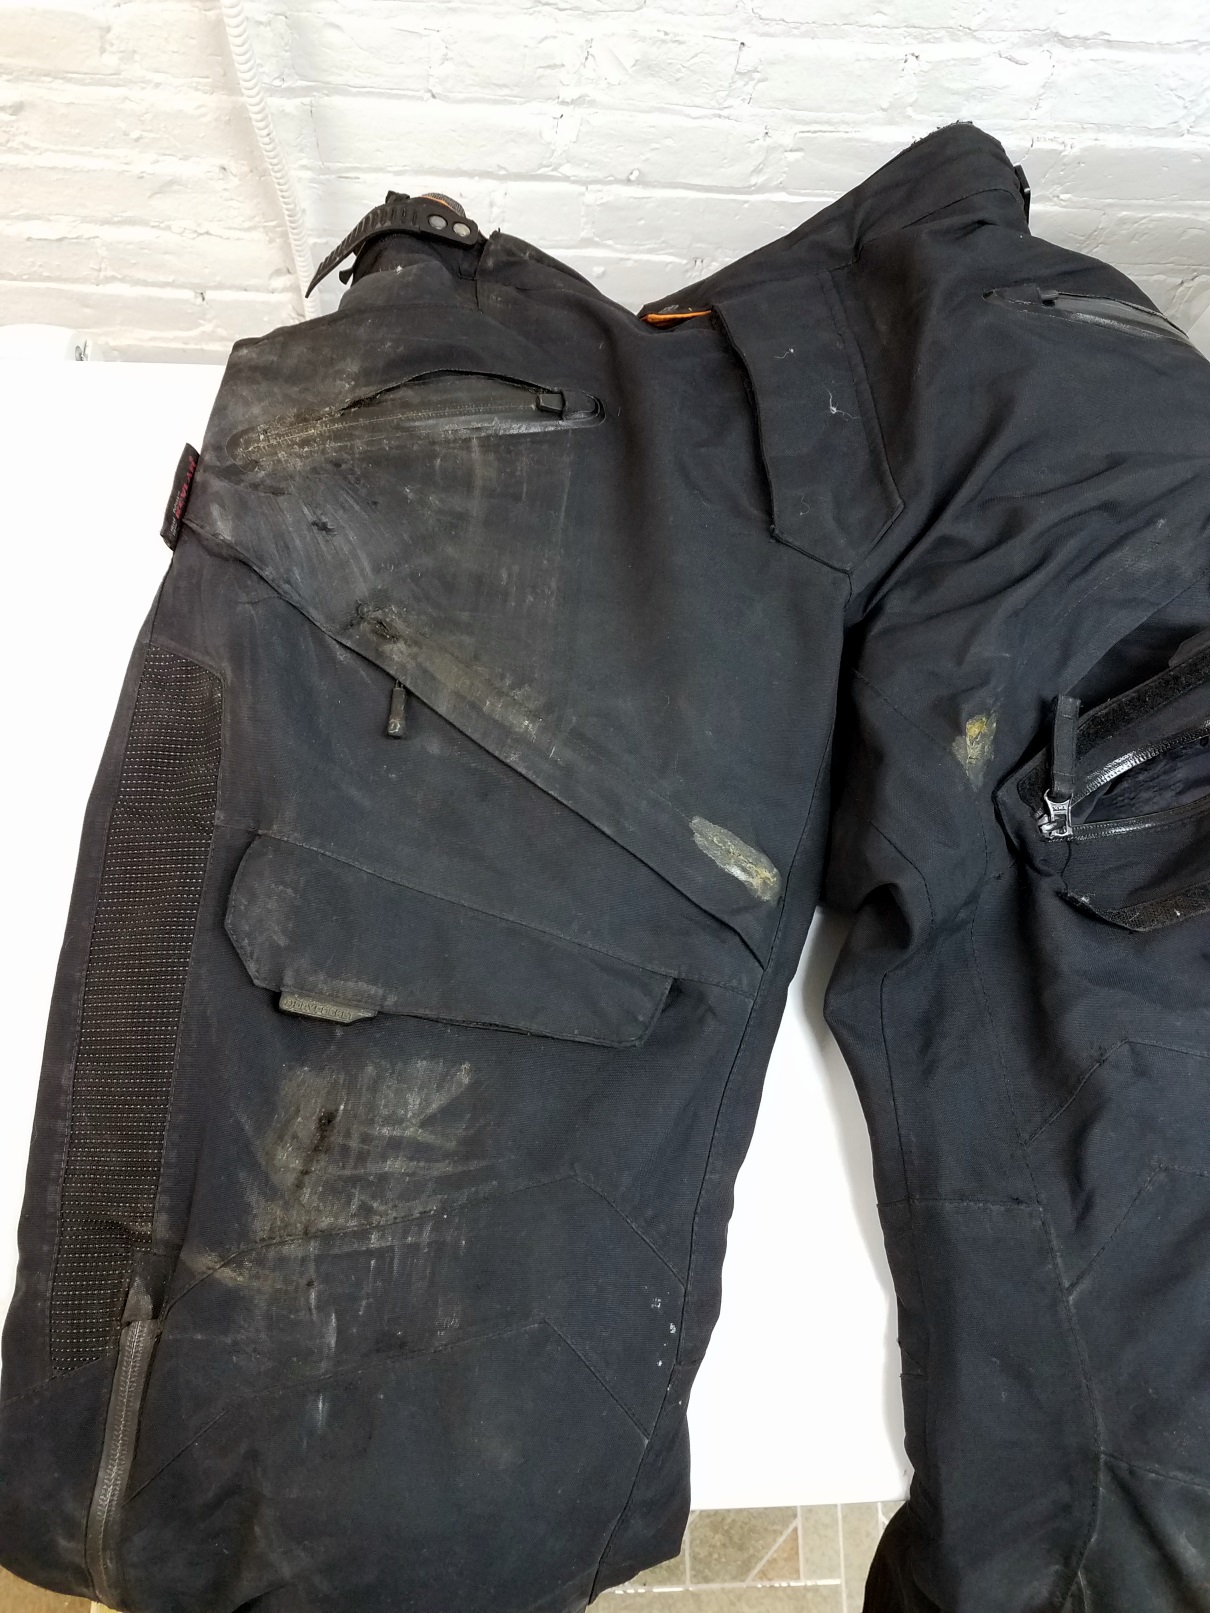
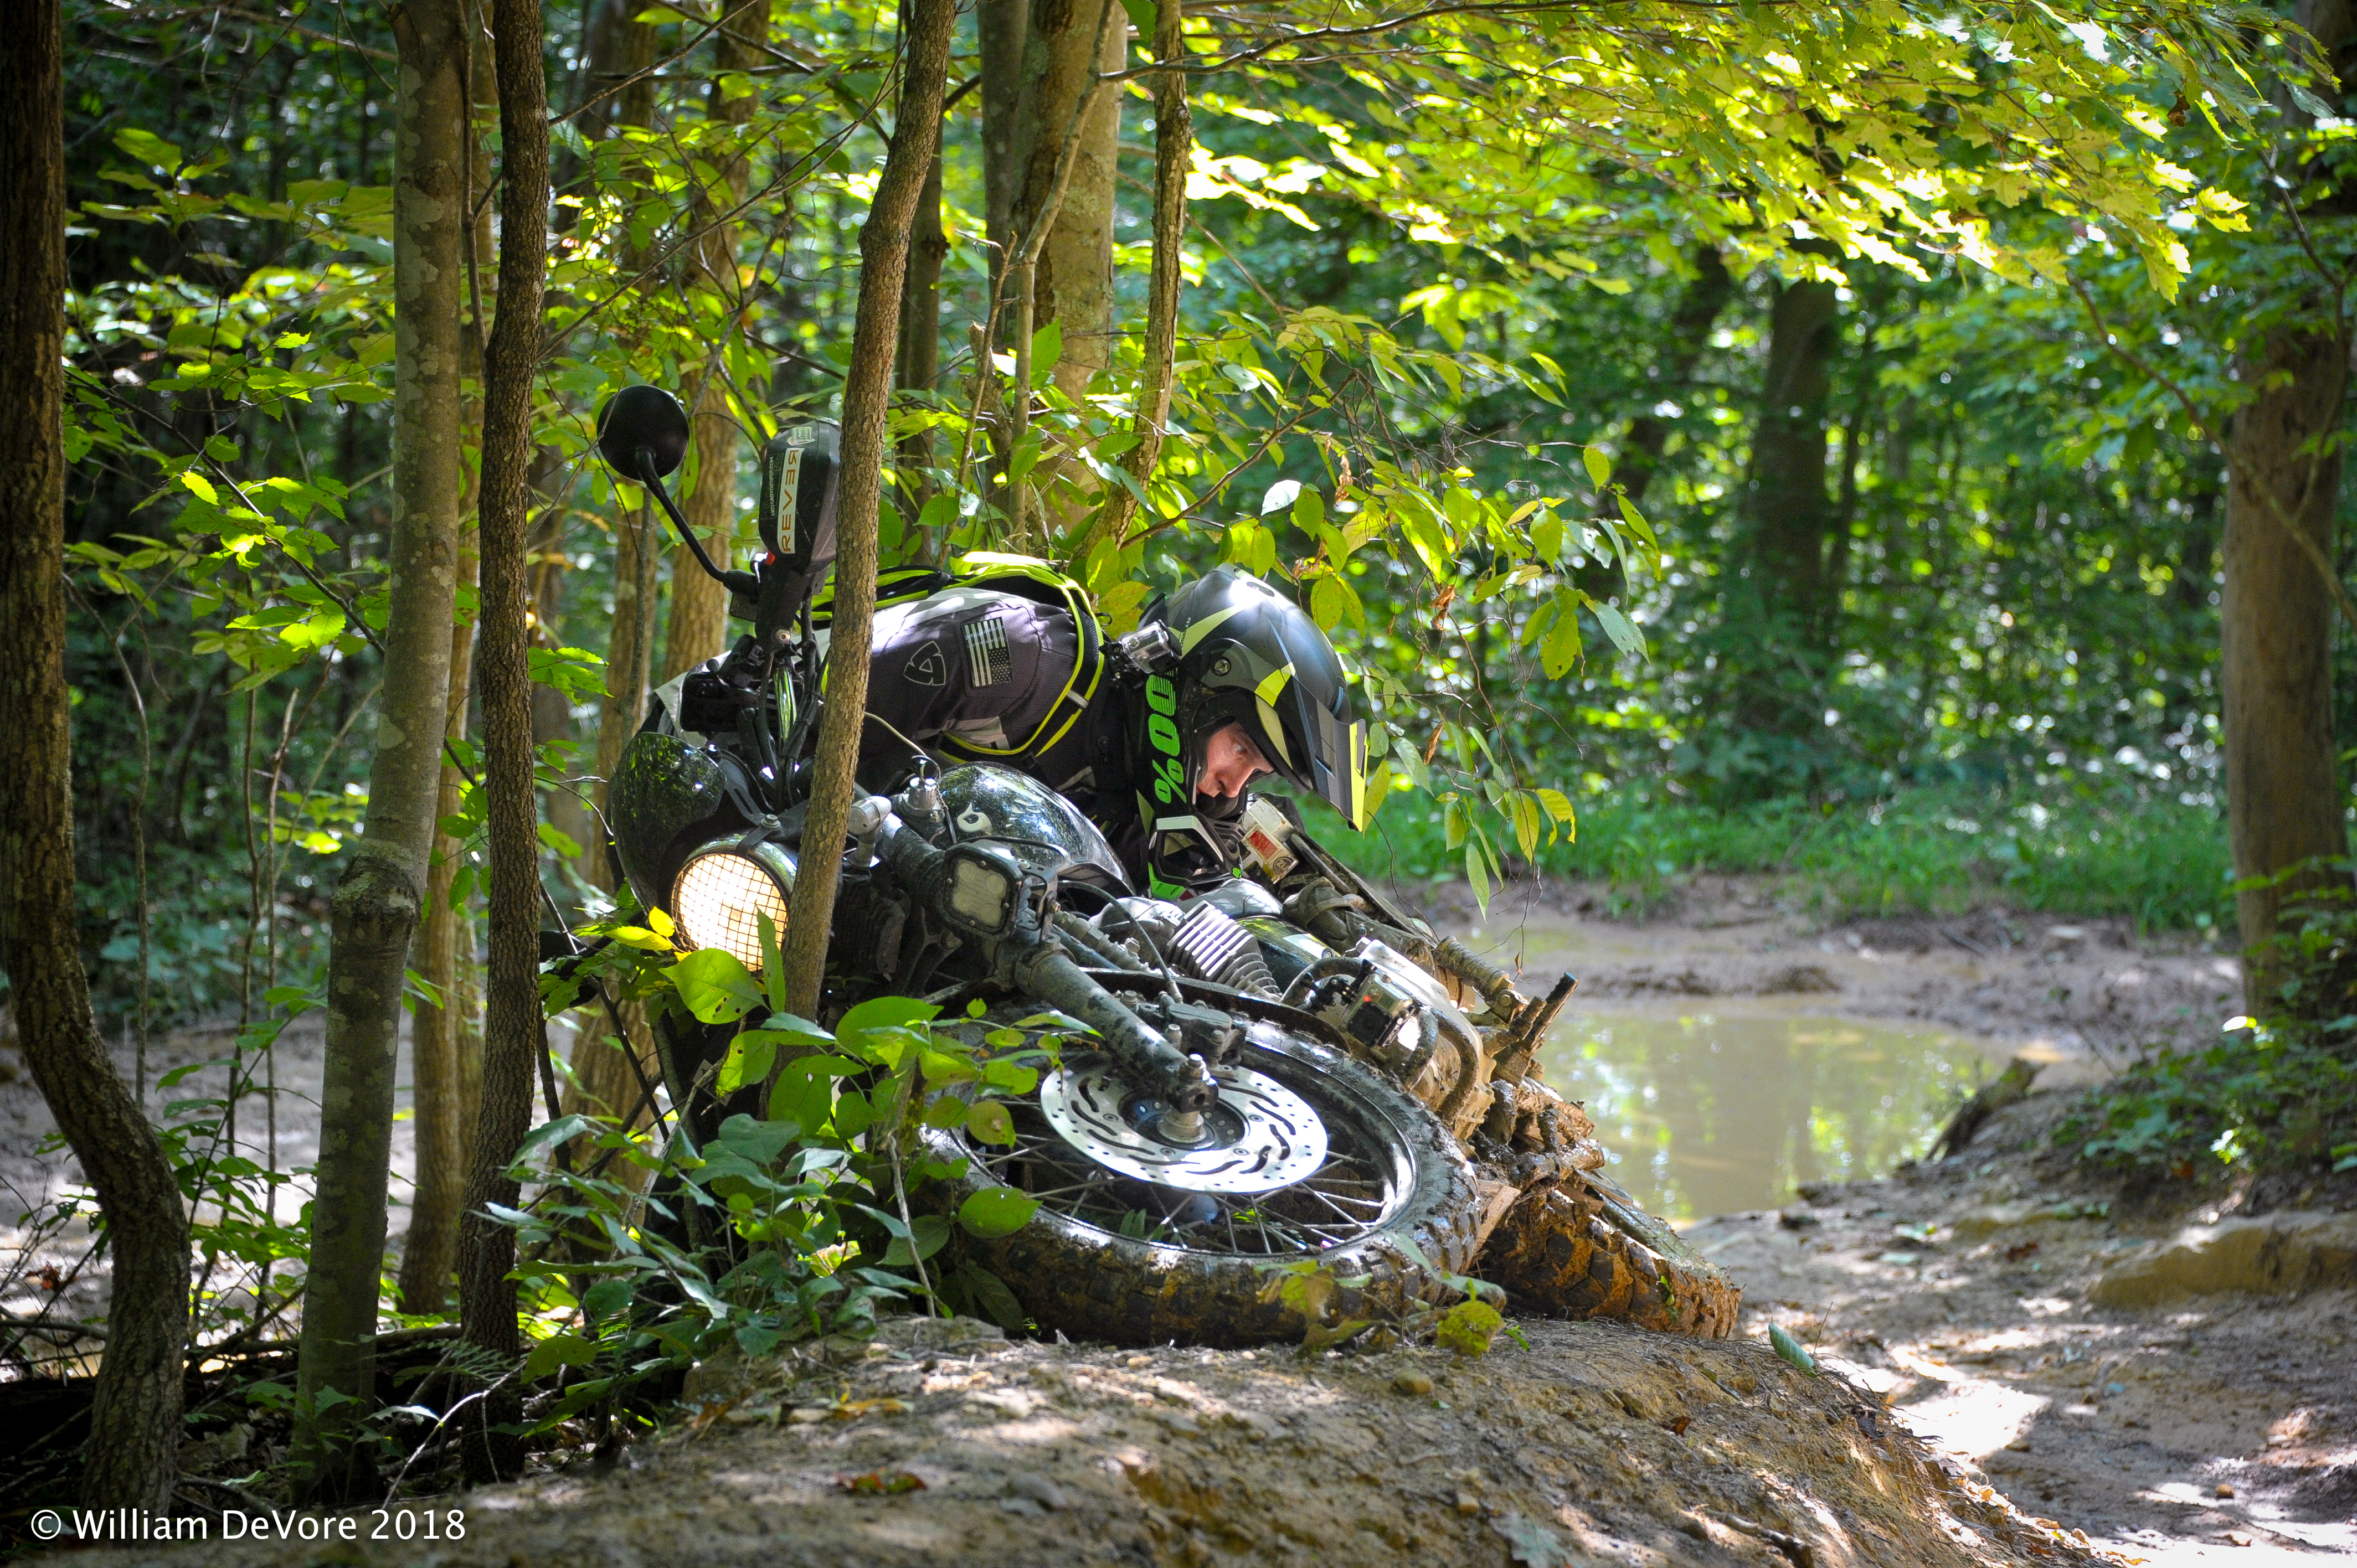
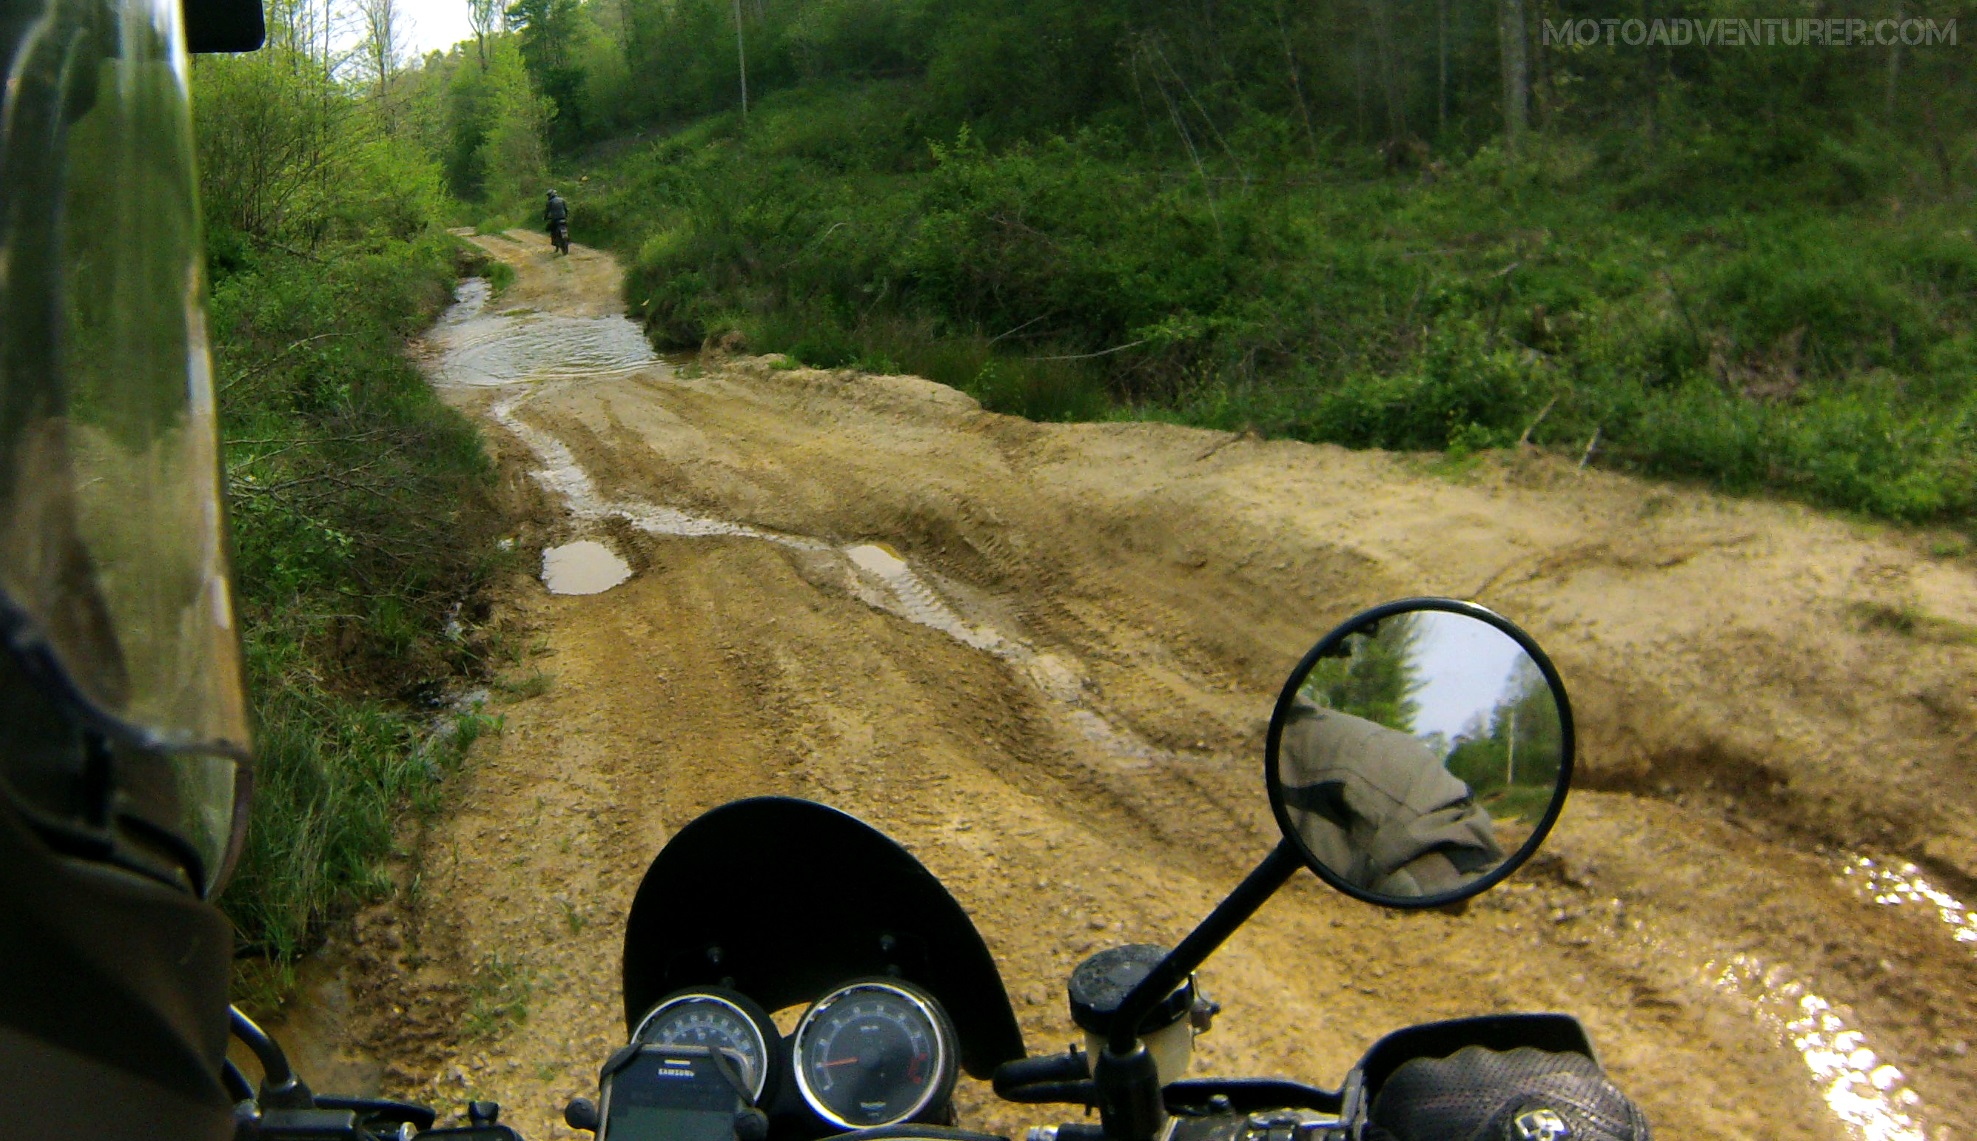
Beyond mastering traction by riding off-road, dirt is also far more forgiving (I should know).  Riding dirt usually means that speeds are lower, so the penalties for mishaps are typically less severe. While not always the case, if you crash off-road, the landing is typically softer. Pavement is anything but soft but it’s also lined with a lot of fixed objects that are likely to inflict even more damage at speed. There are, of course, trees in the woods (by definition), but again, the speeds are typically lower, especially in situations where you’re pushing the limits of your riding capabilities, like creek crossings, rocks, and mud. I’ve been “tossed” far more off-road than I have on the pavement, most of the time while waddling through mud or tractoring up a hill. The tip-overs in the mud are far less eventful than a drop in the parking lot, typically with less damage to the bike to boot.
You never ride the same road twice
I have an equal appreciation for riding my favorite “go-to” roads, just like I enjoy spending entire days looking for new places to ride.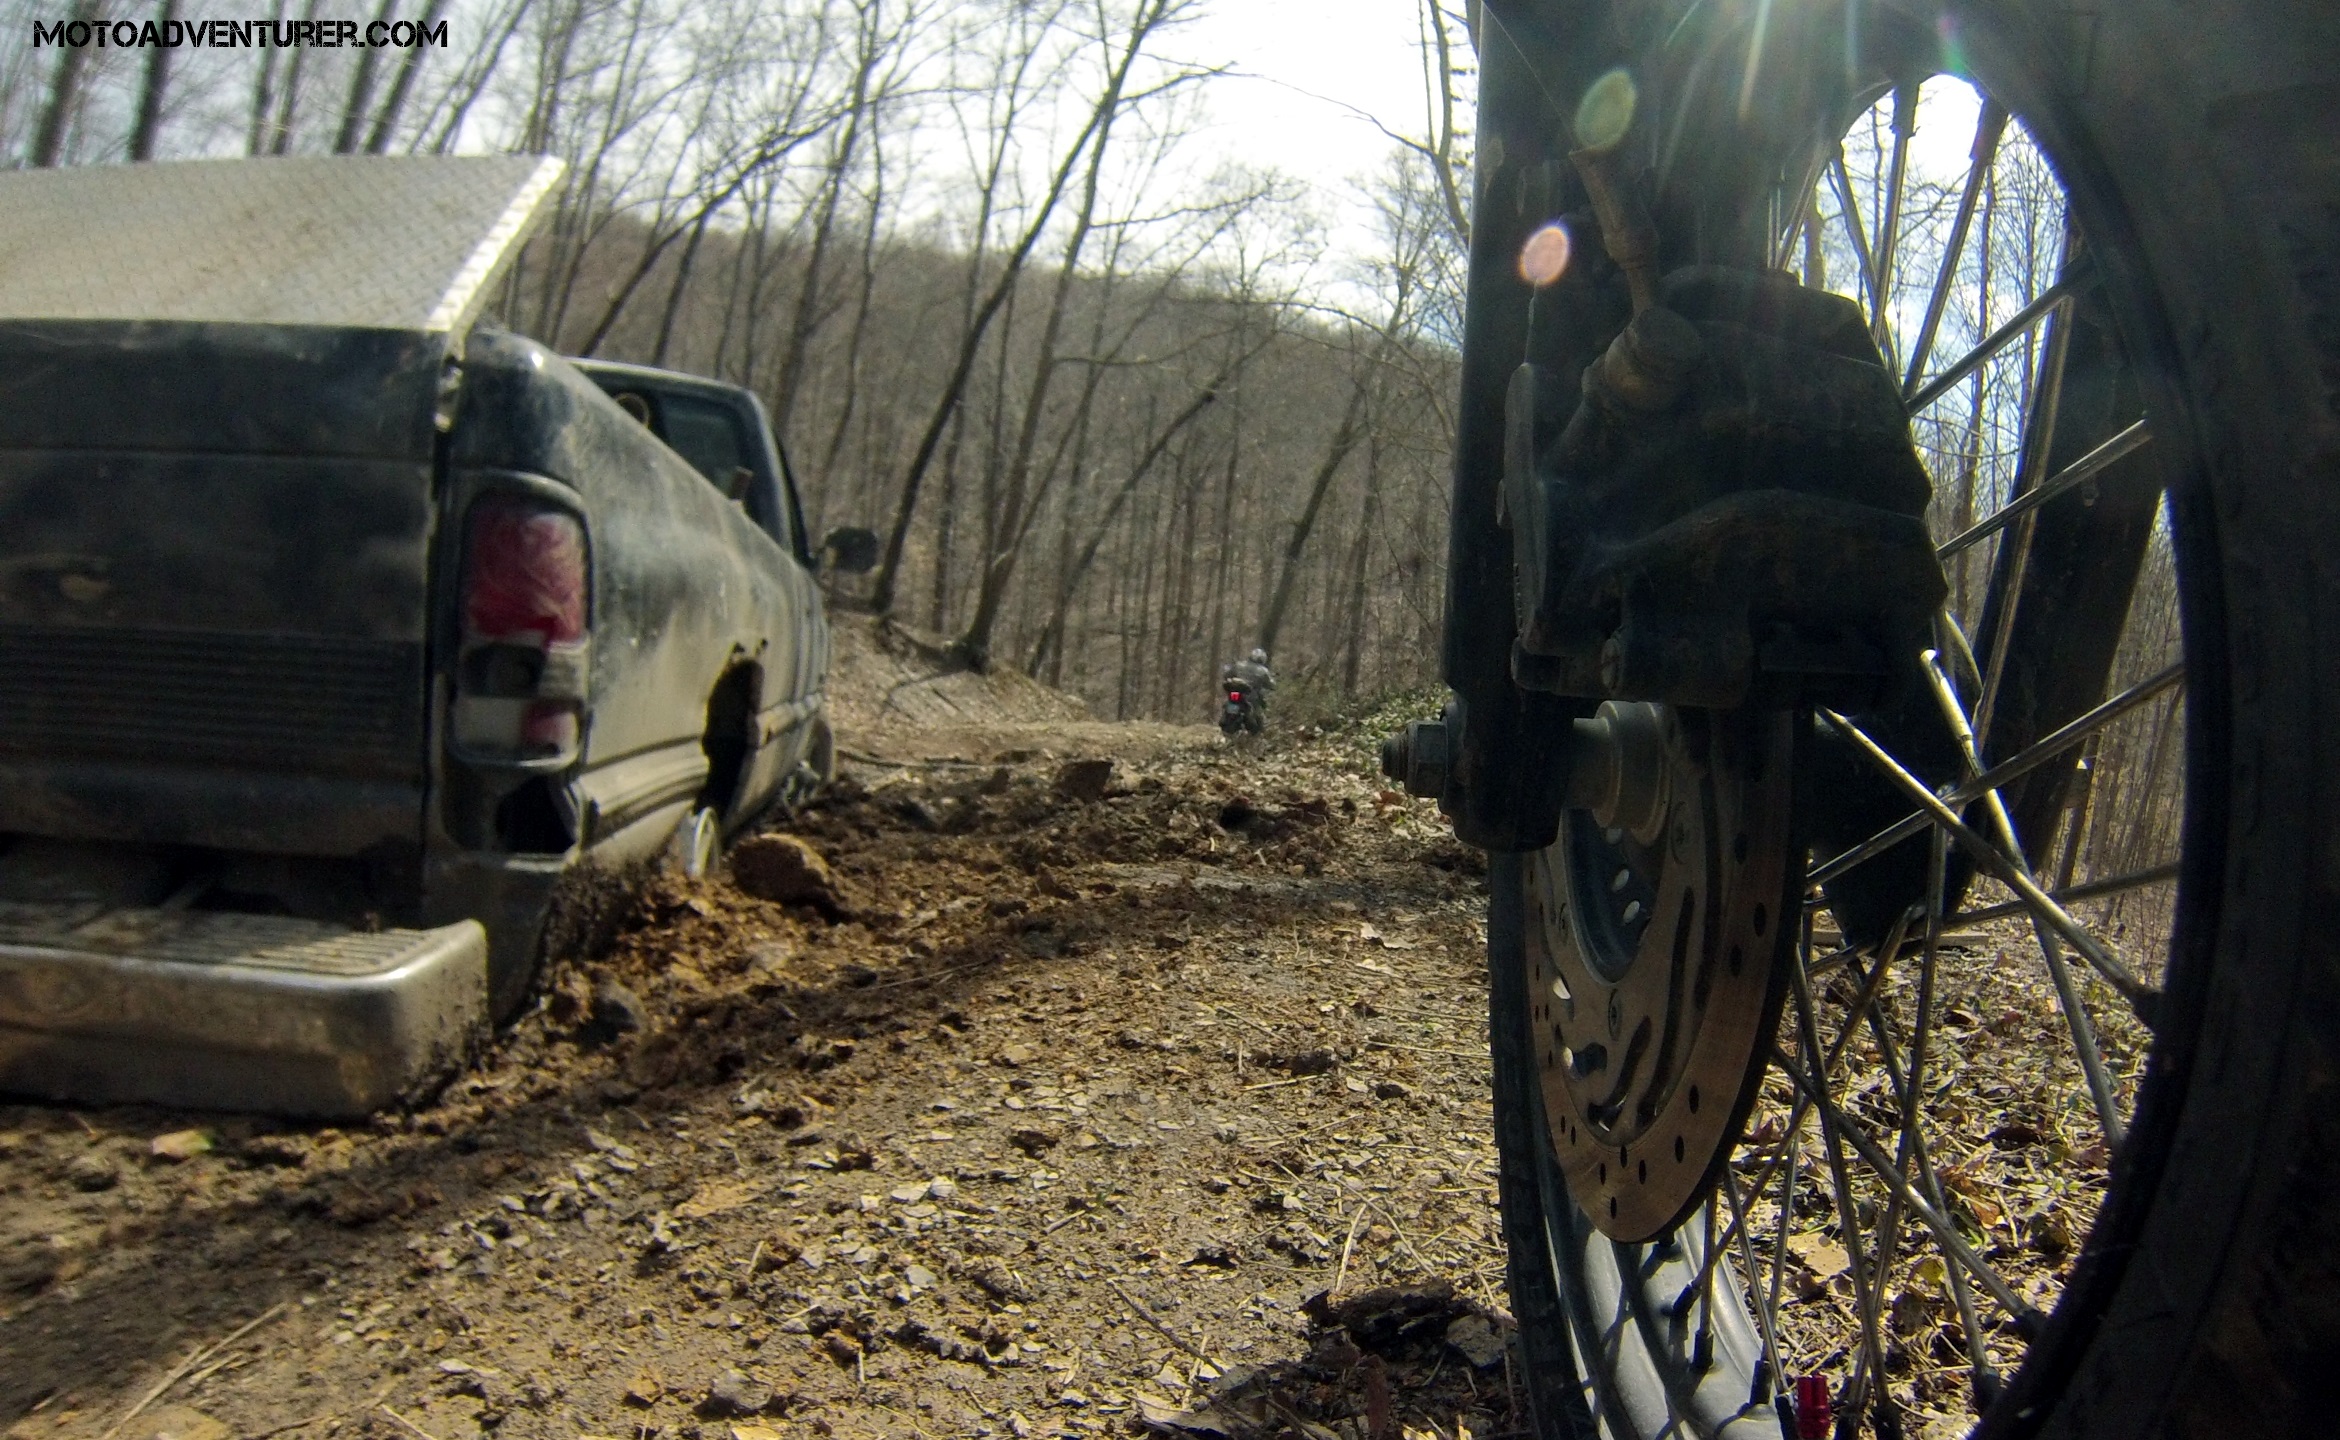 Some folks get bored with the same old stuff and want to ride someplace new most of the time. That’s the beauty of off-road riding; the route doesn’t need to change, because mother nature changes the character of the riding surface with each passing day. I take a few trips to Shawnee State Forest every year, I’ve never seen the route the same way twice, often no more than two weeks apart. One week I’ll find mud on the trail in a spot I’ve never seen it before; the next trip I’ll find a gnarly rut from the previous day’s thunderstorm, you just never know.
“…avoid any Imperial entanglements.”
Everyone appreciates something different about motorcycling, for me, it’s often the closest I’ll ever get to being a fighter pilot. As such, that occasionally means my taste for “spirited” riding is at odds with the local constabulary… 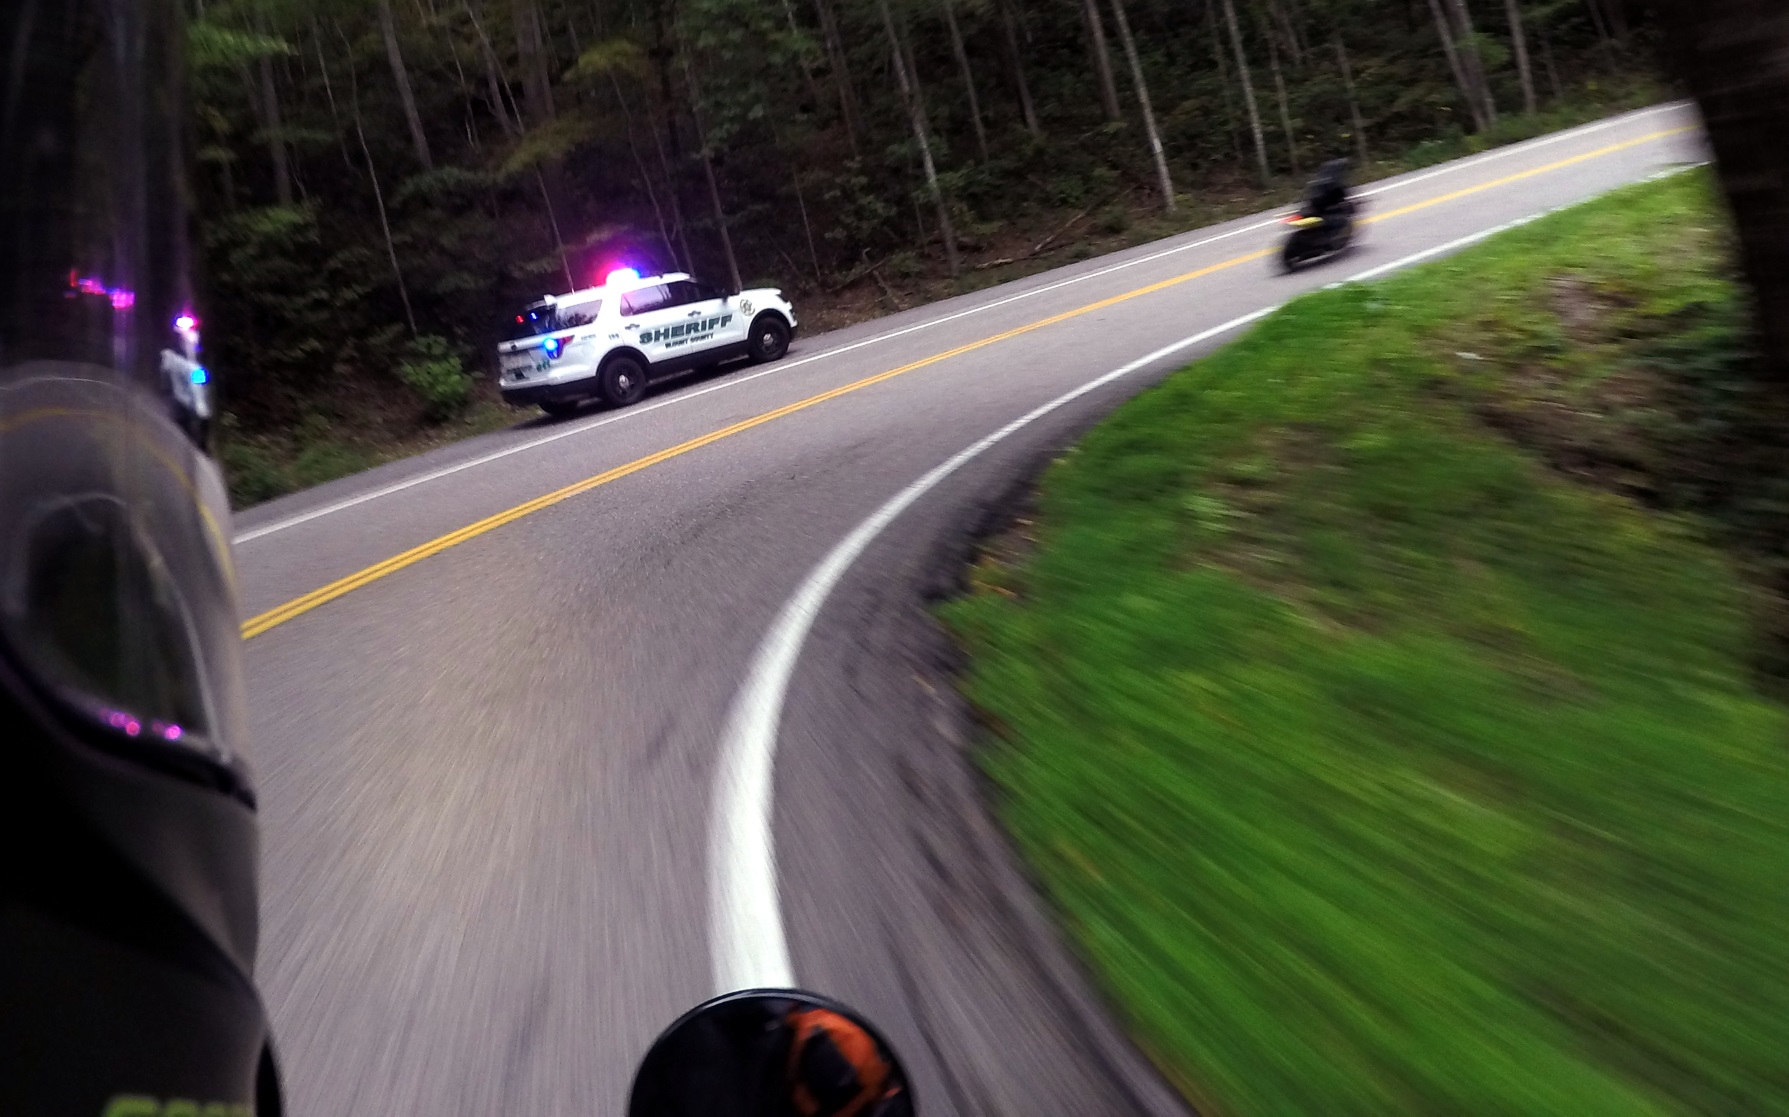 Fortunately, riding off-road typically means that posted speed limits are well… not posted, as few would attempt to ride at such speeds that would necessitate a “limit”. My off-road skills certainly fall into that category, as I seldom find myself exceeding my ability to apply the brakes on a loose surface. However, off-road riding can be the hooligan’s paradise as there’s typically no peace officer to be found; or anyone else for that matter. Needless to say, urbanites frown upon wheelies on the boulevard, but when riding off-road, the ability to lift the front wheel is praised, furthermore, it’s a necessary part of tackling certain obstacles; a skill one should master if they plan on diving deeper into the backwoods. Or at least, that’s what I’m going to tell myself… I’m obviously not condoning hooning around forest service roads and creating problems with the local park rangers. However, if you’re out on the trail in the middle of nowhere, the consequences are between you, mother nature, and perhaps your insurance company.
There’s no such thing as a boring dirt road
 While ripping along the sweeping paved roads, at some point, backed up traffic, the risk of injury, or the threat of legal altercation typically trumps your interest in high-speed maneuvers. Thus, you finally accept the inevitable and settle into following some beat-up pickup around your favorite set of twisties. When riding off-road, you’re nearly always the fastest vehicle on the trail (if not the only vehicle), and most folks will wave you by. Related to my previous point about traffic laws, I can’t think of a single time I’ve found myself bored on the trail. More excitement can always be found at the twist of a throttle. If you get bored putting around the trail, just wick it up a few more notches. That boredom can rapidly transform into stark terror at the next bend (if not sooner).
Solitude
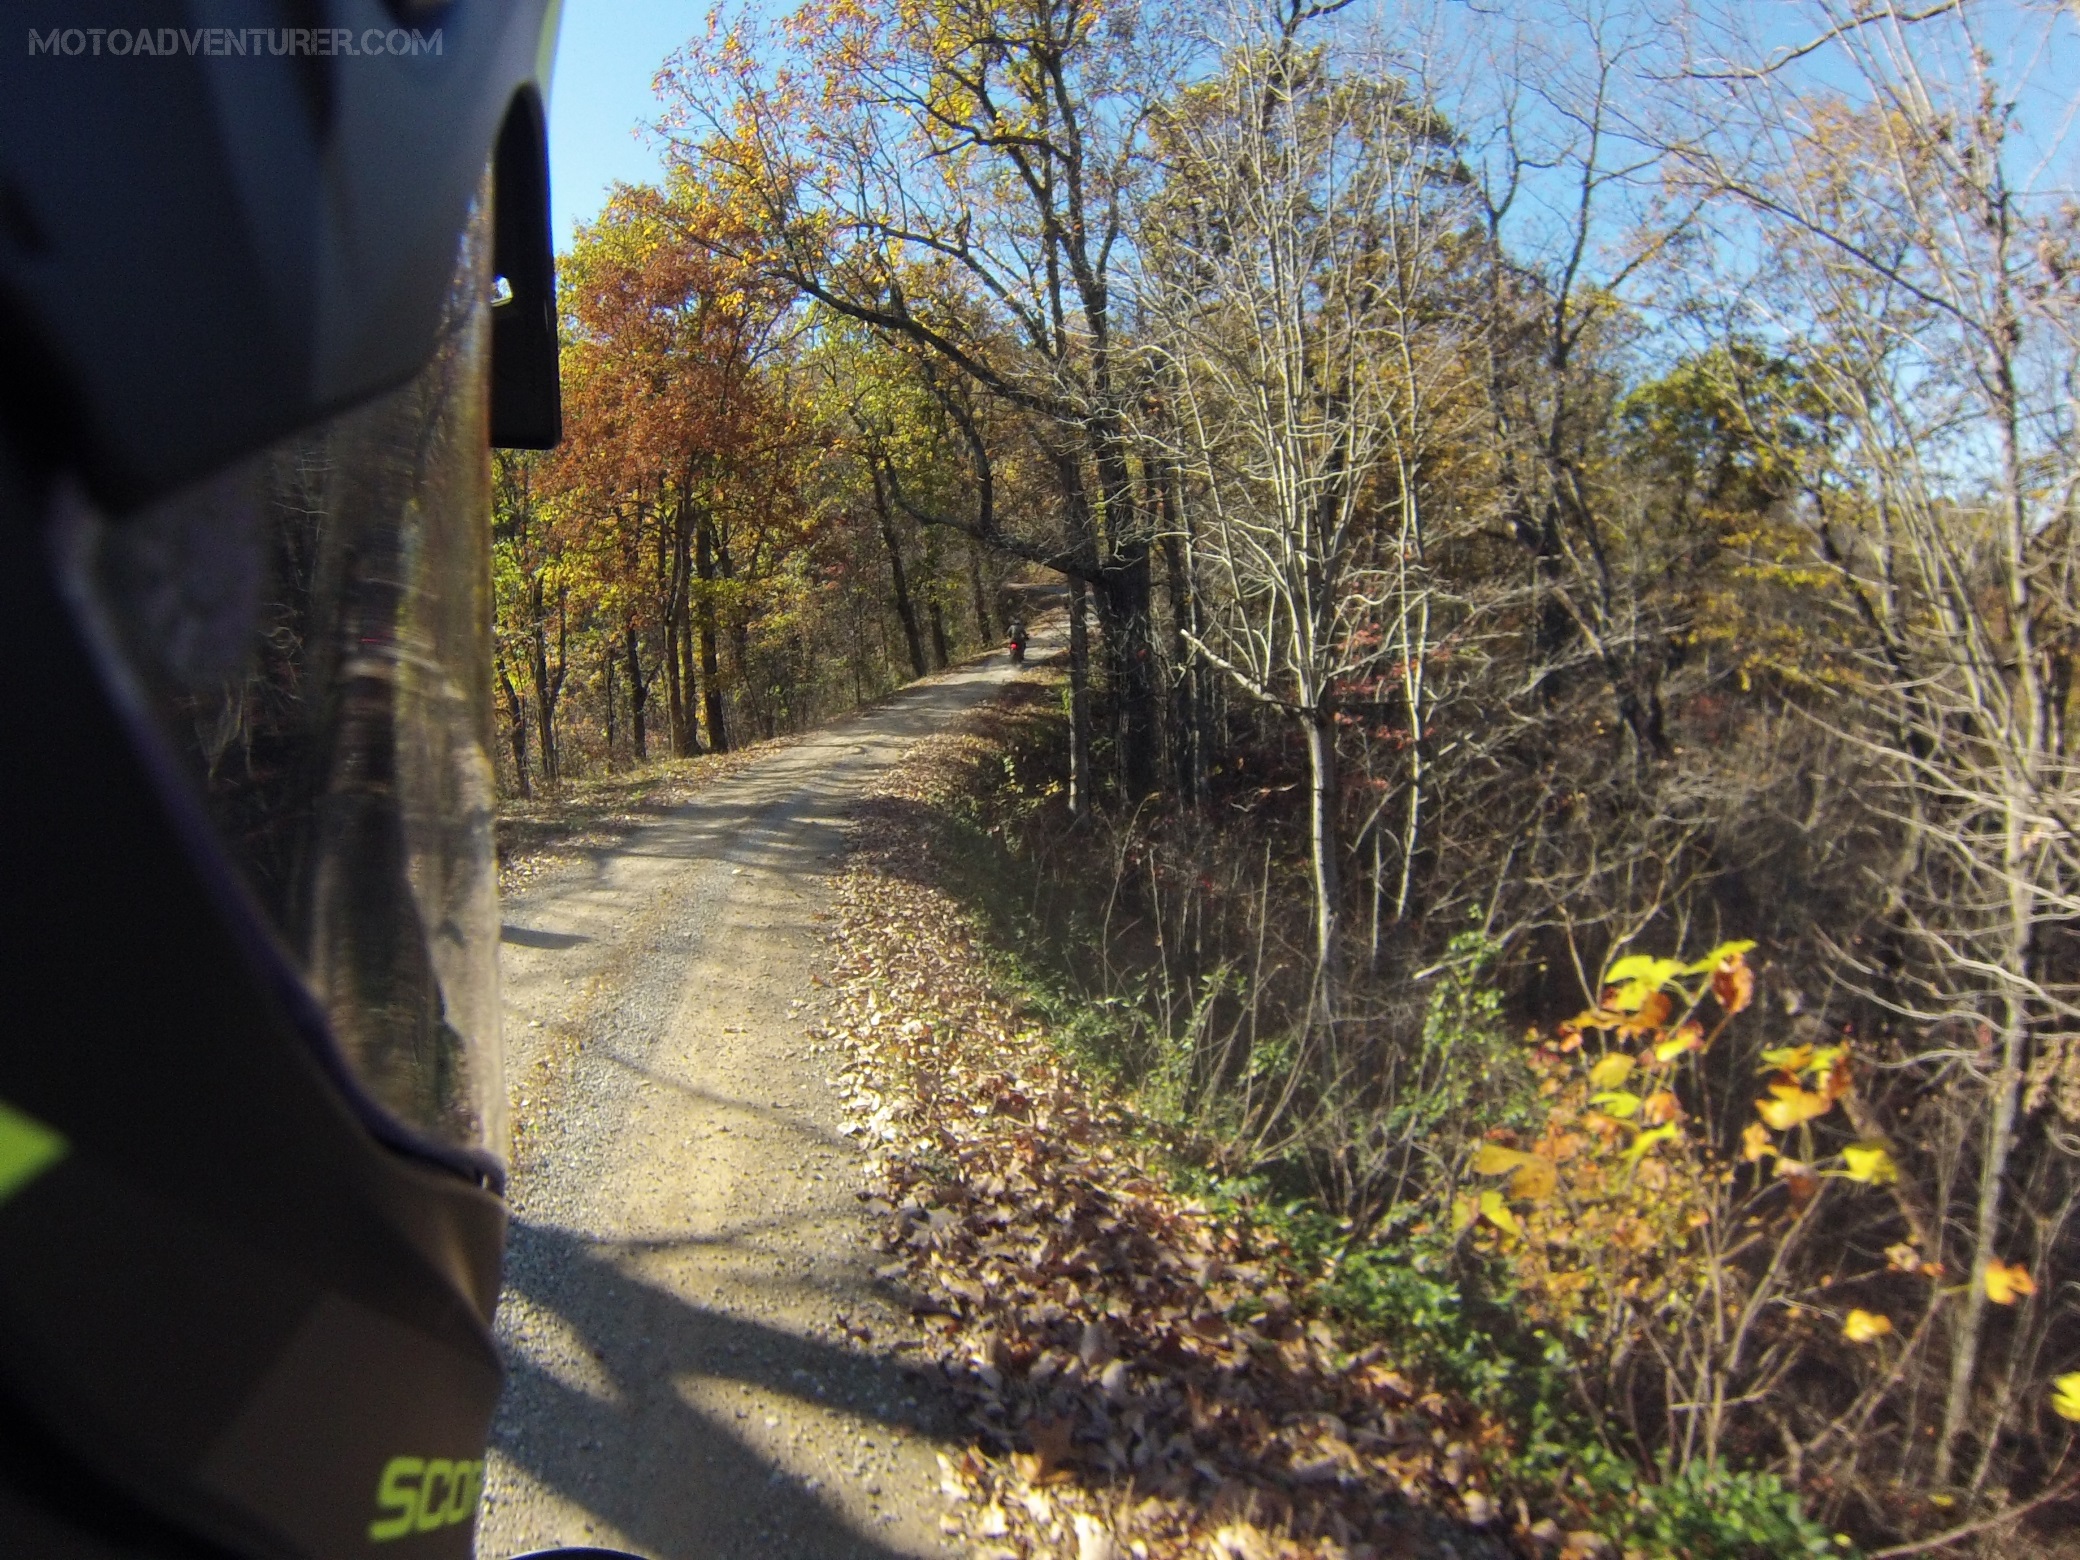
Which brings me to my next point, solitude on the rural backwater roads is what I love most about long rides through Appalachia. When you leave the pavement, those roads are even more remote, and often, a lot closer to home than such sparsely traveled paved roads. On a different note, folks concerned about the dangers that other drivers pose to motorcyclists, those complications are minimized the moment you leave the pavement, as few people have any interest in traveling on dirt roads. This perspective is obviously not for everyone, being alone and “off grid” without the ability to get help is not appealing to some. However, if you’re looking to turn off all the “noise” of urban life, see the “wild” and connect with nature, off-road riding again combines two of your passions at once.
Self-reliance
When discussing the best tool kit, many have suggested that the less kinesthetically inclined simply carry a cell phone and a credit card. Here on the east coast, that’s a pretty solid plan most of the time.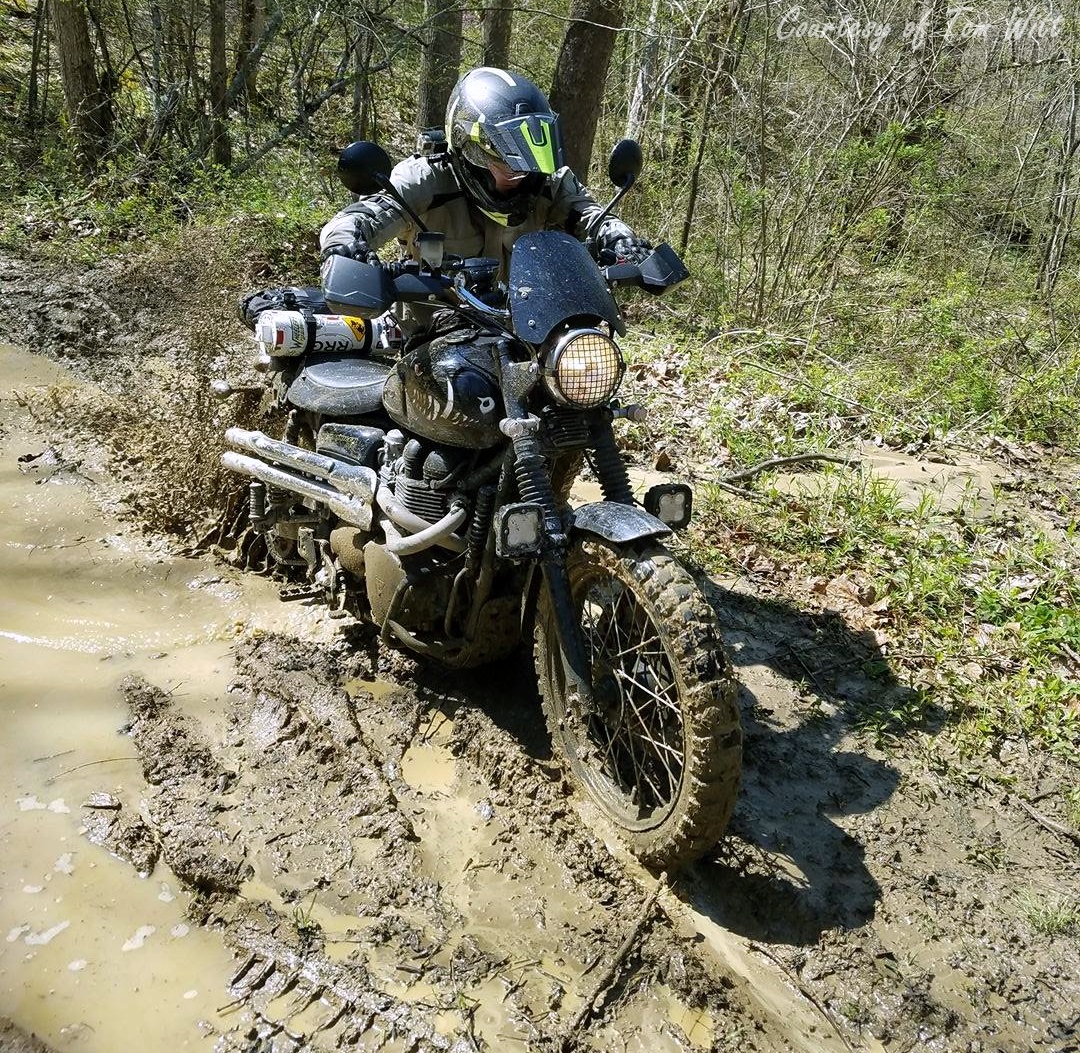 Paved roads (typically) lead to somewhere, so someone will be along eventually, even if you can’t make a phone call. Off-road, however, that’s not always the case. Where I ride in Kentucky isn’t particularly remote, however many of those trails are places where only a 4-wheel drive could potentially retrieve a disabled, 500-pound motorcycle, and I doubt many tow truck drivers are interested in attempting it. That’s one of the reasons the kitchen sink is often packed on the back of the Scrambler; if I get a flat, break a lever, or have some other mechanical issue, I need to manage on my own until I can limp the bike back to some form of civilization. Again, this concept is not for everyone; certainly many among us have no interest in riding that far into the bush, but for the select few, the knowledge that you are your only safety net is part of the allure. For those that find themselves in the middle, I certainly recommend the buddy system; being stuck out in the woods with your closest friend is slightly less intimidating than negotiating with the local black bear all by your lonesome (this way you just need to be faster than your buddy). If nothing else, your buddy can usually help push the bike out of the mud, and in the best of circumstances, you can now split a tool kit between two bikes instead of hauling all the heavy stuff solo.
It doesn’t have to be as rugged as the internet would have you believe
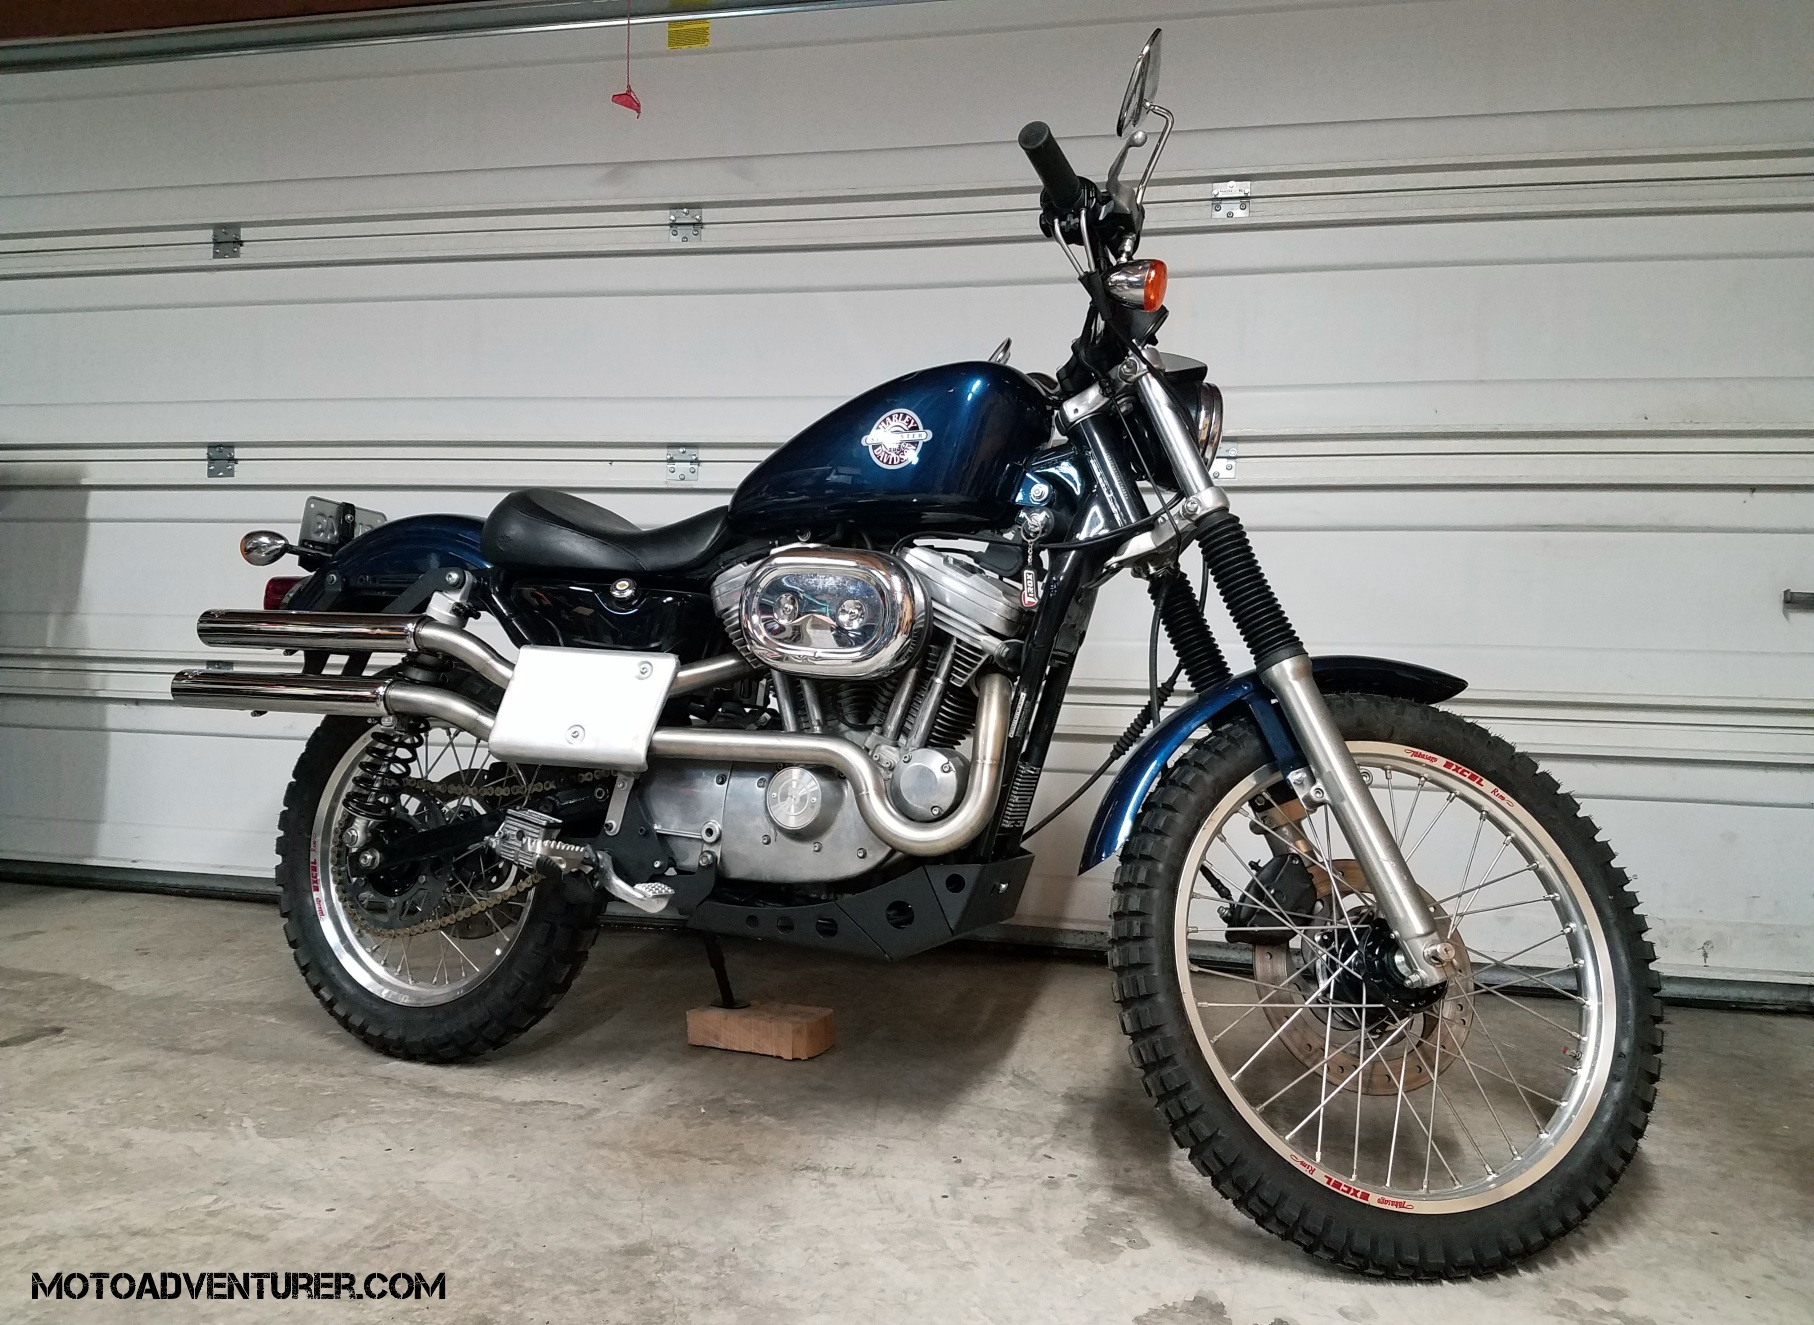
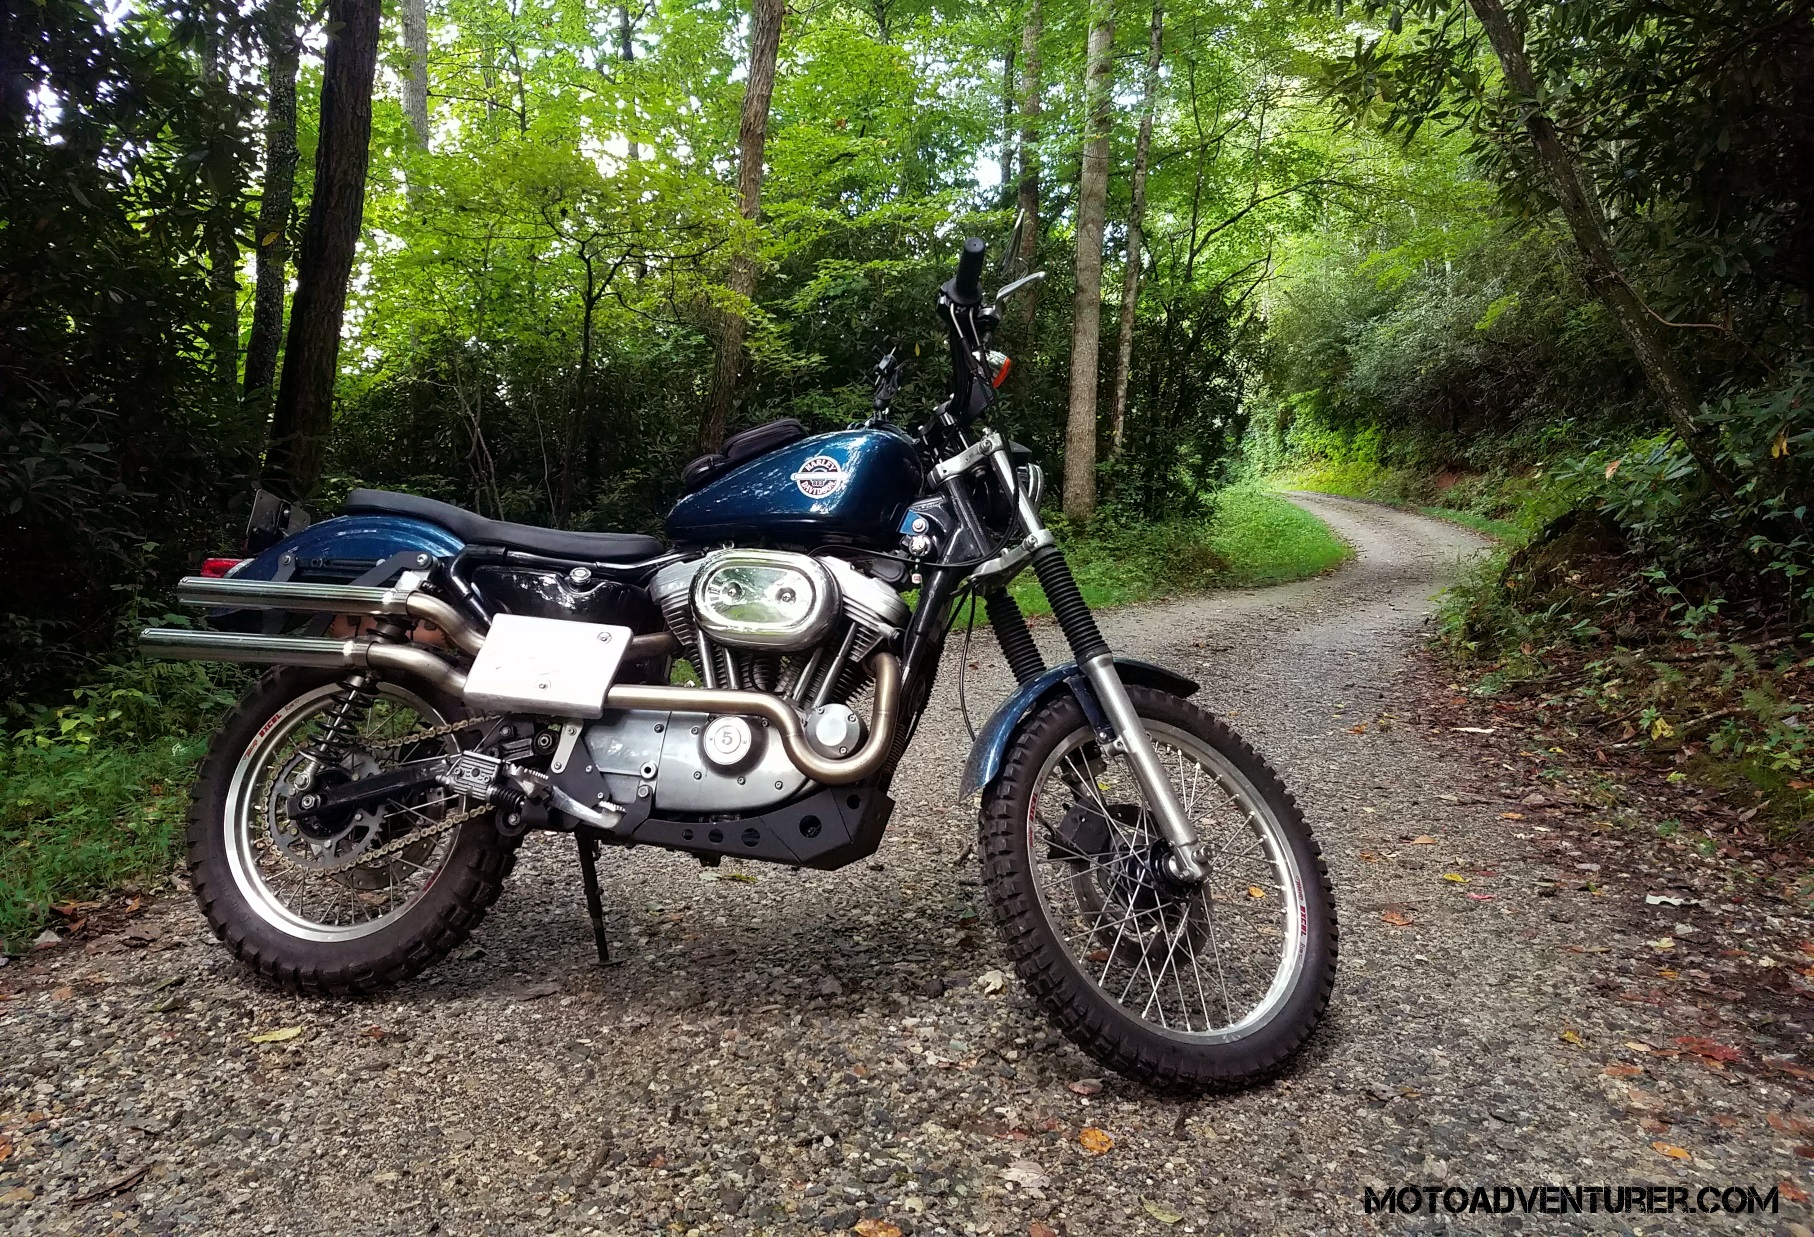
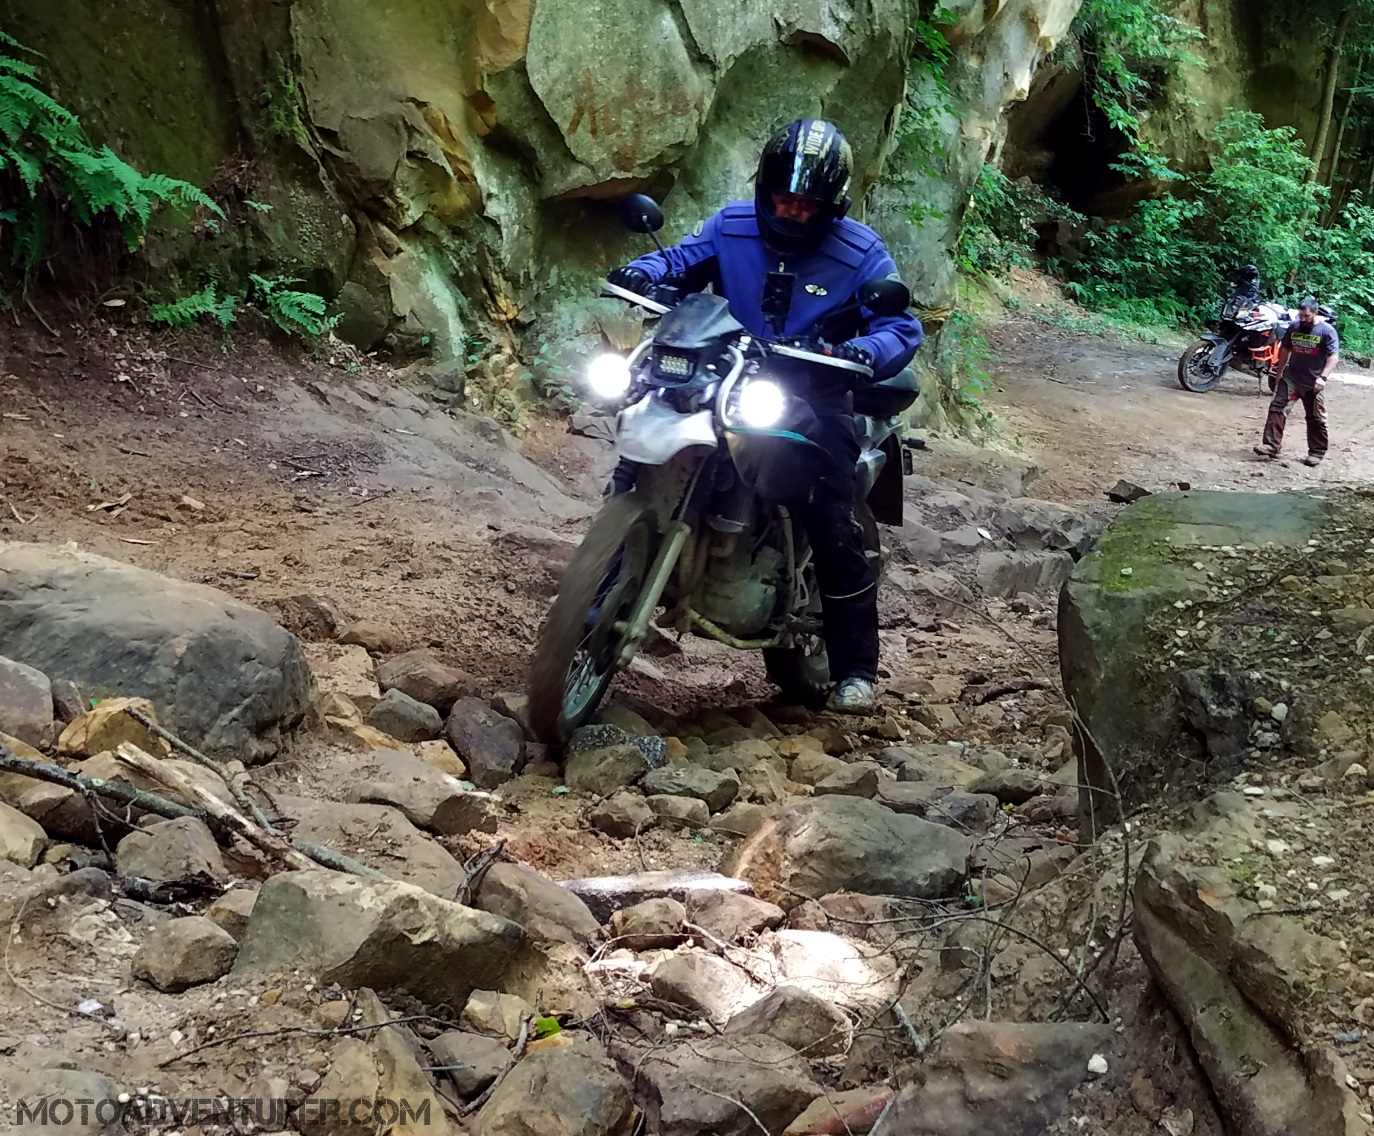
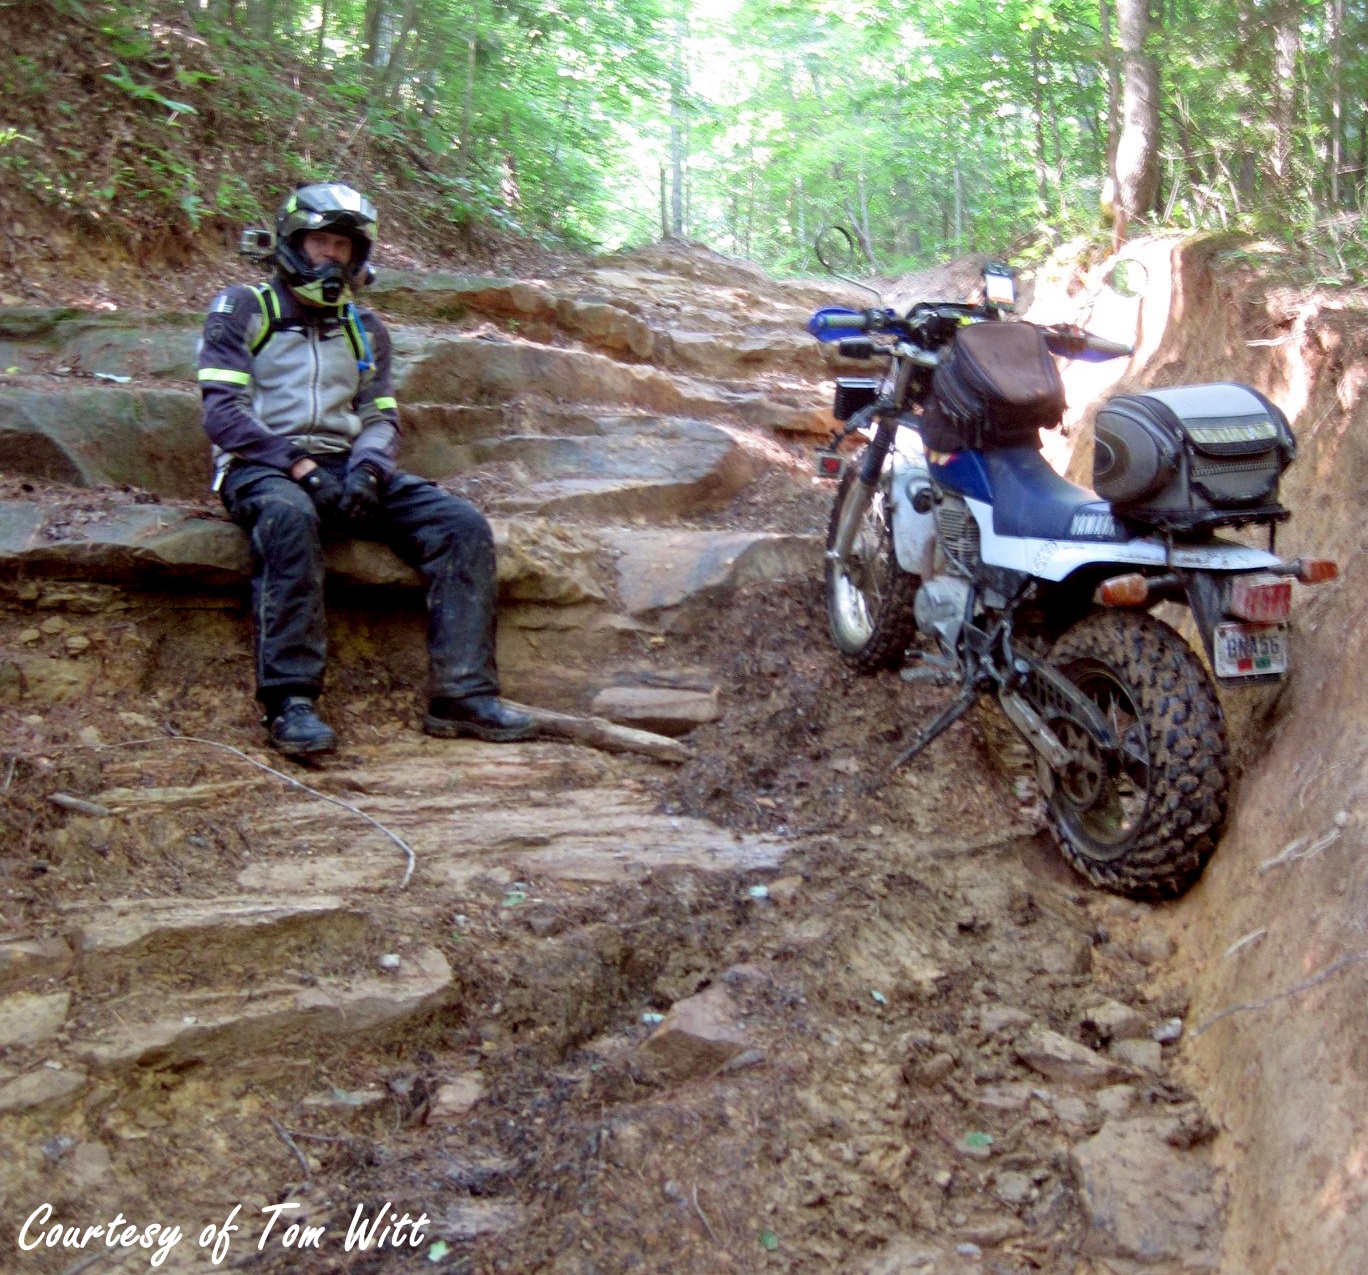
Despite all these stories about being down in the holler, knee deep in the Kentucky clay, adventure riding doesn’t have to be the stuff you see on the internet. In the Instagram age, everyone is posting photos of ridiculously over-weight machinery traversing the gnarliest off-road trails.  Most of us, however, are simply enjoying a scenic detour along the forest service roads. Shawnee State Forest is another classic example of this; most of the trails inside the forest are immaculate gravel roads that I would take a Harley down, no different than my CRF250L (albeit slower). I’ll always tell people, “don’t get hung up on finding the RIGHT bike, as the internet would have you believe” because you don’t have to take your motorcycle down rugged single track to enjoy an off-road adventure. I’ve certainly taken my Scrambler to places few others will go, but that had a lot to do with the fact it was the only bike I had, but mostly a testament to my own stubbornness. Most folks will have a lot more fun just enjoying the scenery at their local state parks and on unimproved county roads.
You don’t need a $20,000 bike to try it
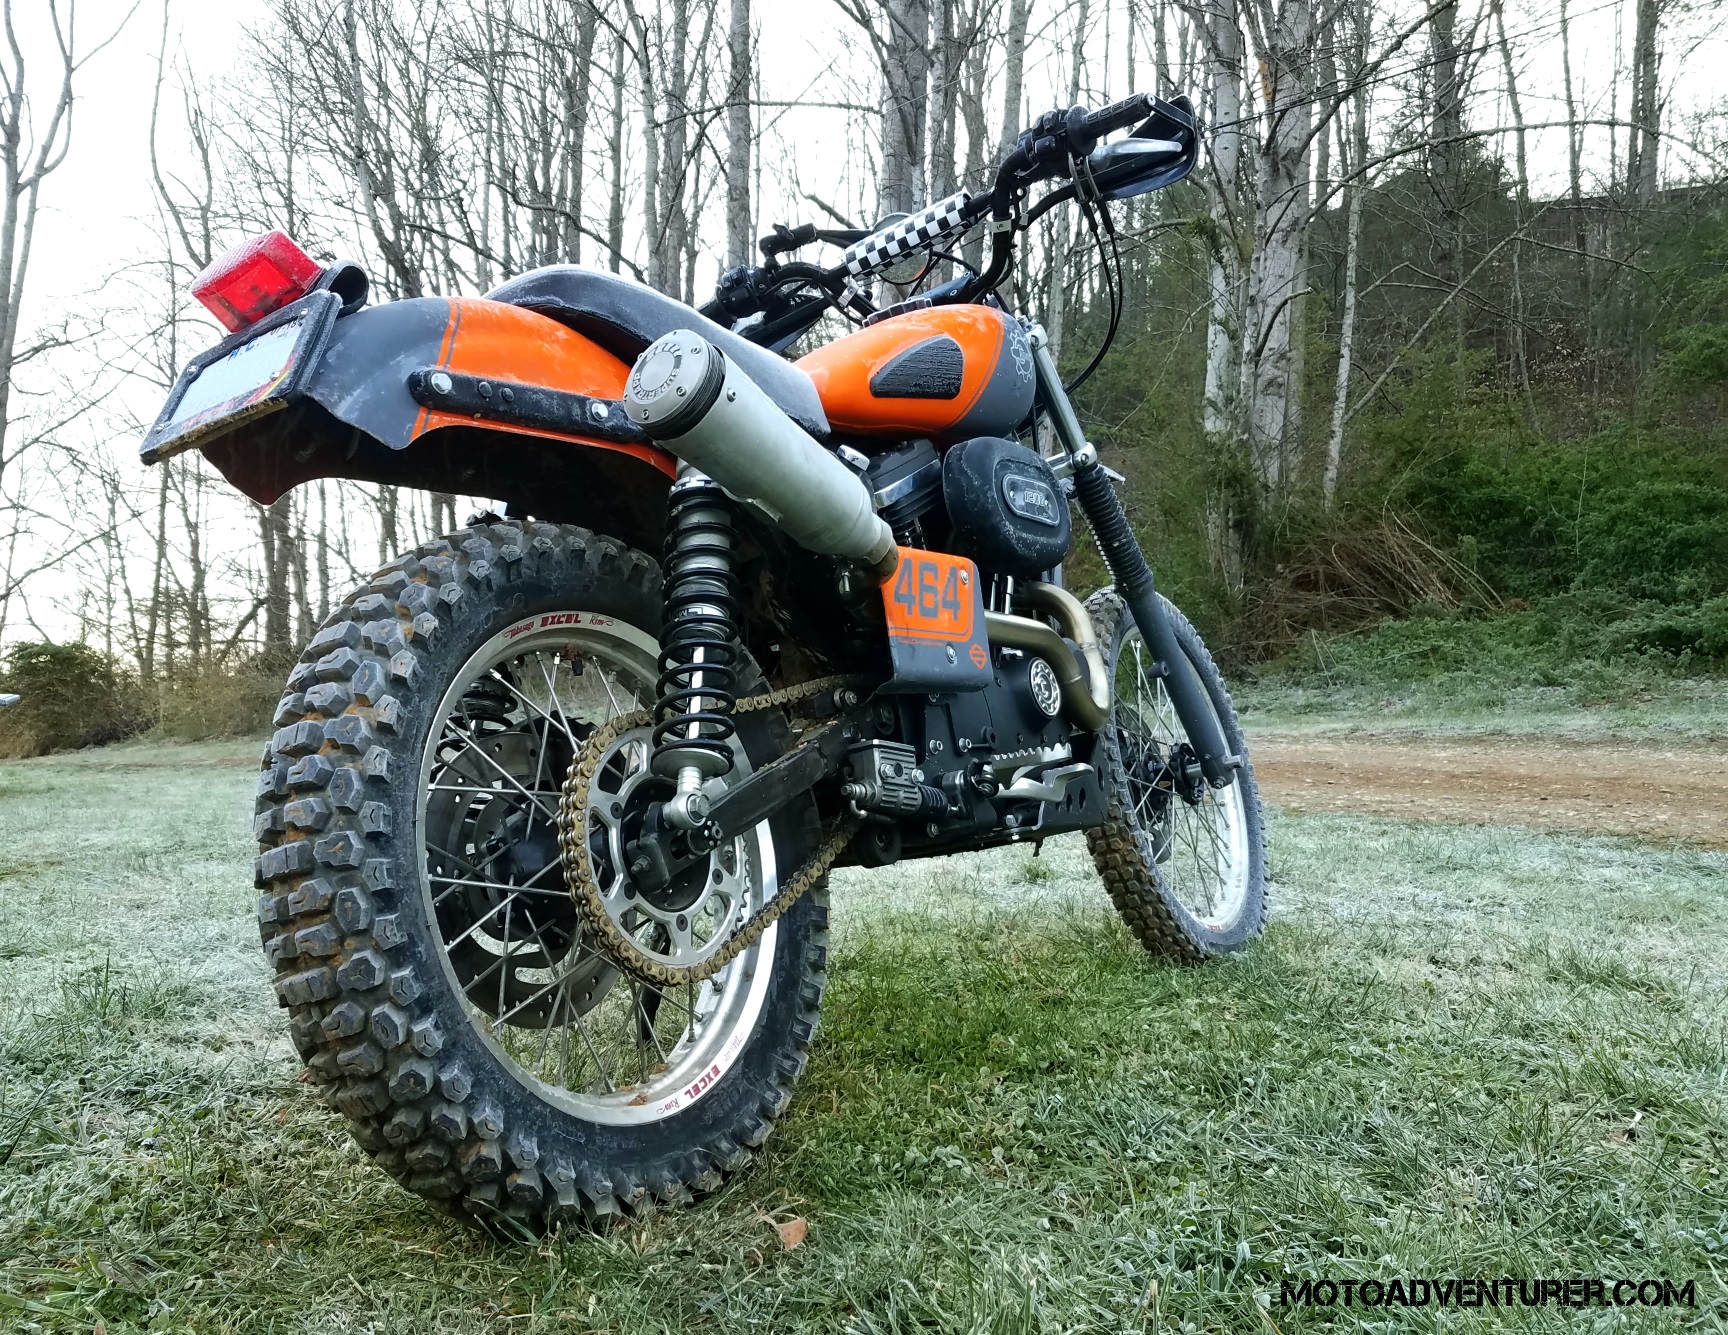
Speaking of the Scrambler, it’s far cry from a BMW R1200GSA or KTM1090. If you ask three people what kind of bike you need for a given adventure, you’ll get four opinions and I about guarantee, one of them will be the “premium everything” option.  Something of note, most street bikes have more suspension travel than my Scrambler, and it goes without saying that didn’t stop it. You should also know, that despite wanting the best adventure bike, or the most dirt-worthy thumper, a KLR 650 is arguably THE cheapest option for an “adventure” machine; but even then, any bike can do the job. There will always be more comfortable and more capable machines, not to mention limitless farkles to spend your money on. Find a bike that’s in your budget and go have an adventure. In time you’ll discover the limits of your comfort zone with respect to where you like to ride and the comfort and capabilities of your machine. Once you’ve figured that out, you can make choices about changing your given mount (don’t forget, two is better than one).
It doesn’t have to be for weeks at a time
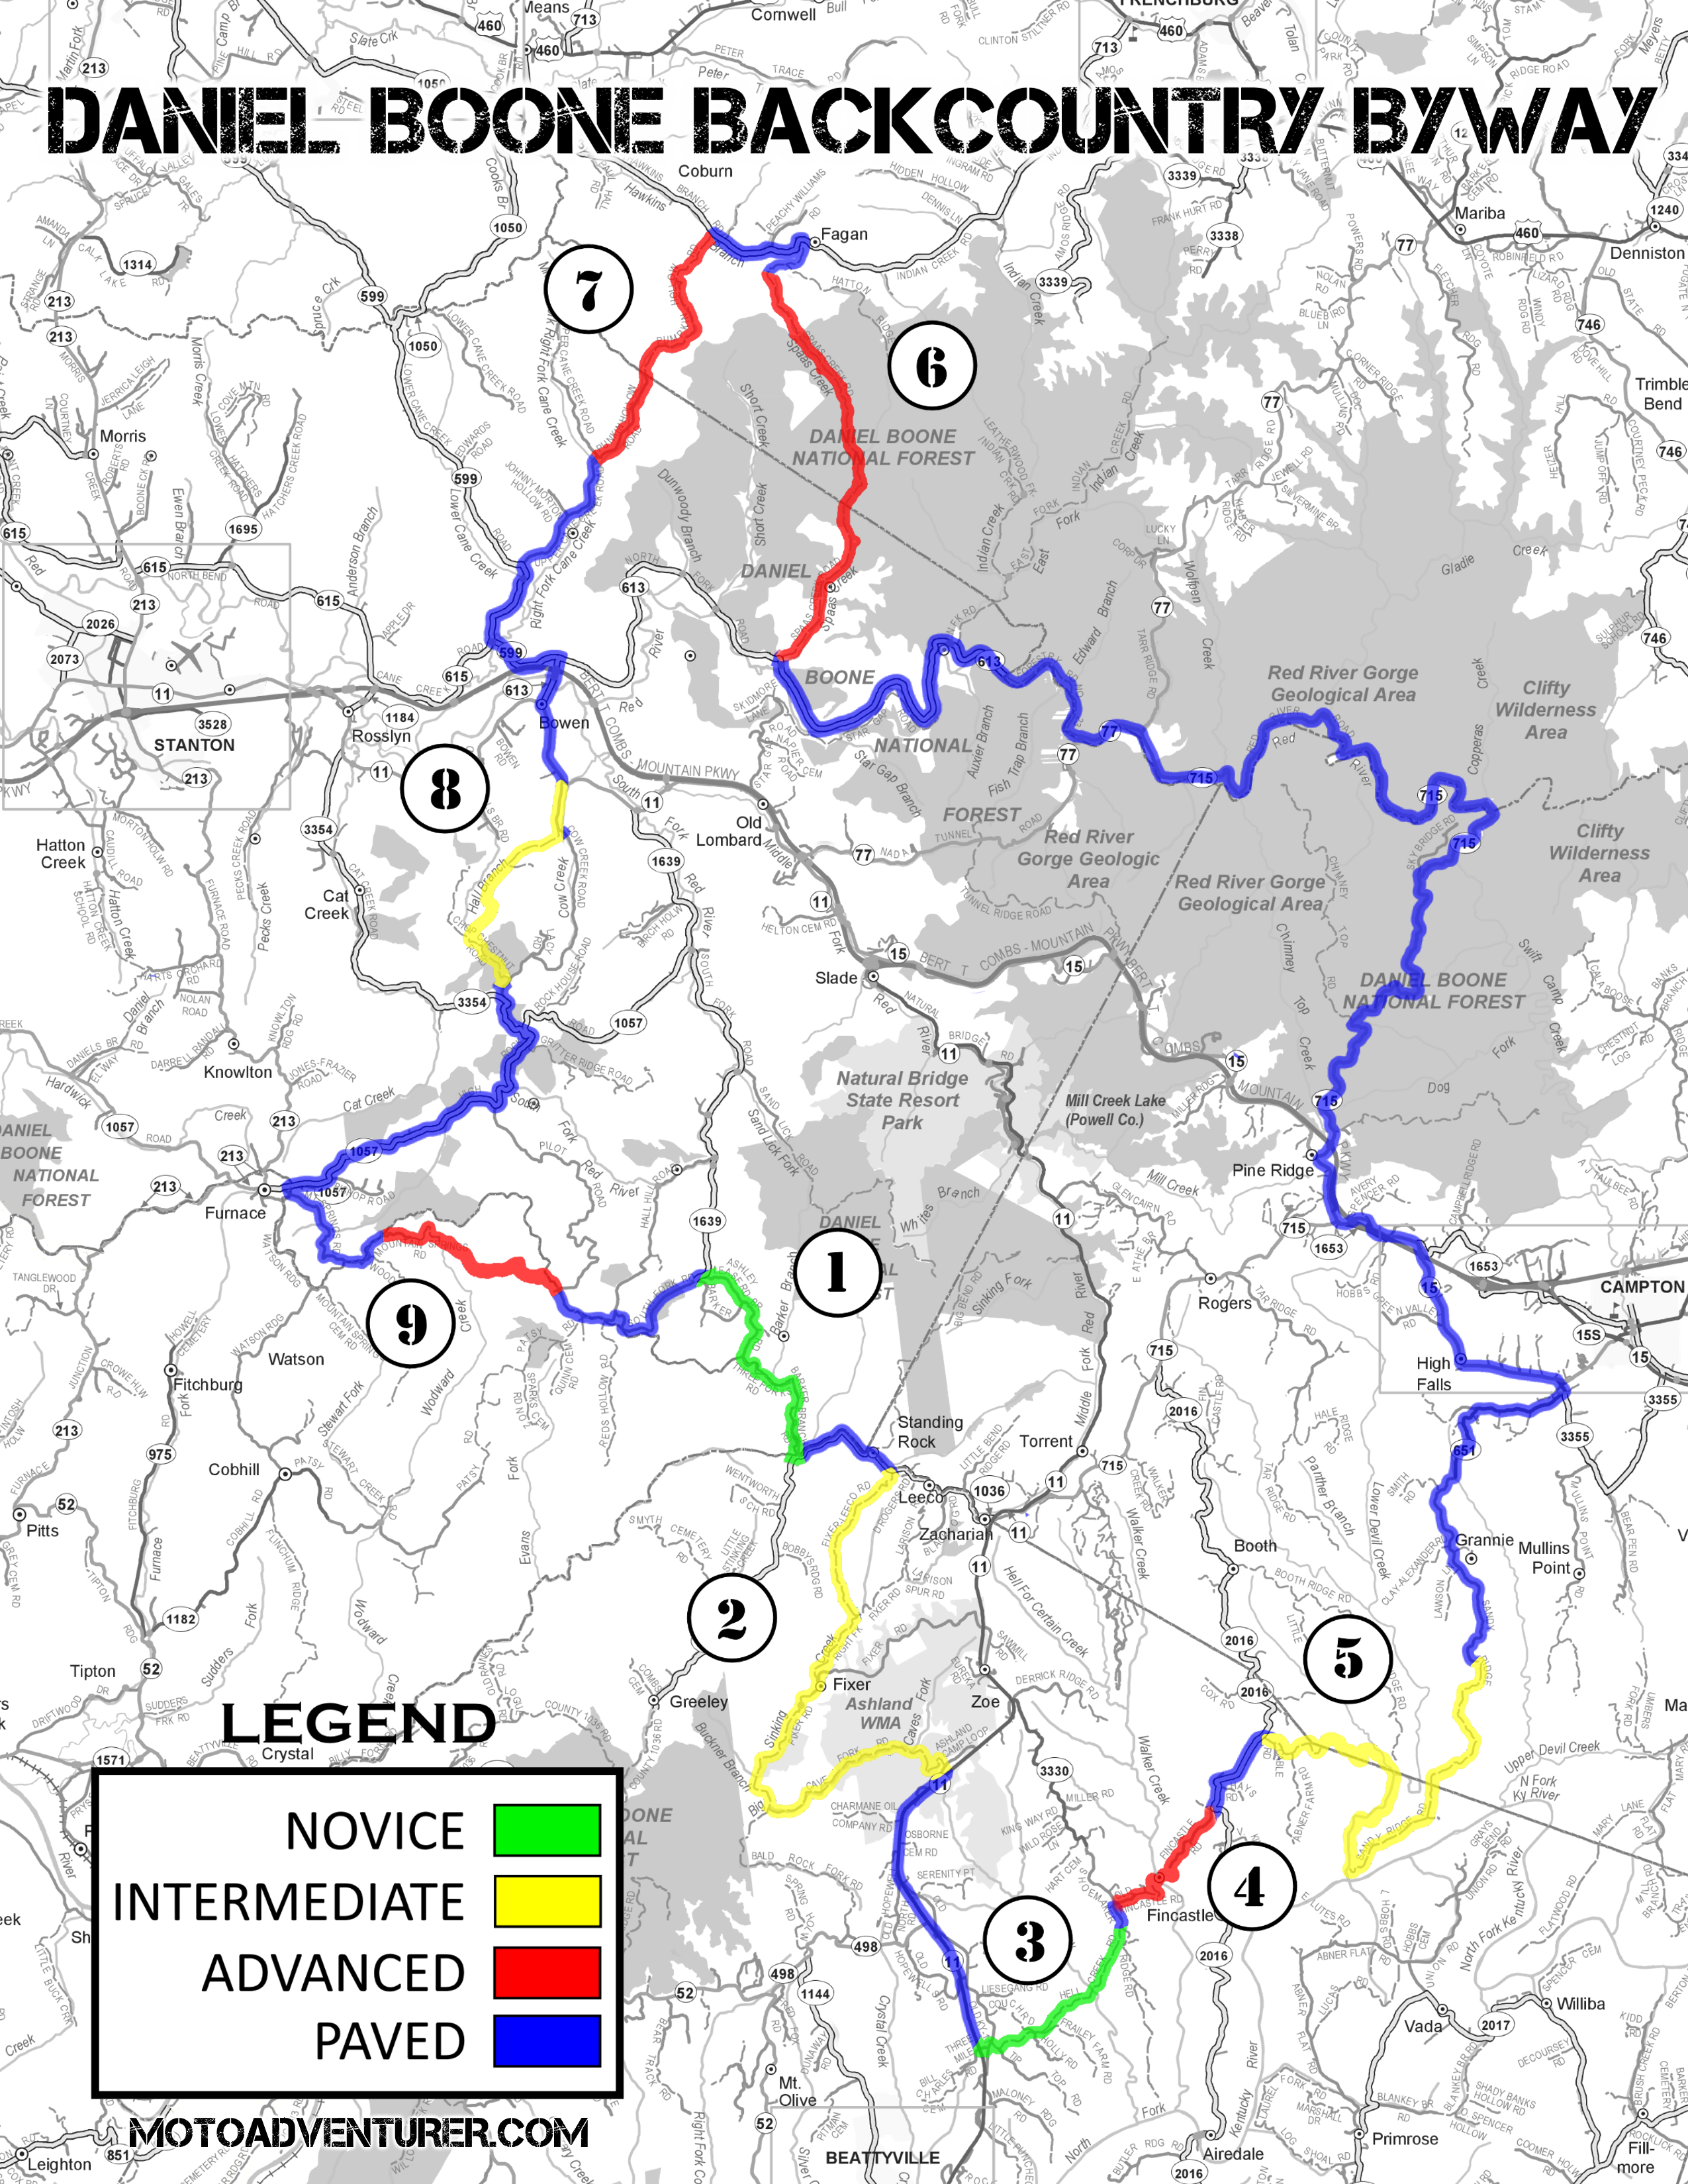
I don’t know about you, but I have bills and therefore a job I have to be at five days a week. With obligations and limited vacation time, it’s tough to take a month off work and circumnavigate the country. 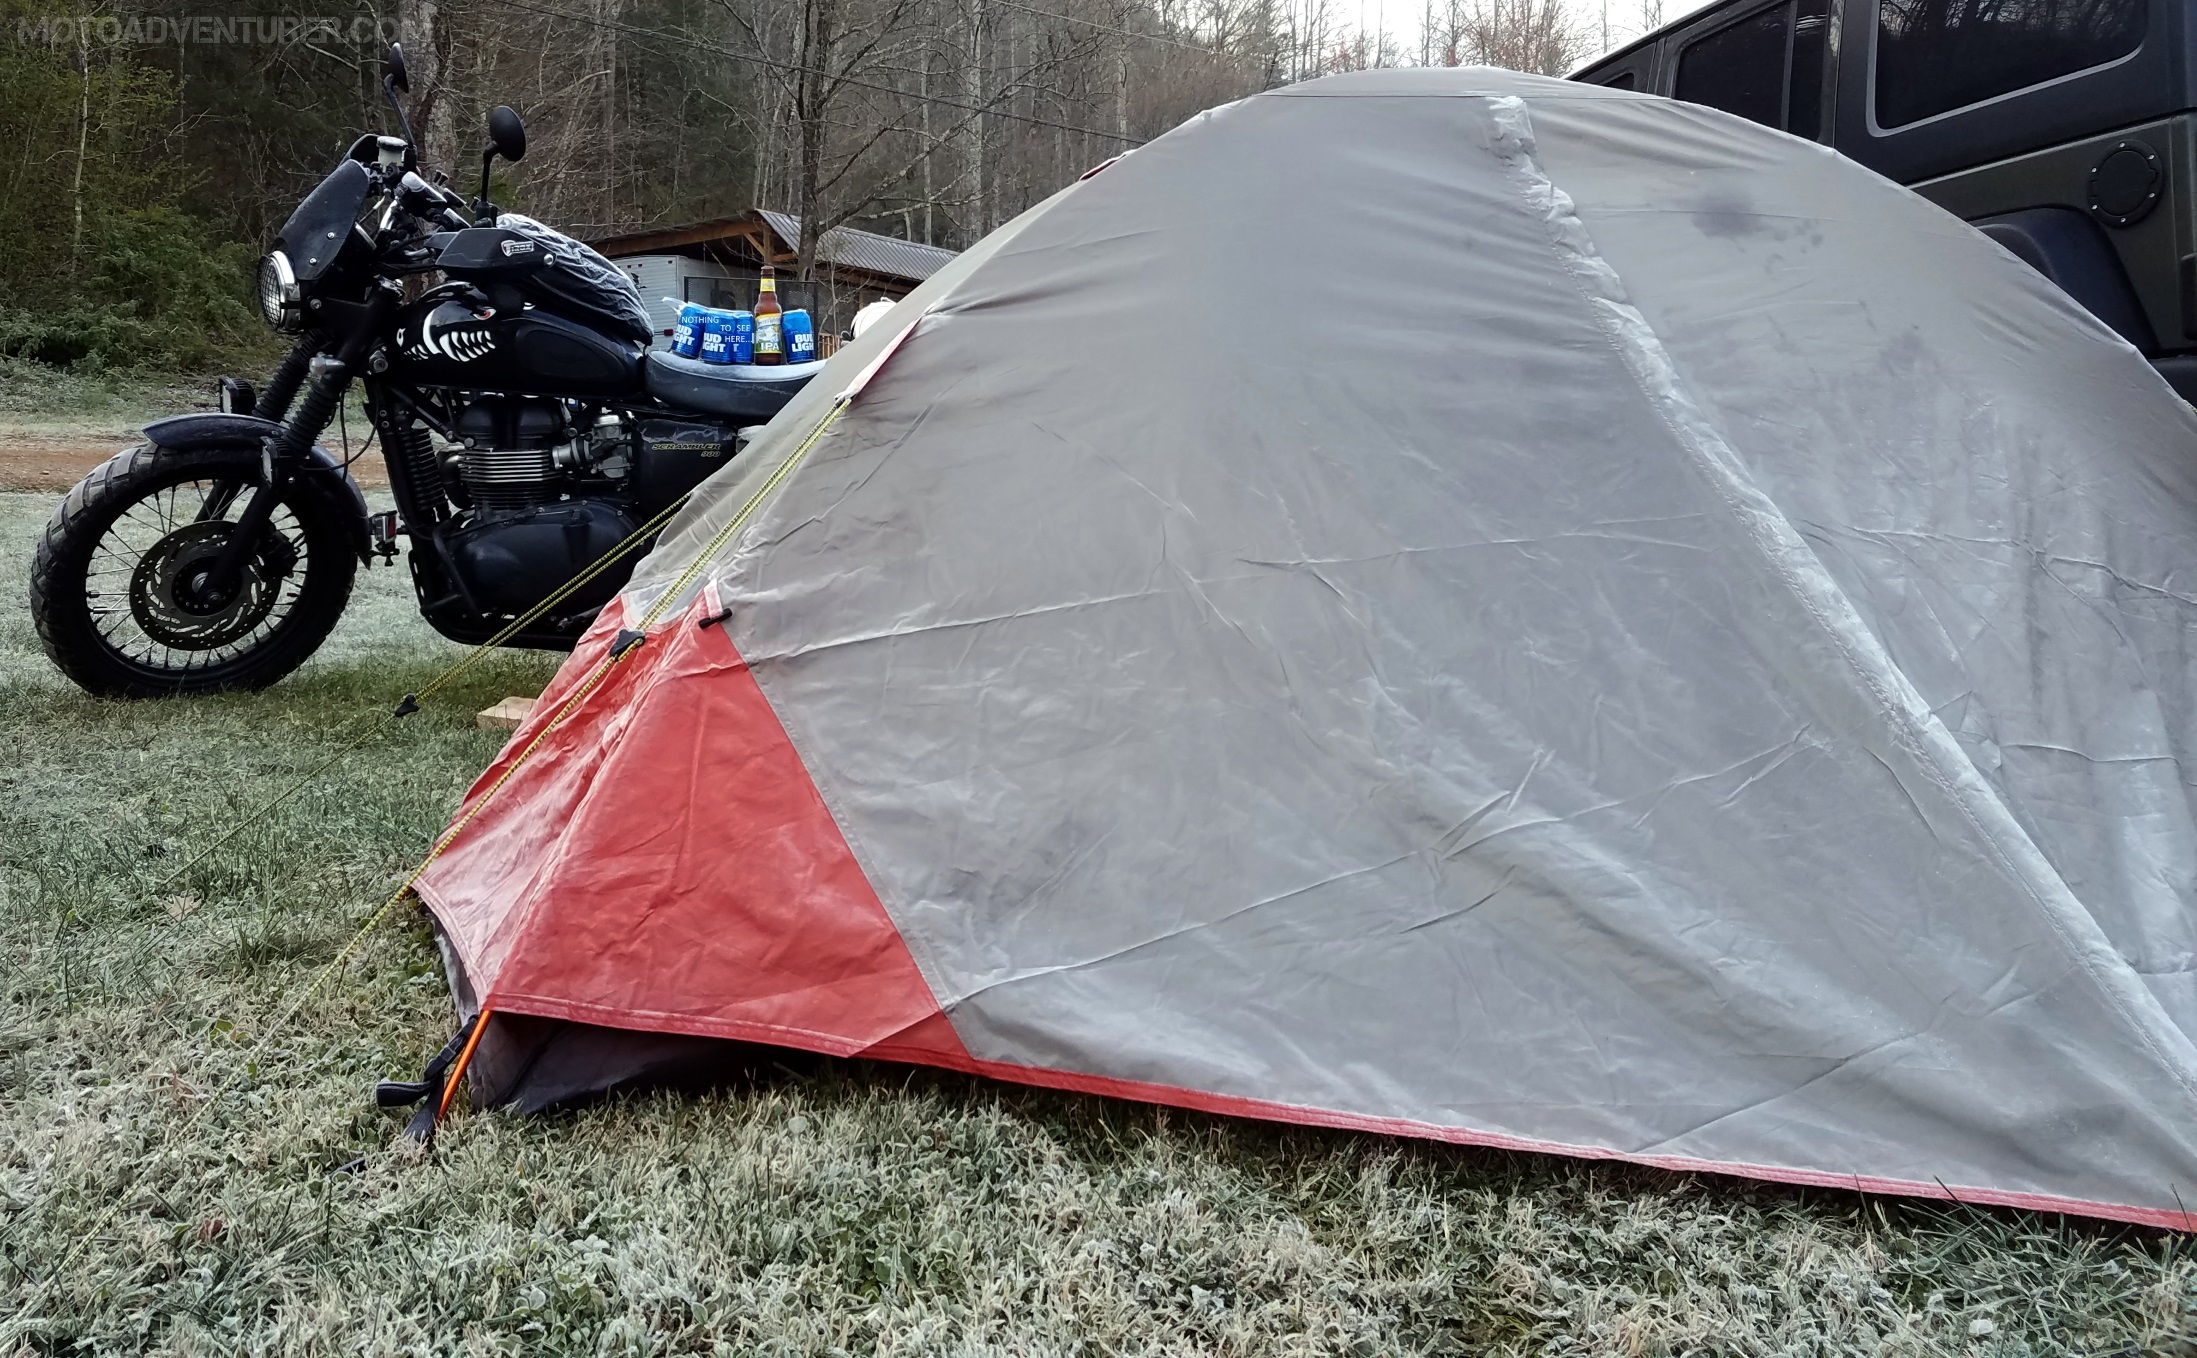 Believe me, I want to, I just don’t have the means… yet. I imagine most of us are in the same boat, so don’t be discouraged from taking an “adventure” because you don’t have time to trailer out to Colorado and get lost in the woods. You might be surprised by how many gravel roads are scattered around your state, not to mention, most adventure rallies here on the east coast are within a day’s ride and are typically held over a weekend (I can think of at least one).
…or thousands of miles away
Charlie and Ewan’s “Long Way Round” was an epic adventure. Many of us would love to take months off work and tear off on a motorcycle adventure.  Unfortunately… most of us have some hefty obligations, so that’s easier said than done. While I don’t necessarily think this keeps folks from picking up adventure riding, I want to reiterate that there are often remote and obscure trails to be found a lot closer to home than you might realize. Long-time Moto Adventurer subscribers are familiar with my endless adventure tales from eastern Kentucky; the vast majority of these rides are only day trips.





















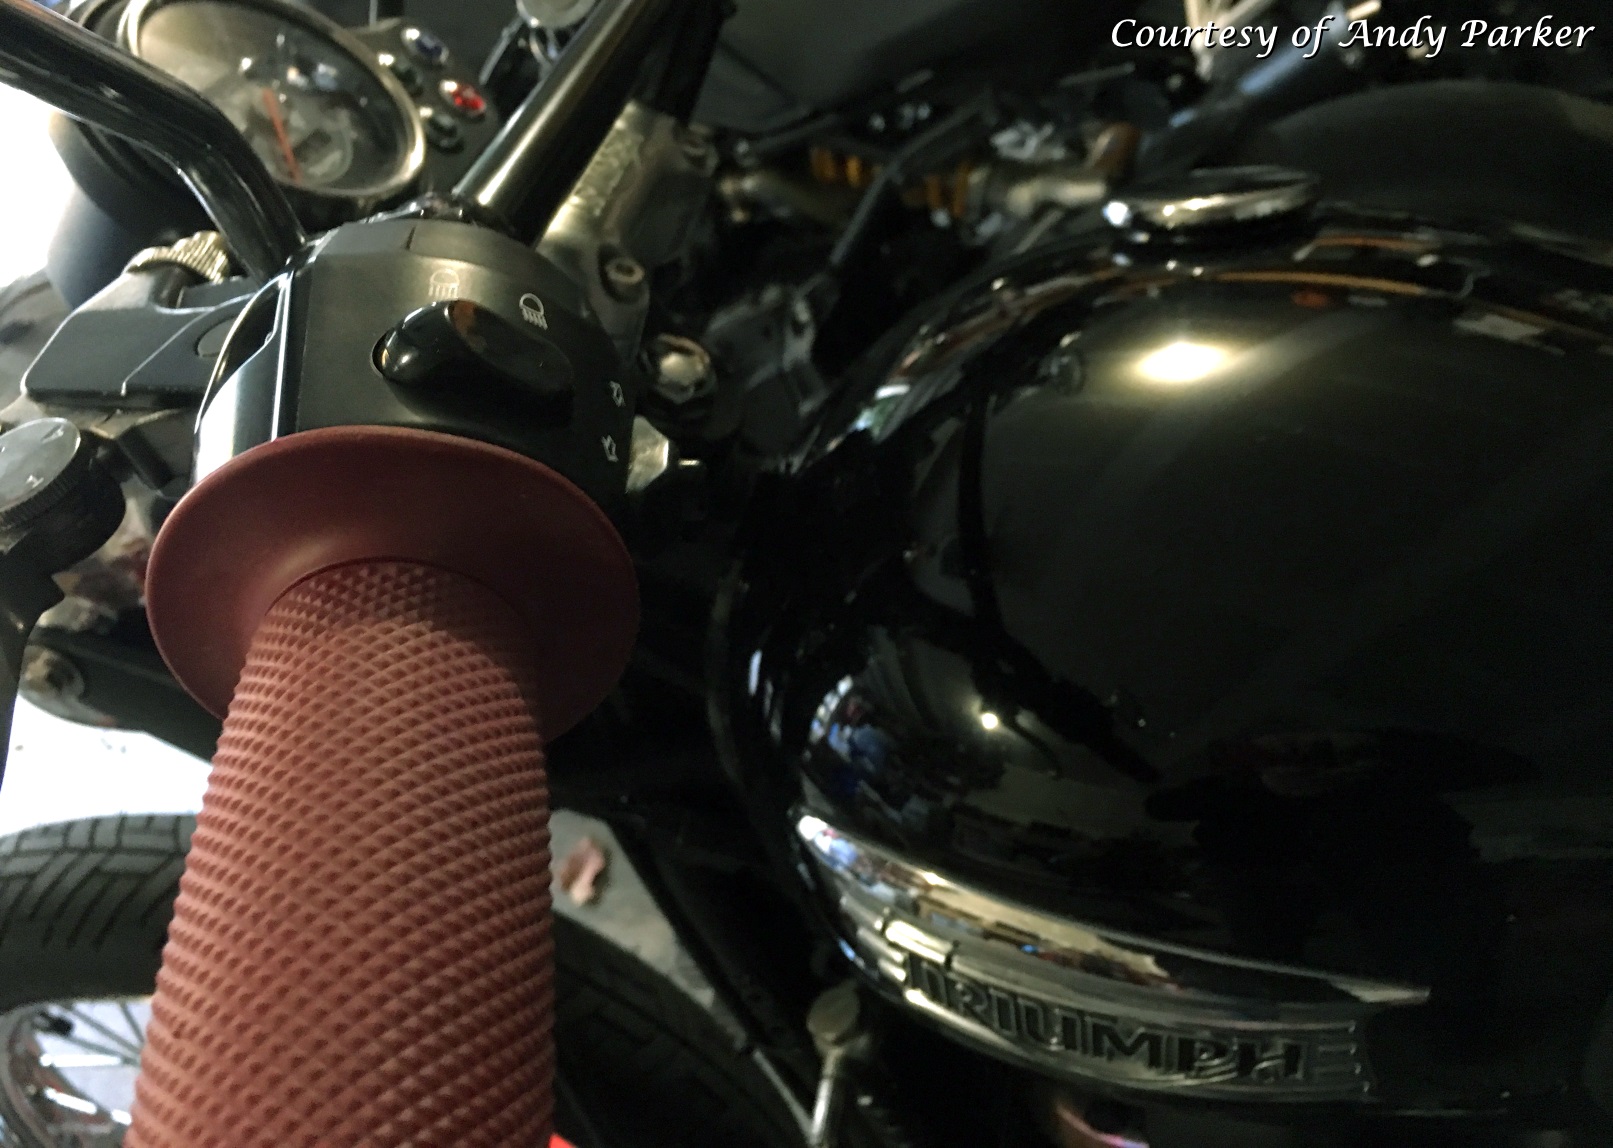

 I’d rather install a new set of connectors than have enough slack in the wire to loop it around, so I go through quite a few when I’m doing a job like this. I can almost laugh about it now (seriously, I’m close to being able to), but a few years back I ordered a set of lights and complete wiring kit for a CAN Bus bike. When it arrived, I didn’t like the way the light loom was built. It was a “Y” shape and supposed to be model specific, but it was too long in one place and just long enough in two others, while also requiring dis-assembly of both sides of the bike. I stripped it down and built my own using the switches, relay blocks, and connectors. My version split right at the front of the bike requiring only one side of the bike to be disassembled (and fit much better, even if I do say so myself) and there was just enough slack in the loom to tuck it away nice and tidily.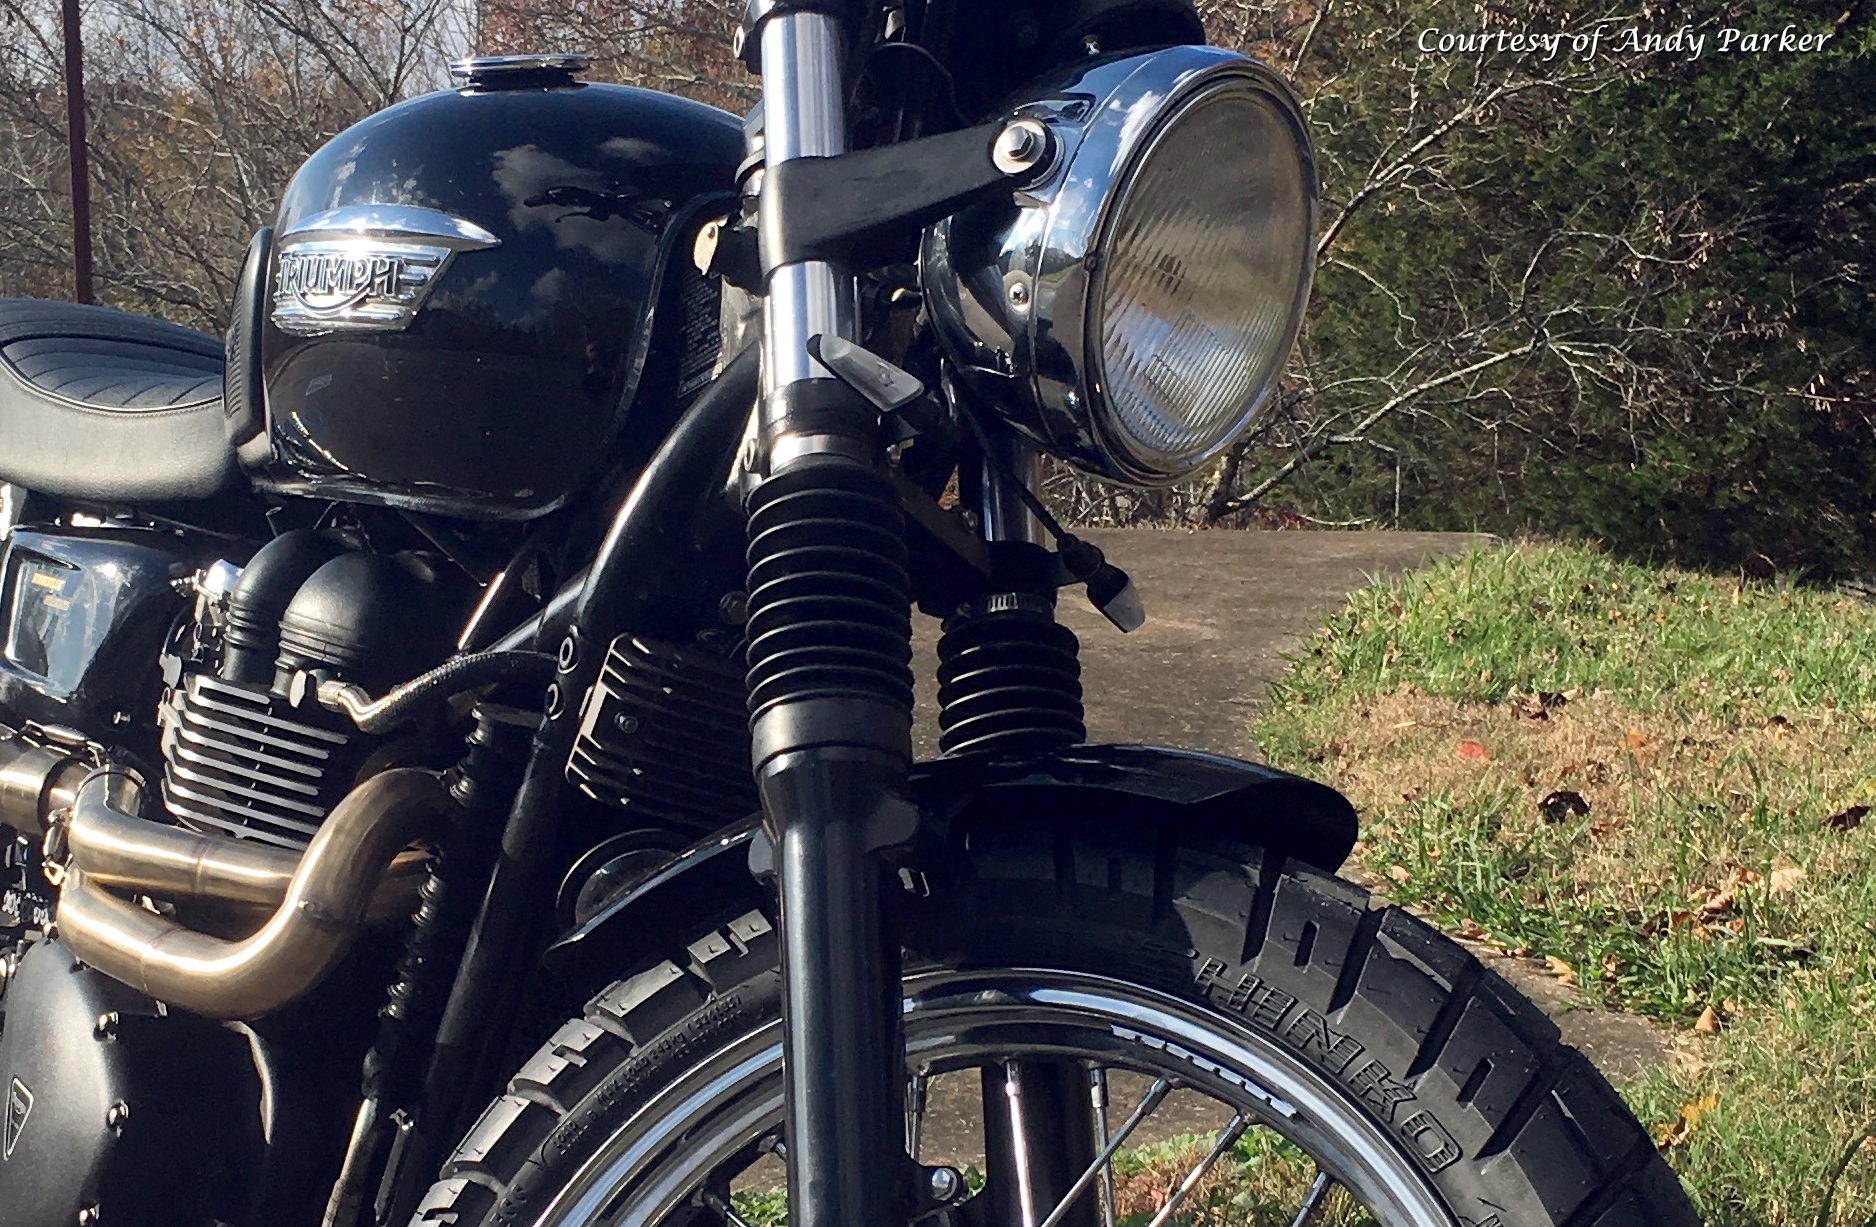
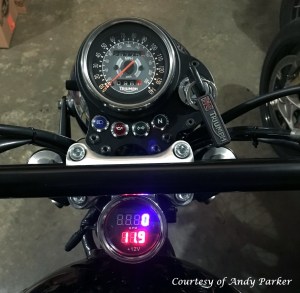 meter, idiot lights, and other measurables like temperature and fuel level was born out of a desire to add the tachometer, and to relocate the ignition key to the dash area. I’ve always been happier when I can see the key in front of me, and I really distrust the location on the side of the headlight bracket. The answer came one day when I found the Bonneville Bracket Ignition Relocation Single Gauge Mount for the earlier non-CVO Bonnies. I really didn’t want to pay for a new Triumph tachometer, or the money they were going for used on eBay. I’d bought a 2” LED Rev Counter and Battery Volt Meter I found a deal on and had formed up a template using thin aluminum as a mounting bracket to locate it on the riders’ side of the handlebar ala the current Scrambler models. This had been the result of some researching to figure out where to get the signal for the Tach.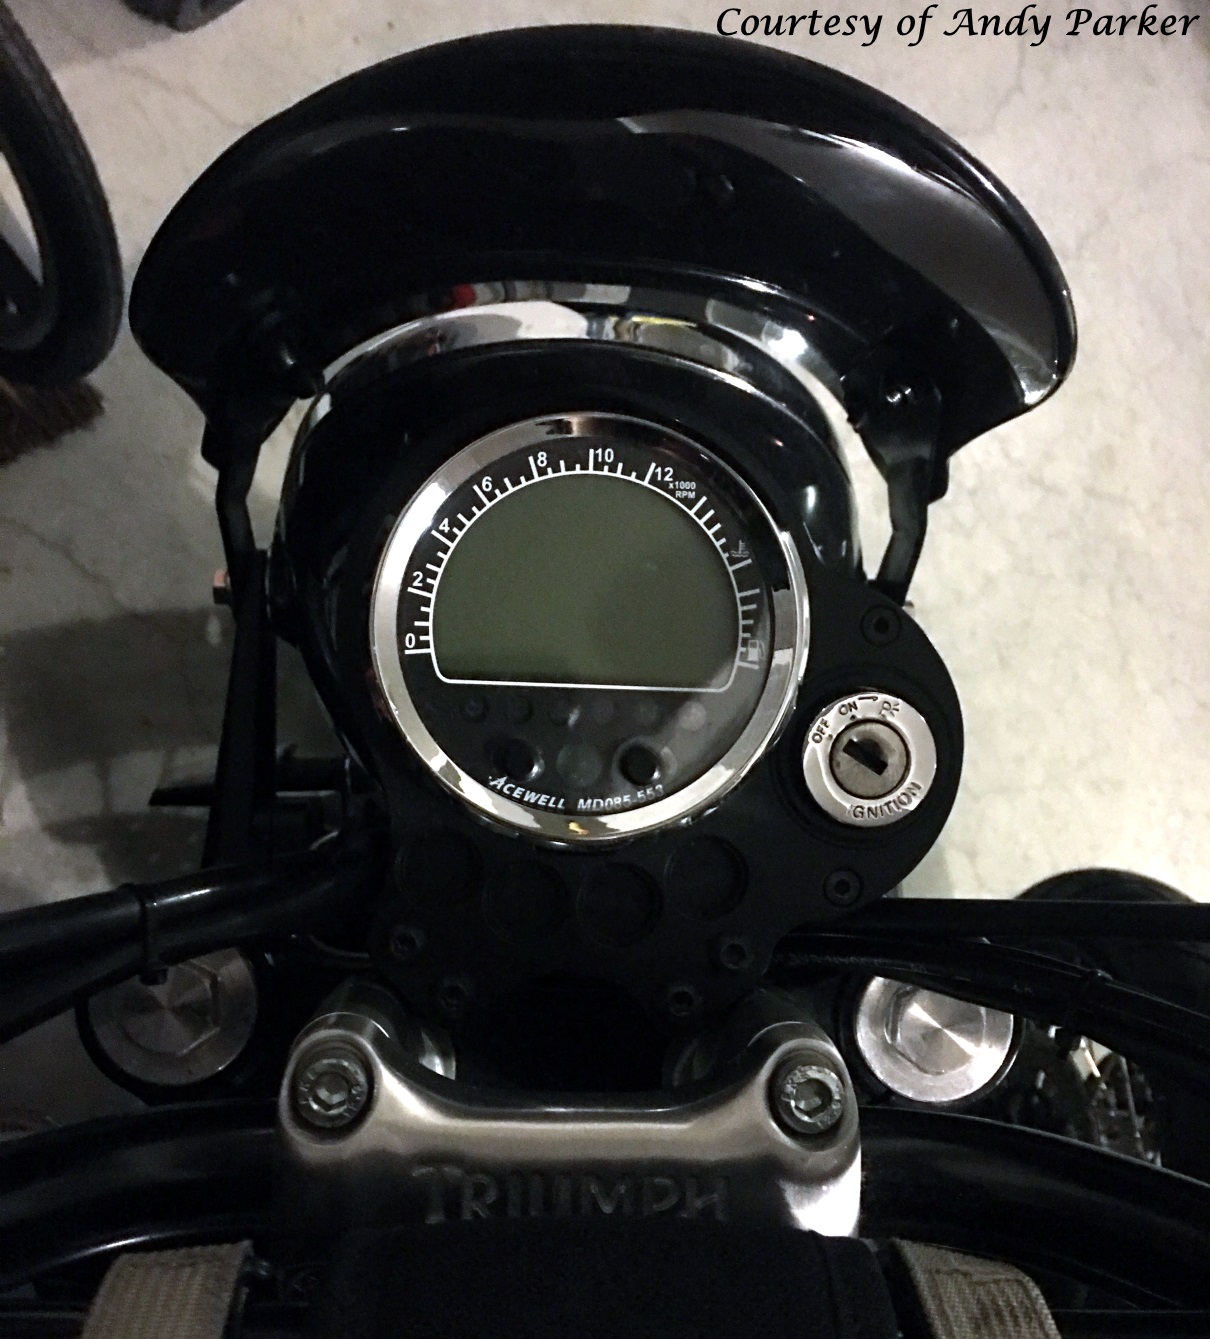
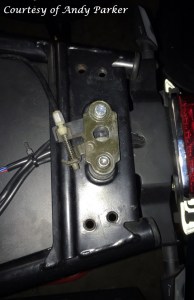 and lucky for me the bike came to me with the thin Triumph Comfort Seat. I didn’t realize how much I liked that particular seat until I bought a single seat with an integrated rear rack and rode that around for a couple of weeks. I’m blaming Drew for this diversion because his Scrambler looks really good with this setup and if I recall correctly, he did an Iron Butt Ride using that setup. It lasted about a fortnight (two weeks) on my bike before I swapped it back to the comfort seat. While I was playing on a forum one day, I saw a post about a long-forgotten mod that required a Vespa seat pin and a Kawasaki ZX6 seat latch. As you can tell, I went ahead and dropped $15 on a used seat latch and $6 on the Vespa part, and now I have a cable release for my comfortable seat.
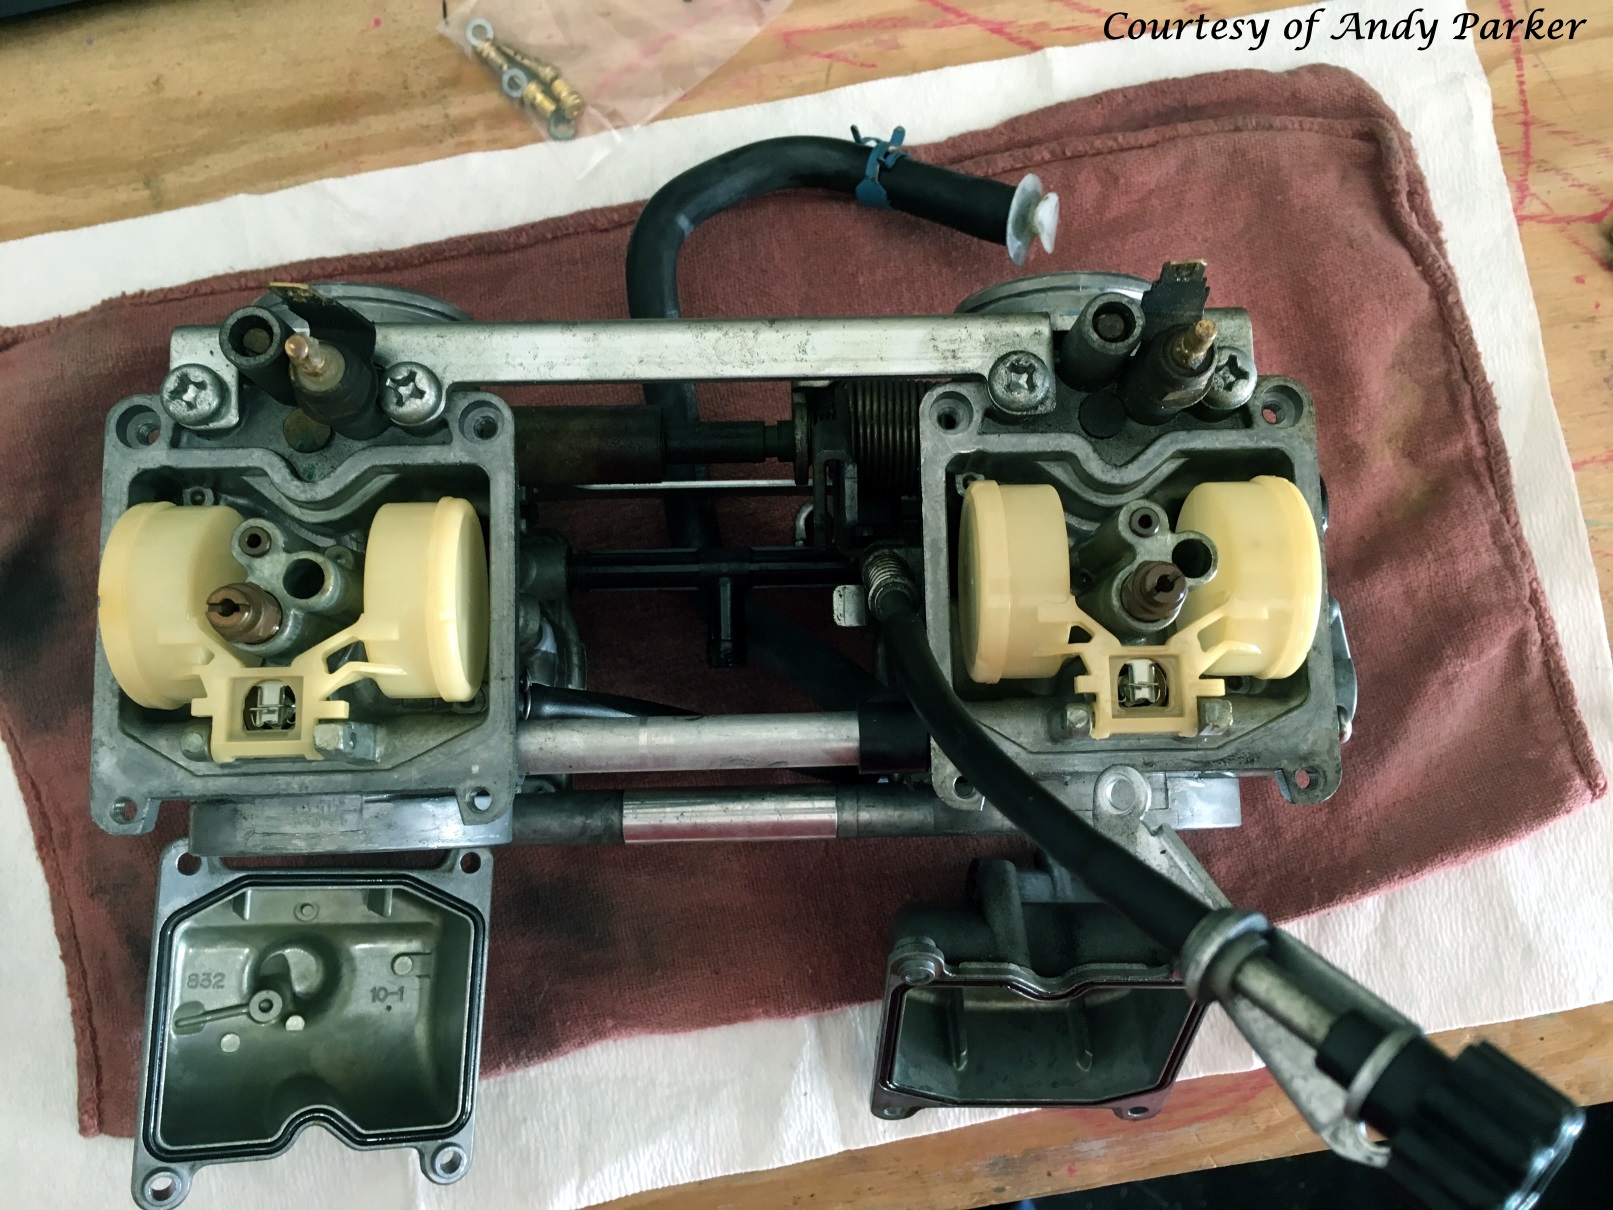
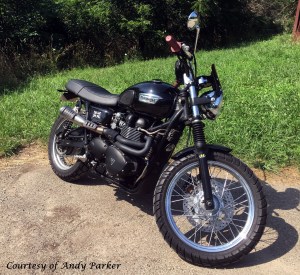 I realized that I was expecting the carb’ed Bonnie to feel like a well-tuned Fuel Injected bike, and anyone who’s in the know is well aware of the subtle differences between carb and FI bikes. I took the Bonbler out after Drew returned from one of our initial post-suspension work test-runs and realized the bike was actually pretty peachy the way it was. This impression was in no doubt due in part to Drew’s comment when he returned saying it was one of the best carb’ed Bonnies he’d ridden [One of the best Bonnevilles. Period. -Ed.].
 The gearing is just right for getting up to speed quickly, the suspension is nice and firm with plenty of feedback to the rider, and the engine is smooth with a nice crisp throttle response. It’s the bike I wanted to build. I am happy the way it’s turned out. I think it’s going to be with me for a while, and if you’ve read my other blogs on here you’ll know that is a strong testament to the finished product [I mean, it is the longest standing bike in Andy’s possession right now… -Ed.]. Thanks for bearing with me. I hope there’s something in here you can take away for your own project(s).