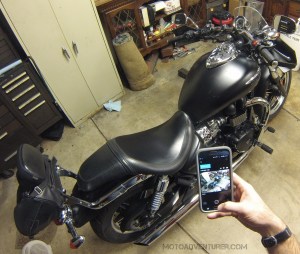
Back around the New Year the odometer starting ticking close to 42,000 miles and it was time to change the life blood in the trusty Triumph. When I neared 36k back in September, I had a discussion with friends about whether or not I should spring for the valve adjustment, or just wait until winter.
Considering I’ve had no issues, whatsoever, with the engine, the consensus among experienced friends was that if an adjustment was needed, it could wait until winter. Thus, over the New Year holiday, I rode down the street to my dad’s warm garage and started pulling off parts. Since I’ve covered most of the routine tasks in my 30k service post, I just wanted to focus on valve clearance adjustment along with fuel and air filter changes.
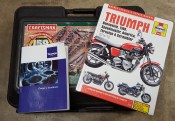 Per usual, I want to throw out the caveat, I am not a certified mechanic, I tend to do things I’m comfortable with, and occasionally run against “conventional thinking” on certain things. Motorcyclists seem to be a very polarized group of individuals (i.e. is plugging a motorcycle tire safe?), so please keep in mind my advice is by no means the gospel. That being said, I also admit I’ve found a wealth of knowledge on YouTube, and have included several of those links in this post.

In the event that a valve is out of adjustment, it may be necessary to order new shims, as a result I started the 42k service with the valve clearance check and adjustment first. If you’re stuck waiting on a replacement shim, you can still do some of the ancillary tasks like the fuel filter change and whatnot. The first step in getting to the valves is to remove the fuel tank; keep in mind that the following tasks are far easier with the least amount of fuel in the tank as possible. I started by removing the tachometer cluster (3 bolts).  It’s easier to remove gas cap before lifting off the cluster; it’ll squeeze past, but I didn’t want to risk breaking the plastic. I left the wiring harness connected, and just zip-tied to the cluster to triple tree. I typically have a bunch of old T-shirts saved up for oil changes and whatnot, so I covered the cluster a t-shirt sleeve to prevent the chrome from getting scratched. To remove the tank, remove the bolt near the seat, and pivot the tank upward off the “shoulder studs” toward the steering head. Beneath the tank you will need to unplug the fuel pump electrical connection, breather tube, and main fuel line.
  You can reach the tank breather tube and electrical connection to the fuel pump without lifting the tank, but the fuel hose is difficult to disconnect without lifting the tank. Despite the fact that I helped my buddy Chuck take the tank off my bike last December, for whatever reason I was struggling to get the fuel line disconnected. After watching a YouTube video, I finally managed to take it off solo. Per the video, I stood on the right side of the bike and leaned the tank over toward me to disconnect the hose and carry the tank away solo. With the tank off, I drained the excess gas from the fuel line into a cup of kitty litter. Put the tank aside carefully, I set it upside down at first, but fuel slowly leaked out of the exhaust port, so I propped it upright with a stack of towels, making sure to cover the fuel input line to make sure it didn’t drip on the floor.

DCIM111GOPRO

DCIM111GOPRO

DCIM111GOPRO

DCIM111GOPRO

DCIM111GOPRO

DCIM111GOPRO
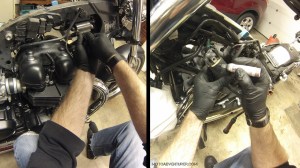
Once I was no longer concerned about dripping gasoline, I began removing wire covers, relocating electronic parts, and whatnot so I could get clear access to the cam cover. You’ll need to disconnect the spark plug caps, remove the rubber hoses from air injection system, spark plug coils, and miscellaneous electrical parts from the frame spine. I match marked the spark coils before removing them; I suspect they are interchangeable but I prefer to keep things as they were unless it requires changing (makes troubleshooting easier in the long run). Once the plug coils are out of the way, you can remove the air injection manifold, and set aside the air injection solenoid valve. With engine connections removed several electrical connections can be removed from their rubber boots and zip tied out of the way.

DCIM111GOPRO

DCIM111GOPRO
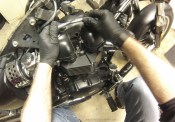
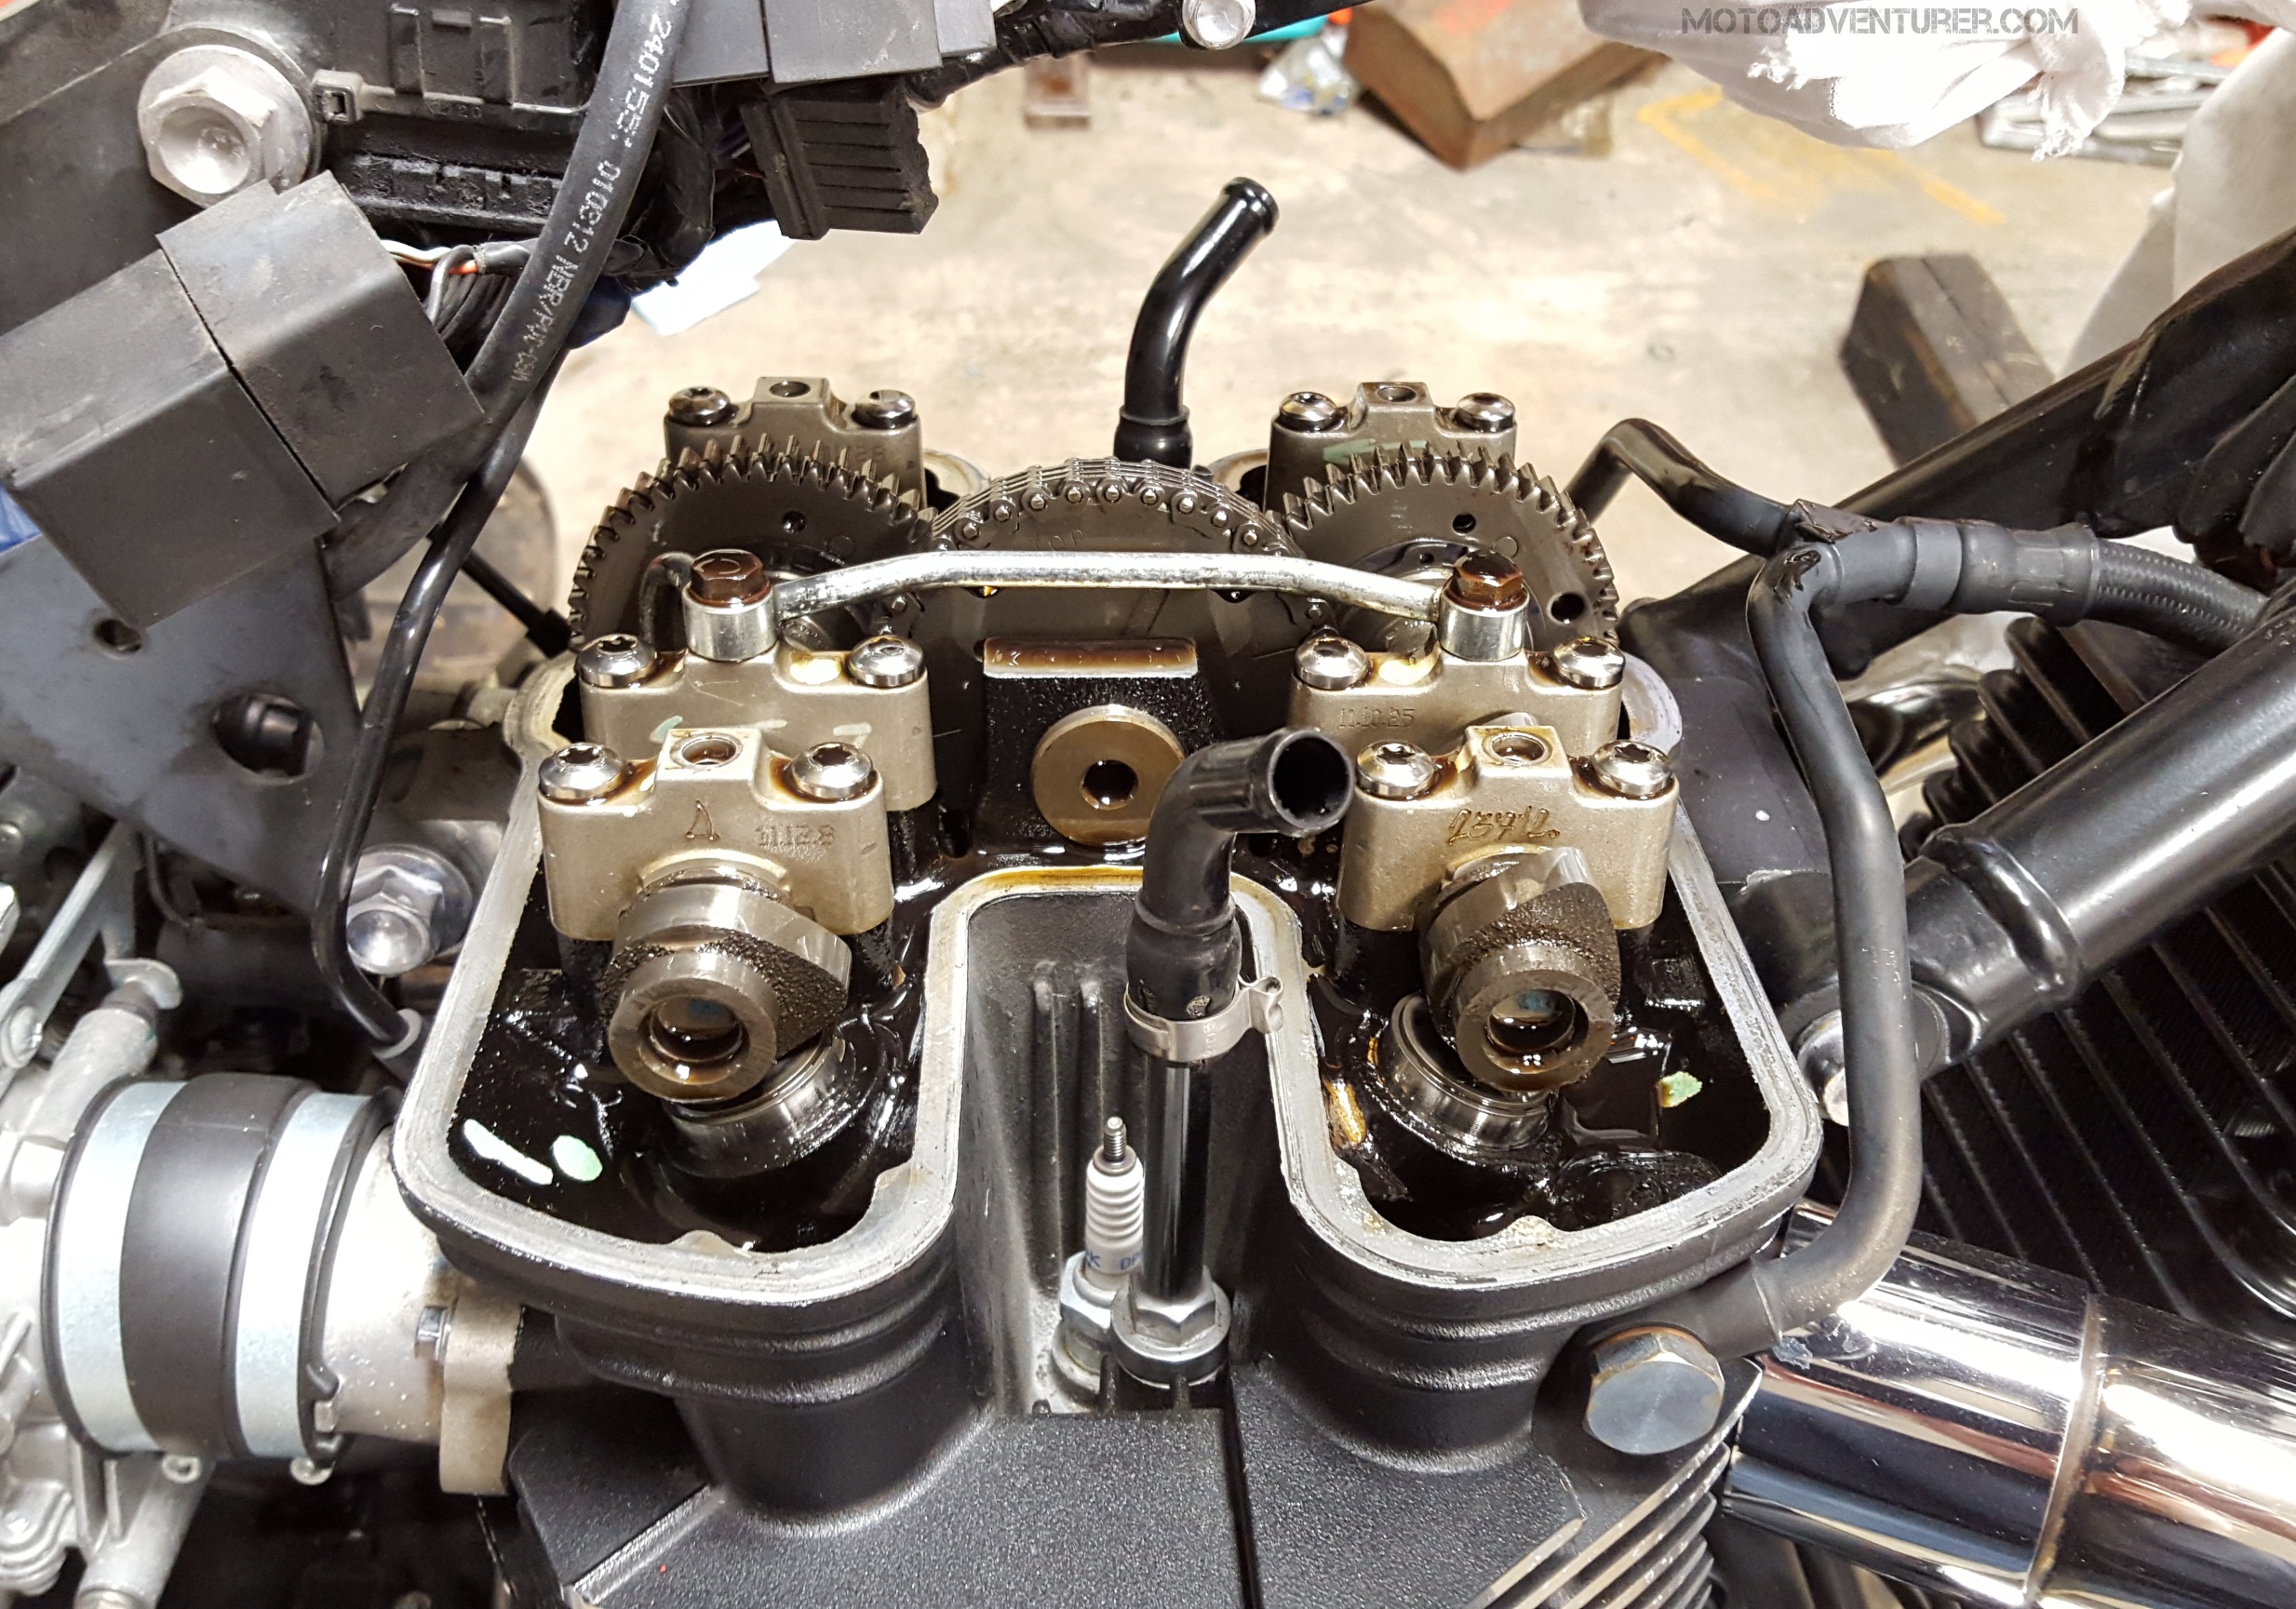
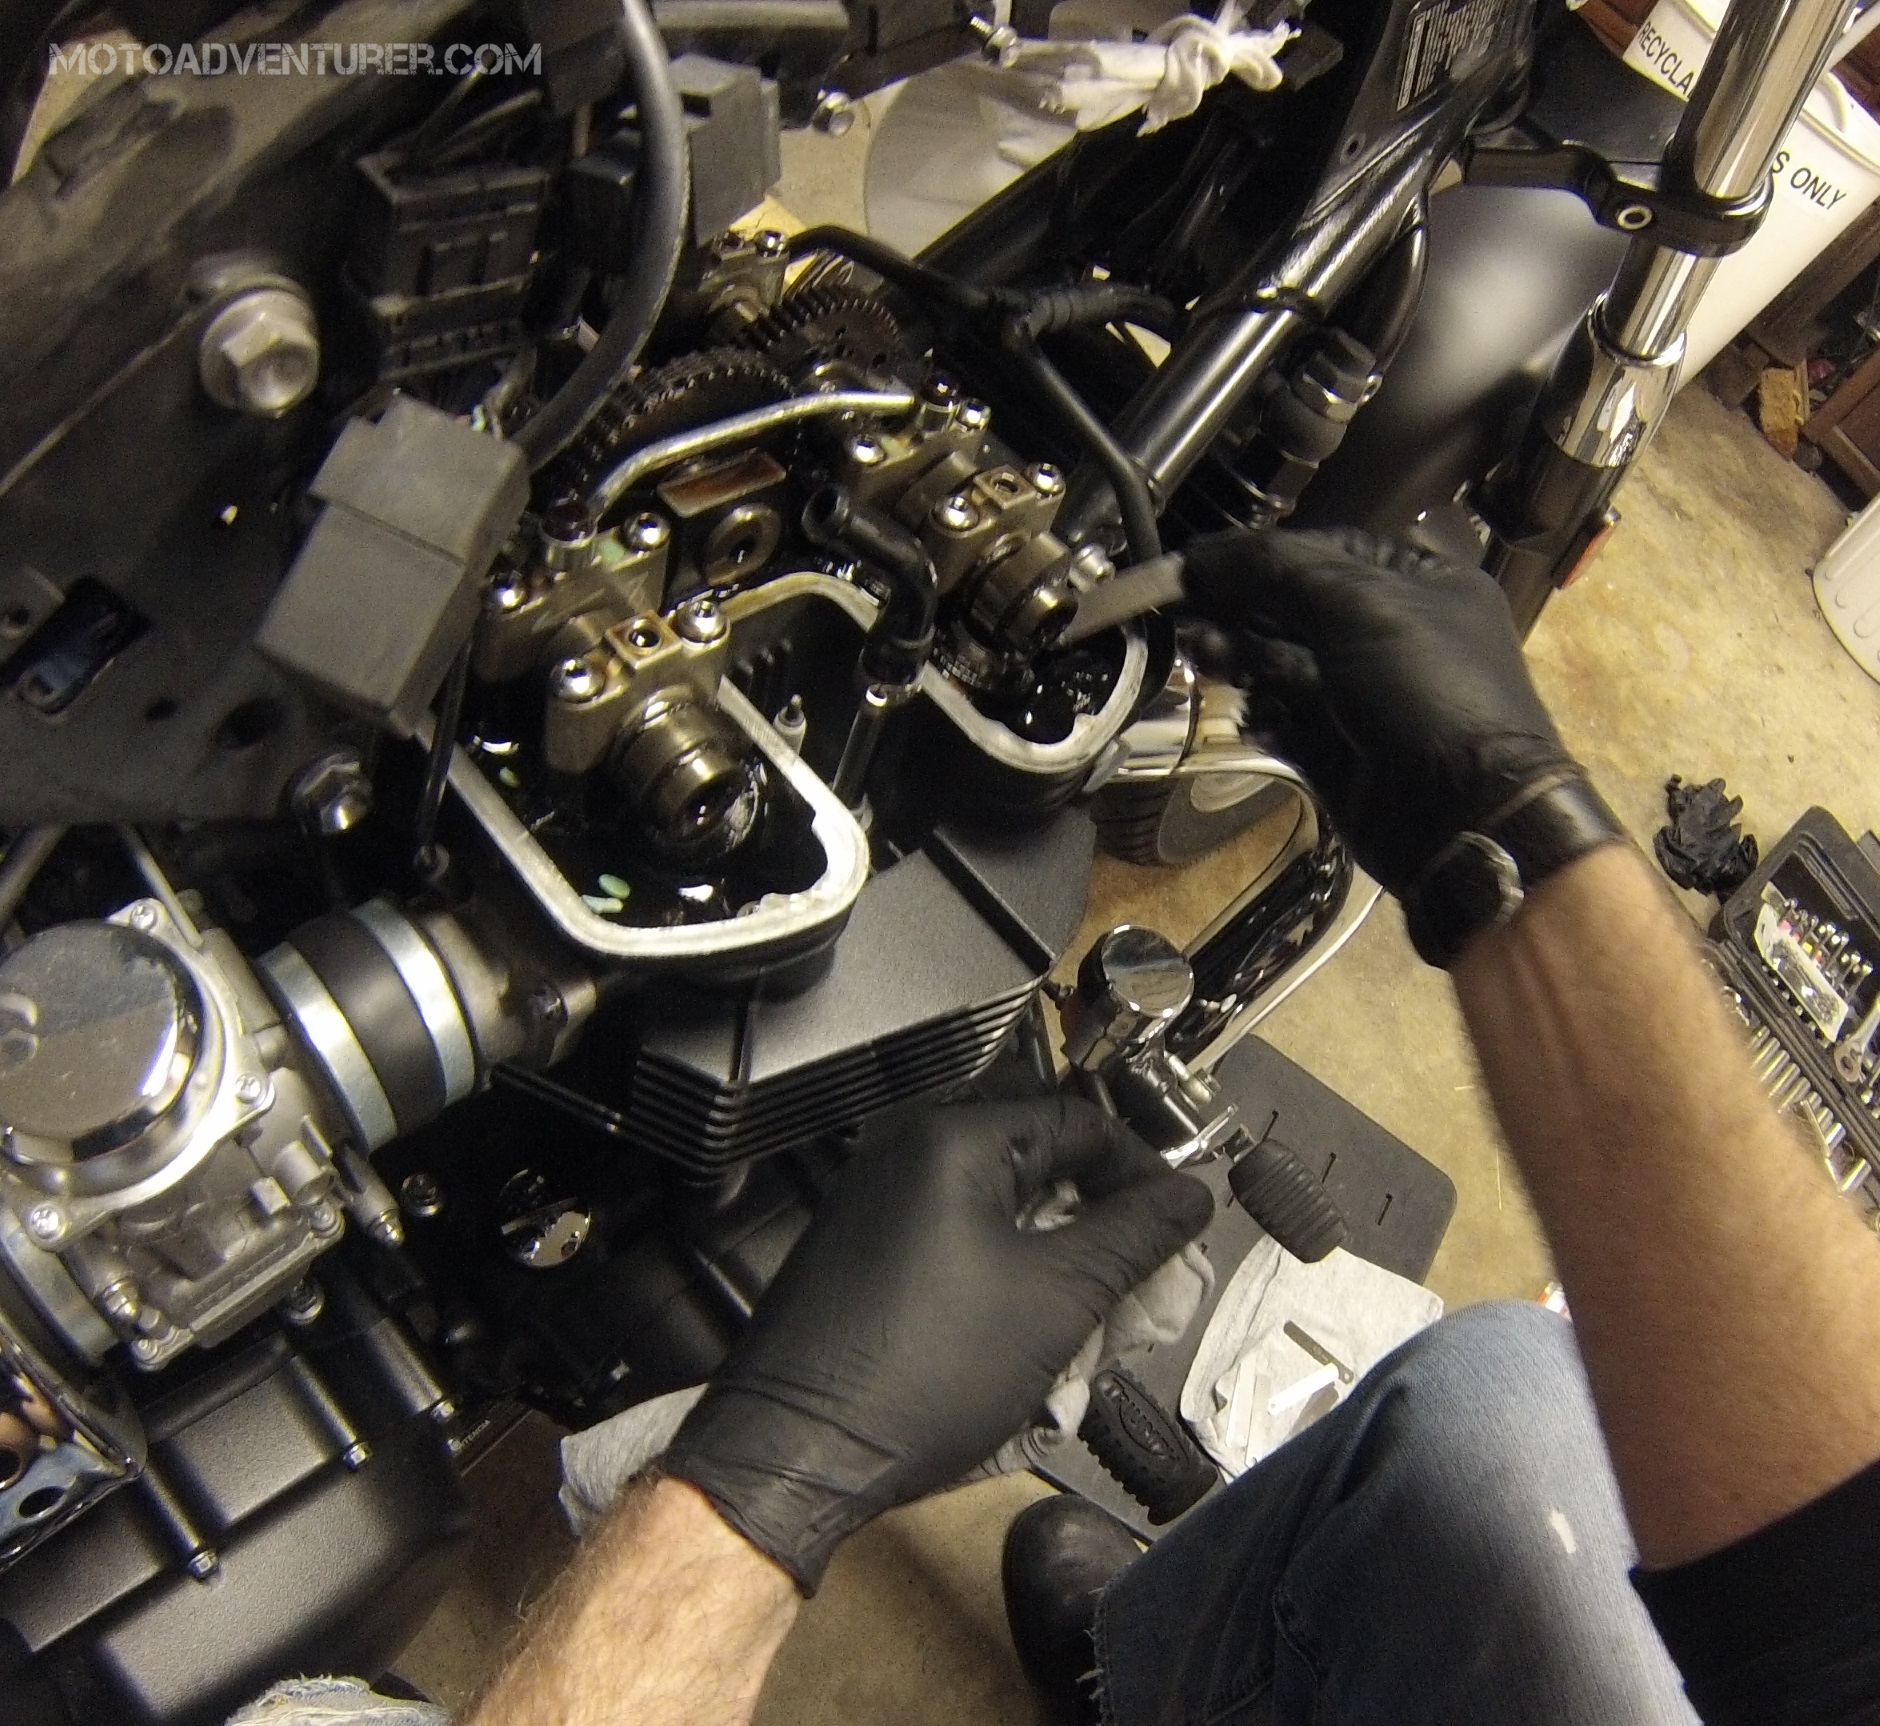
With the myriad of fuel injection related rubbish out of the way, you’ll need a T30 Torx bit to remove the cam cover. With the bolts removed, place a towel or rag over the cam cover and lightly tap the cam cover with a plastic or rubber mallet to break the seal.  Before trying to maneuver the cam cover out of its nest, you may also want to cover the coil mounting studs with a rag to prevent scratching the cam cover. You’ll also want to position the air injection tubes out of the way as much as possible.
 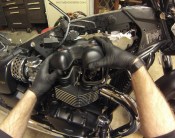 Next pull the cam cover up tight against frame spine and maneuver it over the cam gears; this task is probably the most difficult of the entire service (probably why I did NOT video this job, no one wants to watch me fuss with a cover for 5 minutes). While you can remove the cover solo, you may want to consider recruiting some patient help with steady hands. With the cam cover off, I advise removing the spark plugs before turning over motor (makes it easier without compression). From here I put the bike in 5th gear;
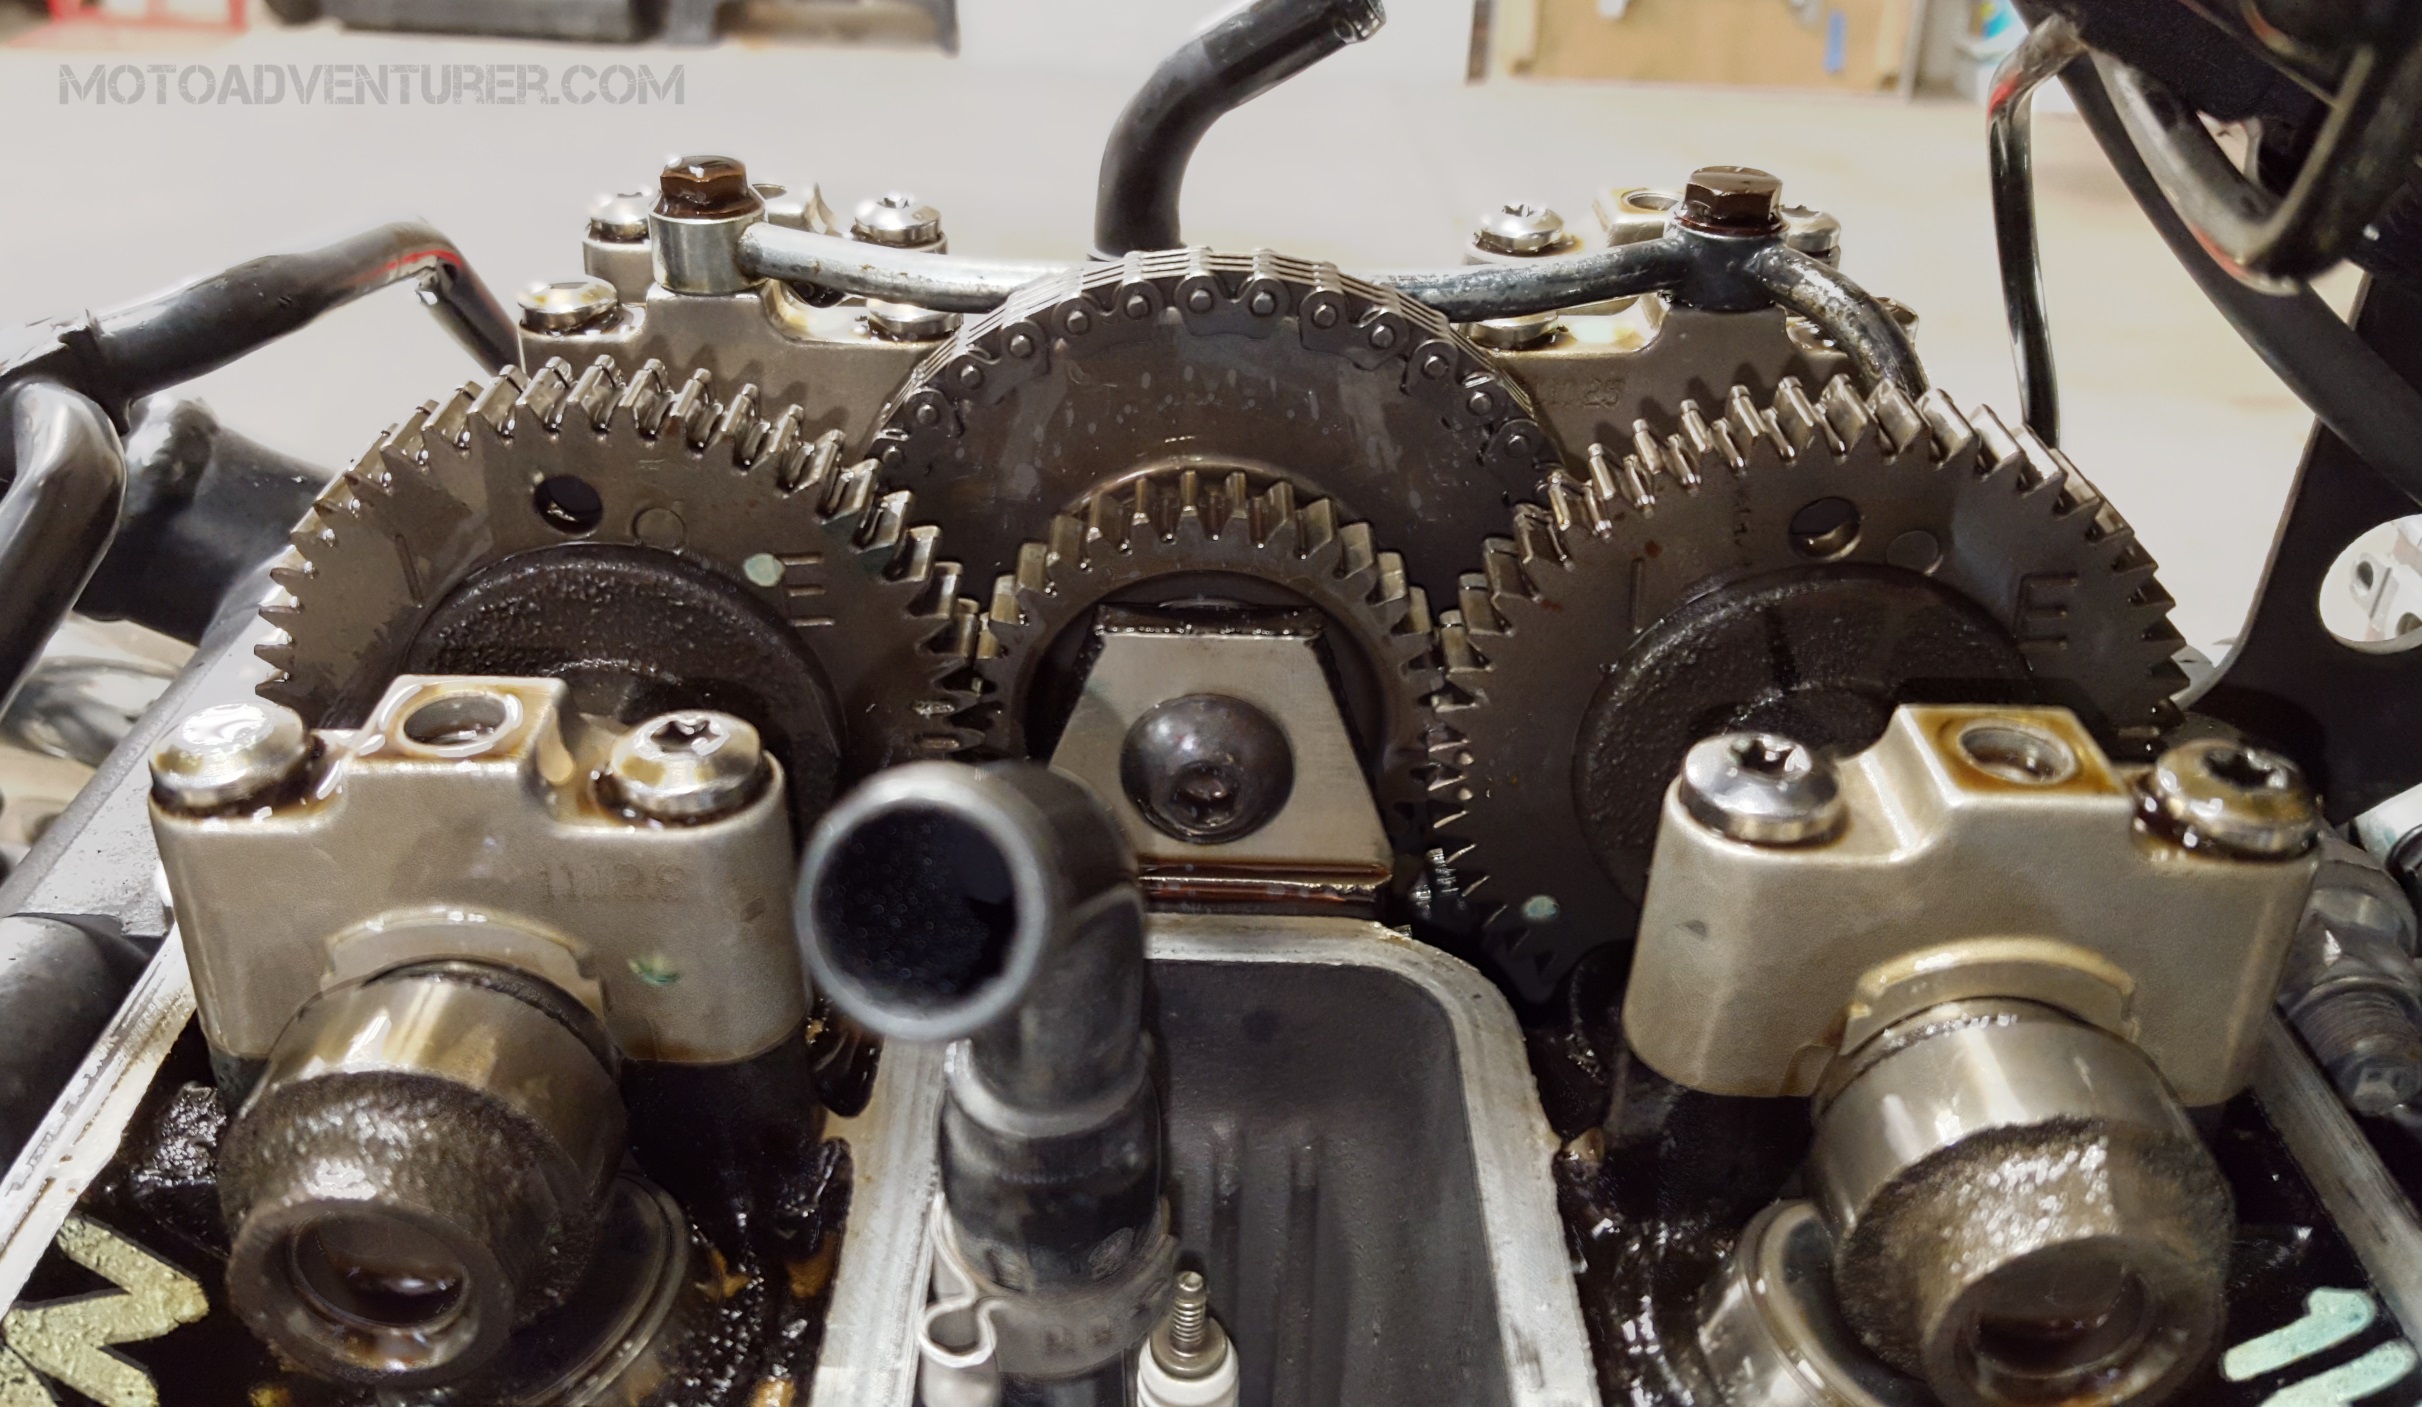
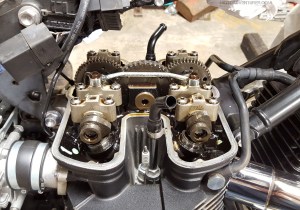 without the motor running, sometimes you have to roll the bike back and forth a bit to confirm it’s moved up a gear with each shift. With the bike in high gear, I put the bike up on the paddock stand (jack stand or lift would probably be better if you have one). With the transmission in 5th gear you can turn the wheel (as though riding forward) with some gentle effort to turn the cams over. I turned the cams over a few times to make sure the valves were seated completely closed and looked for the best lobe positions to properly check the clearance.
 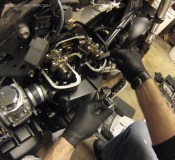 This is a little tough with a 270 degree crank angle; the Bonneville 360 crank is a bit easier, so I’m told anyway. Using metric feeler gauges I went through each valve, checking the clearance, then writing it down on a cheat sheet. I turned over the engine several more times and went back to verify the clearance I wrote down, just to be sure.
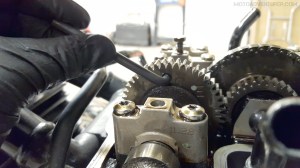 Realizing that I needed to make a slight adjustment on an exhaust valve, it was necessary to remove the cams and measure each shim to identify what size shims would be needed to bring the valves back into specification. I spent the extra cash at the dealership for the $80 cam backlash gear retainers when I picked up the oil back in December. I’ve read various message board threads where guys have made the retainters by hand (dimensions are in the Haynes manual), but in this case I was saving enough by doing my own service and figured I would get my money’s worth out of the tools eventually.
  I also borrowed a micrometer from the office over the weekend; I assume others have done this job with calipers, but my engineering mind prefers the precision of a micrometer for this job. To get to the shims, remove the camshaft oil tube (runs from the head up to cam holders), held by two banjo bolts and an O-ring connection “plugged” into the head. Slowly turning the rear wheel, I rolled over the engine until all 8 valves were completely closed; coincidentally where the cam gears are marked for timing purposes, I didn’t realize that until I went to match mark them.
  At this point I also took a sharpie and marked each of the camshaft holders to make sure they weren’t inadvertently interchanged (they’re numbered from the factory, but it’s difficult to see). When removing the cam holders be mindful of the alignment bushings, which I also removed, that way I avoided bending a bushing or scratching a camshaft upon removal. If you have the space and the containers, you could mark each camshaft (intake or exhaust) and remove both to offer better access to the valve shims.
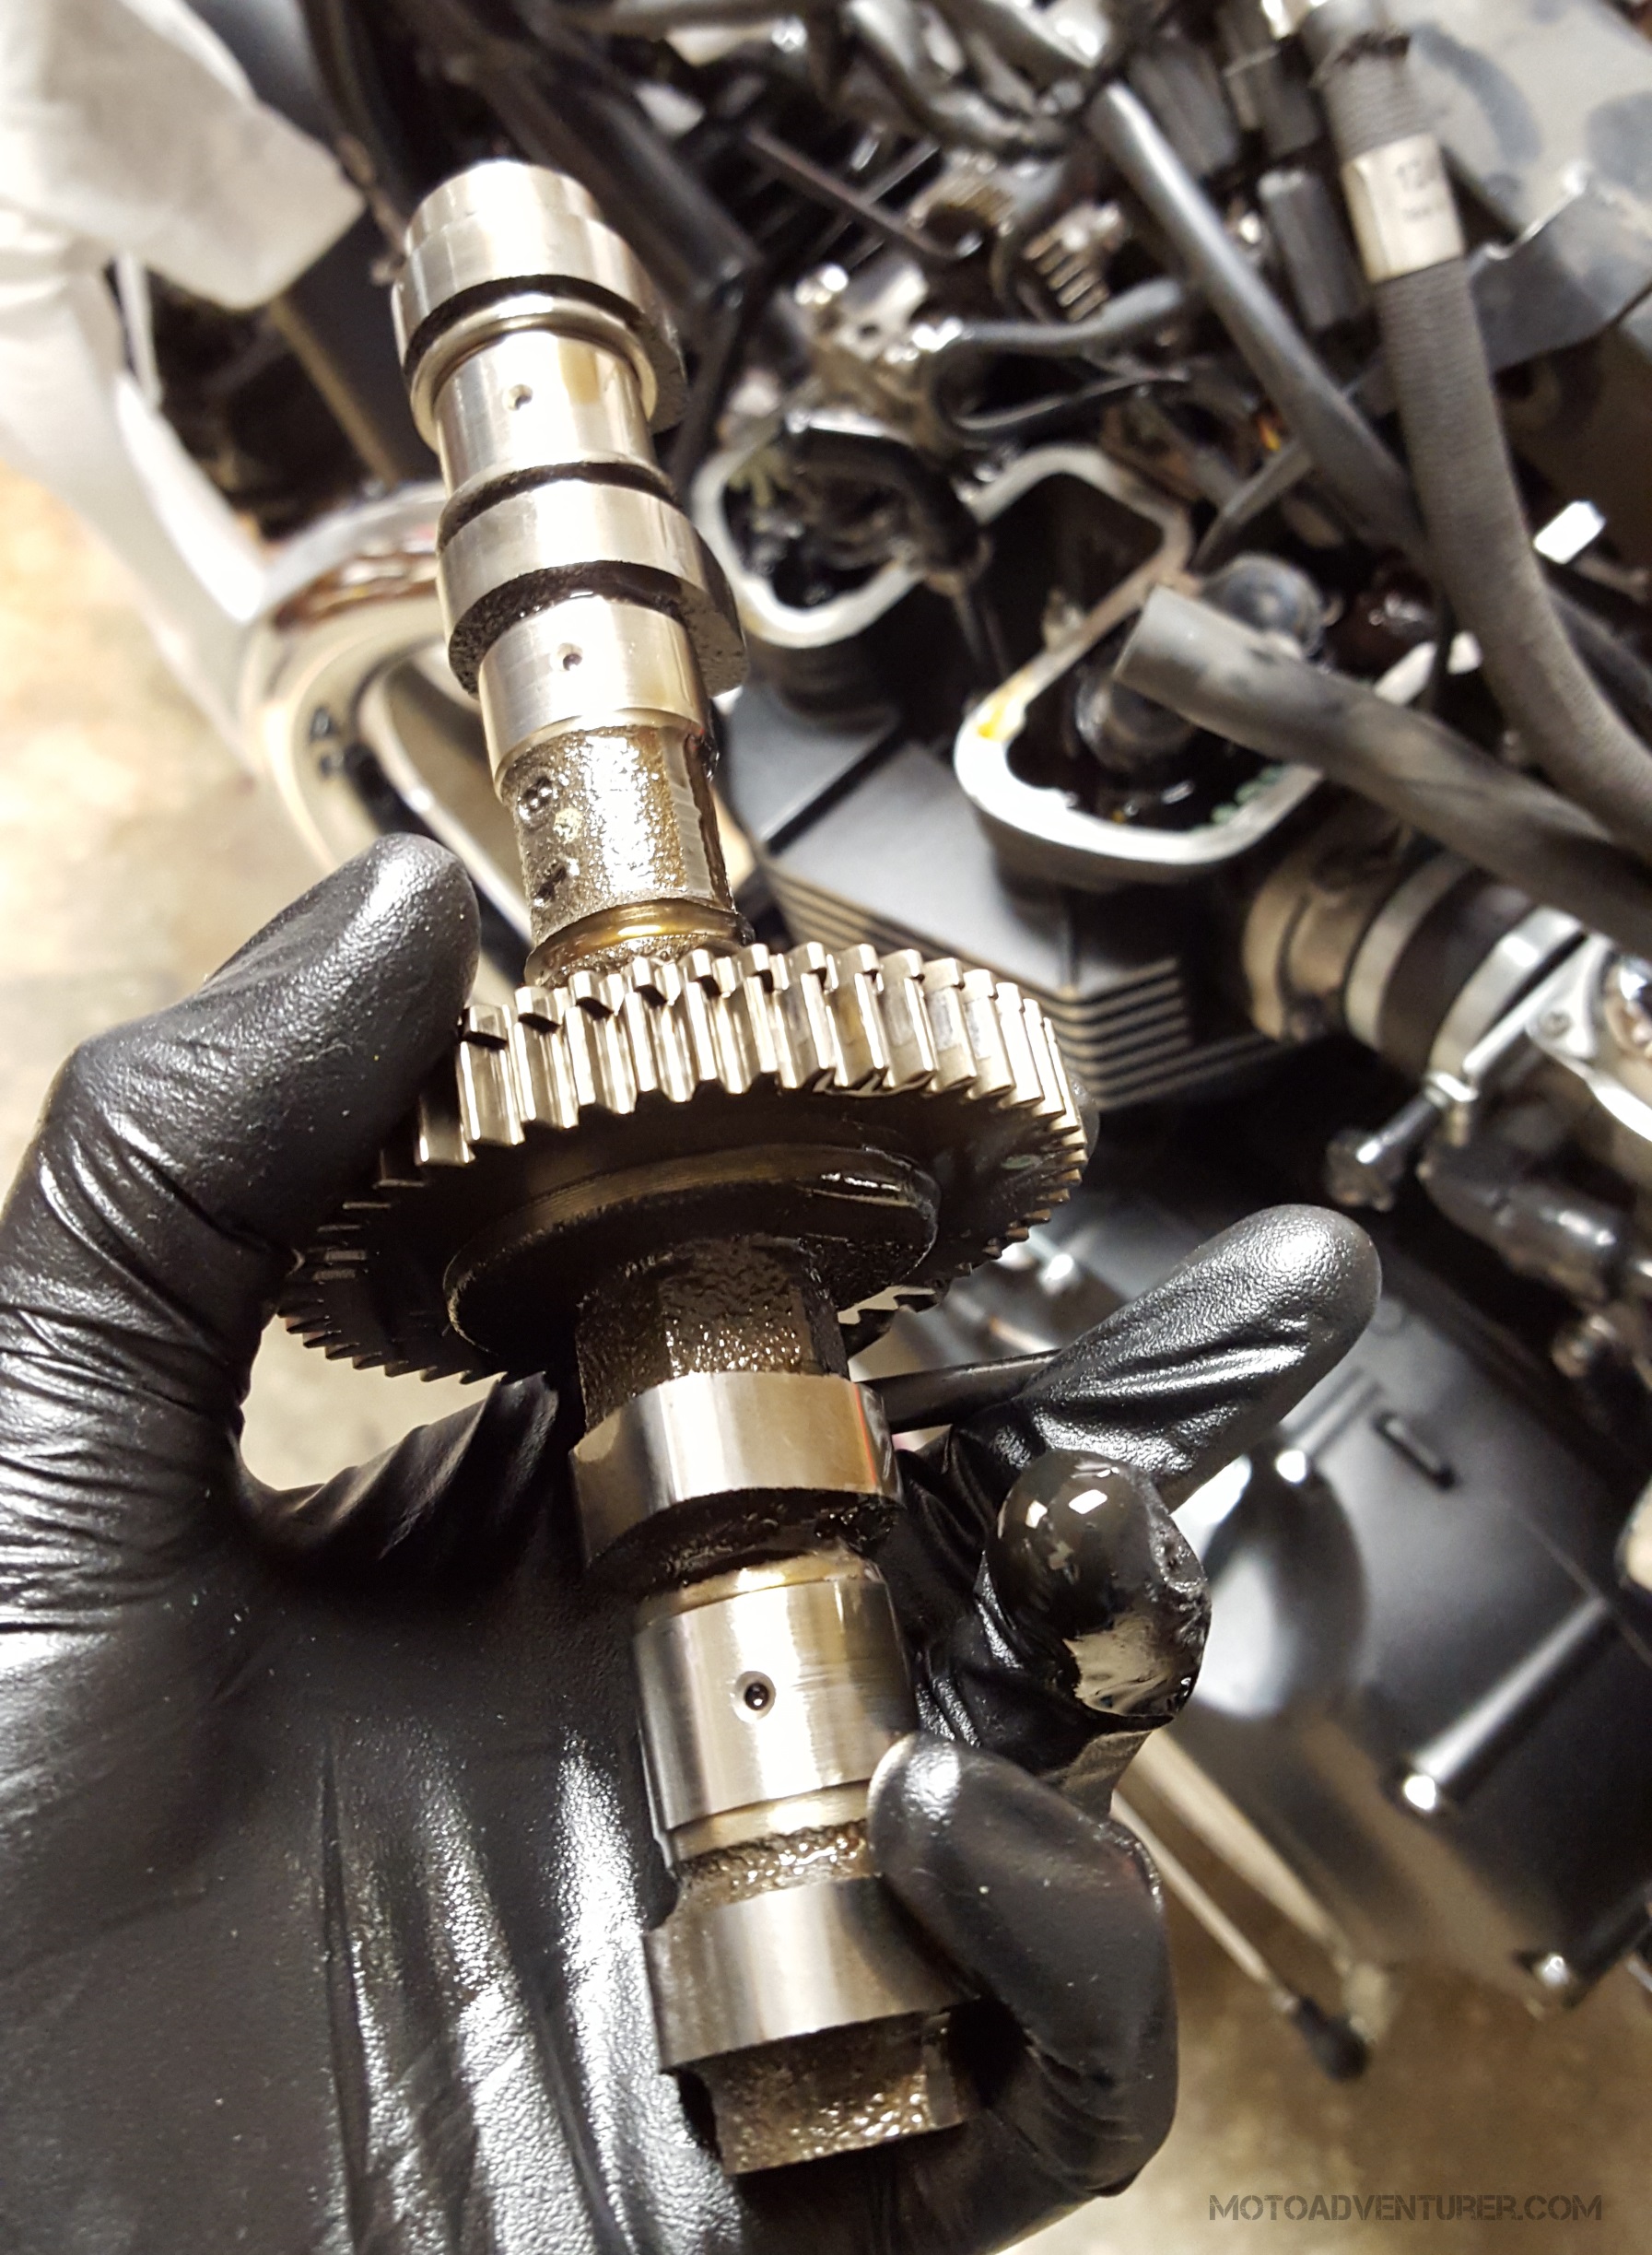
 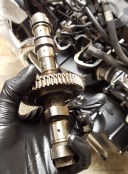 In order to avoid mixing up the cams and potentially dropping or damaging them I dealt with the camshafts one at a time. With the backlash gear retaining pin in place, I very carefully lifted the exhaust cam and set it aside on a clean rag. Be very careful when lifting the cam gears out of the saddles as you could accidentally scratch the machined surfaces on the hard corners of the saddles.
 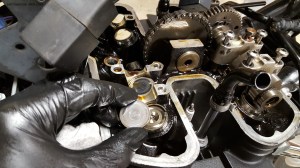 With the exhaust cam removed, I used hooked pick to gently remove the far right shim to measure it (use a pick or a scratch al very carefully as you want to avoid scratching the shim or the bucket). Using the mics I measured and re-measured the shim several times for accuracy and wrote down the measurement on the valve adjustment cheat sheet. I continued this process for all of the exhaust valves, then switched out the camshafts, then did the same on the intake valves.

DCIM111GOPRO
After measuring each of the shims I took a few moments to enjoy some pizza and mill over the numbers. At first I was convinced that I was going to be forced to purchase a new shim from the dealer, but after taking a closer look I realized I could swap a couple shims and bring them back into tolerance. I marked the target shims with a sharpie, then swapped the corresponding shims. With the shims back in place, I reinstalled the cams and camshaft holders and torqued the bolts to the spec. With the camshafts back in position, I rolled over the engine several more times to make sure the shims and buckets were seated properly. From there I went back through with feeler gauges and verified the clearances a second time. After the first clearance check, I rolled over the engine several more times and re-verified the measurements one more time; better to be sure before closing up engine.

Satisfied with the final checks, I reinstalled the camshaft oil feed pipe and corresponding banjo bolts. With the “guts” back in place, I again went through and verified that all of the internal bolts were torqued to spec. Bolts tightened down, I picked up the cam cover to replace the gasket and O-rings. New seals in place, I wiped excess oil off the cam cover “seat”, then carefully fed the cam cover over the engine. If the cover “seat” is covered with excess oil you’ll see oil seeping from the cover over the next couple rides; I wipe it off just to keep from panicking, thinking I have an oil leak.
 Take care to hold the new gasket in place when feeding the cover over the cams as it will easily snag on a tooth of a cam gear if you’re not careful. Finishing up, I torqued down the four cam cover T30 Torx bolts. If you decide you want to tackle this level of “do-it-yourself” maintenance on your bike, this is also a good time to do an air injection removal if you were also interested in that mod on your Triumph twin.

DCIM111GOPRO

DCIM111GOPRO

DCIM111GOPRO

With the valve adjustment done, I decided to change the air filter before calling it a day. An oil and air filter swap are probably the easiest “do it yourself” tasks for new riders thinking about doing their own maintenance. The stock air filter is under the Speedmaster seat, but you need to move some emissions related electronics out of the way first. 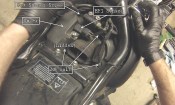 I want to emphasize that you want to be sure to have the key in the “off” position when you do this (don’t ask me why I know this),
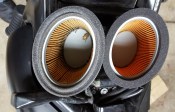 otherwise you’ll throw a check engine fault for a few starts if the computer detects it is out of contact with an emissions sensor. With the electrical bits out of the way, three M8 screws hold the air filter cap on. Taking the old filter out, I look over the weathered filter for anything strange, then make a quick inspection of the air box. From there plop in the new filter, then the same process in reverse. With the air filter changed, I called it a day, waiting to tackle the fuel filter the next morning.

Getting started the next day, I flipped the gas tank over to get access to the fuel filter assembly. I laid down towels and diapers on the floor prior to setting the tank aside the day before. Unless you have a part-stand with foam edges and whatnot, it’s extremely easy to scratch the tank while removing the fuel pump assembly, so plan ahead. I saw a guy in a video wrap his tank in some plastic, seemed like a good plan, but old-school diapers were all I had. Happy with the setup, I began removing the dozen or so M8 bolts holding on the fuel pump assembly. I ran the tank down to the low fuel warning light before starting this job, but I found a surprising amount of gas left in the tank; keep that in mind when removing the pump assembly. Describing the best method of removing the assembly is much easier said than done (maybe I’ll make a video next time…).
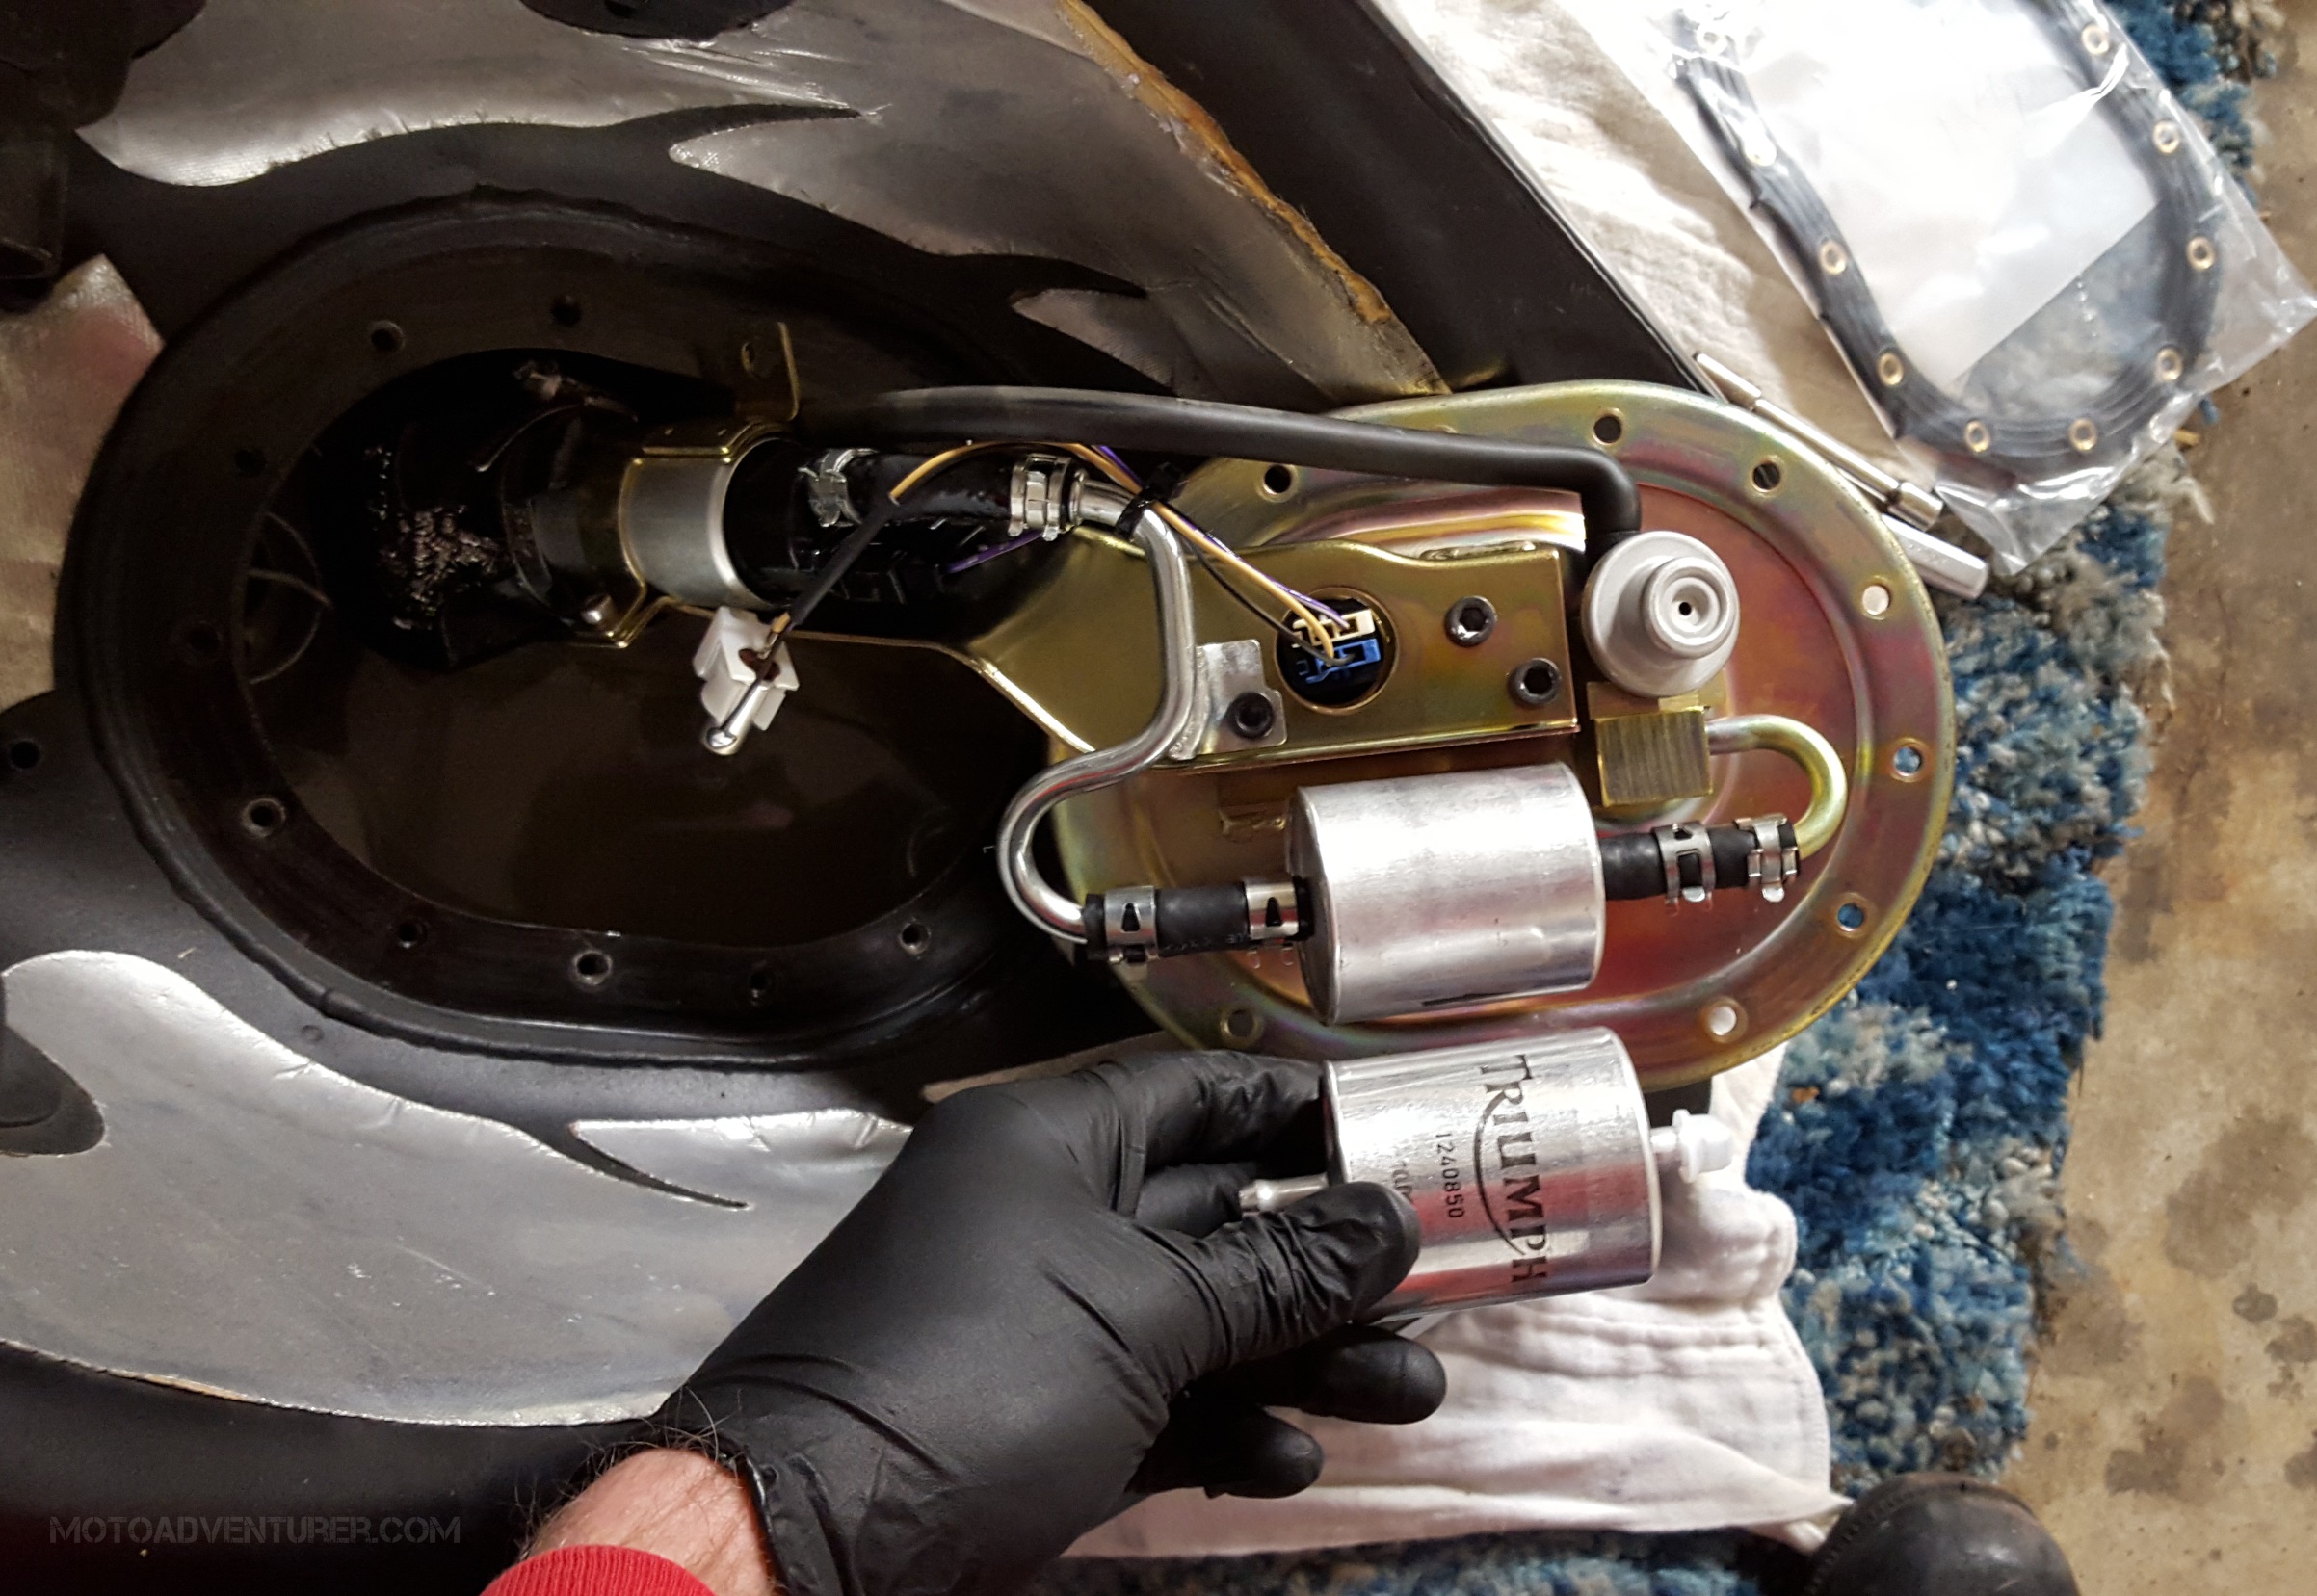
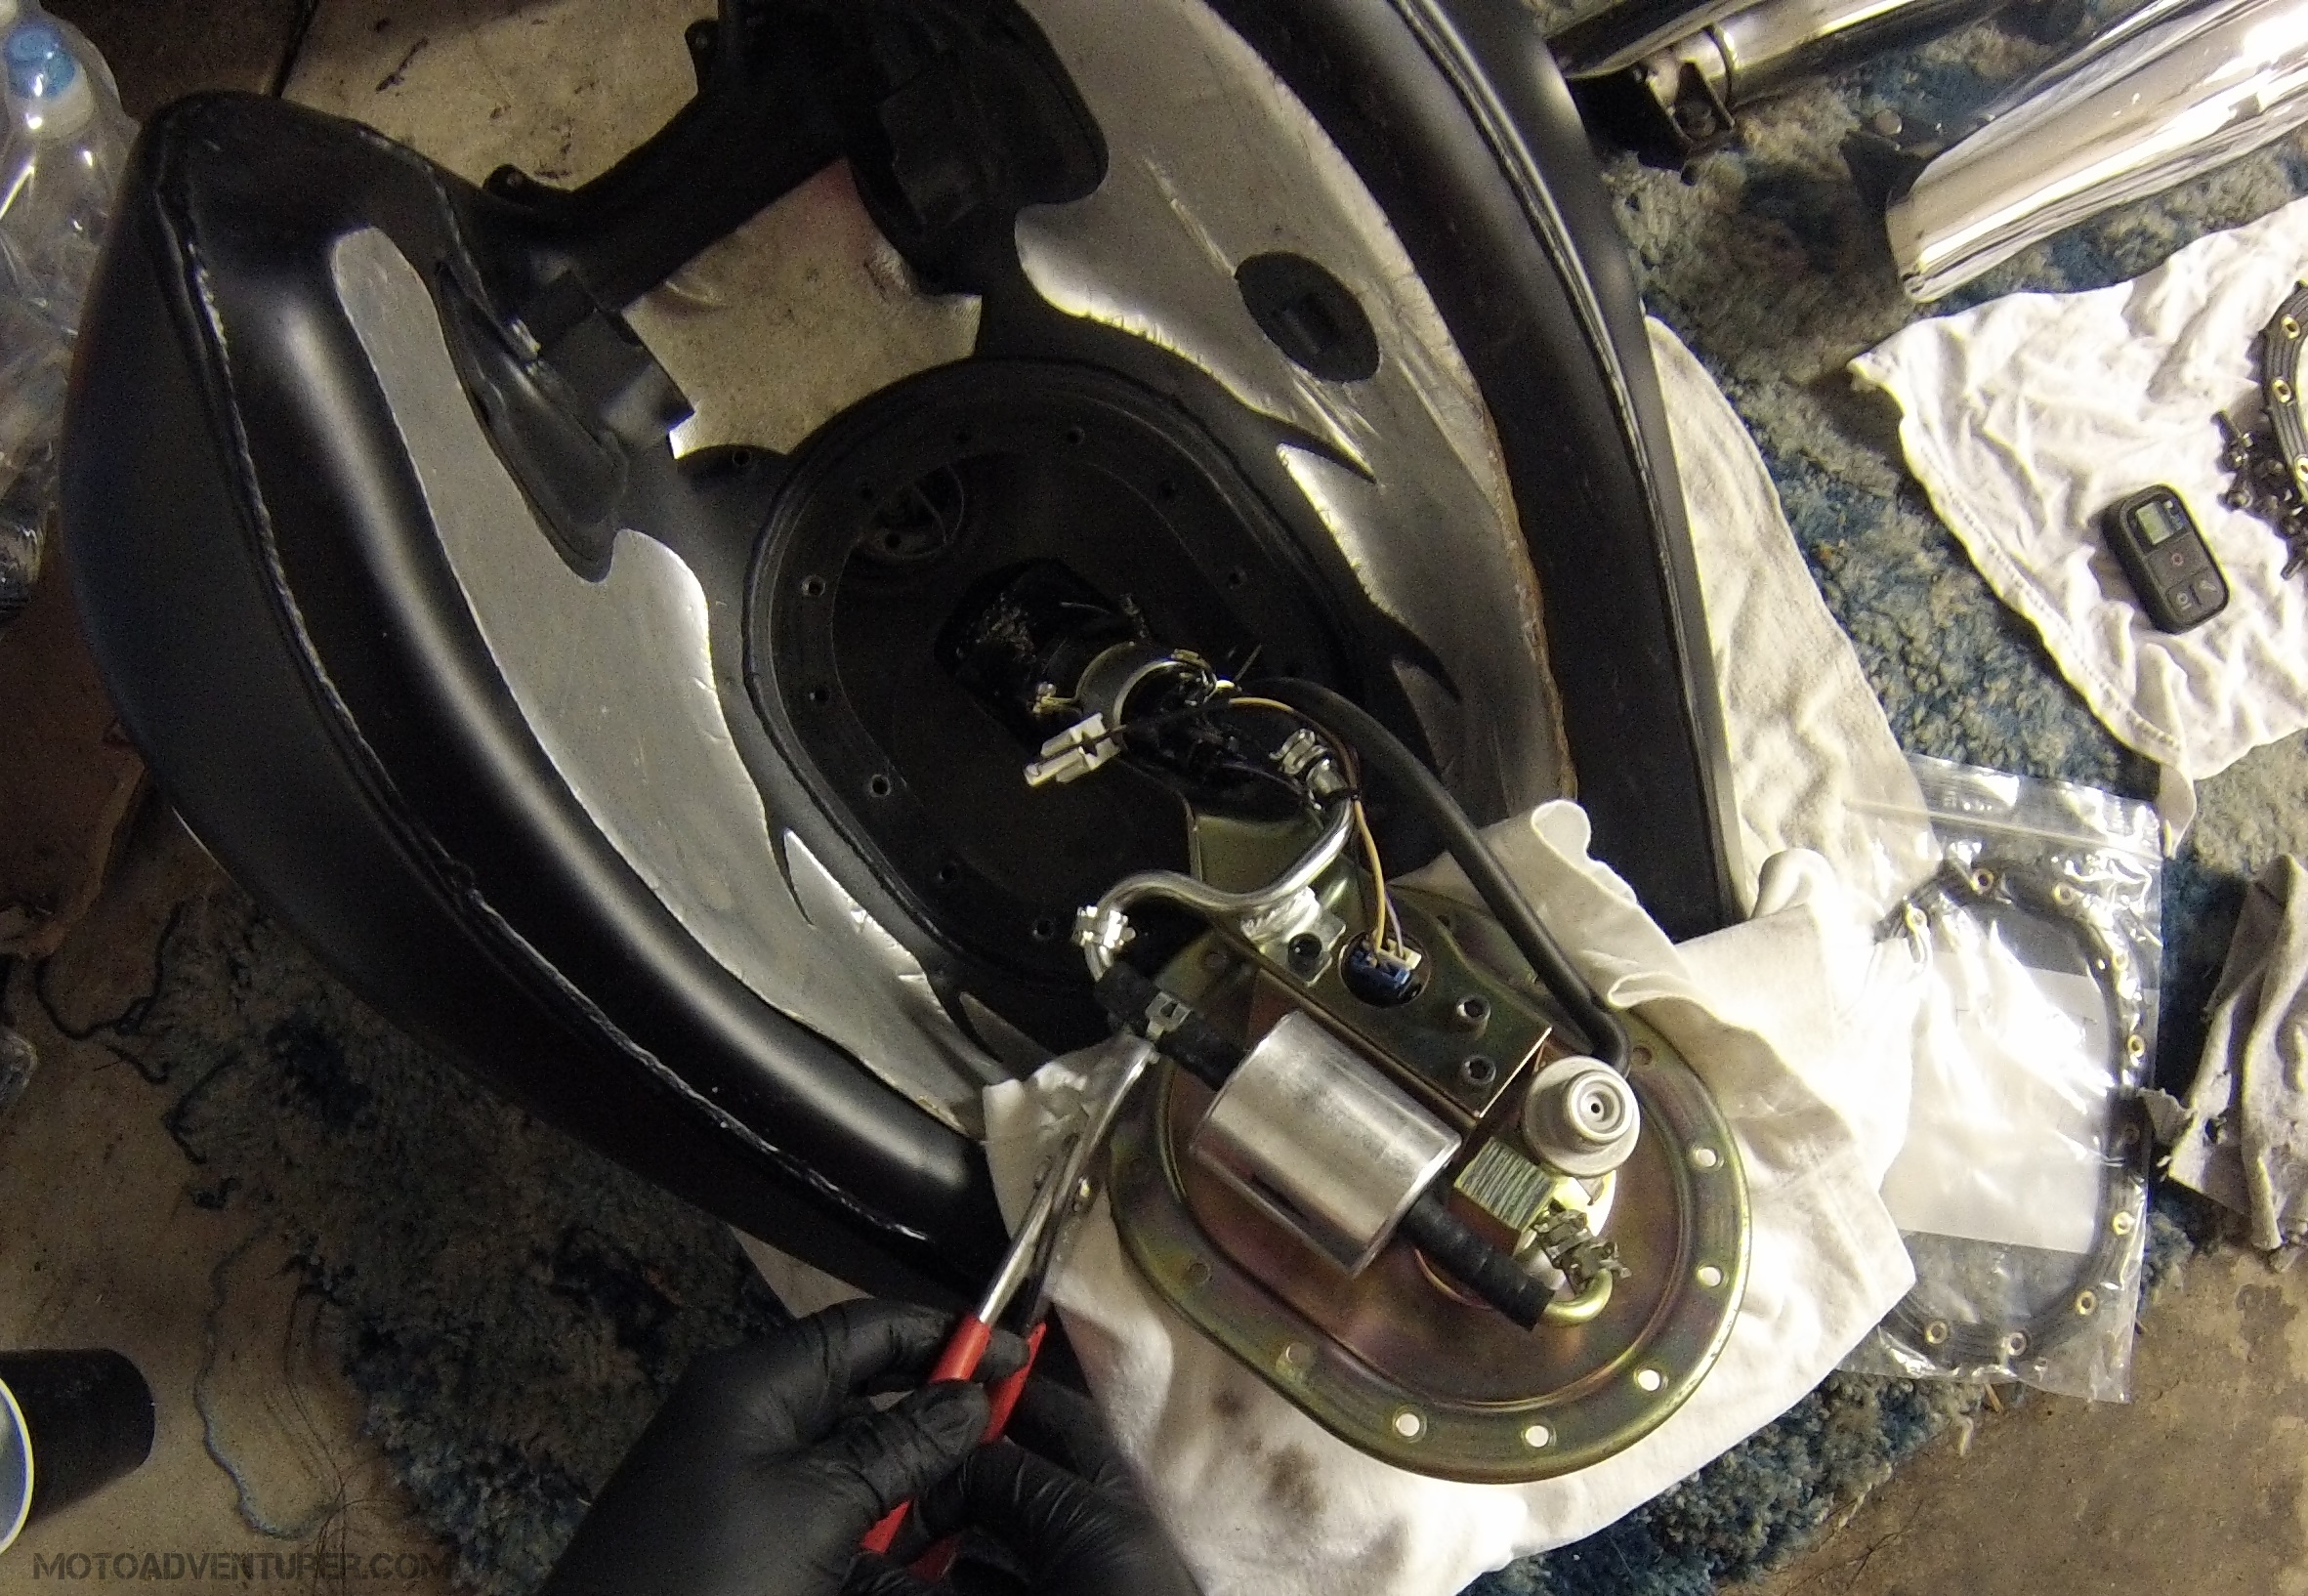
  The pump intake obviously extends down into the lowest part of the tank, but you have to pull the assembly up and out carefully, yet with enough force to actually remove it, meanwhile trying not to scratch the tank. The clearance between the assembly and the tank it pretty tight, so it’s going to fight you, know that now. With the assembly finally extracted from the tank, I left the intake sitting in the gas while I grabbed a pair of pliers and the new filter. The fuel filter is positioned in line with some really stiff hoses.
 I found that backing off the hose clamps completely was the easiest way to finagle the hoses back sufficiently to extract the old filter. Be careful not to toss the filter aside, there’s still a significant amount of fuel left in the filter and it will spill all over.
 Also be sure to note the direction of flow marked on the filter (another reason I take a lot of photos). You can feasibly figure it out if you forget, but it may not be intuitive right away. With the new filter in place, it’s recommended to switch out the tank gasket. I actually re-used the tank gasket when I changed the filter during the 24k service, but I wasn’t going to chance it for another year. With the fresh gasket in place, it’s another struggle to push the pump “snorkel” back down into the depths of the tank. With the pump situated near a “home” position,
  I hand threaded a few bolts around the corners in order to keep the gasket in place as I threaded the remaining bolts. With each bolt snugged down by hand a slowly went around the flange in an opposing pattern to tighten down the bolts. Once each bolt was snug, I went back around to torque each bolt to specification (that’s probably the longest part of the process).

DCIM111GOPRO

DCIM111GOPRO
 With the fuel filter changed, it was time to re-install the tank on the bike. Here’s a tip, I recommend installing the new spark plugs at this point prior to installing the tank. It’s a pain extracting the plugs with the tank in place; I naturally forgot this and just put the tank back on. With the tank back on, it was pretty much a standard oil change, cleaning and adjusting the chain, adjusting cable tensions, etc.


 The weather as of late hasn’t been completely conducive to riding (the trails are excessively muddy), so I’ve elected to hike a few days, taking photos of derelicts on the property. After a couple sunny days, I did finally knock the cobwebs off the trusty mountain bike that’s been sitting in the cellar for the last… ten or so years. I’m hardly in fighting shape, but I’m enjoying the ride anyway; Just figured I’d share some of the highlights from the past few weeks.






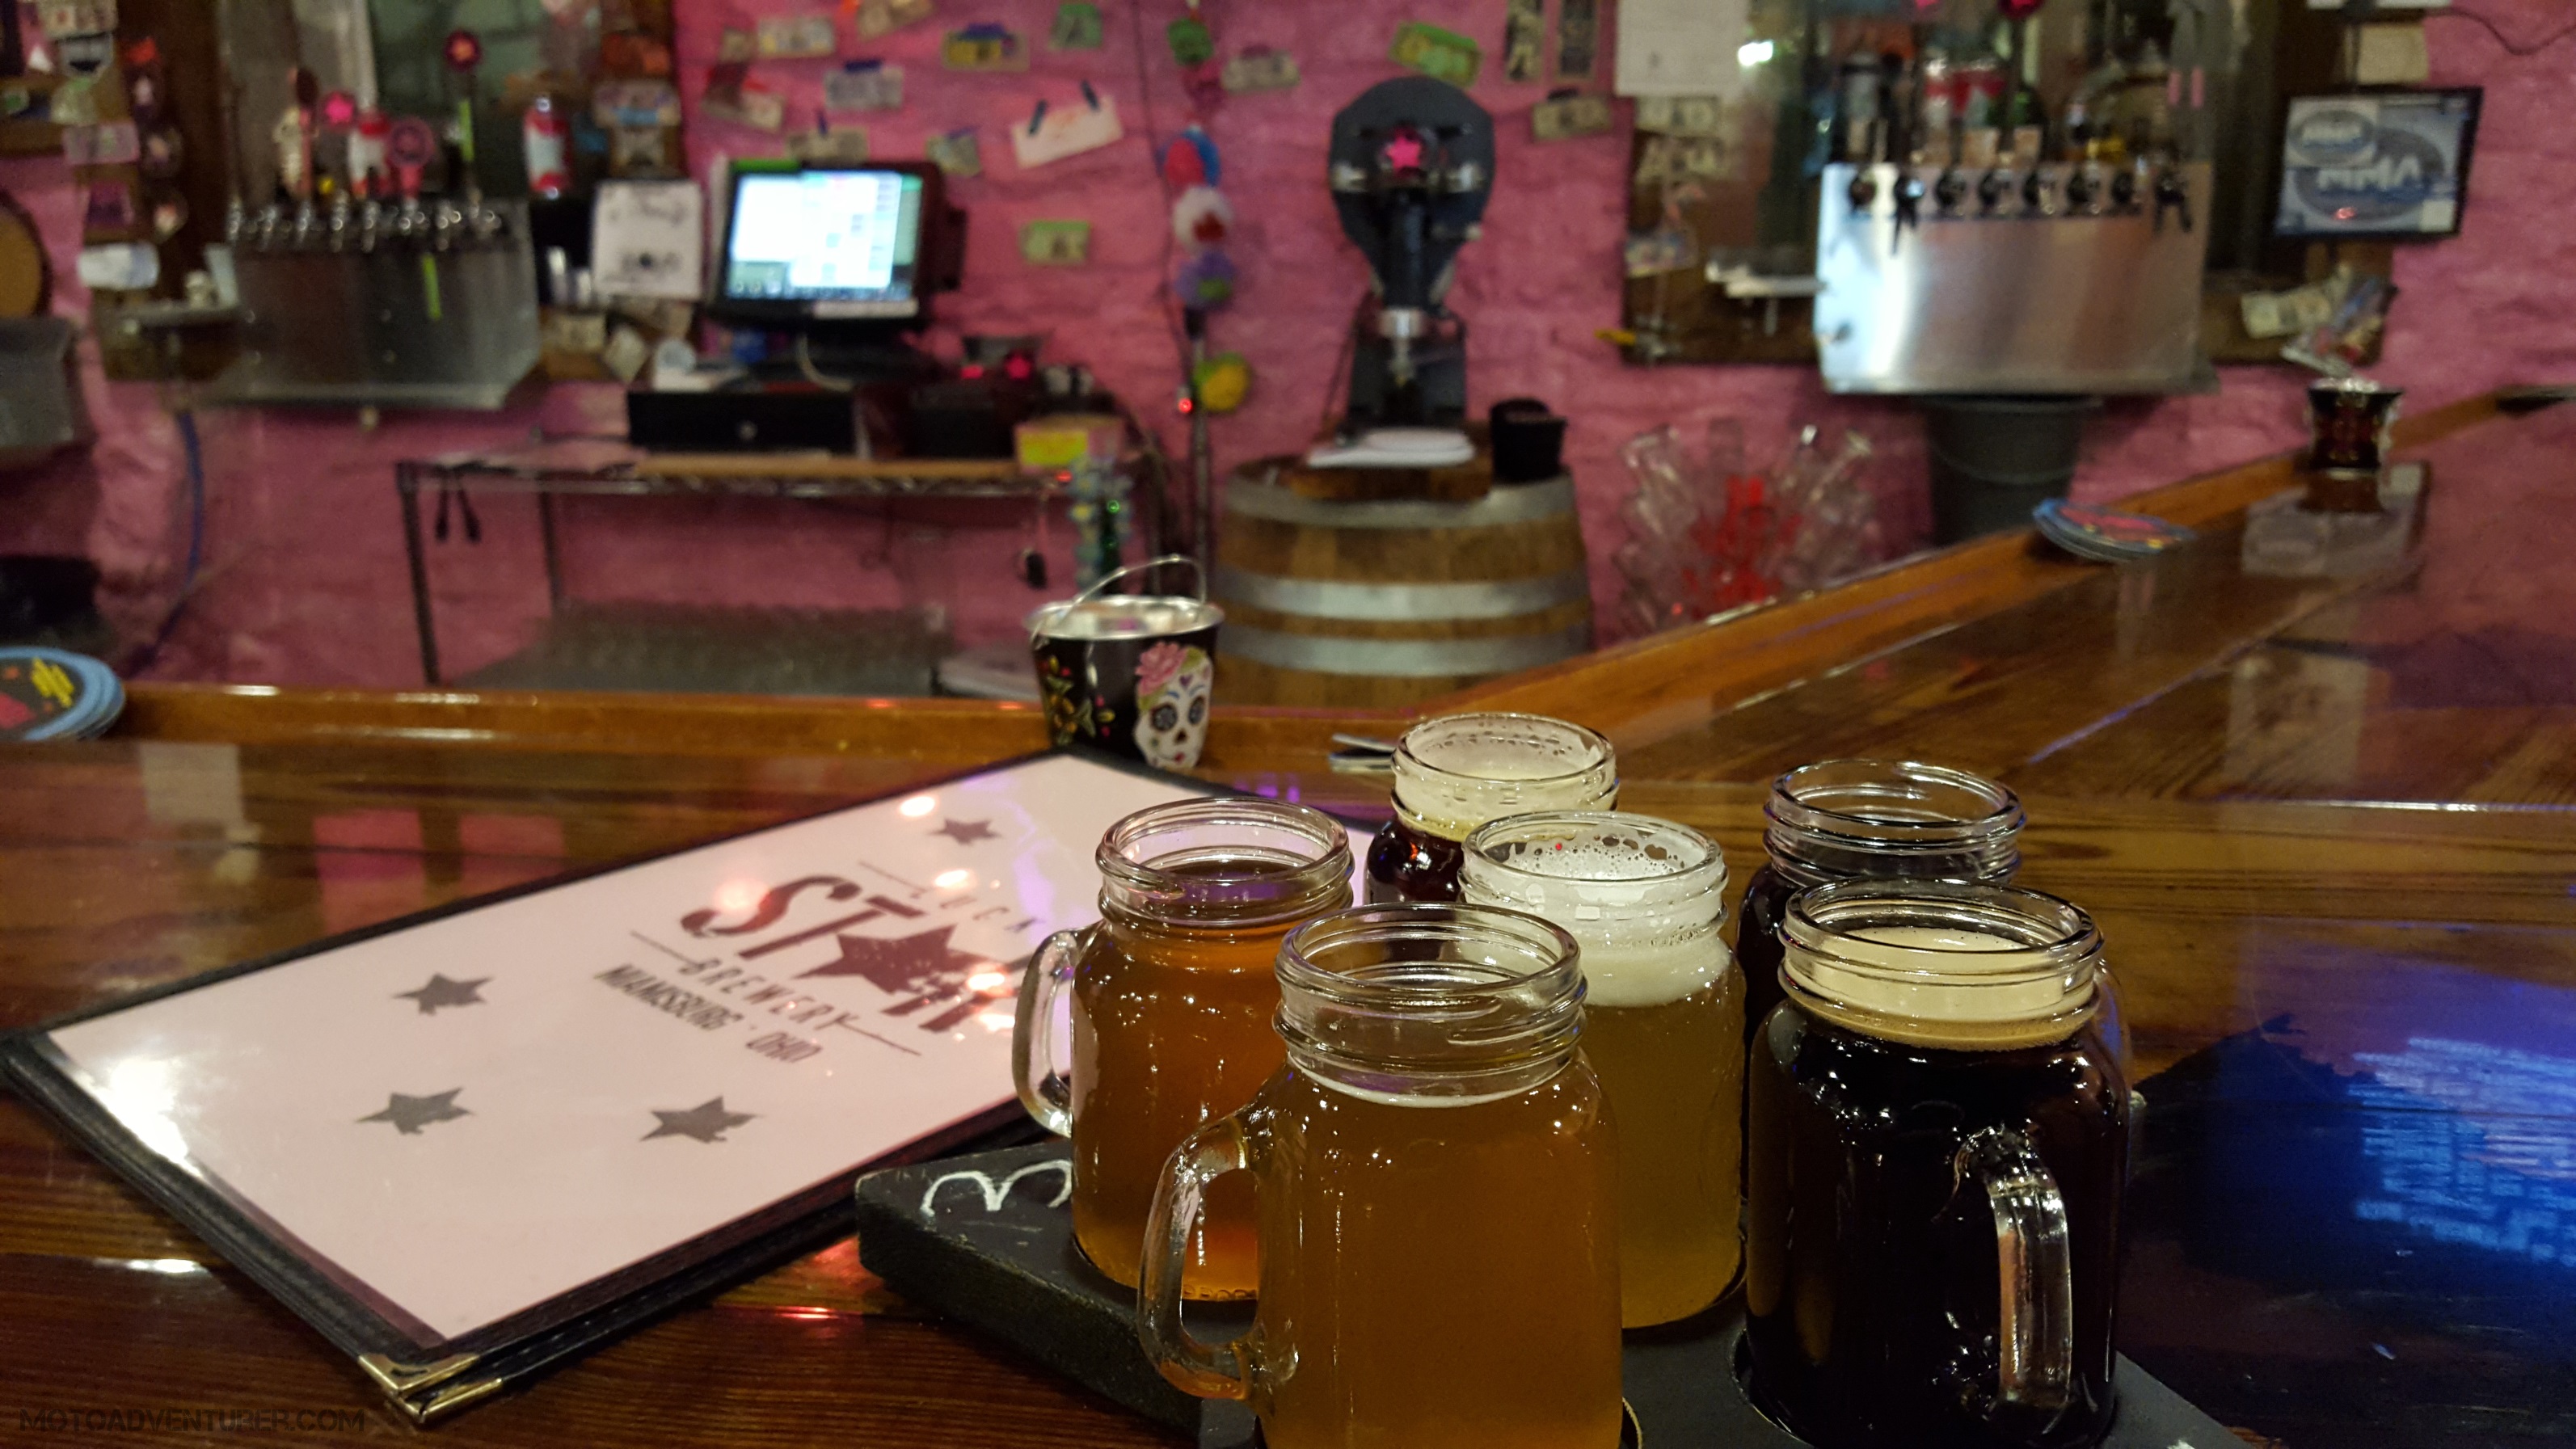
 Lighter beer drinkers might want to steer toward the Pirogue Belgian Tripel (maybe… I haven’t tried it), but most can’t go wrong with Ermal’s Belgian Cream Ale. In the end, the Creepshow’s smokey flavor was on par with what I’d normally drink, but between the beers on the flight, I think the Abominator was my favorite of the foursome. I also tasted the recently tapped Baltic Argonaut (Baltic porter), the Argonaut was another bold porter, but unfortunately, as a barrel aged beer, it was not an option on the flight. At 11% alcohol content, I unfortunately couldn’t see myself finishing a pint after everything I’d already tasted.









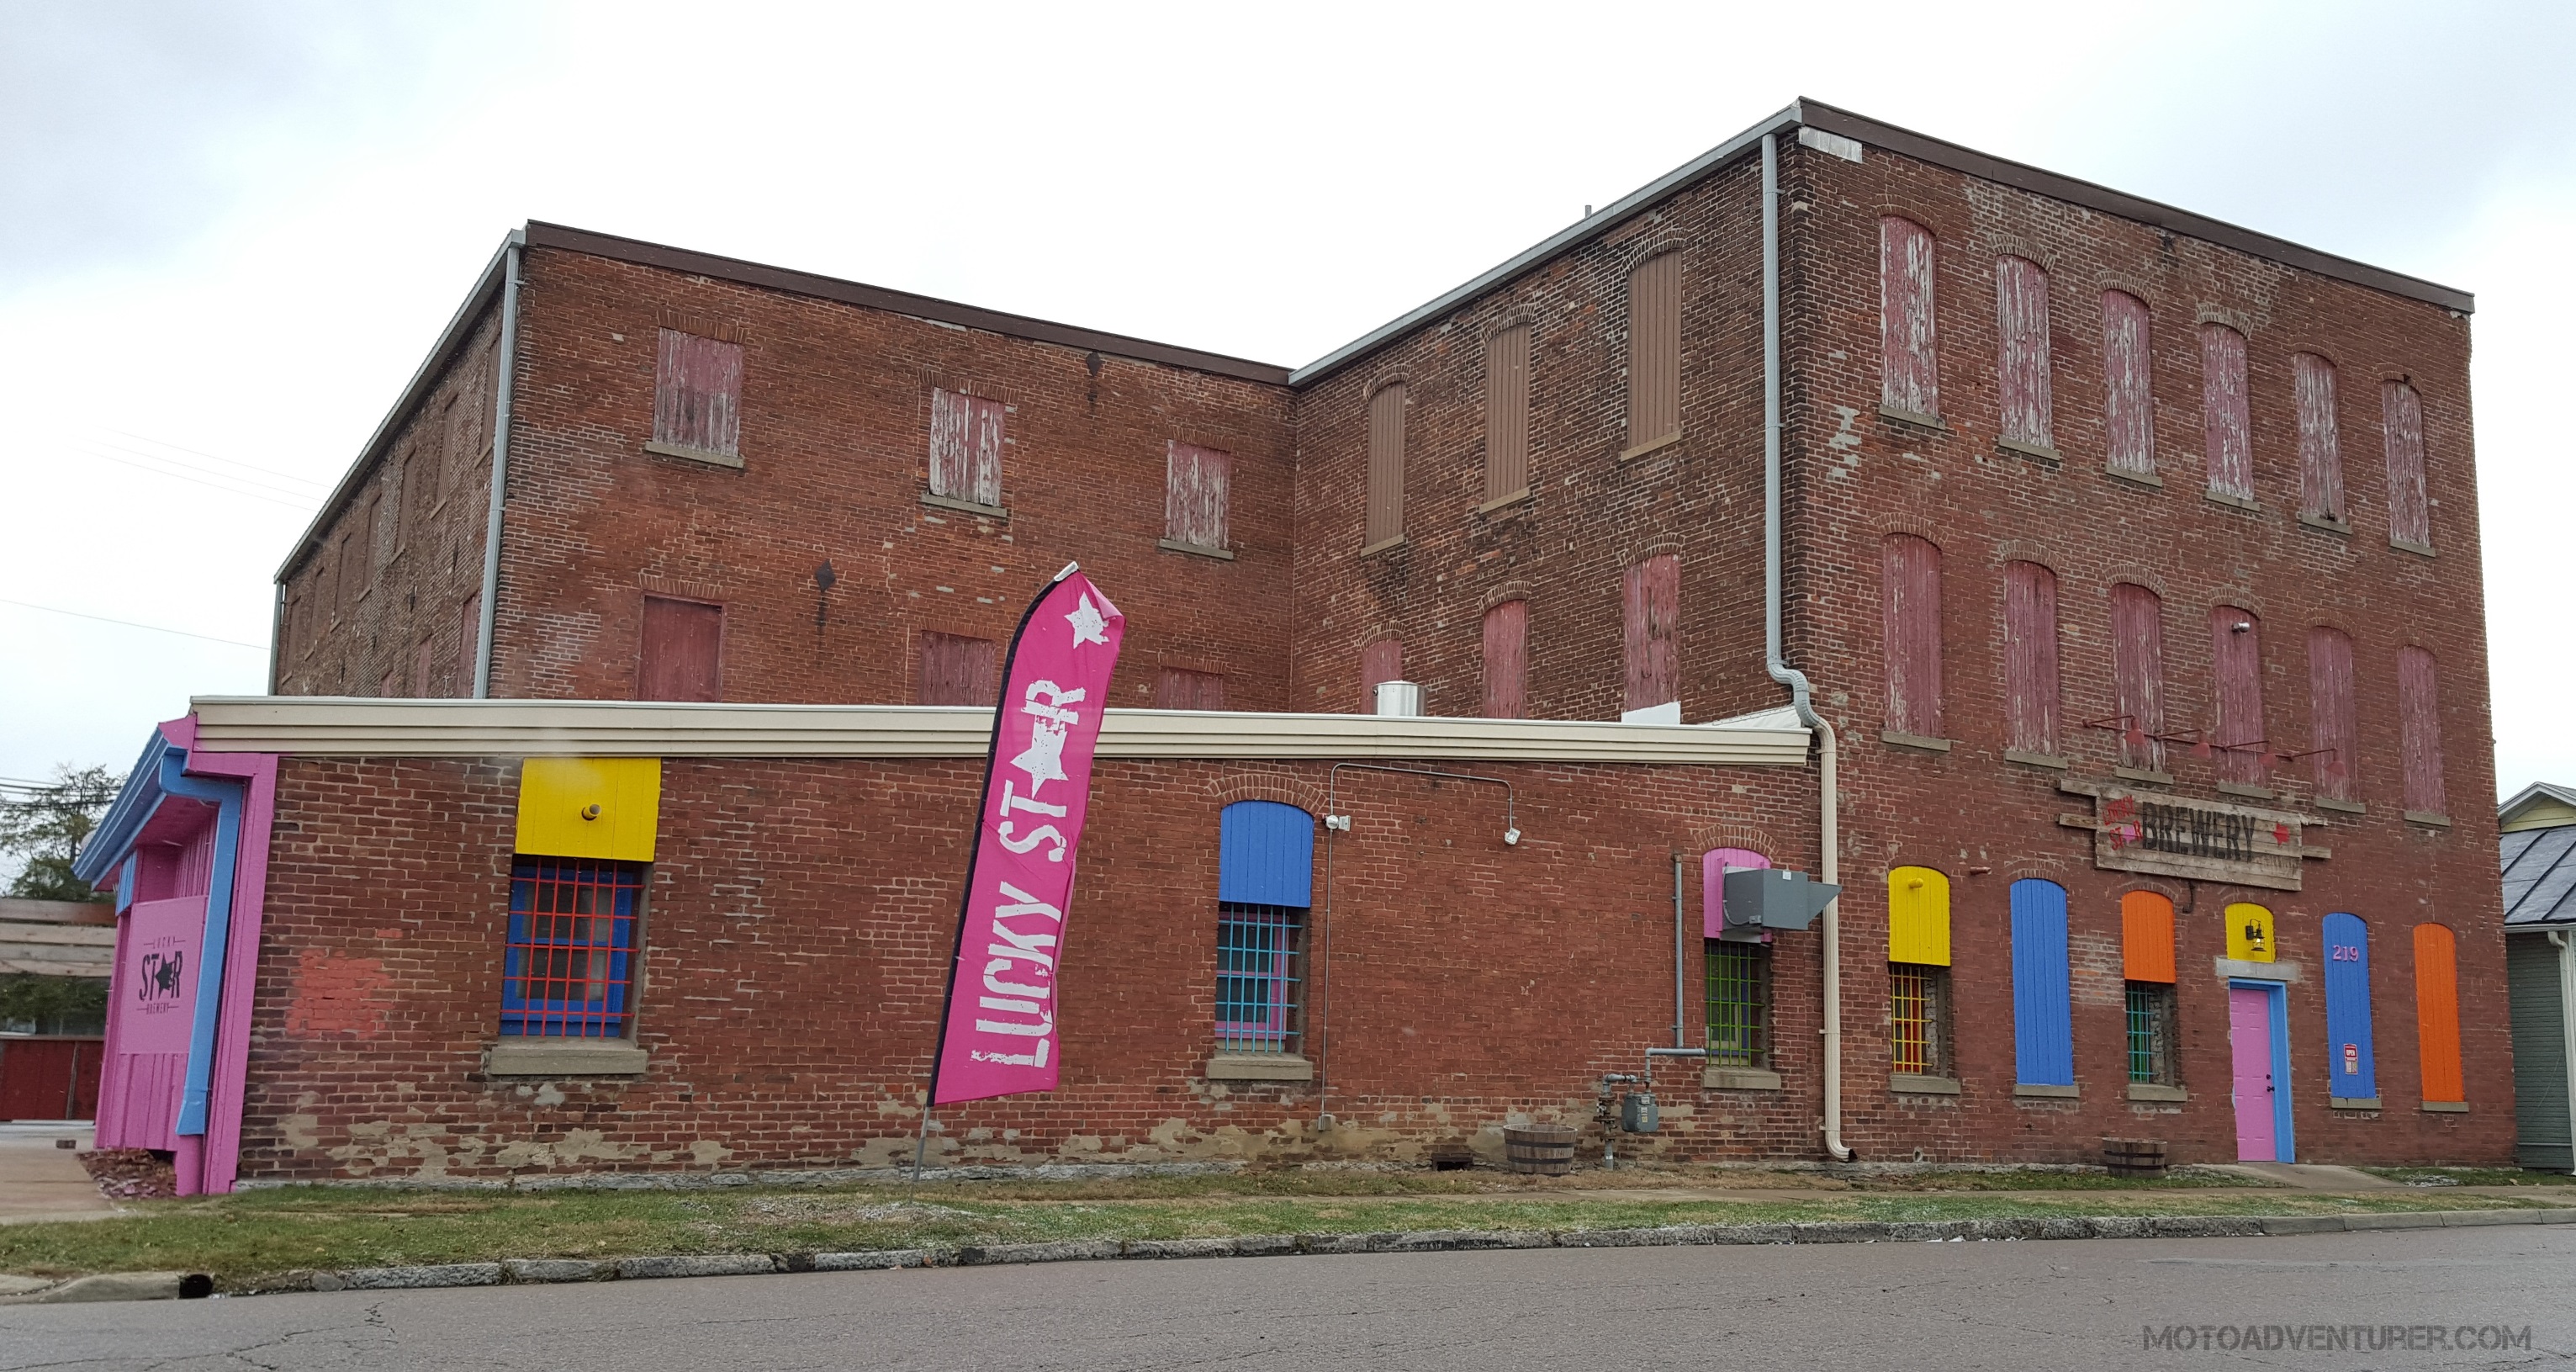
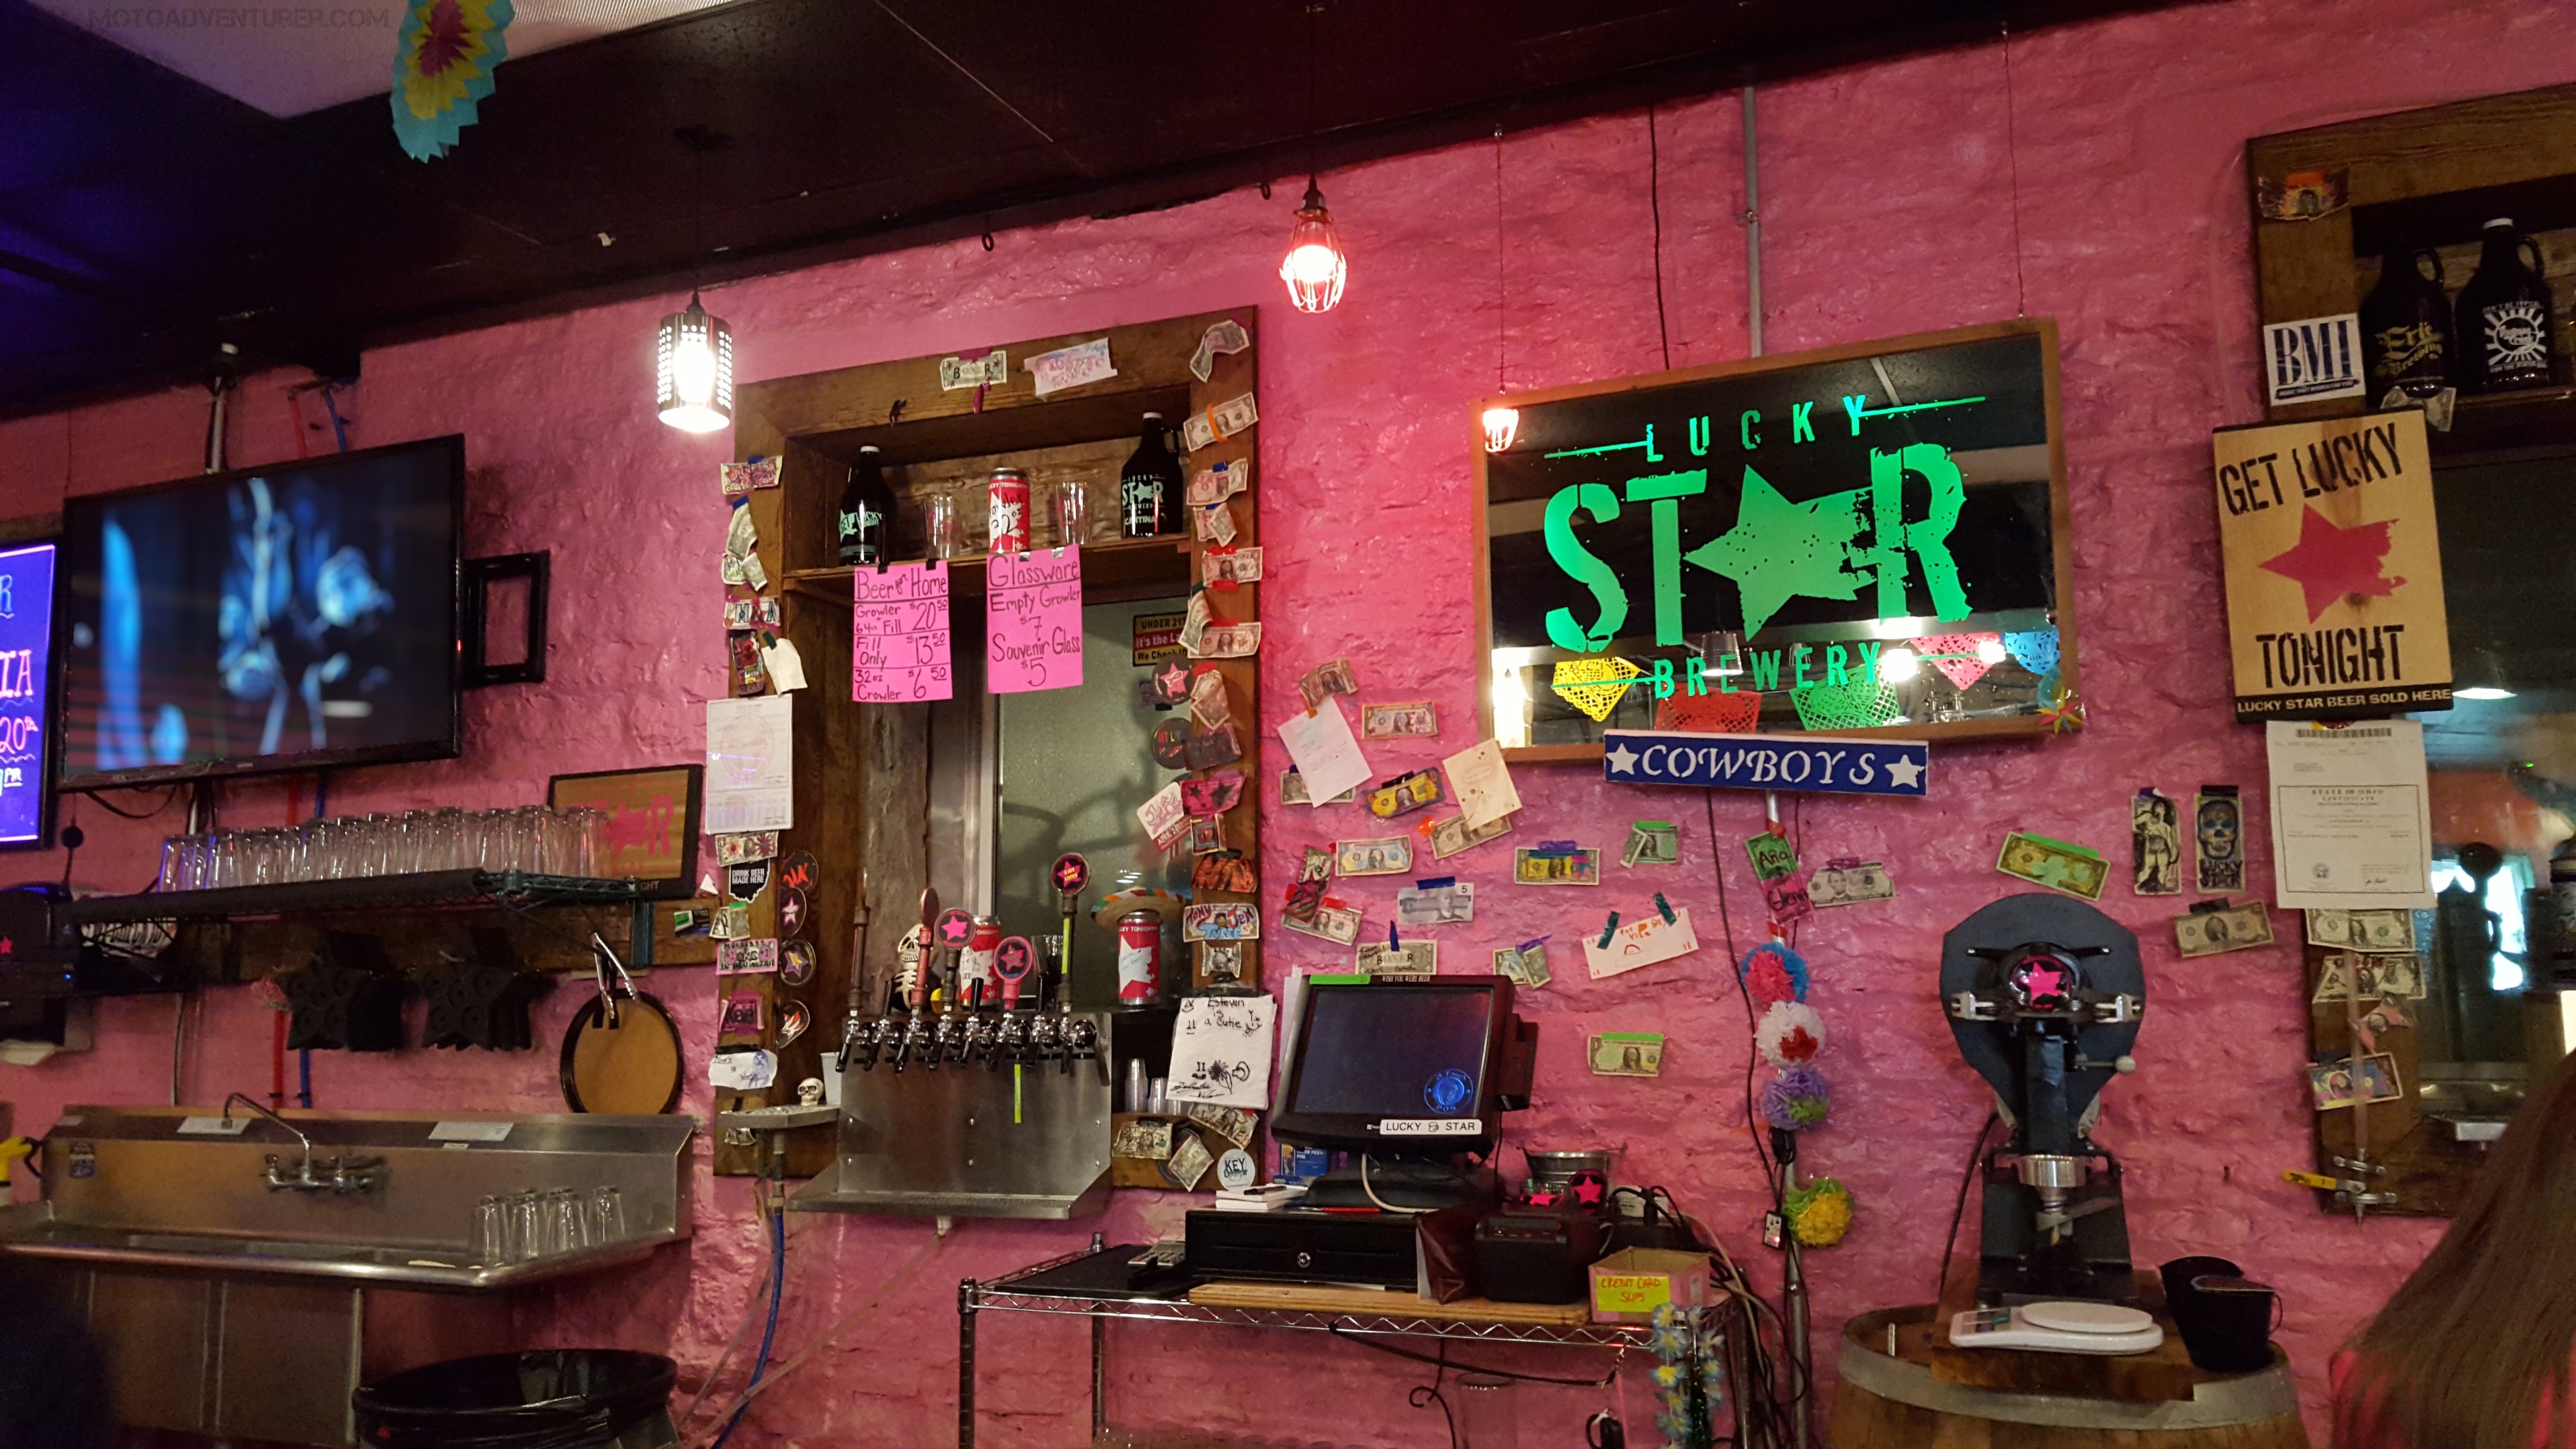
 Taking a break from the beer tasting, there was also an abbreviated
  I’ve never had chorizo, to my knowledge, but the Mexican sausage turned out to be a winner. The tacos were traditional home baked shells, not the ultra-crispy deals you get at Taco Bell. A little lettuce and sausage (chorizo) and it was a solid choice for $2. The special didn’t disappoint either; three beef sliders slathered in chile con queso with hint of heat from the mild Anaheim peppers, delish! Coming back to check on our meal, the bartender mentioned that Tuesday night is “Taco Tuesday”, one dollar tacos and the menu is expanded to include fish tacos, among others. Thursday night is also apparently 69 cent wing night, making it another worthy weeknight destination; I do love me some hot wings…
 Grazing over the Mexican fare on my plate, I moved on to the other beers from my flight. To my knowledge I had also never had a saison beer until this visit. If the name “Ball and Chain” isn’t enough to spur your interest, the saison was pretty stellar, in fact it was probably the champion of the six beers I tasted. Funny actually, as the bartender practically had to talk me into it, despite my preference to dark beers, it didn’t disappoint. I would say the saison was very comparable to a traditional wheat beer, but far more “complex” which really made it shine. I also tried the Belgian strong ale, aptly named “The Belgian”. The Belgian was good; very traditional in my opinion, not unlike Blue Moon, but unfortunately it was simply overshadowed by the saison. And then there was that one… the “Nector of the Gods” grape beer.
 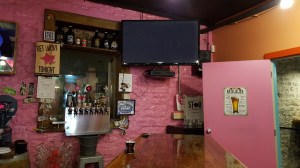 If you woke me that Sunday morning and told me I was about to enjoy a fruit beer, I would have laughed in your face… for like ten minutes solid! Blueberry this, pear that… no. Not No but… wait a minute, that grape beer was amazing! Stunned, I was, simply… stunned. Fruit beers are typically garbage in my option… well until I found Lucky Star Brewery. Look, I’m not giving up Dragon’s Milk or Ten Ton Oatmeal Stout anytime soon, but for dessert, this Nector of the Gods deserves some street credit. Somewhere in the middle of all this tasting the bartender also mentioned that Lucky Star has a competitive pumpkin beer in the Fall. Pumpkin beer is almost as bad as blueberry beer as far as I’m concerned, but after having my mind blown by this mystical grape beer, I’m going to mark my calendar, we’ll see if my expectations can again be shattered…
 Beyond the six beers I tasted, the beer list also contained a couple Mexican lagers, which seemed like a good staple and middle of the road beer for non-craft beer aficionados; while they also help fulfill the Mexican theme that really sets Lucky Star apart from a lot of the local pubs and micro-breweries. They also have a honey wheat and kolsch that I want to try, and there’s also a “chili” beer that I might build up the nerve to taste. If you’re passing through south of town, I recommend stopping in for a taste and maybe a taco (Open Sun-Thurs until 10PM, weekends until midnight). I imagine I’ll be back to figure out what these wings and fish tacos are all about. Hopefully I’ll even hear a little more about the history of the building, and maybe even meet the brewers.


