Random Blurbs: Spring mowing and The Wall of Shame

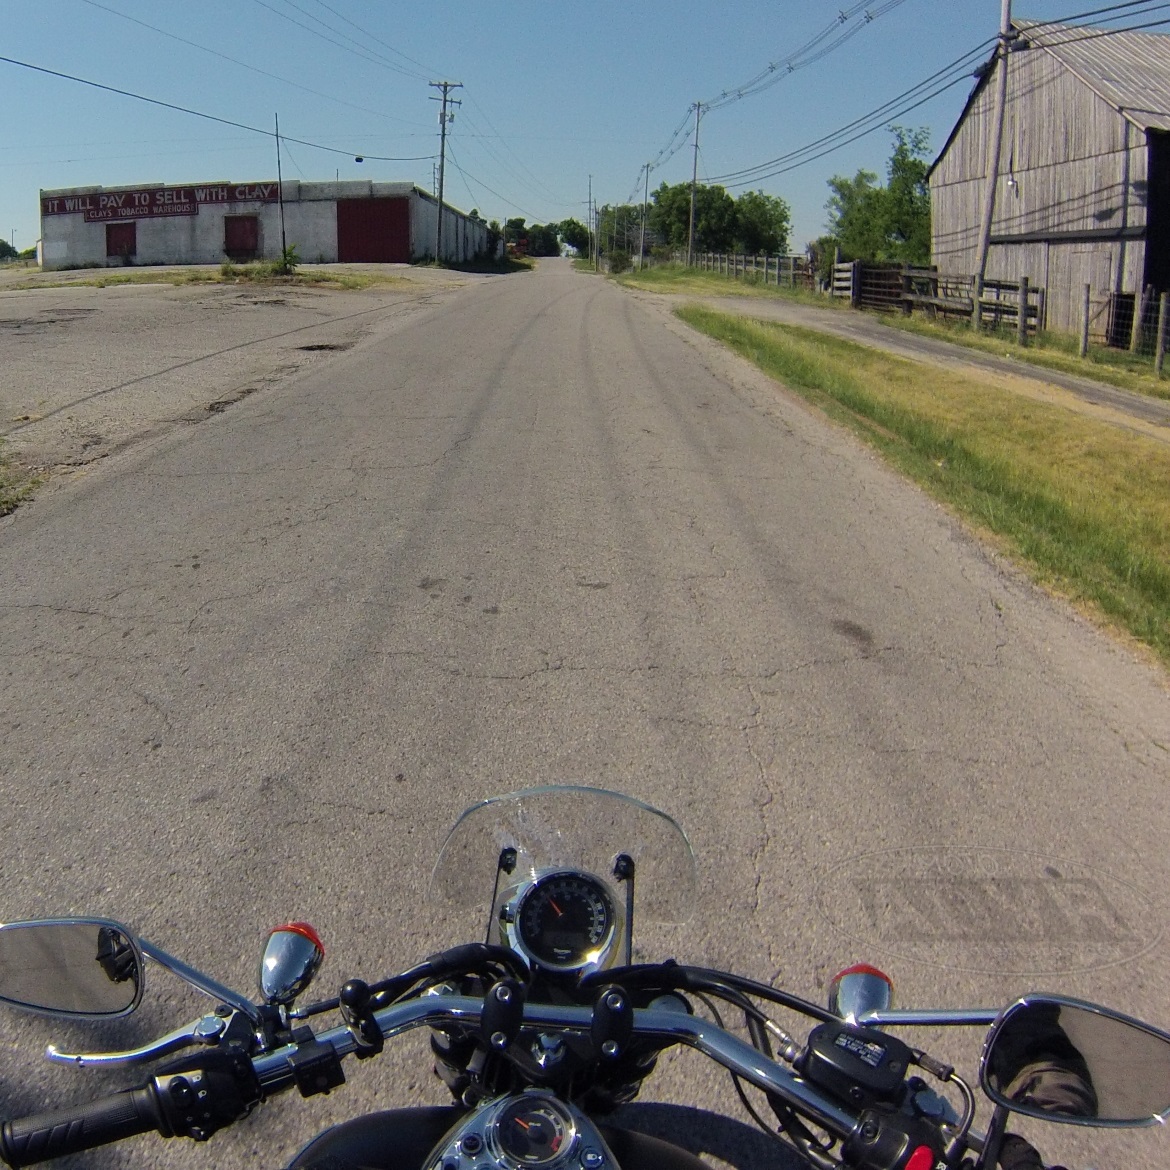
It’s funny how “motorcycle weather” tends to compete with “golf weather”, but especially “lawn mowing weather”. The past week has mostly been “waiting on rain to stop so I can mow” weather, and unfortunately has delayed any cool adventures to share. The bit of riding I’ve been doing has pretty much been the daily commute; while not particularly exciting, tends to have its peaks of excitement provided by some of my impatient, ignorant, and otherwise distracted fellow commuters. My ride to work is about a half hour, which isn’t particularly long, but since it’s through downtown, still under construction, let’s just say “I meet people”. Now that the new GoPro has joined the team, I started a new page MotoADVR: The Wall of Shame so I can highlight all the silly things that I see when traveling from A to B. Please feel free to comment about your similar experiences, and stay tuned to the page for new updates.

Posted in Opinion | Tagged , , | 6 Comments

Pubs and Street Eats 7: Random Street Tacos

MotoADVRtacoTruck5Urban legend had it that there was a taco truck located somewhere in New Carlisle; I heard this rumor for some time after starting my new job in Huber Heights back in 2012. A few weeks back, in a completely random occurrence, I ran into the president of the local RAT pack at the Triumph dealer. Tacos in hand, he not only confirmed the existence of this mythical food truck, but also told me where to find it.  I realize that this sounds pretty silly, but apparently there were several rumors of where a Taco truck could be located in New Carlisle, who the operator was, and what the menu was like. Having been there myself at this point, I confirm, it does exist, and you cannot find it on any website. Without further ado, on to the food.

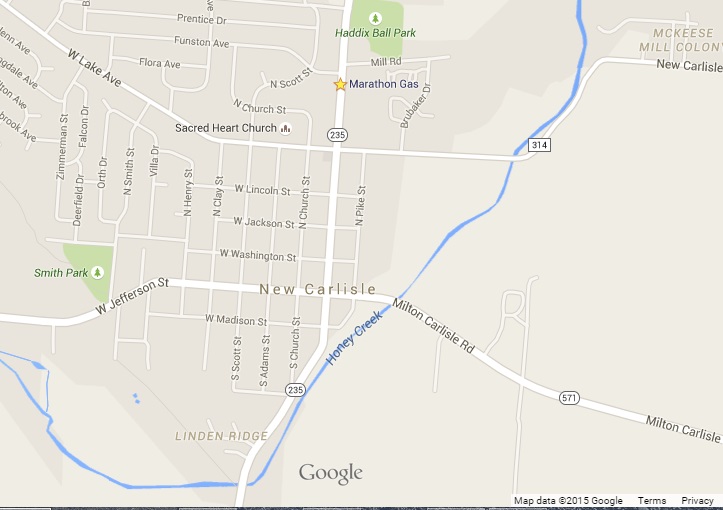
MotoADVRtacoTruck1So, last week my buddy Jeff dusted off the Thruxton and rode it to work. It only seemed right to take the Triumph twins out for a spin at lunch and try out this highly anticipated Taco Truck. “Behind a gas station” was really all I had to go on, but after checking behind the speedway (that’s a tricky one, there are two speedways, and they face one another), we located the Taco Truck behind the Marathon on the North end of town.

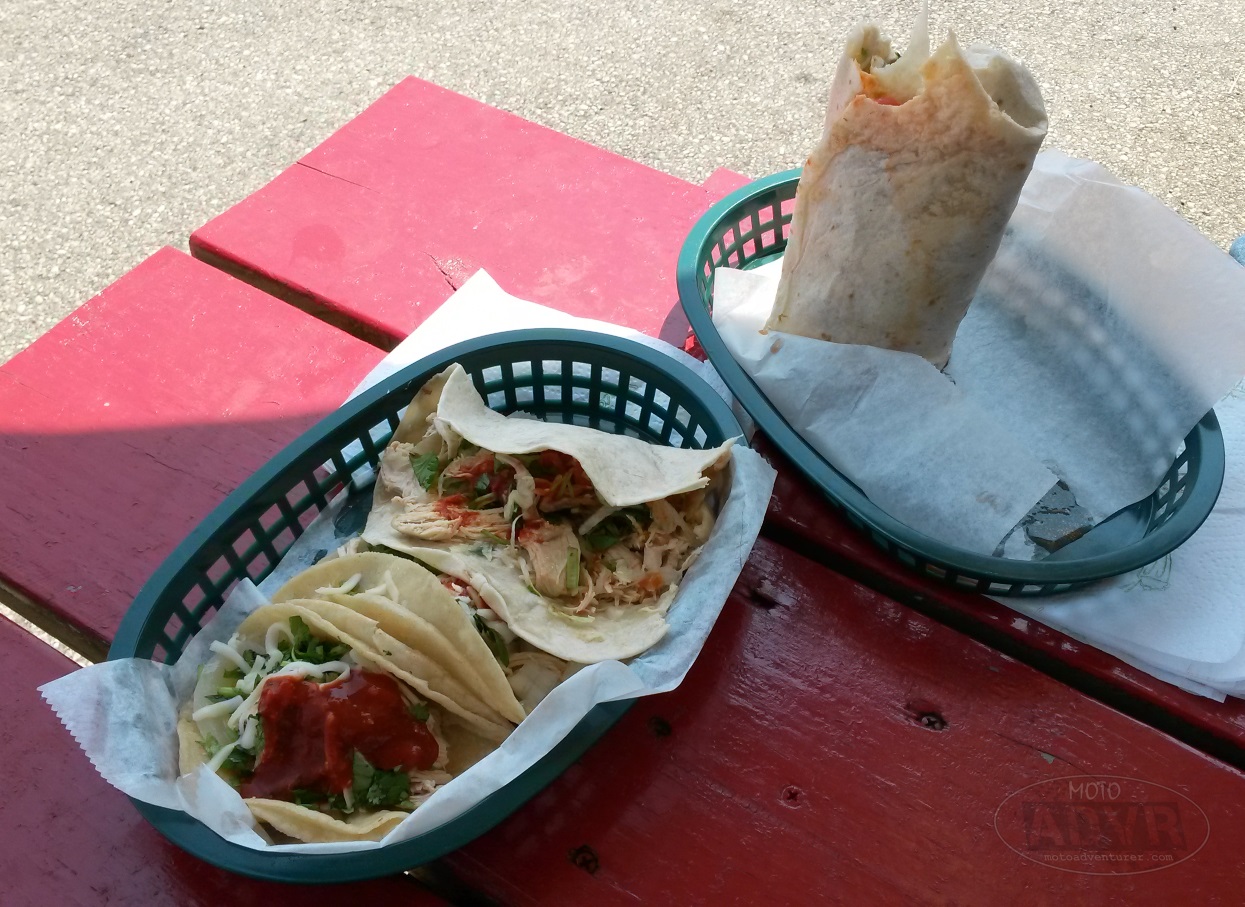
MotoADVRtacoTruck4The Menu is simple, burritos, tacos, or quesadillas; along with a small selection of Jarritos Mexican soda. Naturally, this food truck is a cash only affair, having only a few bucks in my pocket I got a taco and a quesadilla. The soft tacos are good, but not what you’d expect if you’re craving Taco Bell. This taco truck is authentic (so I’m told), so the tacos are extremely tame by American standards, probably bland for most folks. The proprietor has hot sauce available if you’re looking to spice things up a bit, but for simplicity sake, the tacos are good, just not special. MotoADVRtacoTruck6The quesadilla is where I was truly surprised; having no idea what to expect, I figured a quesadilla would consists of a tortilla and cheese in some fashion or another; well… there was a tortilla. Quesadillas in this case are flour tortillas served with your choice of meat (shredded chicken in this case), salsa, special sauce (I have no idea…), and ample amounts of cilantro, which is really what sealed the deal for me.

MotoADVRtacoTruck2Extremely happy with my first initial trip, I decided this week that it was necessary to make a return visit to try the last item left on the menu, the burrito. Six bucks may or may not seem like a reasonable price for food truck fare, but considering the price for a Chipotle burrito, and having seen the serving size during my last visit, I figured it was worth a shot. The infamous Taco Truck didn’t disappoint, flour tortilla, shredded chicken, salsa, a hint of refried beans, a sprinkle of rice, salsa, hot sauce, red peppers, jalapenos, and more of that delicious cilantro; Chipotle, you’re officially fired.

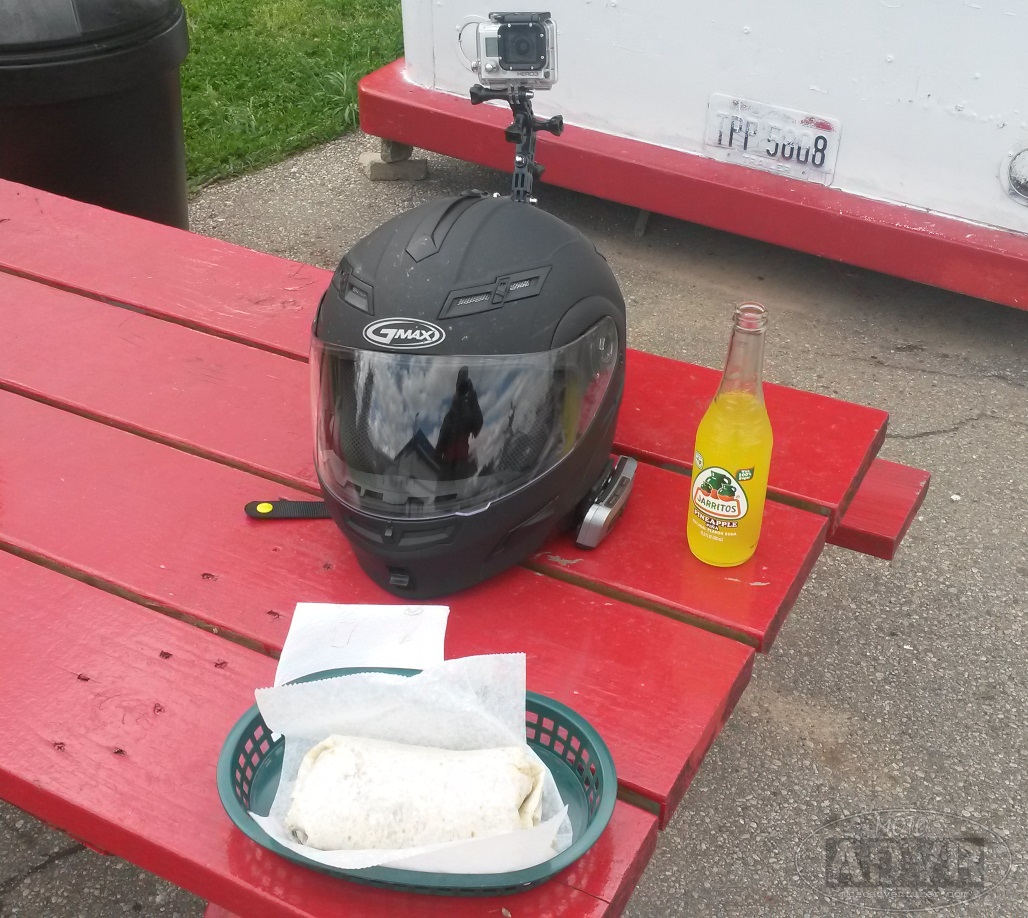
TacoMapFinishing off my Pineapple Jarrito, I asked the gentleman when he was open. To my surprise he said he opens at 10 AM, closes at 9 PM, every day. Remember: cash in hand, behind the Marathon station in New Carlisle, if you find something on the web about this place, let me know!

MotoADVRtacoTruck3

Posted in Reviews | Tagged , , , , , , | 2 Comments

Random Blurb: Stop means Stop right?

Over the weekend I managed to zip down a few miles of my favorite local roads. After coming around a bend I caught a glimpse of an object moving at high speed on an intercept course. Fortunately, the early warning permitted me to brake and downshift before entering the intersection. Unfortunately my GoPro was unable to capture the indignant look on my face as I passed the impatient driver whom I was convinced was going to completely ignore the stop sign.

They say “Ride like you’re invisible”, and I agree that’s a good plan; but seriously, is there any adherence to common traffic laws anymore? They still sell cars with turn signals right? Does stop mean stop or just “yield”? It’s not just limited to me riding a motorcycle, this exasperates me in a car as well. Is there no driver etiquette anymore? I assume it’s not just me?

Posted in Gear - Maintenance - Safety, Opinion | Tagged , | 8 Comments

Motorcycle Awareness Month: Sun’s Out, Guns out versus ATGATT

For most of us “motorcyclists”, we’re well into the riding season at this point; old man winter held his grip for as long as he could, but it was 80 plus degrees most of last week. Apparently May is Motorcycle Awareness Month; truth be told, I had no idea until I saw MEMEs and taglines from various social media outlets. Considering that in recent days more than one of my friends has been involved in a motorcycle accident (with dissimilar results), I’ve stepped up my game about safety gear and on-road vigilance.

Coincidentally, I find people watching to be entertaining, and occasionally thought provoking. If I haven’t mentioned before, I find the “Helmet, shorts, and flip-flop” crowd to be an fascinating group. Without a doubt, the helmet is probably THE most important part of safety gear, but I beg to question, why stop there?

To avoid pontificating from my “high horse”, I admit that I am no saint. When I first started riding it was pretty much helmet, shirt, jeans, and boots. Weather and money pretty much determined the gear, but it wasn’t long before I hunted down a trusty riding jacket. Completely ignorant of the abrasion resistance of denim vs. asphalt, I wore jeans for some time until hearing that denim holds up for less than a second in a crash, at which point I started searching for safer alternatives. Over the years (all 5 of them…) I’ve collected various gear options for different circumstances, many of which are primarily for combating the cold.

As an Army guy, I fully appreciate the pros and cons to protective gear, ballistic plates could save your life when the shooting starts. That being said, the additional weight, movement constriction, along with skin coverage raises the risk of limited maneuverability (when it really counts) and heat exhaustion. While I’ve said before, city riding is a battlefield, the heat and cold are still prevalent concerns when selecting gear. Finding gear that can protect your limbs, but not cause dehydration is pretty much the biggest hurdle in my opinion, and I’ve yet to truly find a happy medium (I mostly just tough it out and sweat…). There are rare occasions when I might slip down a country road in jeans, but if it’s another morning headed to the office, I cover all the bases, fully expecting someone’s text message to supersede my right-of-way.

Everyone has the right to choose, and I defend that; at the same time I have the right to poke fun at flip-flop silliness, and intend to do so.

So at what point do you ditch the jacket, helmet, or gloves; or are you in the ATGATT crowd?

Posted in Gear - Maintenance - Safety | Tagged , , , , , , , | 5 Comments

Random Blurb: Afternoon Lunch Encounter

I’ve been slammed in the office the past few weeks. Fortunately the weather has been spectacular which has increased riding opportunities, but for the most part it’s just been the daily grind.

Since I’ve not had anything pithy to write about in the past few days, I figured I’d drop off this random blurb today. While riding, I’ve come across a countless critters in the roadway over the past few years (i.e. turkeys, squirrels, vultures, mice). This week on my way back from a local taco stand (more on that later), I apparently interrupted lunch of a nearby hawk. Fortunately, both of us were frightened enough by one another a collision was avoided.

To date, that’s probably the most bizarre form of wildlife I’ve passed on the roadway (or near), what’s the strangest animal you’ve had a run-in with?

Posted in Gear - Maintenance - Safety, Opinion | Tagged , , , , | 4 Comments

Dressing for the Apocalypse: 2015 Indy Mad Max Run

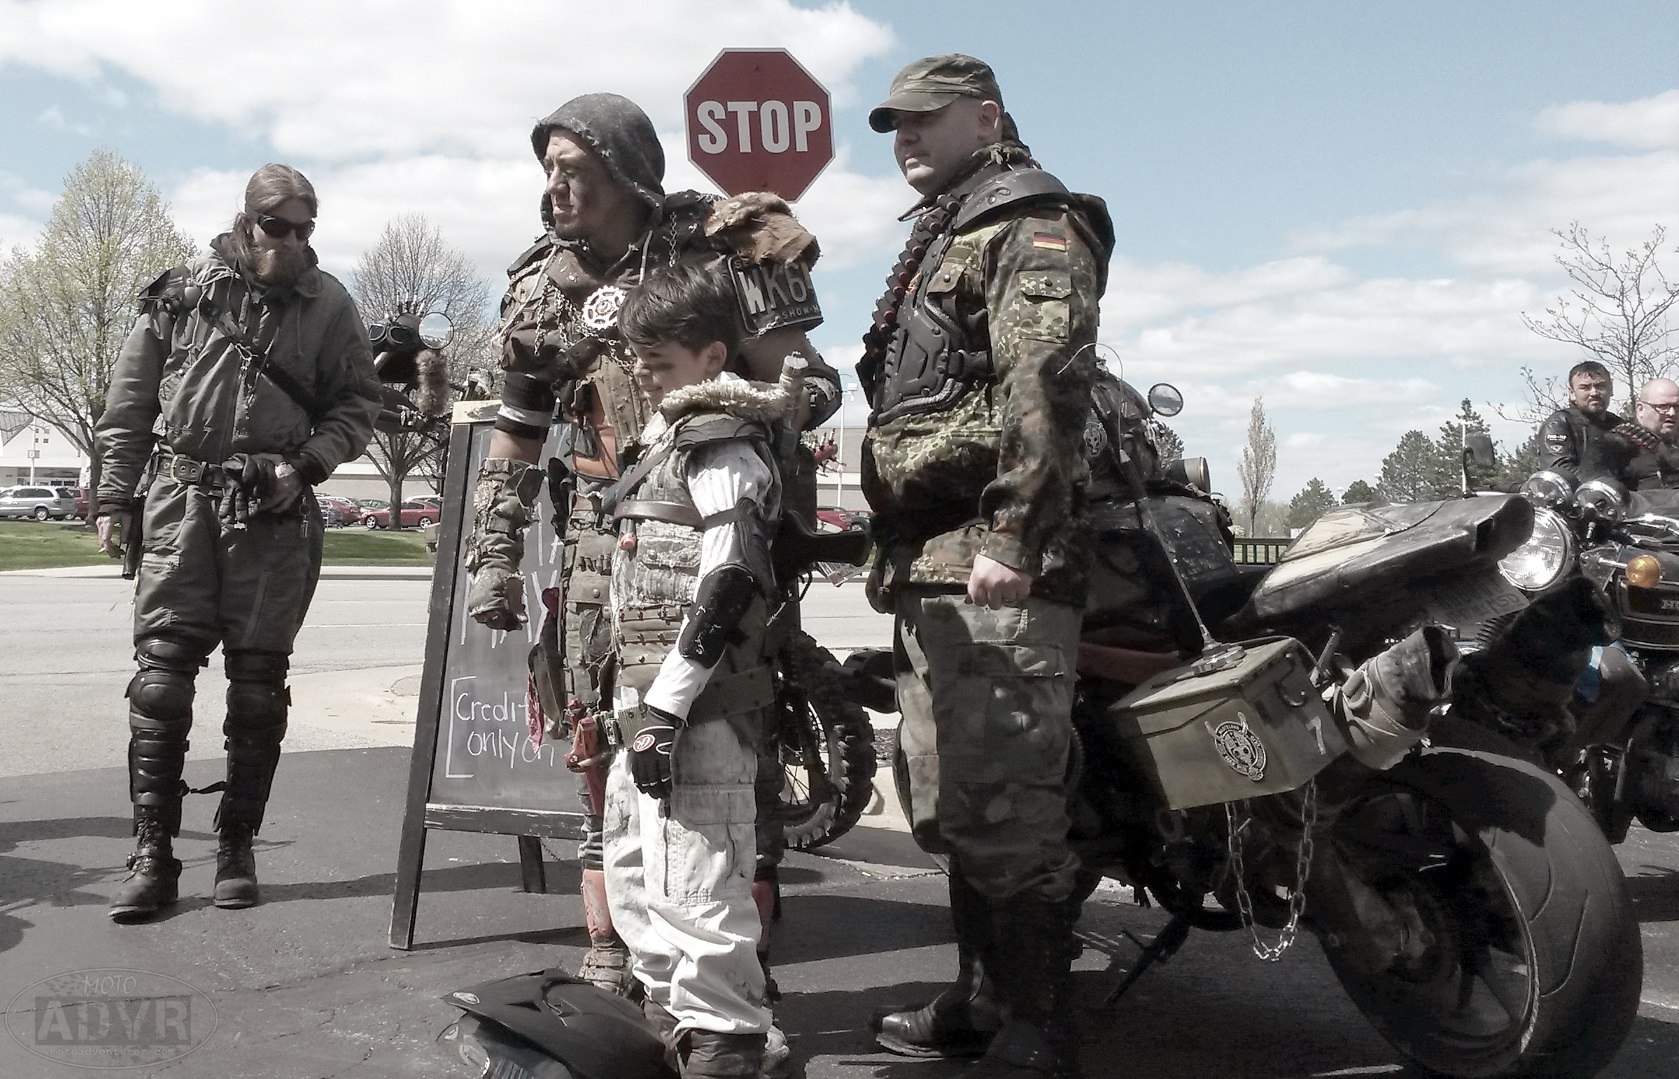
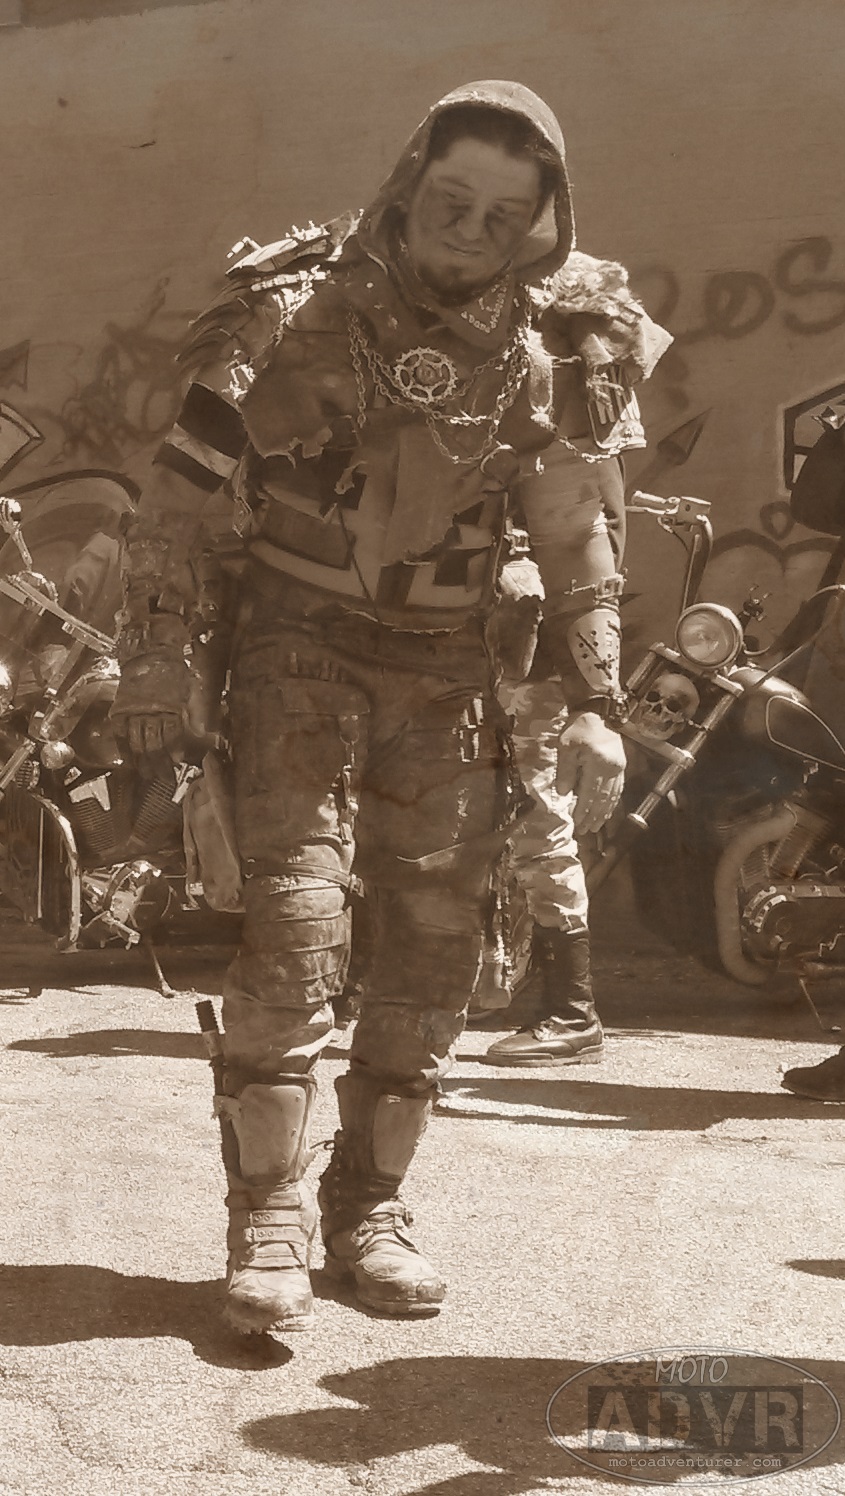
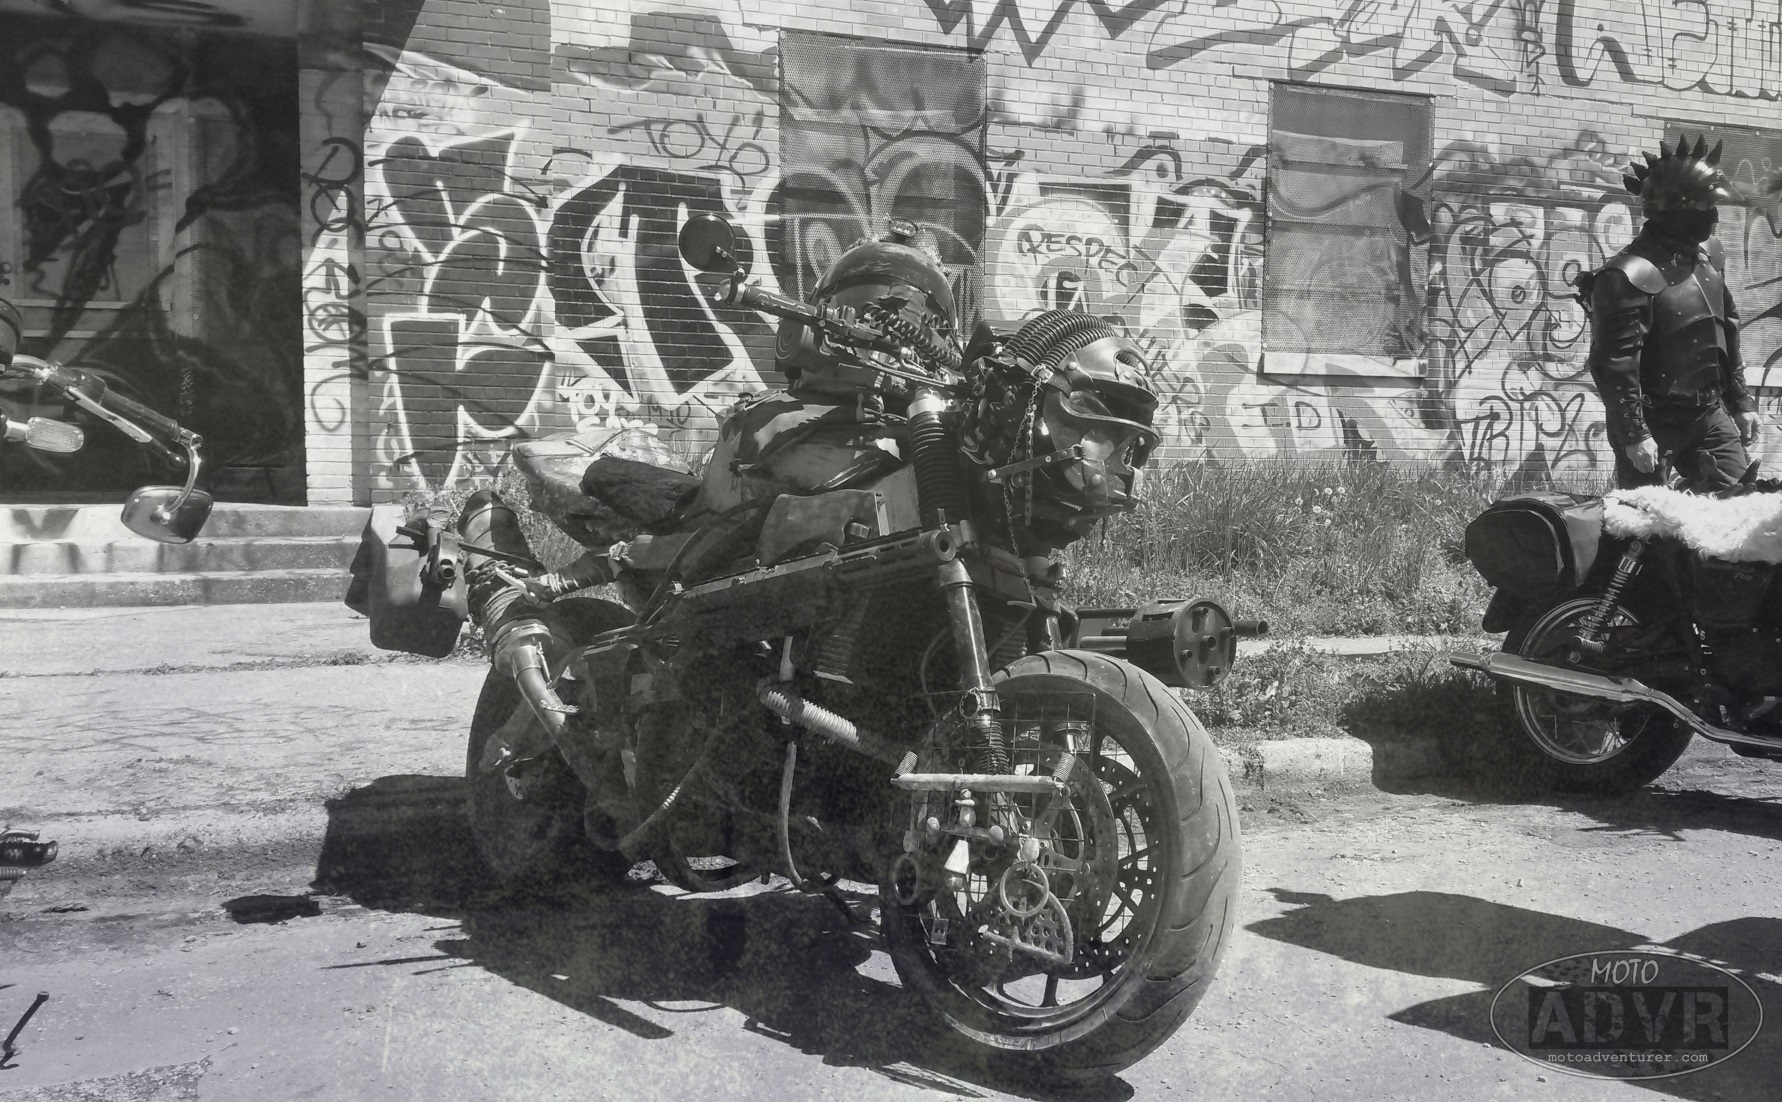
MadMax2Last weekend was the 2nd Annual Indy Mad Max Ride and I wasn’t about to miss it. Being the guy who loves taking photos of slums, graffiti, and the like, a Mad Max themed event is like Halloween in April! Unfortunately, life events prevented me from dedicating a lot of time to putting together a costume, but I went anyway.

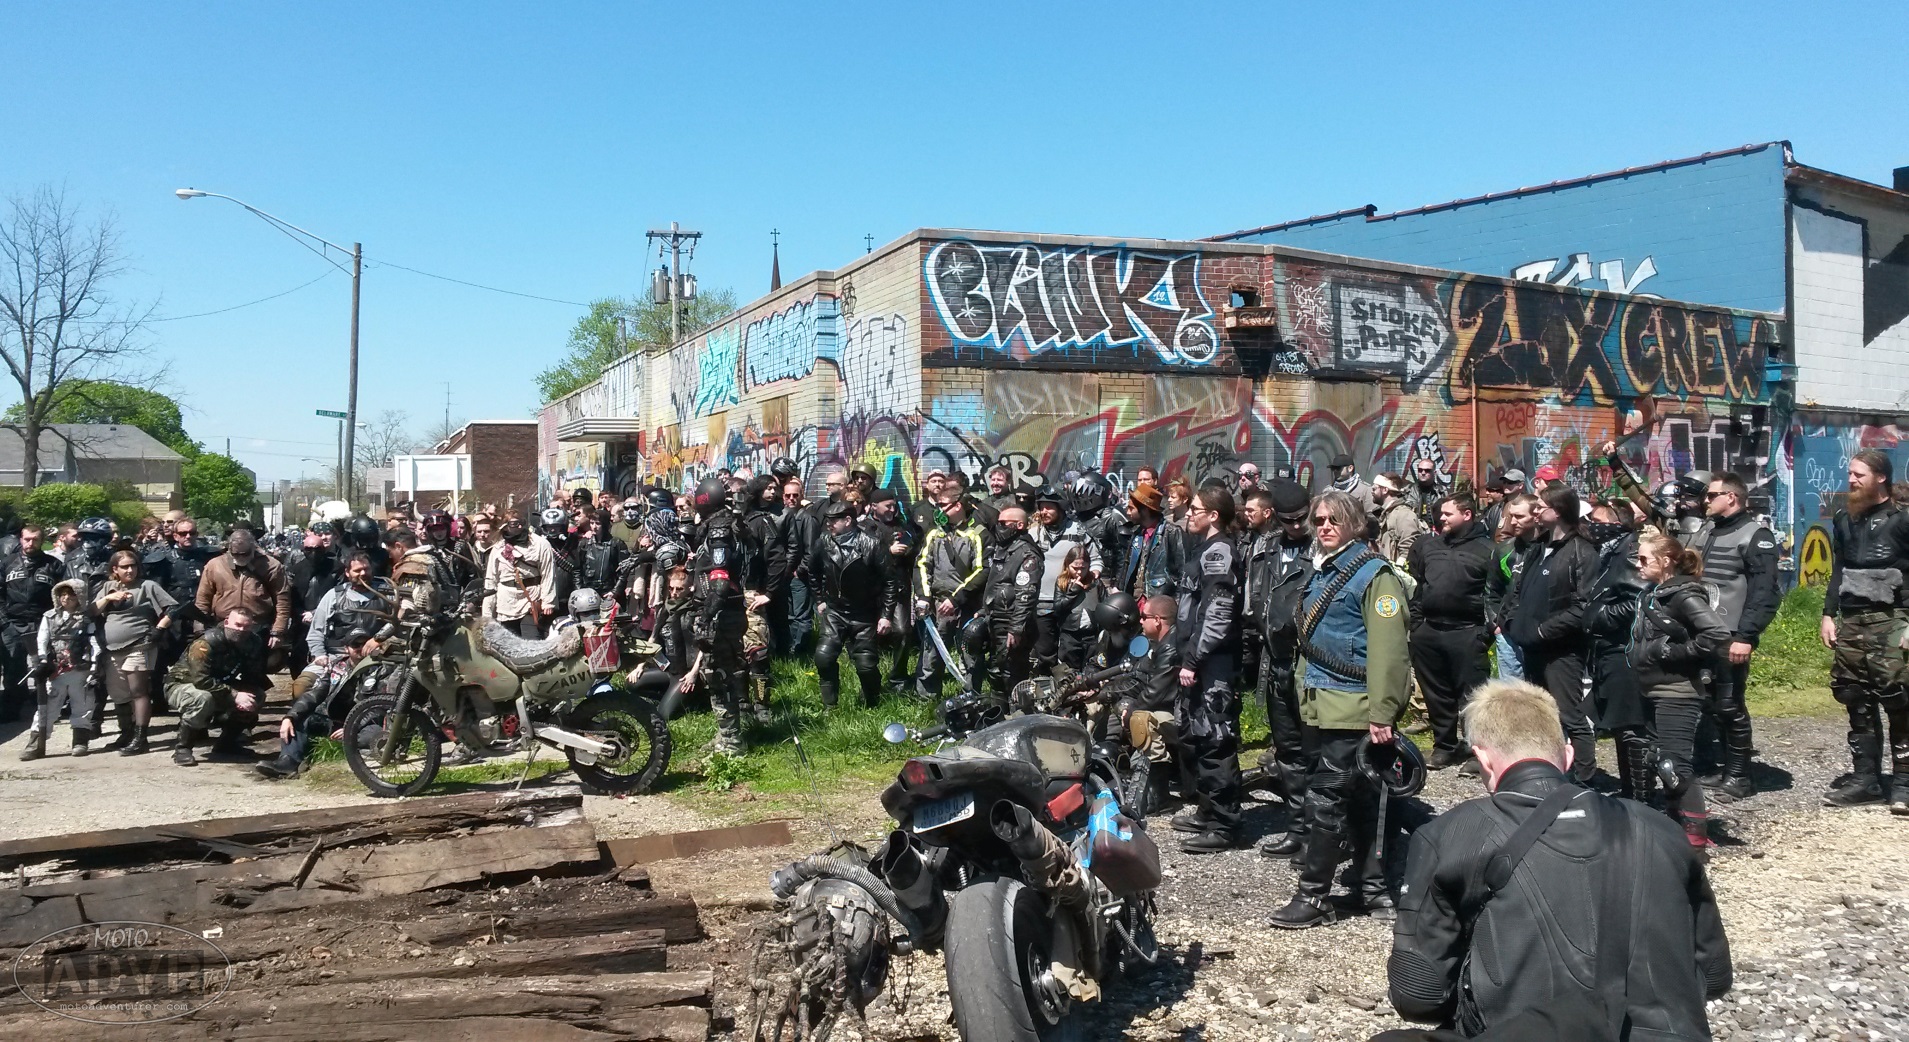
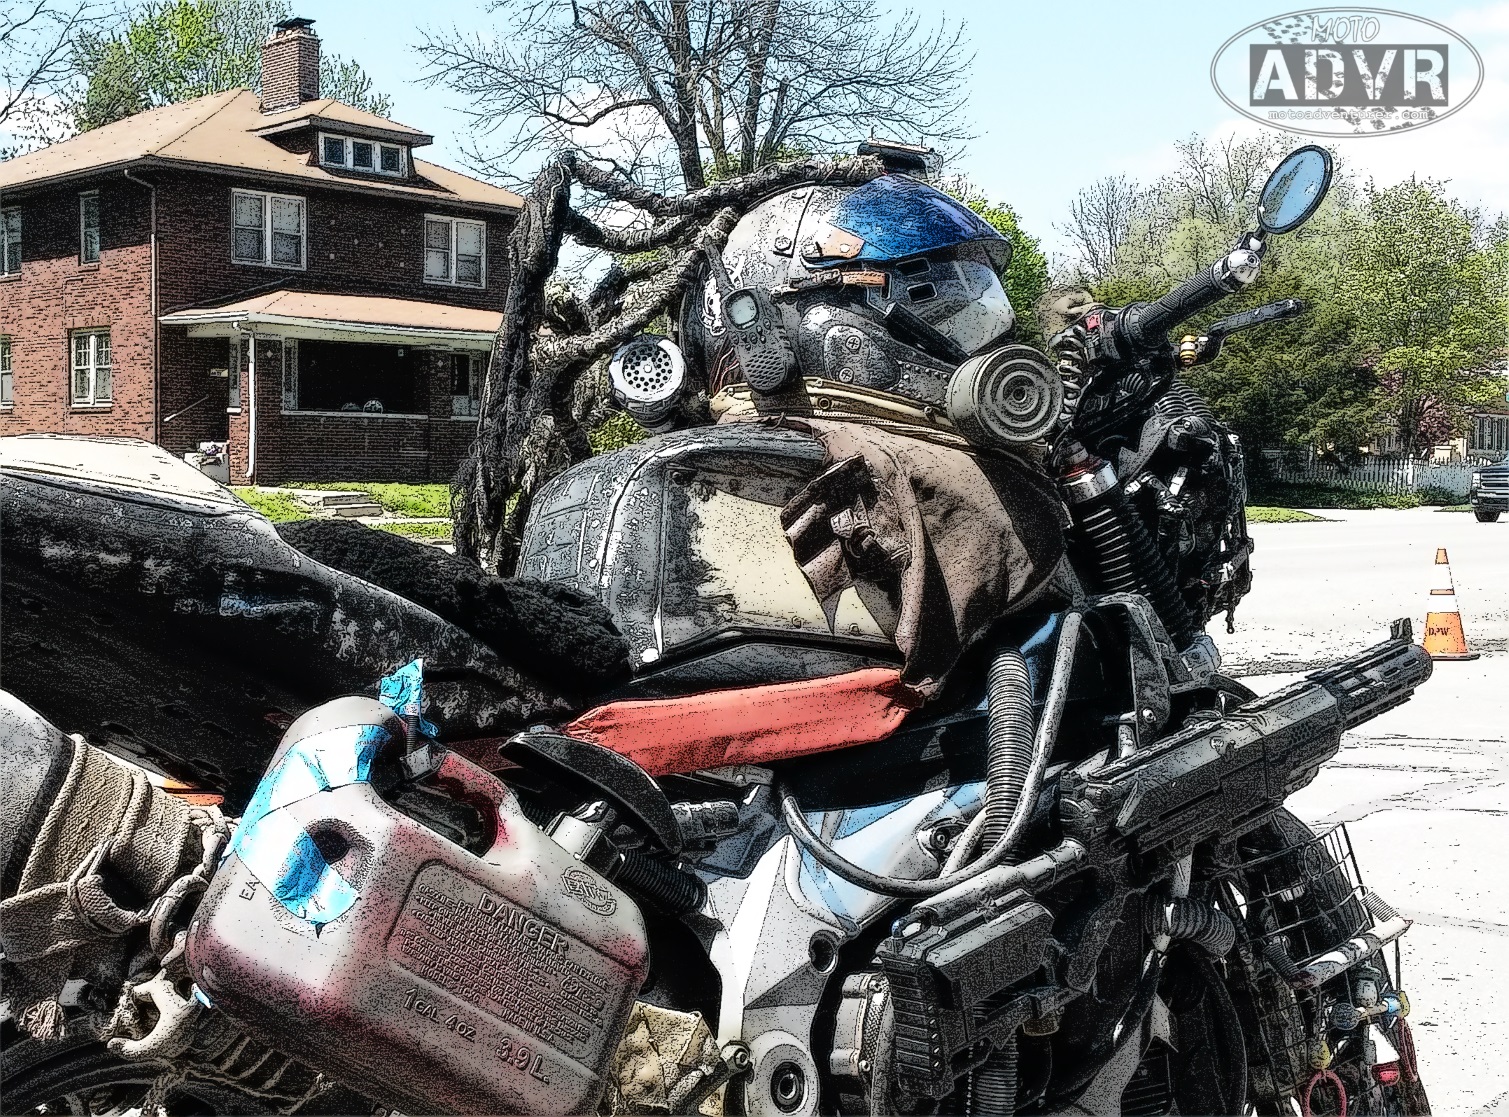
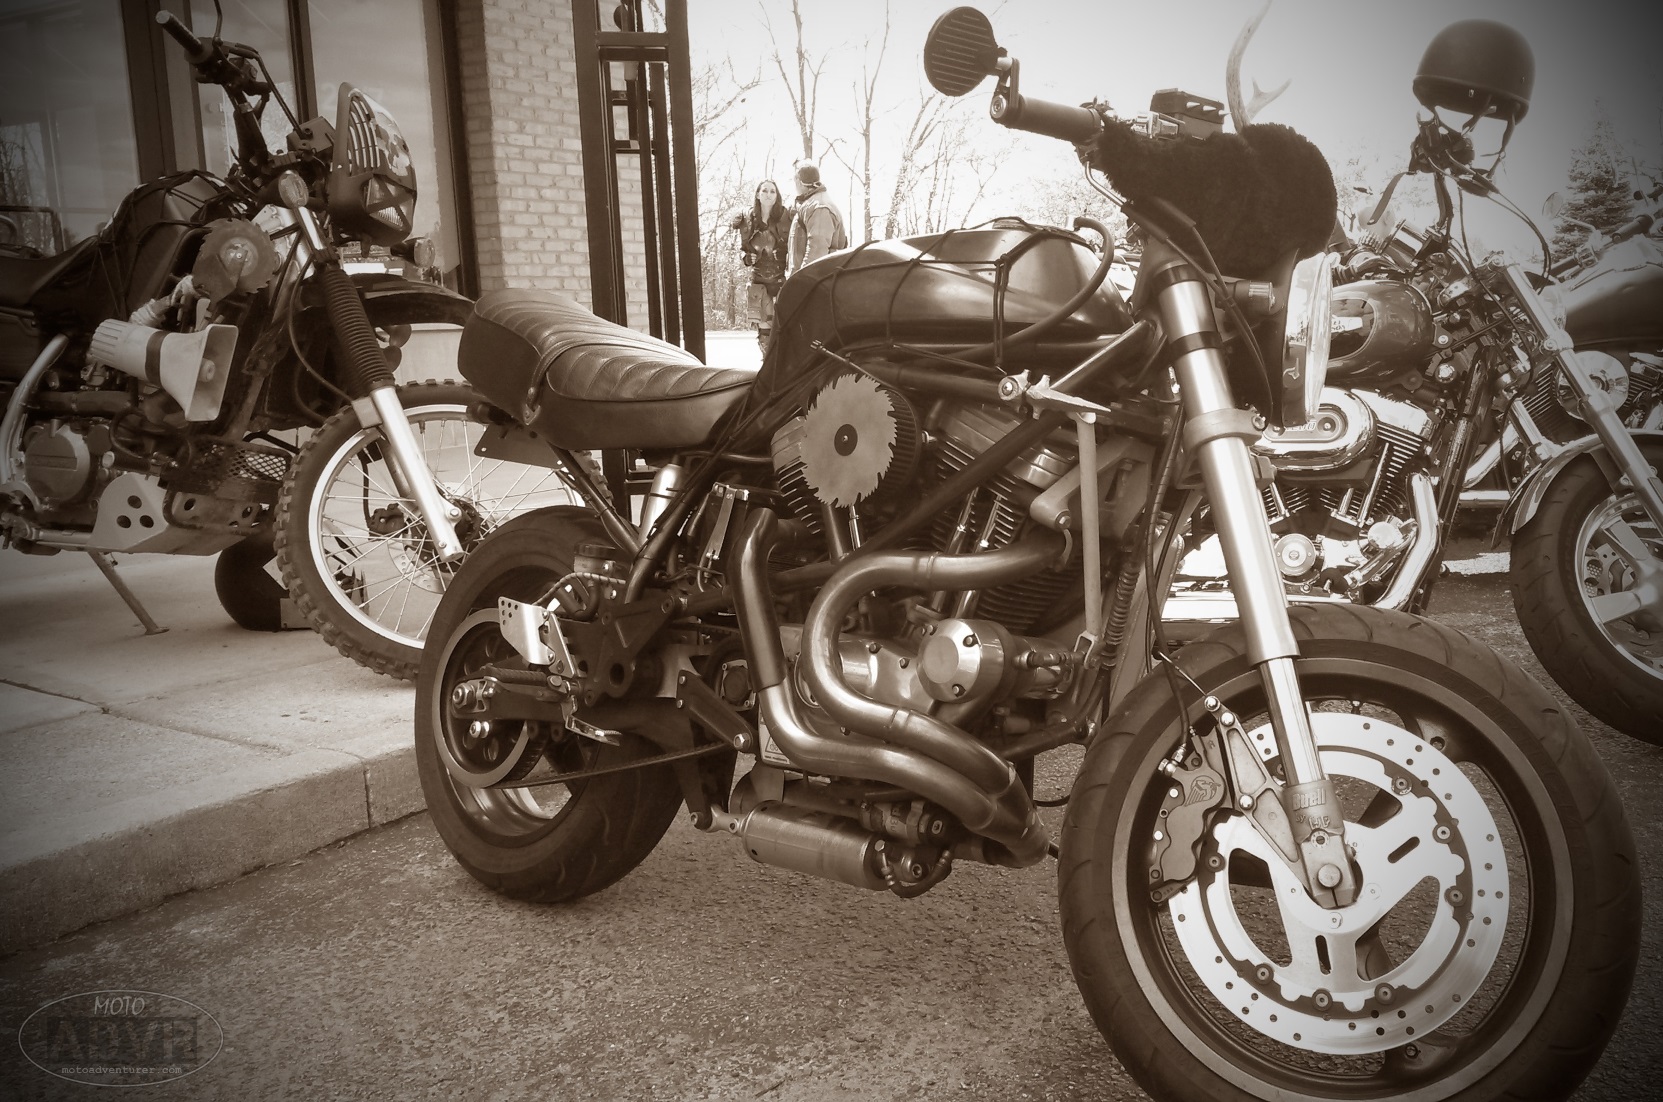
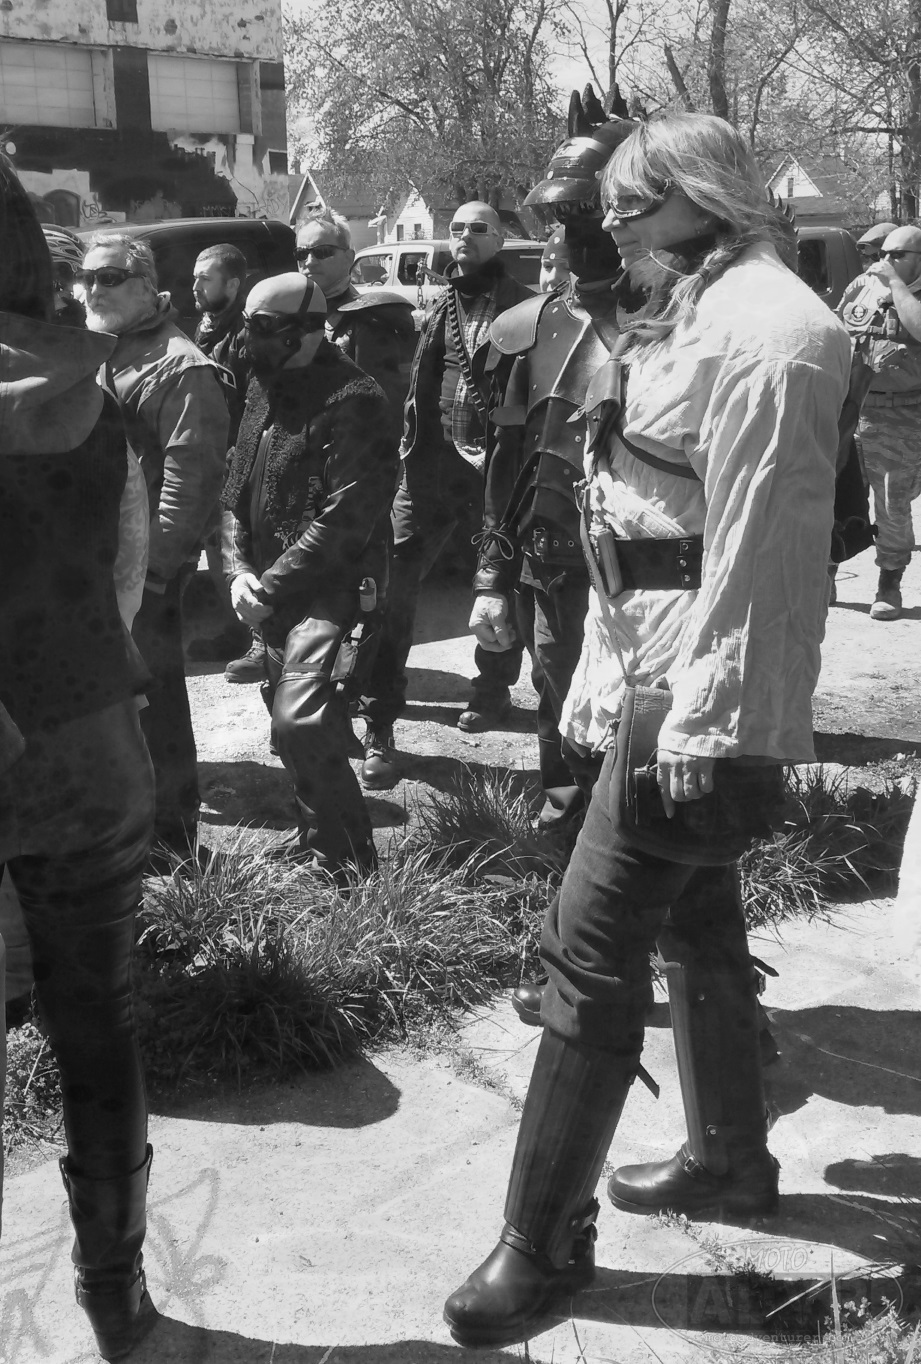
MadMax15I caught wind of the event last year through the local Triumph RAT Pack. The Dayton Chapter tends to be “in the know” about local motorcycle events like “Cincinnati Mods vs. Rockers”, Mid-Ohio Vintage Days, and other motorcycle meetups around the tristate. The event was basically a costume party, with an 80 mile ride around Indianapolis, including a few stops for photos and food along the way. Quite a few people took the time to get totally decked out in the Mad Max theme (including their bikes), some folks, like me, who were there just to see the carnage, while there were still many flavors in between.

MadMax3For folks looking to attend the event next year, be warned, this year’s route was a steady mix of inner city and country roads. I estimated that there were around 100 bikes participating in the ride, according to accounts on the Facebook event page, around 130 motorcycles started out from the first location. The ride began at 11 AM and didn’t finish until after 4 PM with 3 major stops on the route (not including the end point). New Riders, or riders new to group riding, would probably want to avoid settling into MadMax9the middle of this group. Trying to corral 100 riders on city streets, through construction, traffic, and stop lights was a major task. I’ll give credit to the event coordinators, they did a good job getting folks from point A to point B without losing stragglers in the rear of the group. That being said, folks who are very rigid about obeying traffic laws while on a motorcycle would be best to meet the ride at the designated stops.

MadMax8I tend to be an advocate for safety gear and vigilance when riding a motorcycle. As such, I want to reiterate the safety concerns of events like this one. For folks new to riding, familiarity with your motorcycle, and your gear, including costume and items mounted to the motorcycle, is essential for participating in an event like this one. With over 100 riders from all spectrums of riding taste, discipline, and experience, it’s pretty much chaos weaving through Indianapolis traffic; considering the threat of a traffic accident, riders cannot afford “wardrobe malfunctions” that will only compound the danger. In my case, putting together a costume was that much more difficult because I didn’t want to sacrifice safety; it’s a 2 hour ride from Dayton to Indy; a lot can happen in 2 hours, especially when riding on Interstate 70.

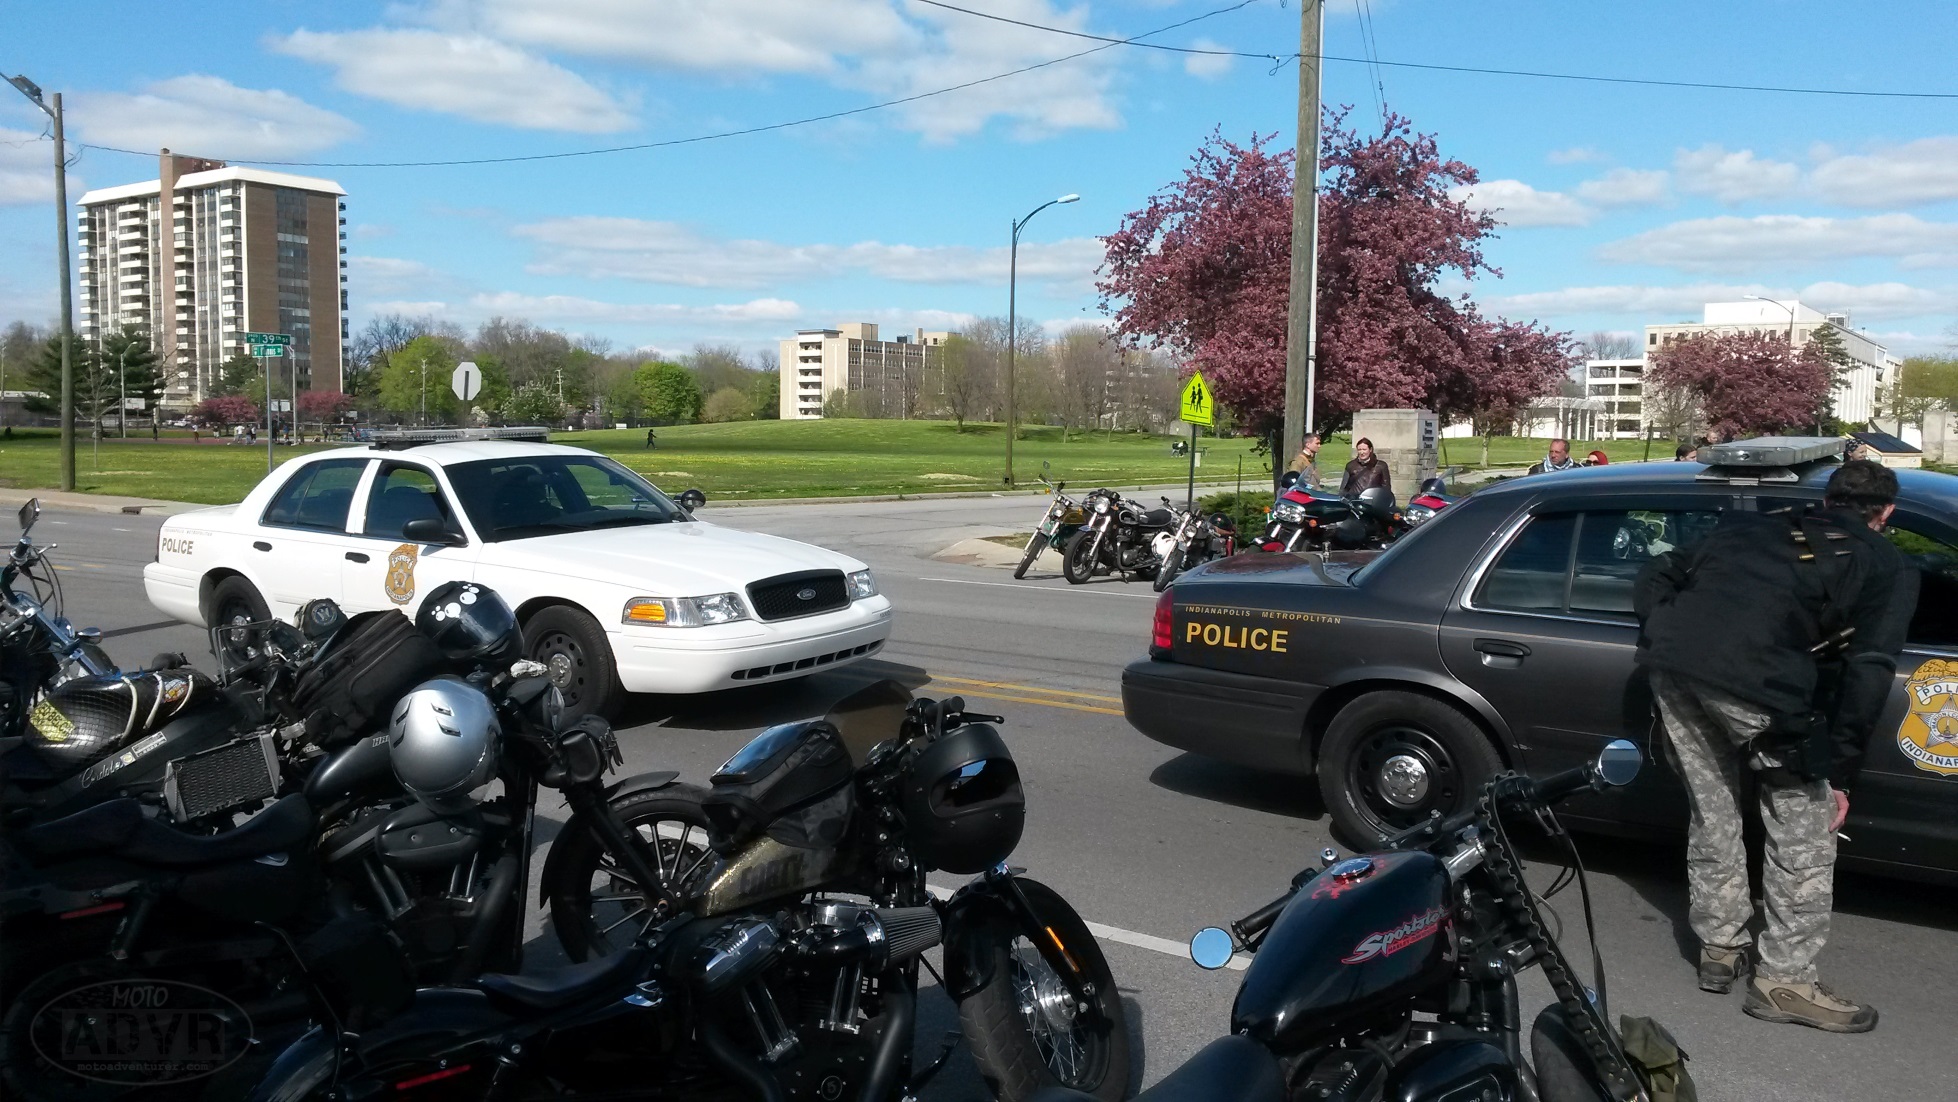
MadMax21While the Police did stop by the event, it was simply a misunderstanding. I mean, when random city folk witness 100 bikes rolling down the street with air soft guns, I don’t see how they might get the wrong idea? When someone informed the cops it was  just “Nerf”, Indy’s finest had a good laugh and told us to have a good time.

MadMax20All and all, it was a great time and I collected my war trophies (event patches & stickers); hopefully next year I will have my costume together way in advance. This year weather prevented me from making the trip to Indy the day before, hopefully that will not be the case next year. If you’re also into the post-apocalyptic genre, I recommend keeping tabs on the 2016 event next April.


MadMax18 MadMax19MadMax16
MadMax14 MadMax17MadMax12 MadMax11MadMax13 MadMax10 MadMax9MadMax7 MadMax6 MadMax5 MadMax4

Posted in Events & Rides | Tagged , , , , , , , , | 11 Comments

Motorcycle Shopping: 7 Reasons to buy an Adventure Bike

20141019_092327Since the commenting that I’m in the market for an Adventure bike I’ve been met with apprehensive responses from a lot of different people. In attempt to better explain my interest, I started looking for articles outlining the advantages of owning an adventure bike. To my surprise, I couldn’t find very many; especially considering how the “adventure” niche is growing in popularity. Thus, I figured I’d write my own.


Why you should buy an adventure bike:

  1. Increased Suspension

Kawasaki KLR 650 frontAs a motorcyclist that covers around 14,000 miles annually, comfort in the saddle is obviously a concern of mine. From what I can tell, the average cruiser typically brings about three and half inches of suspension travel to the table; while that’s more than the depth of most pot holes found in the early spring, that’s still not saying much, especially when you’re riding two-up. Most adventure bikes are sporting at least seven inches in the rear; even the “adventure-esque” bikes have at least five (i.e. Yamaha FJ-09). More suspension travel means more cushion to take the punishment of off-road conditions, let alone the decrepit roadways. I understand there are aftermarket suspension options available for other bikes, and that may be enough for most people, but this isn’t the only reason to buy an adventure bike.


  1. Taller Seat height

20140913_192732More suspension travel often translates into taller seat heights. This is typically a deal breaker for a lot of people; if they’re not flat footed at a standstill, it’s a no-go. There are “low” seat options available from most manufacturers, but I won’t argue with the concern about flat footing at a stop light. That being said, there are advantages of the taller seat height; namely the ability to see over cars, and increasing the likelihood of being seen on your motorcycle. If you can see over the cars in front of you, there’s potential to spot hazards earlier, which makes me feel safer. Being taller may also help draw attention to you as a rider, hopefully that puts your hi-vis gear up at eye level so the SUVs can see you.


  1. Utility

20150131_153146This is arguably my number one reason; I see the “adventure” bike as the jeep of motorcycles. There are unquestionably better off-road vehicles and better touring machines, but the adventure bike is the blend of both worlds. The adventure bike is “no frills” with blacked out motors and the almost nonexistence of chrome. Their trellis frame is designed to have gear slung off the sides and virtually every part of the rear end of the bike; the photos on ADVrider.com are incredible with hard cases, dry bags, stacks of tires, and the occasional teddy bear.


  1. Ruggedness

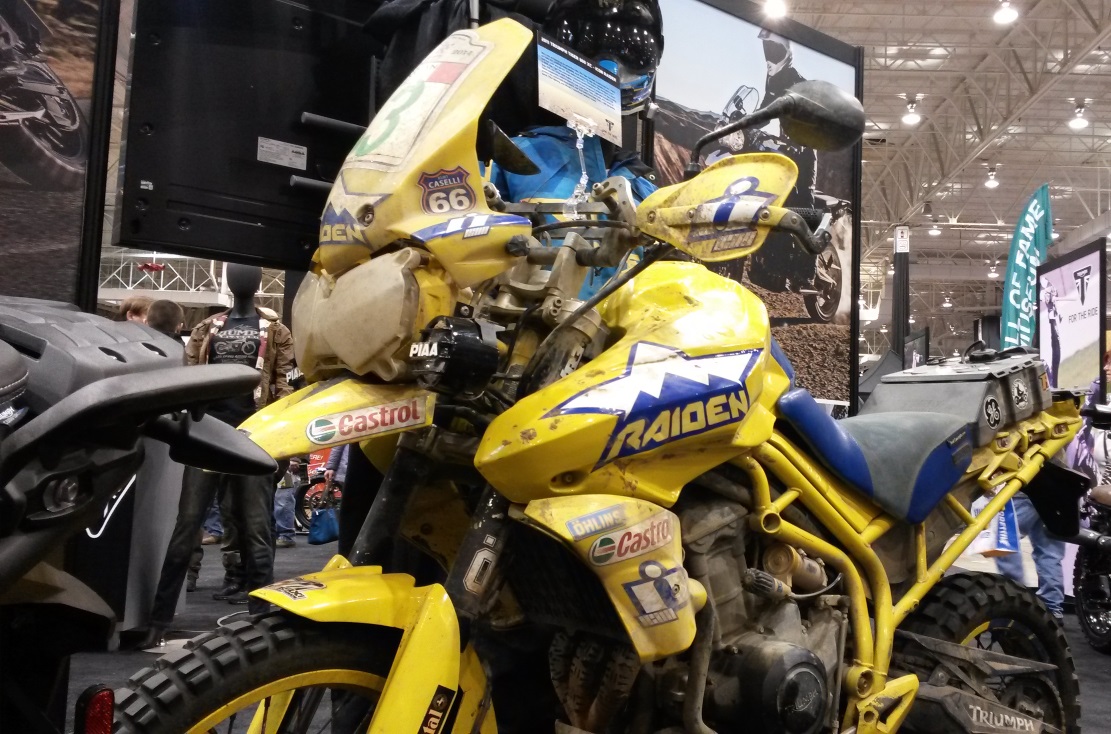
Icon-Raiden Tiger 800Again, an adventure bike IS NOT a dirt bike, but it they’re undoubtedly related. Beyond the increased suspension, some adventure bikes are already fitted with the necessary off-road kit right off the showroom floor (i.e. BMW 800 GS Adventure), but typically with a few bolt on parts you can be ready to tackle some serious back country adventures. For those of you not familiar, the average “off the shelf” options include sump bash plate, knobby tires, hand guards or “bark busters”, engine guards or crash bars, bolt on fog lights, headlight protectors, aluminum panniers, folding gear shift lever, just to mention a few.


  1. Versatility

20140201_130611I consider the adventure bike to be the “all-a-rounder” not necessarily the best at any one thing, but the flexibility to do a little of everything. Taking into consideration my annual mileage, moreover the frequency of two-up riding, I began debating about getting a touring motorcycle. Shortly after I realized that I could get all the best parts of touring bikes with less chrome or less plastic molding if I purchased an Adventure bike, and at less cost. Triumph’s Trophy and Tiger Explorer essentially share the same power plant, shaft drive, and throttle by wire electronics; yet the Tiger is over $3500 cheaper. If you don’t need the “dressing” (or stereo system), the adventure bike can do what the other bikes do; moreover it can typically cross over into other types of riding; some riders take their adventure bike to track days, other riders wander through the dirt when the asphalt ends.


  1. Ergonomics

Riding through the city I often feel like there are essentially two bikes, big displacement V-twins, and Asian sport bikes. Certainly this is an exaggeration, but I wonder what happened to the “standard” bike; did it evolved into the “adventure bike”? For sport riders looking for more upright seating, or cruiser riders who can no longer tolerate the impact shock directly to their spine from the recumbent position, the adventure bike offers neutral seating. I find a lot of riders like to “stretch out” when they’re on long freeway stints and therefore cannot fathom the tight seating of sport bike. While I agree, at no point can I truly get the pressure off my tailbone when riding a cruiser; the adventure bike may cause increased knee bend angle over a cruiser, but the adventure bike offers what the cruiser cannot, the ability to stand up and ride; stretching out doesn’t get much better than that.


  1. Thirst for Adventure

20140201_132416Tavern to Tavern is as good as it gets for some folks; more power to them. However, the limited few thirst for the rarest forms of adventure, completely leaving society behind. For those folks, the right tools are needed; in my case, there’s a lot of freeway between me and the expanse of the “great west”, riding a 250 Dual Sport might be possible, but far from comfortable, the adventure bike bridges that gap.  While I have aspirations of traversing the nation, the immediate use of the adventure bike is to take a motorcycle where normal street bikes don’t typically venture; from there who knows?

Adventure bikes aren’t for everyone, but for riders that value utility over vanity they’re often the right tool for the job. While searching for “pros and cons” of owning an adventure bike, I also found these articles:

What is an Adventure Motorcycle

Why Adventure-Touring Bikes Are So Popular

Choosing An Adventure Bike

Eight Adventure Bikes You Can Actually Take Off-Road

Posted in Bikes, Opinion | Tagged , , , , , , , , , , , , , , | 15 Comments

If it aint raining we aint training: first wet ride of the season

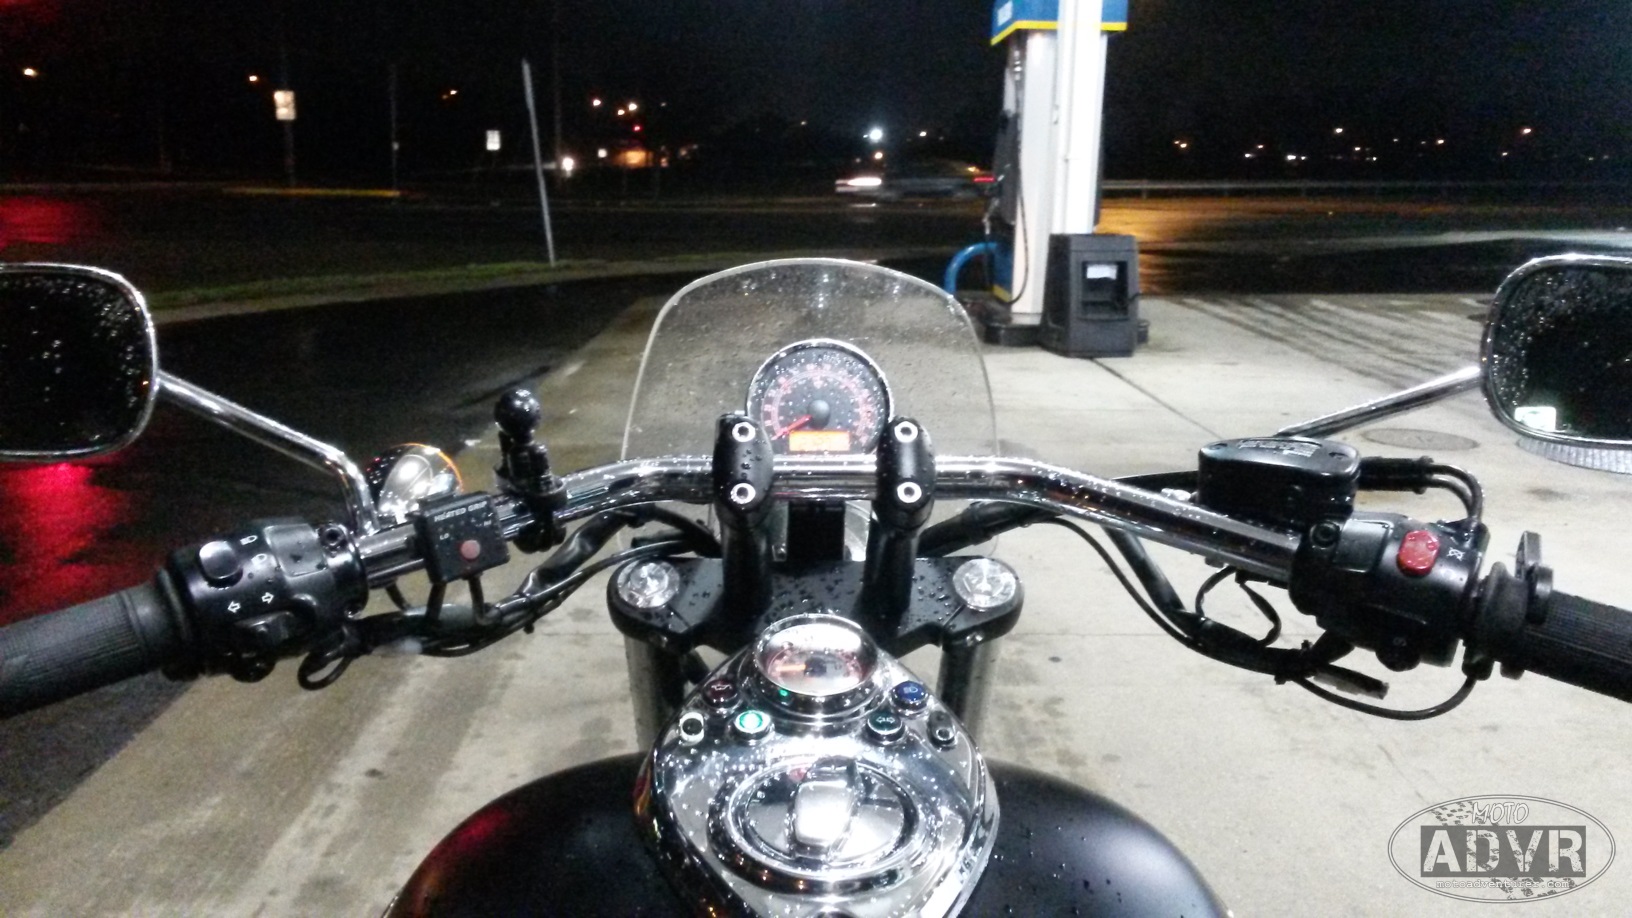
“If it aint raining, we aint training” is a common military expression I’m all too familiar with.MotoADVRaprilRain While I’m a believer that nearly everyone has the physical capability to become a solider, what excludes most people is the mental fortitude to do things that aren’t “normal” by modern standards. The Army is an all-weather sport; the elements are to be combatted just like the enemy. In a way, riding a motorcycle is no different.

Last night was a meetup with a bunch of the guys I ride with; knowing full well it was going to rain, I rode anyway. Truth be told, I hate washing motorcycles (I’ve covered this before), but at some point, you’re going to get wet, might as well be prepared. After my exciting return trip from Tennessee last weekend, the bike was already dirty; that and the fact I figured it would be relatively light rain, it seemed as good a time as any to prove if the new FirstGear kit was actually waterproof.

As luck would have it, the meeting ran long enough that the rain had nearly stopped by the time I rode home. This actually made me feel somewhat better because riding in the rain is inherently dangerous, riding in the rain after dark even more so. After a half hour commute back to the house, the FirstGear Rainier Jacket and Escape pants appear to be waterproof, at least in light rain. While I had hoped for slightly heavier rain, this first test was a good way to stick my toe in the water.

So, if I may get on my soap box for a moment: as I said, riding in the rain is inevitable; far better to expose yourself to the conditions in a familiar, expected environment, than to be caught unexpectedly, white knuckled, and completely unprepared for the conditions. While I would by no means consider myself an expert, you would be surprised by how much grip your tires still have on wet roads. Certainly I don’t condone pushing the envelope on purpose, but trust your bike, slow down, don’t lean so hard, be visible, and dress for the conditions. Riding in the rain does suck, but with the right gear, and most importantly, the right frame of mind, it can be done, and it certainly extends your riding season. Drawing on my military experience, I force myself to do it (despite how I detest cleaning up afterward), knowing that with experience brings confidence to overcome the fear of mother nature.

Posted in Gear - Maintenance - Safety, Opinion | Tagged , , , | 4 Comments

Preliminary Riding report: Ad hoc Smoky Mountain Trip

MotoaADVRspeedmasterTrailerI have a buddy with a standing rule: “If you see my motorcycle on a trailer… call the police –because it’s stolen!”

An excellent rule, which I plan to live by… no sooner than I said that, fate called my bluff.

Several of my riding comrades were down in Pigeon Forge, Tennessee, at a rally. After significant mechanical issues during the trip down, one of the bikes finally gave up the ghost about 20 minutes away from the hotel. I had already been flirting with the idea of riding down Friday, but the past weeks weather was crap, and I didn’t feel like being punished by Zeus the whole way down, especially riding solo. The phone rang late Friday evening, by midnight my bike was strapped to a trailer ready to head due south Saturday morning.

Needless to say a trip to Pigeon Forge via freeway is nothing to write home about, say for the significant construction south of Lexington, but we’ll touch on that later. I did however arrive with some daylight remaining, just enough to test out the new GoPro.

While I was itching to get a short trip down US 129 while I was down there (which is why the rally was held there), we knew time was limited so we settled for a trip up to Clingman’s Dome and back. Last year at the annual Triumph Dragon Raid, we finally caught a break from the soggy weather just long enough to shoot some fantastic photos and finally catch some dry twisties, so this short adventure was a niceMotoADVRclingmansDome spring warm up through the curves. There are a myriad of great riding roads through Tennessee and North Carolina; several of them are listed on my Moto Bucket List, others I hope to cover in length when I head back south on a longer trip this year, for now I’ll just leave you with these teasers.

MotoADVRus25ESunday proved to be a completely different story. Our journey back to Dayton started by taking US 25E north back to the freeway. While 25E is not a “destination road” it’s a very viable alternative to the freeway when visiting Gatlinburg, Deals Gap, and the other Smoky Mountain destinations on the Tennessee – North Carolina border. US 25E isn’t particularly twisty, but the elevation changes quite a bit through the mountains, there are several good views, and you can also take the Cumberland Gap Tunnel back into Kentucky if you’re into that kind of thing.

Once off 25E, taking a short break in Corbin, KY, the plan was to take a short jaunt up I-75 to US-68 in Lexington, then more country roads back to Dayton. As luck would have it, construction traffic south of Lexington was every bit as bad on Sunday as it was the day prior. At a stop just south of construction, we decided to bolt off the freeway in attempt to bypass the madness by getting on US 25 (Dixie Highway). Naturally, half of the freeway goers were also attempting to circumvent the backup and had jammed up US 25 heading into Lexington. Jumping back on I-75, it was more of the same, after probably half an hour of hand numbing clutch work in stop and go traffic, we took the first exit east and followed the GPS.

My same buddy with the rule about trailers says: “Are you on a motorcycle? Do you have gas? Yes? Then you’re not lost!”

While I agree with that statement, it belongs in context. If you HAVE a destination, and cannot get there on your current route, you’re lost. That being said, some of the best times with friends is spent overcoming an obstacle, and in this case, makes for good photos and video.

Things to think about when venturing through rural America:

  1. You will lose GPS signal
  2. You will lose Cellular signal
  3. Google maps does not keep up with rural construction
  4. Roads on Google may “look continuous”; they’re not!
  5. It’s not an “adventure” without challenge and adversity!

Long story short, we encountered a few road hazards (and the lack of road), had a few laughs, and now have a great story about Kentucky back country. In fact, the out of the way detour through eastern Kentucky is helping me plan my route down to the Dragon Raid this year, so it was worth the extra time!

MotoADVRus68bridgeMy family is from Eastern Kentucky, so needless to say I’m familiar with the typical one-and-a-half lane through the rural counties. If my plans hold, I’ll be sharing more photos andMotoADVRsunsetUS68 video of my favorite locations around Red River Gorge this summer. Per my previous comments, I plan on making a slow journey through the one stop light towns down Kentucky Route 11 in the hopes of taking photos and grazing the local food as I go, stay tuned!

Posted in Events & Rides | Tagged , , , , , , , , , , , , , , | 8 Comments

Motorcycle Maintenance: Routine Chain and Sprocket Replacement

MotoADVRchain1While out sampling the fine Camden cuisine a couple weeks back, parked in front of The Depot, I noticed a piece of rubber O-ring seal protruding from my chain. With just shy of 26,000 miles, that chain’s days were numbered, so I ordered replacement parts from my good friends over at Joe’s Cycle Shop; after which, I scheduled a garage appointment with my buddy  Chuck. I had already read some threads on the web about chain replacement, including several Triumph Bonneville threads. Unfortunately, those threads were for “soft link” chains, not “endless” chains like the ones that come in the OEM replacement kit from Triumph. Thus, the good news was that I didn’t have to cut a chain and rivet on a new one; the bad news was that I had to remove the swing arm.

MotoADVRchain2Standing in my buddy’s garage, replacement parts and Haynes manual in hand, I felt prepared to tackle the task of replacing the chain. With the bike still on the ground, we started by removing the drive sprocket cover and the exhaust slip-ons. With additional time or additional help, I would recommend cleaning the grime off the back of the drive sprocket cover, in this case I took care of most of that during my 24k service back in December, so there wasn’t much to do there. With the exhaust out of the way, I began loosening the high priority nuts and bolts, namely the drive sprocket retaining nut, and the rear axle nut. MotoADVRchain3To remove the drive sprocket nut you first need to flatten out the retaining washer, then your helper can hold down the rear brake; with a little down pressure on the seat it’s easy to crack the drive sprocket nut loose by keeping the rear wheel planted. This can probably be done solo if you have a long enough wrench to stand on the brake and pull the wench at the same time. The rear axle nut is pretty easy, having adjusted the chain a few times, a 15/16” socket on one side, and a 7/8” socket on the other, this is an easy task, even for one guy.

MotoADVRchain4On the other side of the bike I began removing covers in order to get access to the swing arm bolts. In this case, the battery needs to come out, which also means removing the false carburetor “effects”. The battery box also has to move in order to get access to the swing arm pinch bolts, which is a real drag. MotoADVRchain7I really hate taking the battery out now that I have heated grips and a battery tender both pigtailed directly to the battery terminals (I know there are more elegant solutions for this, my buddy Chuck may square me away at some point). After fussing with the battery box for several minutes I realized that there’s an additional bolt near the bottom of the frame that holds the “tongue” of the battery box in place. Once that was loose I still realized there’s a wiring nightmare preventing easy removal of the battery box from the frame. Ultimately I shifted the box sufficiently to access the swing arm pinch bolt without removing the box entirely. As an engineer this aggravates the hell out of me. Why are so many bolts required to hold a box in place; a box that truly doesn’t want to escape its cozy cavity to begin with? MotoADVRchain6After being sufficiently exasperated with the battery and battery box, I removed the clamp holding the brake line to the rear caliper, then went back over to the drive side of the bike to remove the chain guard, and finally break loose the swing arm bolts.

MotoADVRchain8With all the high torque bolts loosened, the bike finally went up on the jack. This job could probably be done on a lift for convenience, but as with all things, it’s a matter of what tools you have available. In this case the floor jack doesn’t fit on the lift so well, so we proceeded to use a combination of jacks to keep the bike firmly planted while we removed the rear wheel, and finally the swing arm. With my trusty 8 mm socket back in hand (there’s 8 mm all over this bike),MotoADVRchain9 I pushed the rear axle all the way forward with the chain adjusters so we could get the chain out of the  way to remove the wheel. With the retaining nut off and a light tap from a mallet, the axle slides through the left side of the wheel. Take your time at this point and watch carefully; the right side of the wheel has a small bushing between the swing arm and the wheel hub, while the left side has almost a 2 inch long bushing (with flange), MotoADVRchain10combined with the brake caliper. If you drop the wheel too fast the brake caliper with fall, and your bushings will go who knows where. You’ll want to know which way the bushings fit into the wheel, the brake side bushing is not symmetrical, the flange side goes against the caliper. Also be careful when setting the rear wheel down, you don’t want to warp the brake rotor;MotoADVRchain11 while at the same time be mindful that the sprocket side isn’t securely fastened to the wheel hub, it will fall off, more on that in a minute. With the rear wheel off, we zip-tied the caliper to the rear fender mounts to keep it from twisting up the brake hose.

MotoADVRchain12To get the chain off, the next step was to remove the rear suspenders, then the swing arm itself. Off the floor, removing the rear shocks is a pretty easy task, just don’t accidentally interchange the two when you put them back on. It’s also wise to have something holding the swing arm up now that the shocks have been removed (i.e. zip ties or bungee cords). MotoADVRchain13Letting the swing arm fall will put undue pressure on the rectifier and other assemblies hidden under the seat. MotoADVRchain14Lastly, we tapped the swing arm pivot bolt from the left side and eased the swing arm back out of the bike. Similar to the rear wheel, watch the bushings closely. There are actually 4 bushings, but only 2 of them are loose. MotoADVRchain15The bushings inside the frame stay in place during this process, so you’re only fighting to re-position 2 when re-installing the swing arm. With the swing arm out, you can look over the plastic “wear strip” fixed to the swing arm to prevent the chain from scratching it. Other folks occasionallyMotoADVRchain16 replace these, but in this case there’s hardly any wear on mine; I assume as a result of keeping the chain in proper tension, but you tell me. With the swing arm off, the chain slid right out, and with a few twists the drive sprocket was off.

From what I can tell there are differing views on changing the chain and sprockets in tandem versus replacing parts as needed. For the Speedmaster the OEM chain and sprocket kit were $206 after tax. From what I can tell, that’s a good deal compared to buying all three components independently. At the same time, I have a fair amount of riding to do this season; for a guy who prefers to ride the bike versus clean and work on it, it seemed like the logical choice to replace it all at one time.

MotoADVRchain17From here I put the new front sprocket in place, lock washer, and just hand “snugged” the nut. Next I tackled the job of removing the worn rear sprocket. Because it’s chain drive, the rear sprocket has rubber dampers inside the wheel hub. As I said earlier, watch closely as this part will fall right out of the wheel hub if you set the wheel down wrong. Fortunately, someone warned me about that when I read another thread on TriumphRat.net, otherwise there’s no doubt that I would have dumped it right on the ground. The dampers should also be inspected for wear and replaced as needed. MotoADVRchain18With the sprocket housing inside the wheel hub I stood the wheel up on its rubber in order to avoid damaging the rotor. With the wheel upright, I worked against gravity to crack the sprocket bolts loose, turning the wheel and loosening the forward bolts as I went. This could potentially been done prior to removal, I just didn’t think about it. With the worn sprocket off, it’s a quick on-off switch with the new one (just like replacing rotors on a car). Using the same process as removal in reverse, I torqued down the sprocket nuts to spec.

MotoADVRchain19Rear wheel ready to go, we were ready for the new chain. I was extremely pleased with my first factory chain, therefore I trust that the replacement chain was adequately lubed prior to installation; in fact, I wiped off a considerable amount of grease prior to installing the new chain. Some folks are adamant about adding additional lube, but I have no idea who they’re buying chains from. Considering I neglected the first chain, significantly for the first 5,000 miles, I trust that the replacement chain will be just fine. Some folks are in the “it’s an O-ring chain on a street bike, just keep it dry” crowd; I figure I’m somewhere in between. I typically spray a little break cleaner on a rag and wipe down the chain. After that I spray each link with chain wax to keep it from rusting, but that’s just me.

At any rate, with the new chain threaded into place on the drive sprocket, the next task was getting the swing arm back in place. I assume better mechanics than myself have successfully re-installed a swing arm on their own, but I will tell you that I was glad to have experienced help showing me how. Trying to hold a swing arm while fishing two bushings into place is a tall order for just one person; be warned if you’re tackling this job solo. After greasing up the pivot bolt, and with a lot of patience and finesse the two of us got the mating bushings in place and the swing arm pivot bolt through. We put a bungee cord back in place to hold up the swing arm, at the same time holding the chain off the floor (doesn’t make much sense to get garage floor grime on a shiny new chain does it?). The rear shocks were the same bolt-on affair they were during removal; after which it was time for the rear wheel.

Cutting lose the rear brake caliper and chain, we positioned the rear wheel inside the swing arm, threading the chain, loosely attempting to position the rear caliper, and somehow trying to hold the bushings in place on either side (a VERY tight fit). The components of the rear wheel are easier to see and manipulate than the swing arm bushings, but for whatever reason I found it to be more difficult to position. In this case we actually set the wheel on another floor jack to get things “close” to final position while we finagled the bushings, brake caliper, and rear axle into place. Be extremely careful during this phase depending on how you have the bike off the floor. In this case, the bike was strapped to a jack and on an additional jack. By itself, our setup was pretty sturdy, but two guys wrestling over a rear wheel could quickly kick a bike off a stand depending on how obstinate a rear wheel chooses to be. With a bit more aggravation, we finally got the wheel in place; a little more axle grease, and the rear axle installed. I tightened the chain adjusters just a bit to take some of the slack out of the chain prior to setting the bike on the floor. Also before setting the bike down we spun the wheel back and forth a few times to make sure there weren’t any issues with the chain.

MotoADVRchain20With the bike finally off the jack, I began methodically going around the bike tightening the big ticket fasteners to the prescribed torque setting according to the manual. Once the swing arm pivot bolt, pivot bolt pinch bolts, rear axle nut, and suspension bolts were tight to spec, I began reassembling all the miscellaneous items to put the bike back together.

MotoADVRchain21All things said and done, two guys had about two and a half hours invested in a job. After packing up the odds and ends, the ride home was a pleasant one. I can’t claim that I’ve noticed any significant differences in the 20 or so miles I’ve ridden since the replacement, but with the sunny weather that day, I swear I felt just a bit more throttle response; but that could just be wishful thinking.


A couple things to keep in mind before attempting this job:

  • You’re going to need sockets from 1” down to 8 mm; unfortunately I don’t recall the socket/wrench size for the front sprocket retaining nut, but it’s almost 2”, so keep that in mind.
  • I have a habit of breaking bolts off inside the bike; thus I bought a torque wrench. Probably a good idea to have one on hand, and whatever step up or step down drive adapters necessary to torque all the random bolt sizes on the bike.
  • There are a lot of pros and cons to jacks vs. lift, so plan ahead, take your time, and don’t wrestle the bike on a jack, there are other tools that are safe, like impact wrenches if necessary.
  • Make sure you have zip ties, bungee cords, and the like handy, sometime you just need something out of the way for a moment.
  • This is obviously a greasy dirty job with brakes and axles; I’m a big fan of thick latex gloves, it helps keep the chrome clean if you’re concerned about that kind of thing.
  • If time is not a factor, which it typically is for me, this is a great opportunity to do some deep cleaning in the depths of the swing arm and rear wheel, you probably want to get those cleaning tools out.
  • Even after wiping down the new chain prior to installation, grease was still slung onto the pipes and rear wheel. If you’re a stickler for clean chrome, better wipe it down twice.

Now that the worn parts are sitting on my desk at home, I’m planning some sort of creative use for old motorcycle parts. If things work out, I’m hoping this old chain becomes a heavy duty hanger for my motorcycle gear.

Do you typically do your own maintenance or do you take your bike to a shop?

Posted in Gear - Maintenance - Safety | Tagged , , , , , | 6 Comments