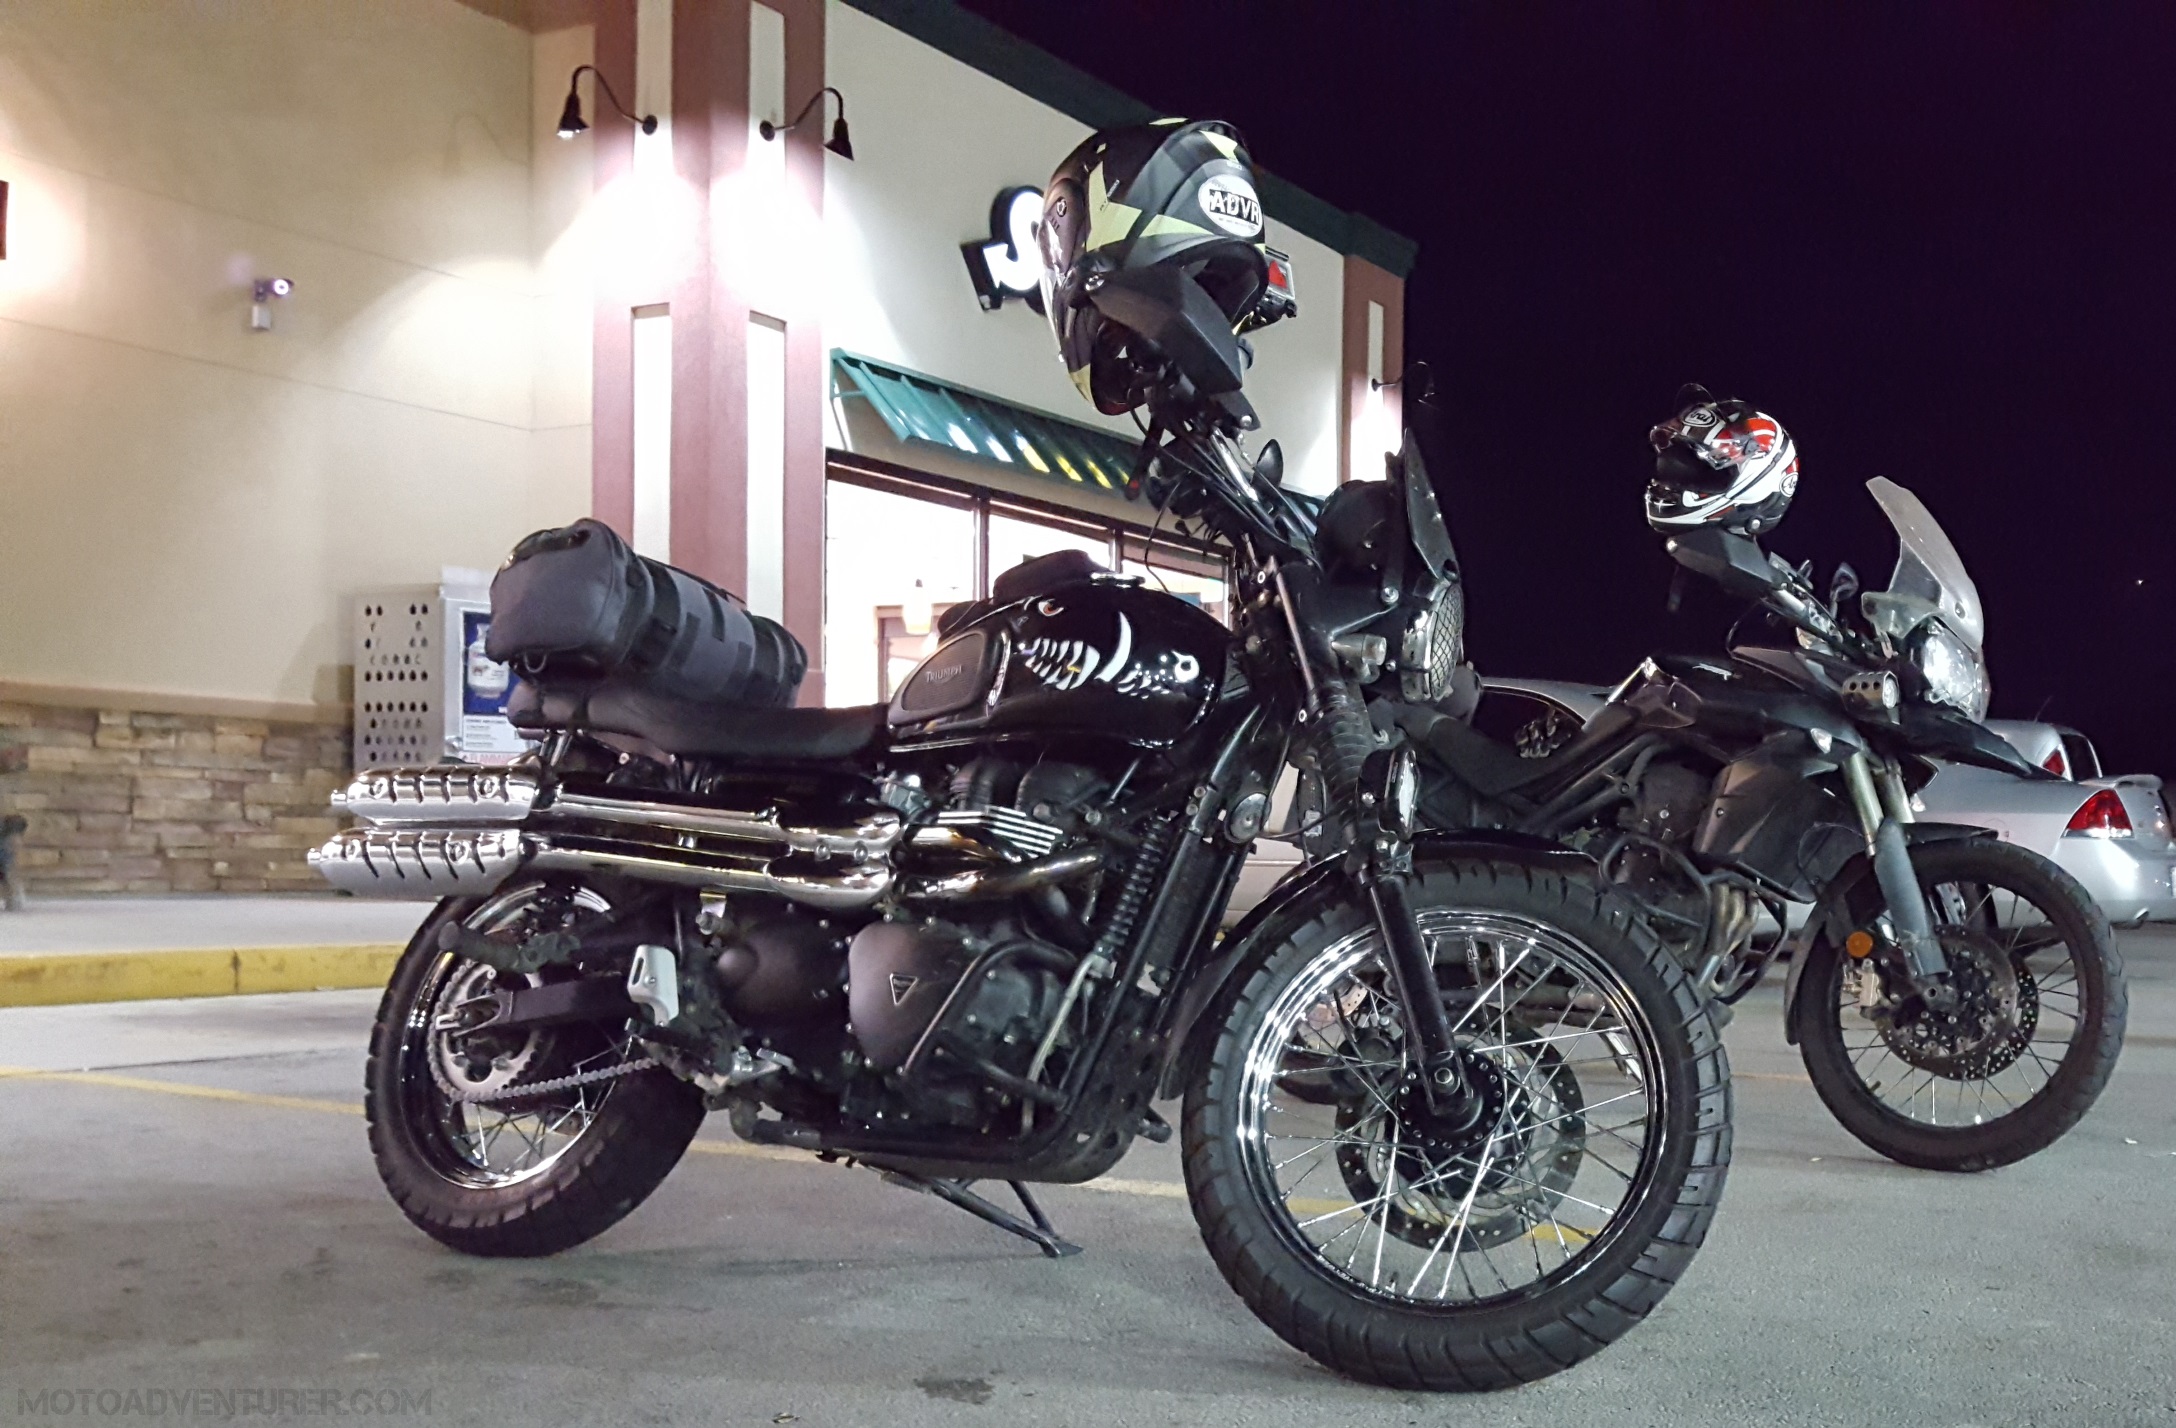
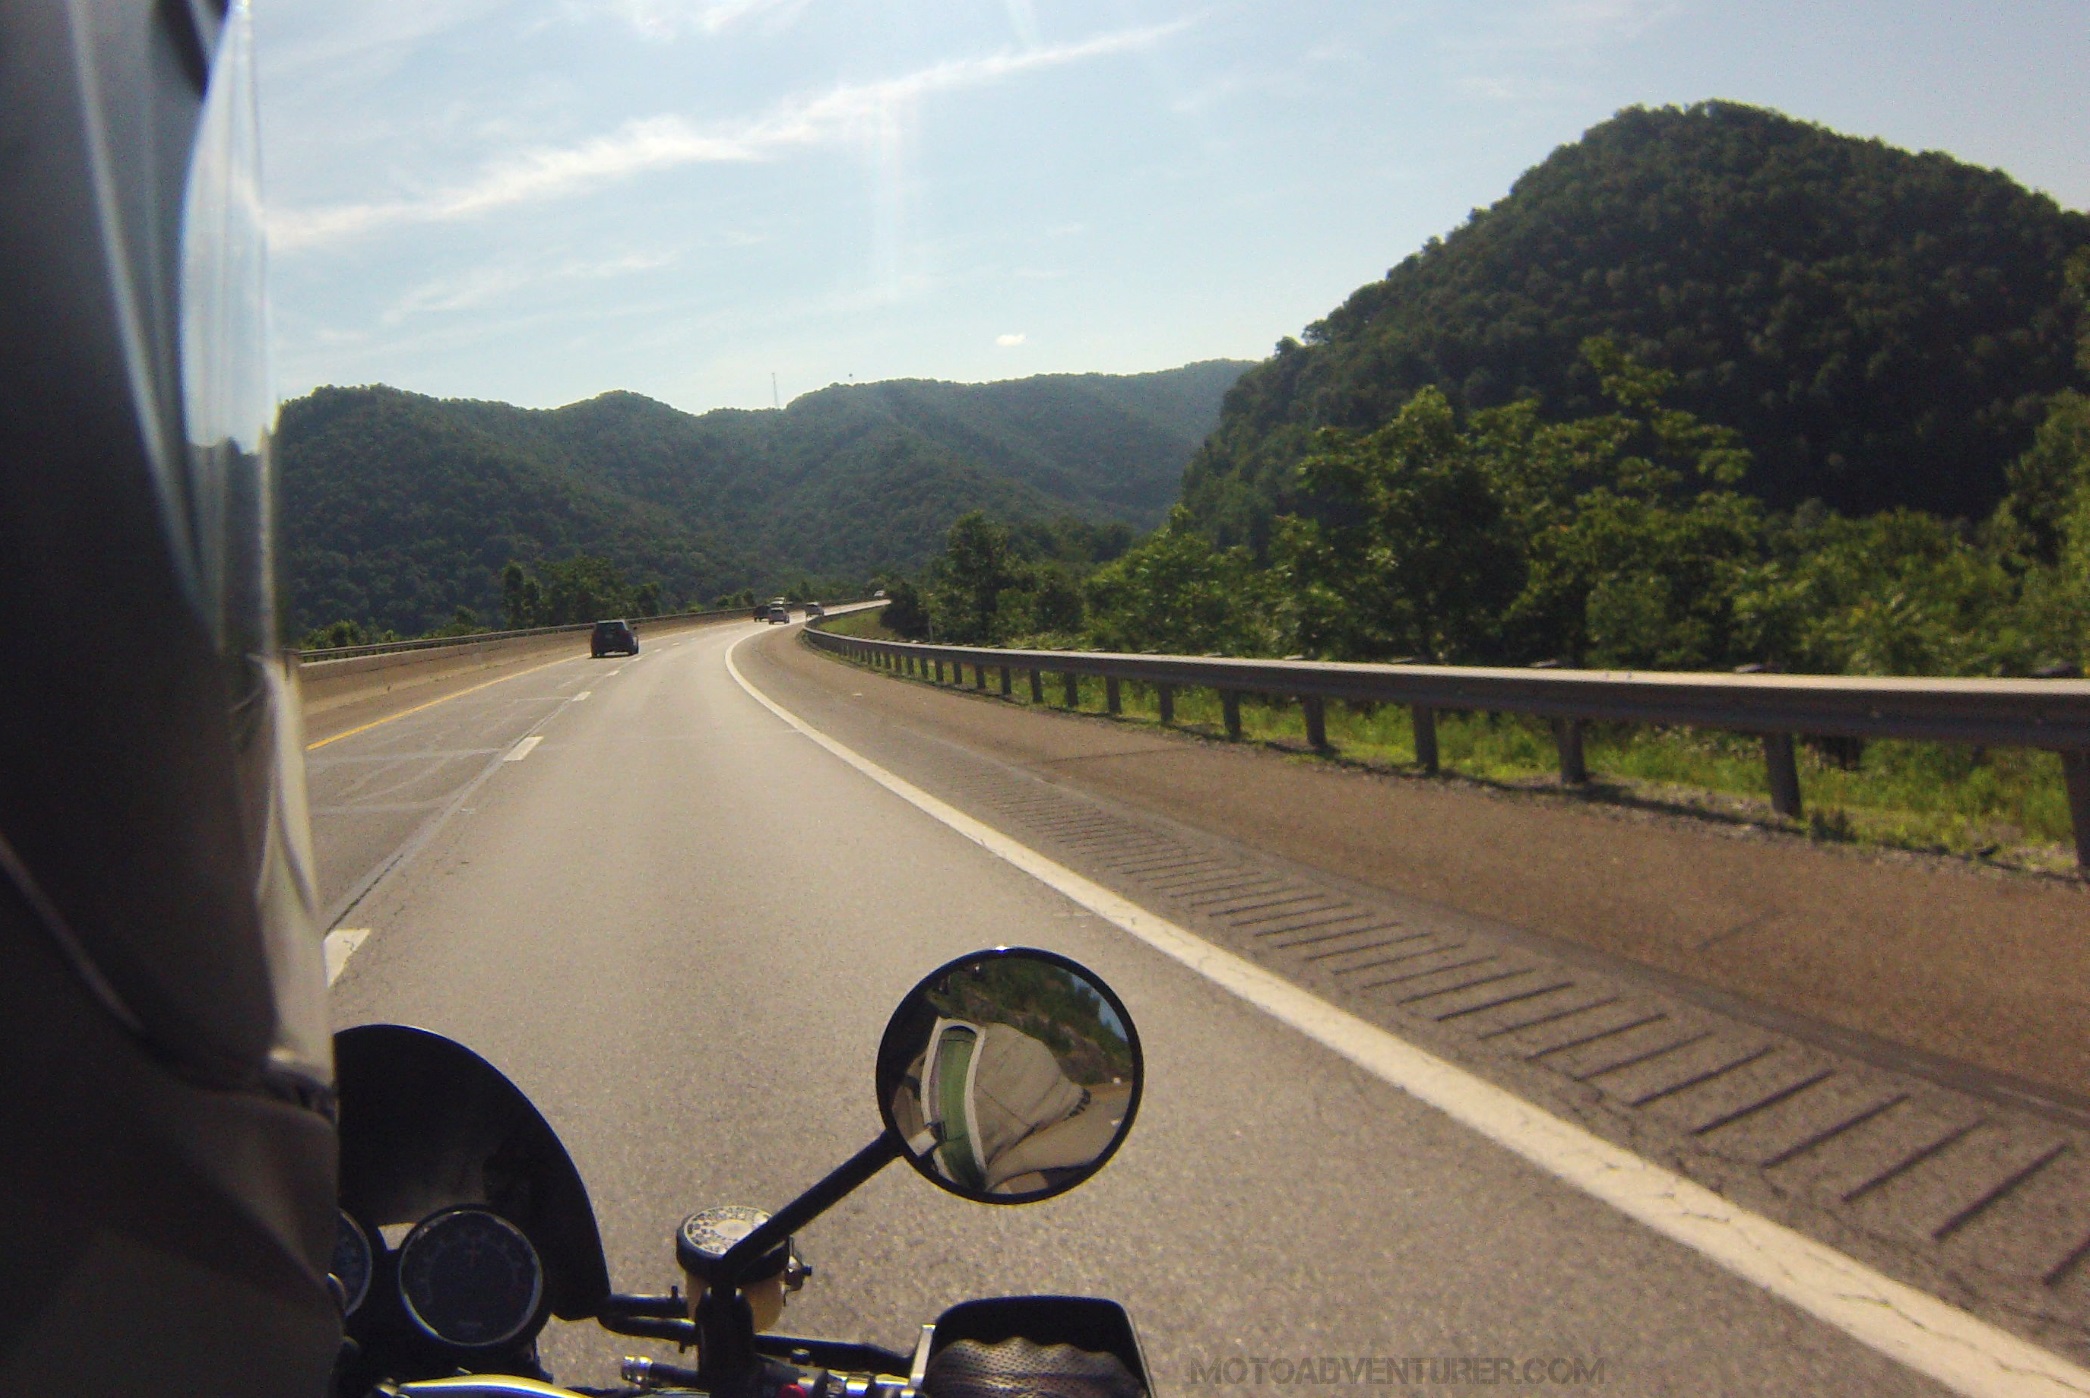
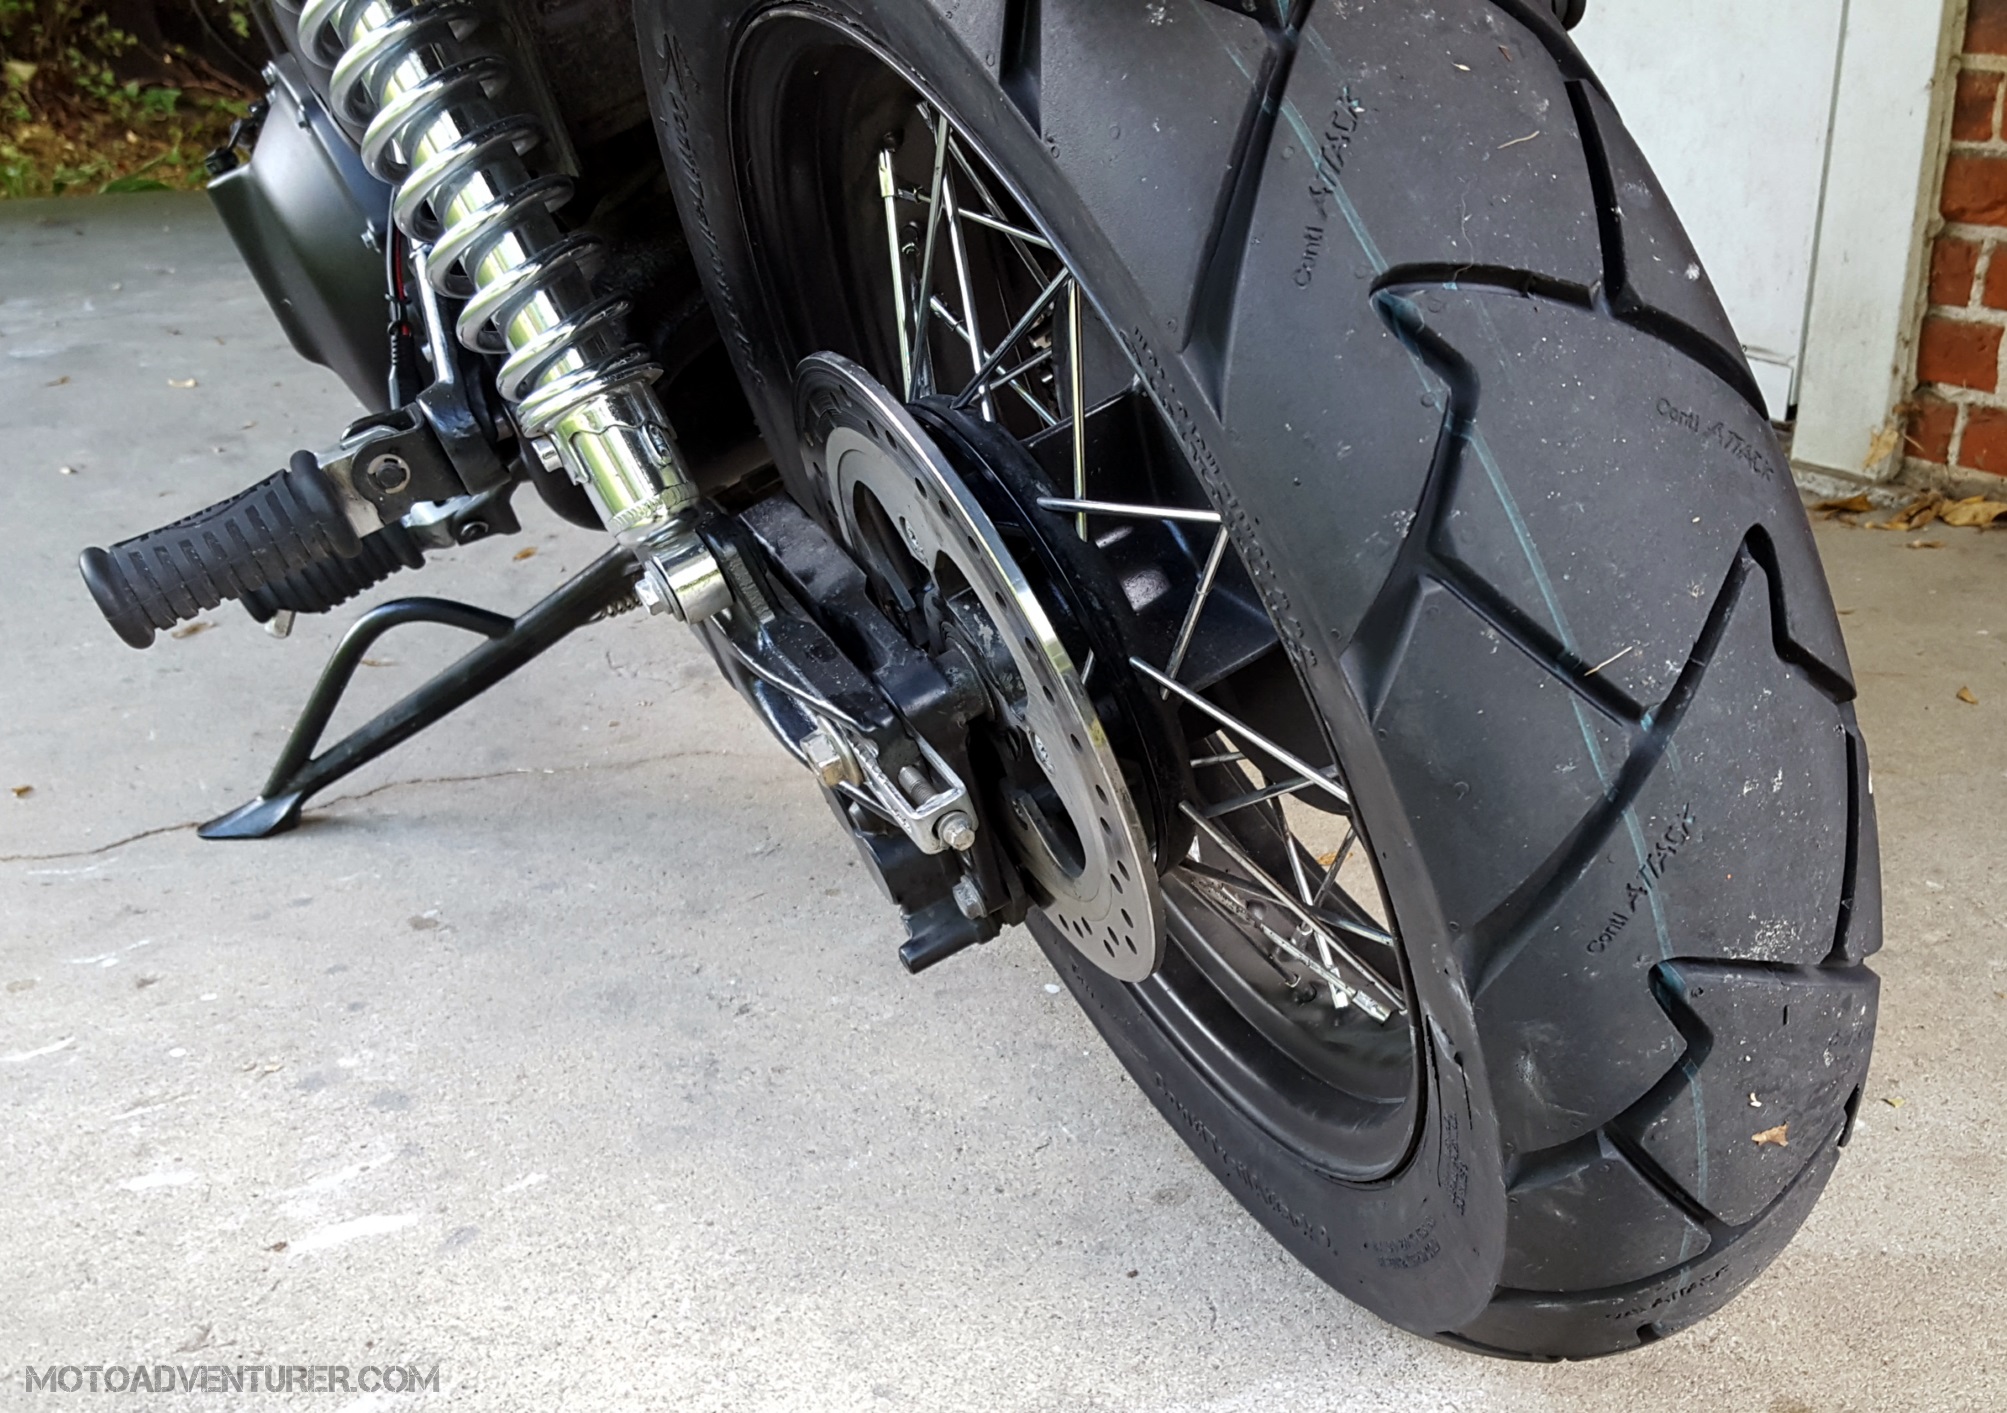
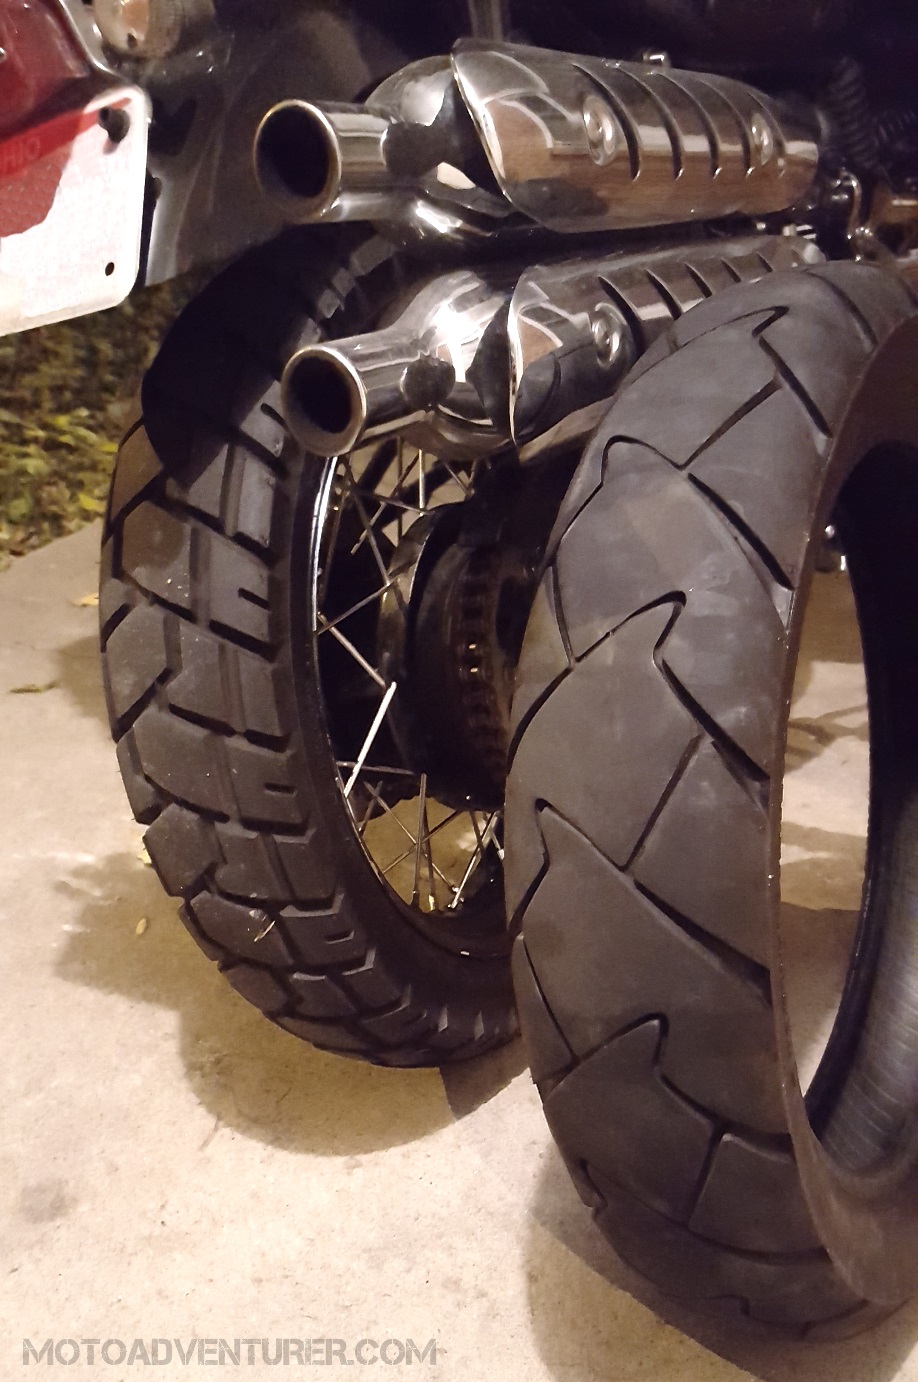
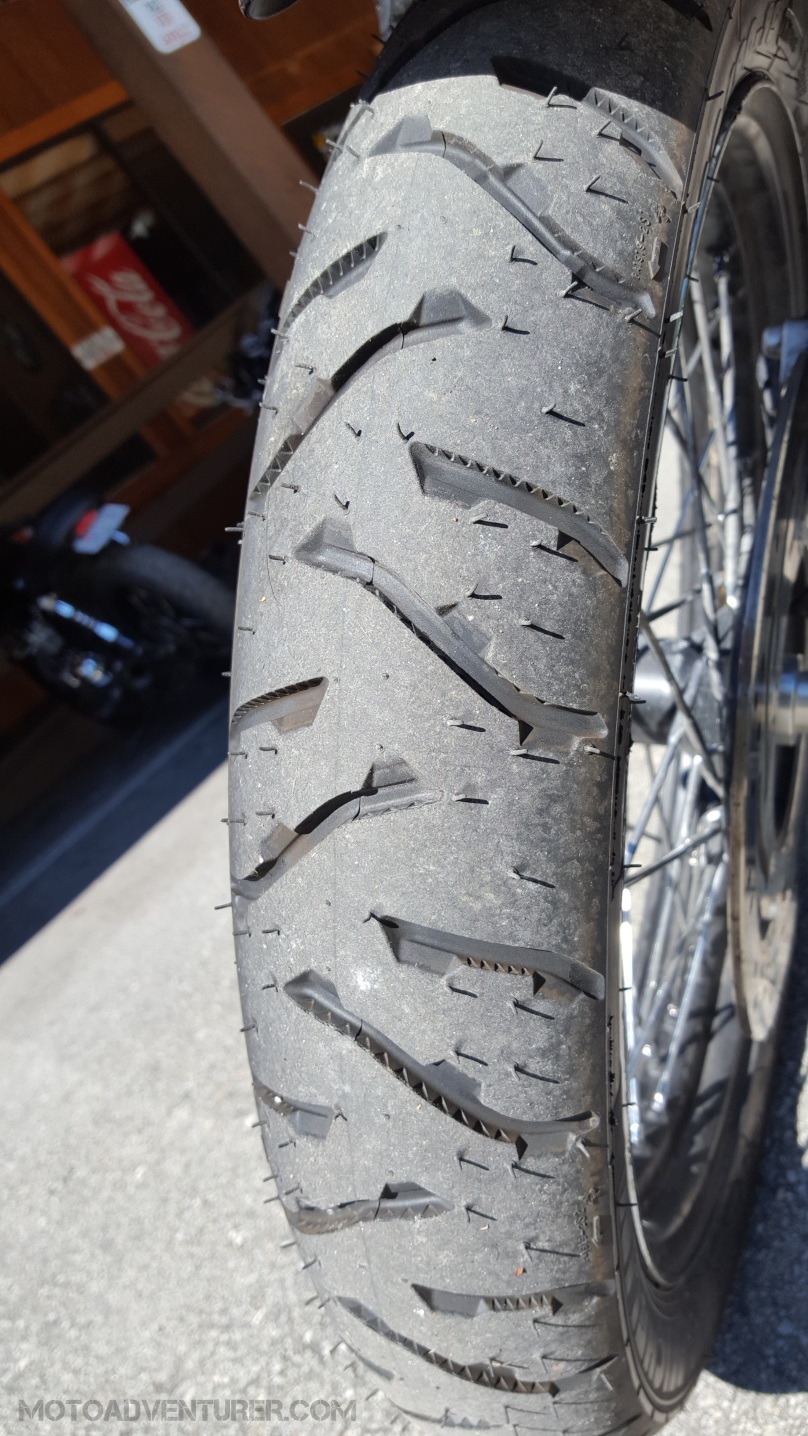
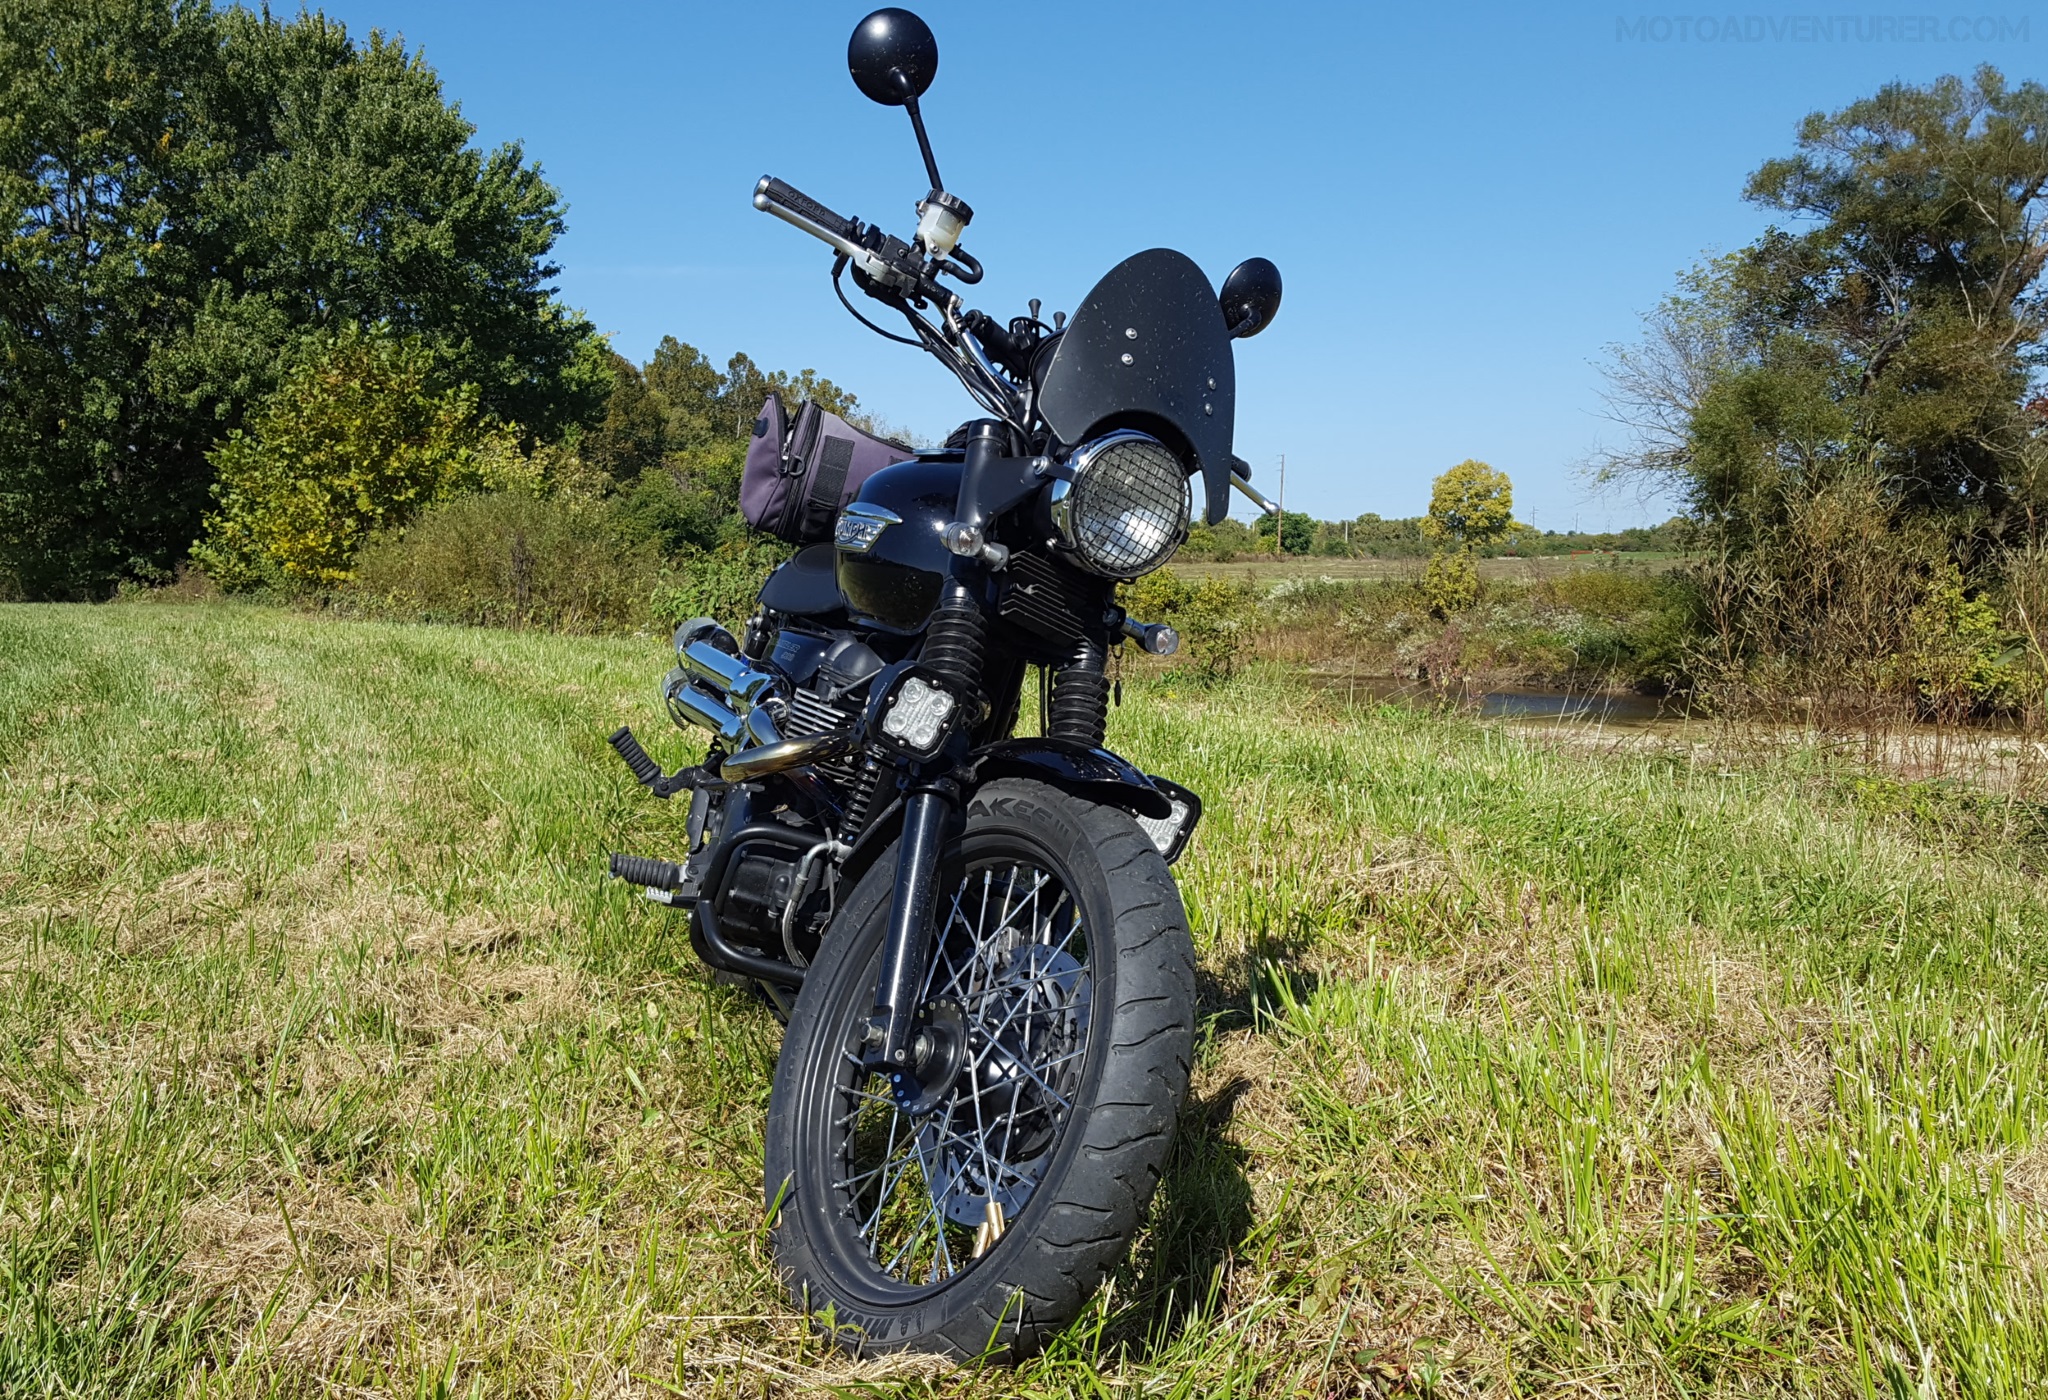
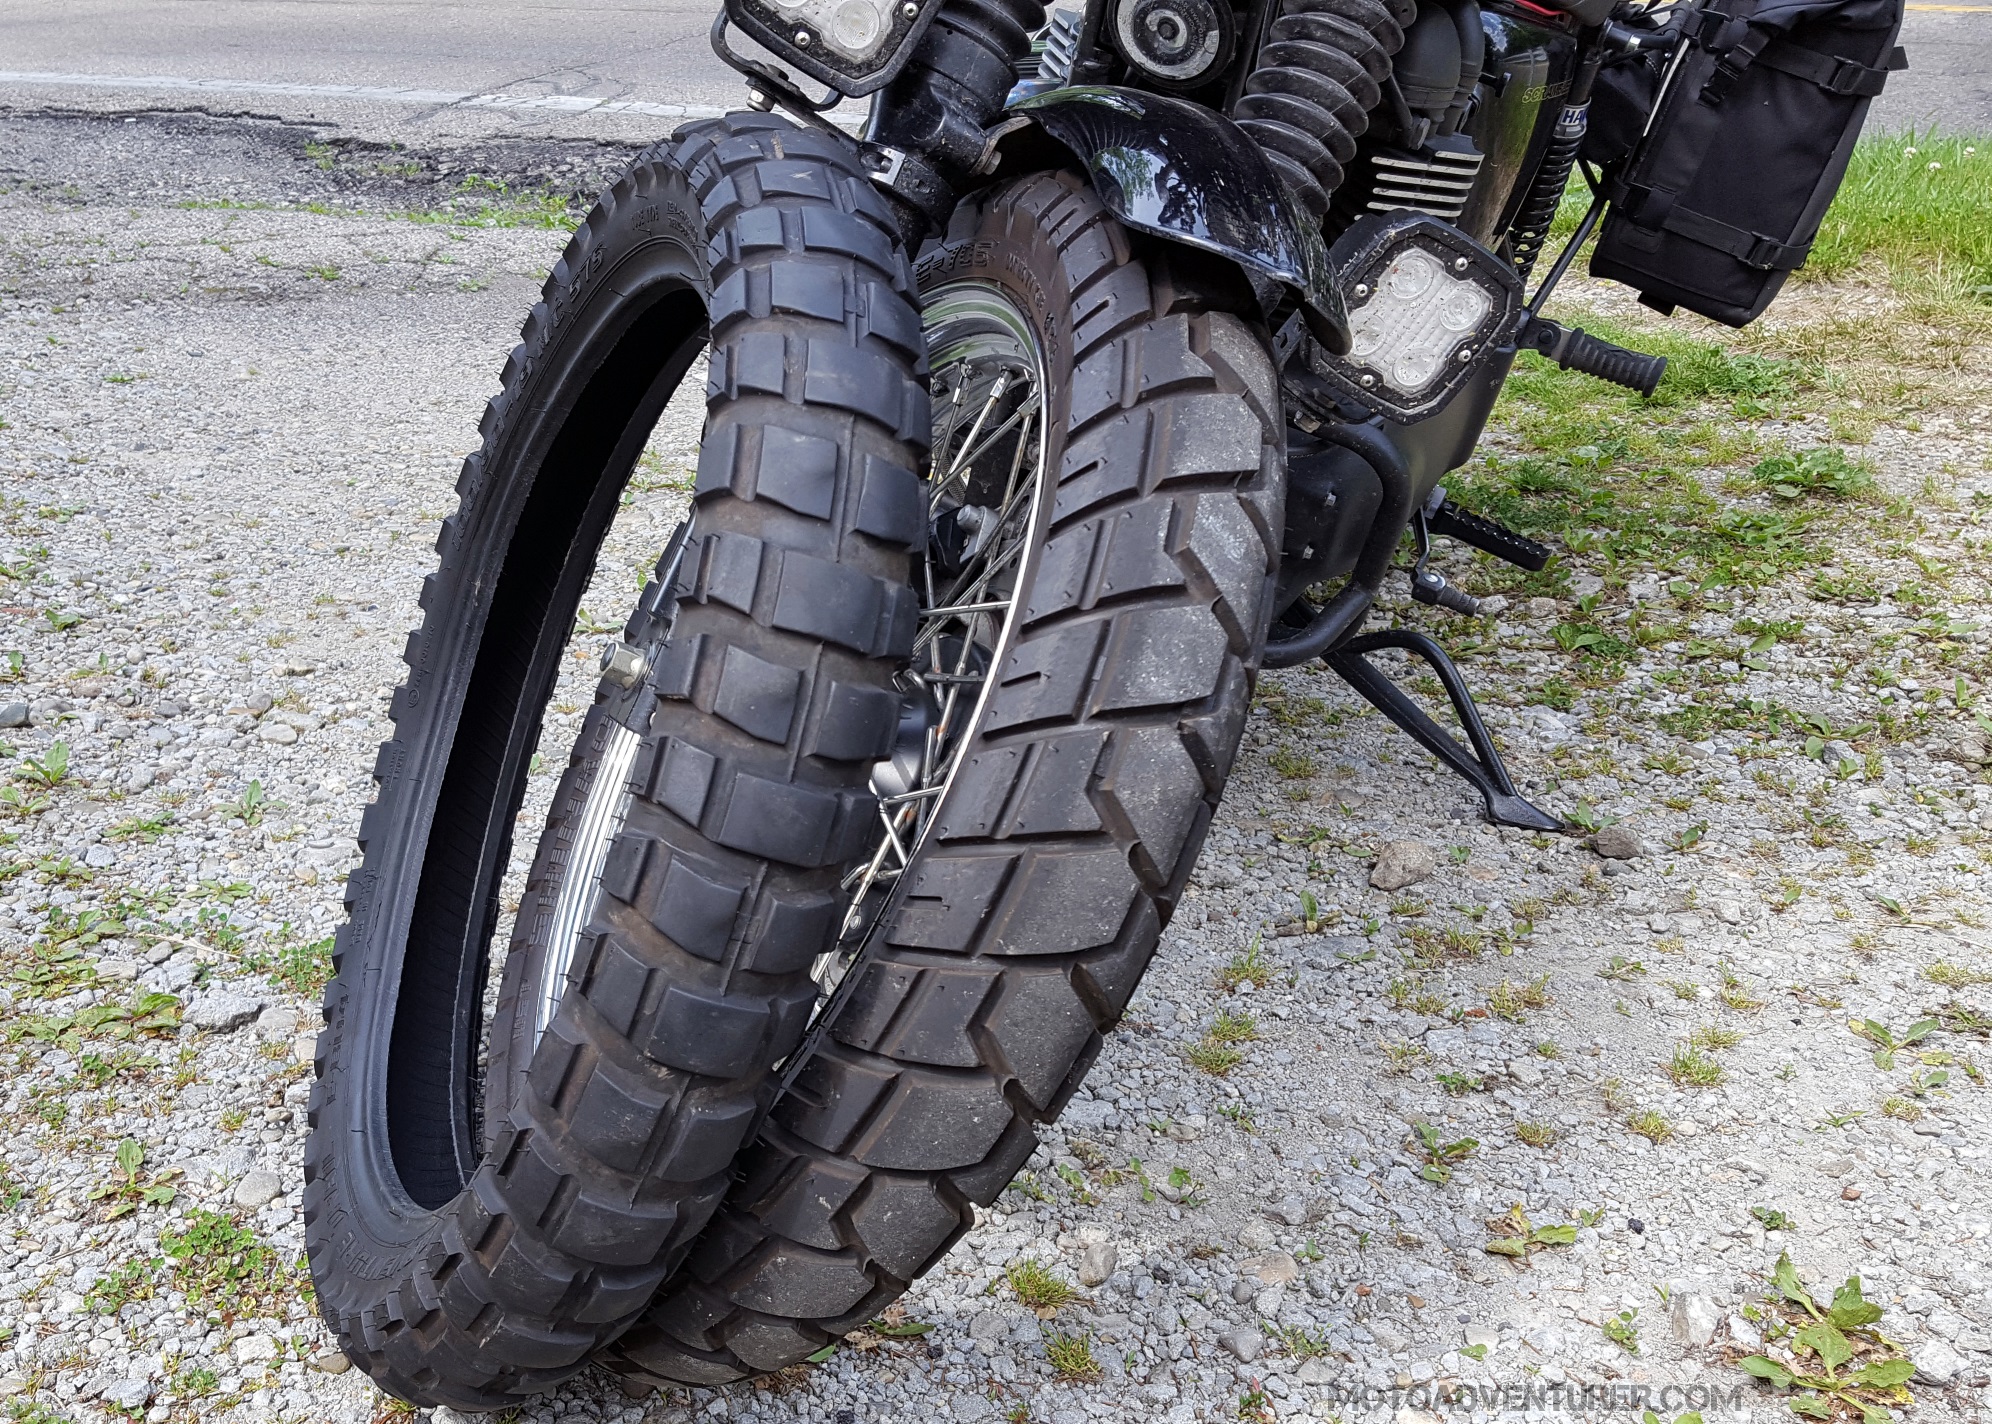
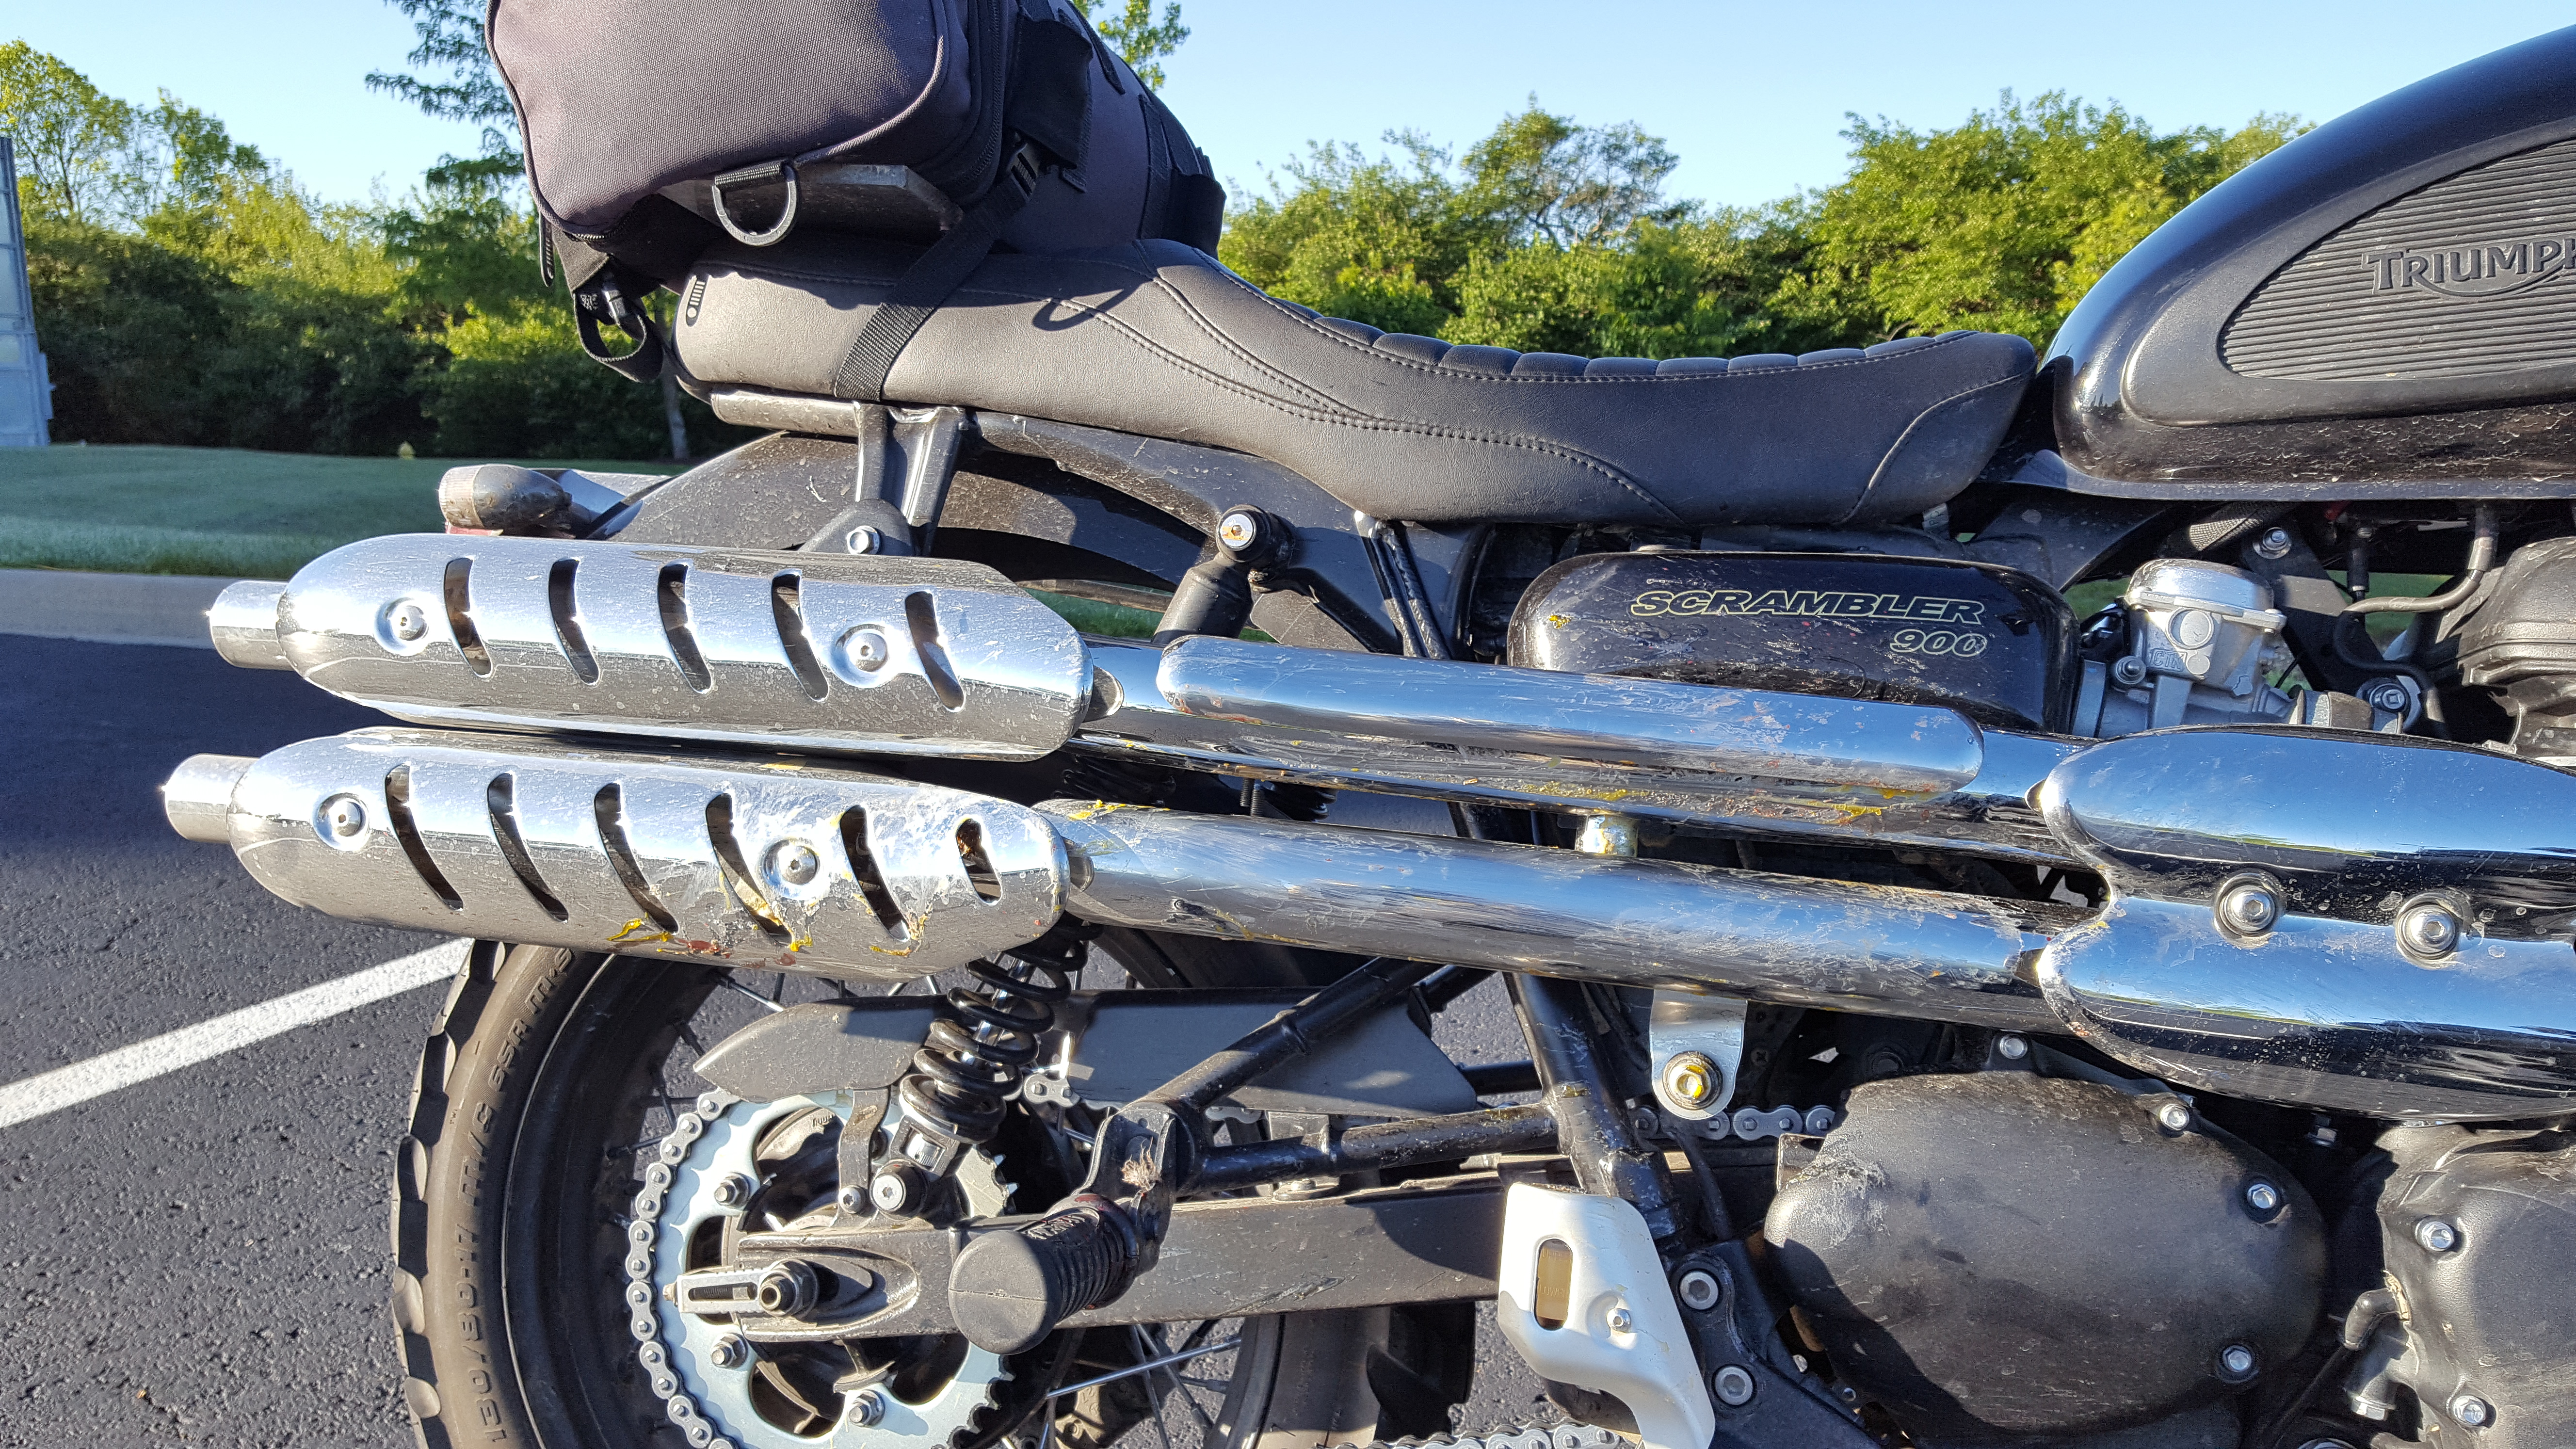
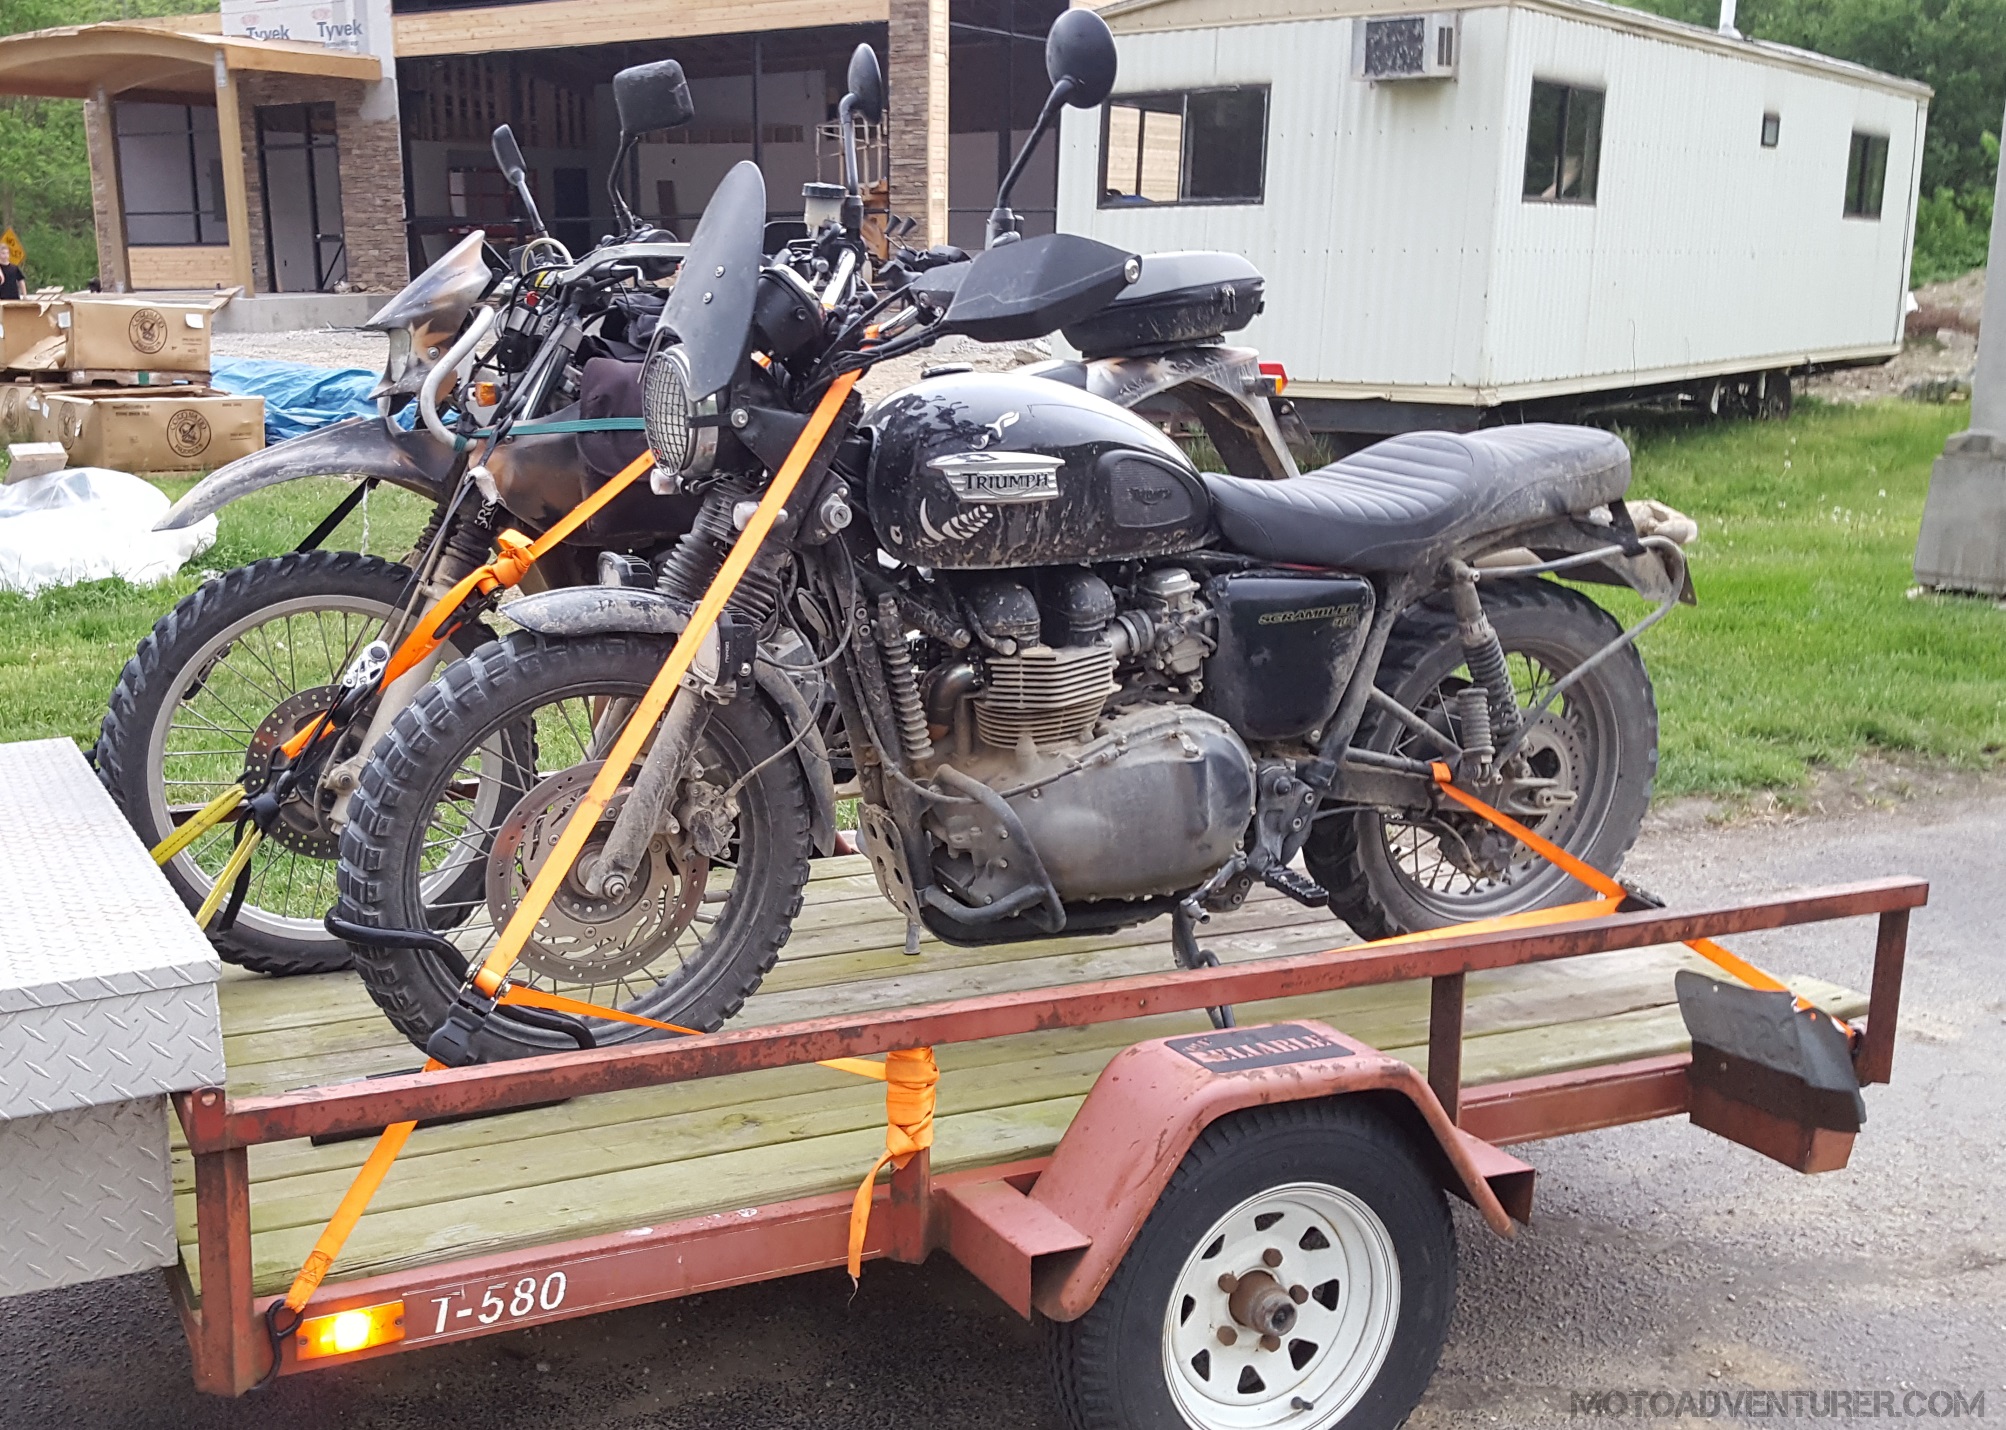
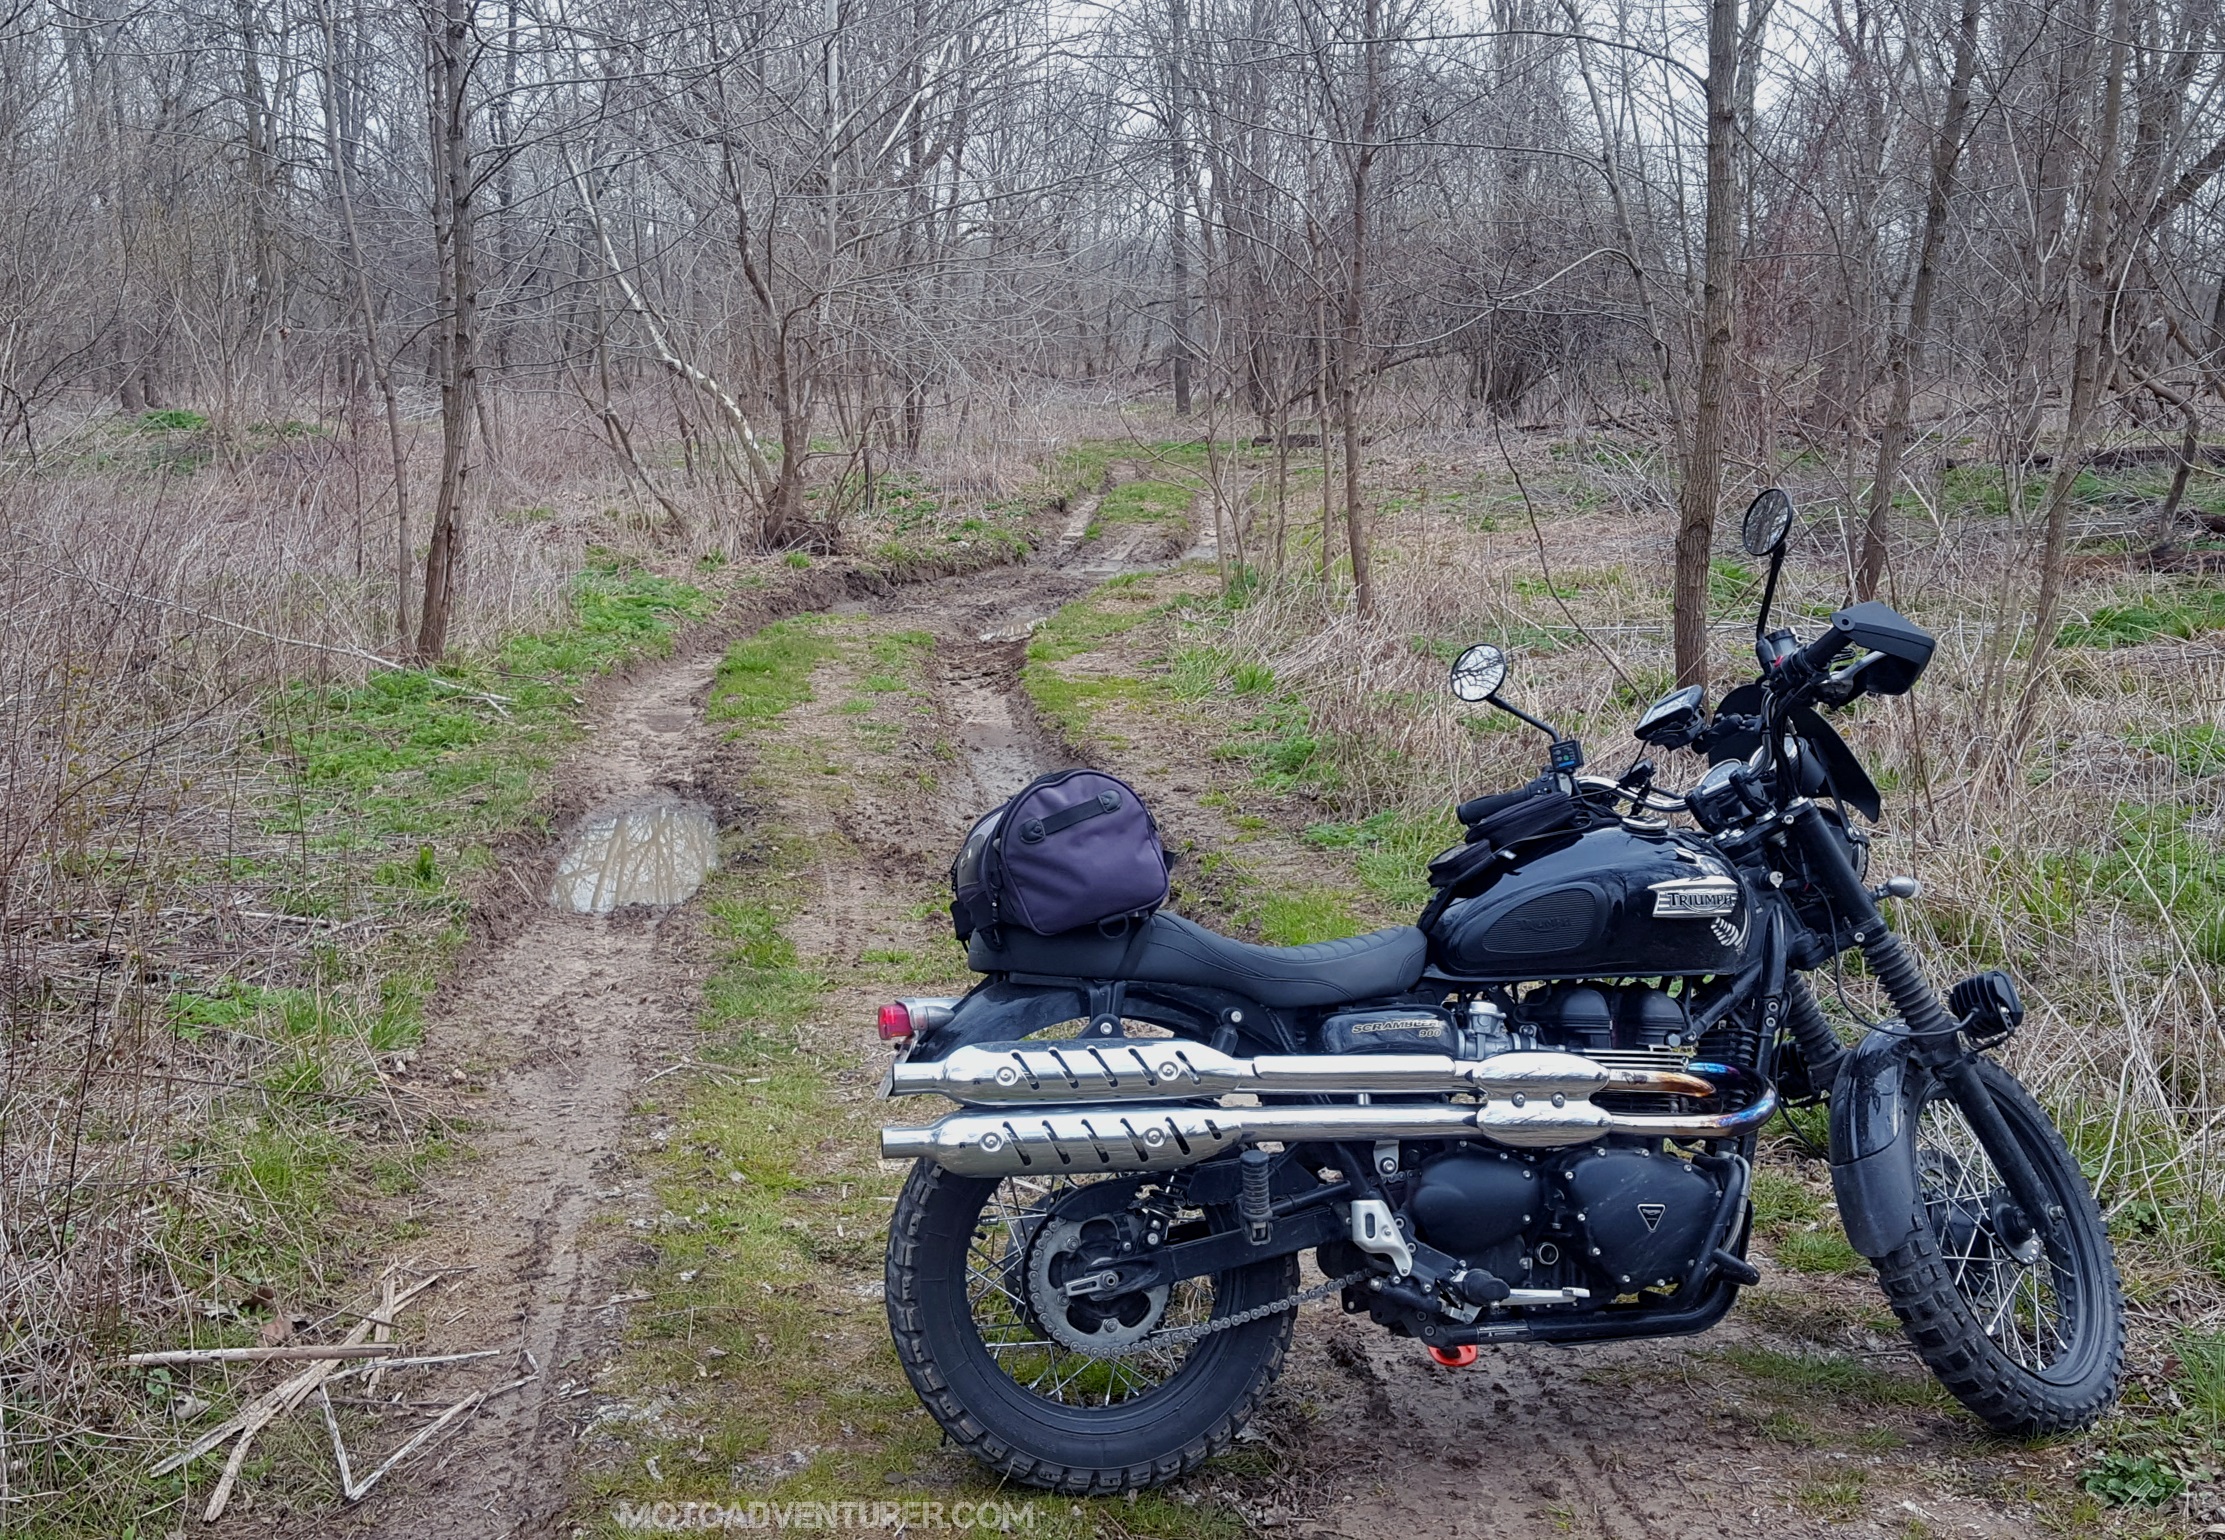
 Last week I spooned on the first actual “set” of new front and rear tires since I bought the Speedmaster new back in 2013. I’m a little… frugal, to say the least, so I typically run tires as long as they ride properly or reach the wear marks, whichever comes first. I have some big plans for the upcoming months, most of which involves long stretches of pavement, so I decided to pull the aggressive knobbies early and throw on some more roadworthy skins.
Muscling on new tires got me thinking, I’ve now purchased eight new tires since bringing Rosie home last July. I’ve run a little of everything from 95/5 street oriented tires to aggressive 50/50 (or better) off-road rubber. I figured now is as good a time as any to share some of the conclusions I’ve come to with these tires.
Bridgestone Trail Wing
Anyone familiar with Triumph’s modern classics line will probably recognize the stock Trail Wings mounted on the Scrambler.  These are the same tires that are also stock on the new Yamaha SCR950, V-Strom 650, DR650SE, and others. I have heard people refer to these tires as “Death Wings” among other less than flattering nicknames, but I admit, while they were unremarkable, I didn’t have any issues out of the stock tires. I unfortunately did not do any off-road riding in the time I had the Trail Wings mounted, but like many other 80/20ish tires, I suspect they’re decent on hard packed gravel and helpless in mud and lose dirt. On the road however, the Trail Wing held the line well, didn’t get squirrelly in the rain (at least on the Scrambler), and the “turn-in” was agreeable. I mention the turn-in because the steering behavior of the Scrambler seems to differ depending on your choice of front tire.
The rear (TW42) tire wore out in about 4,200 miles or so and was overall consistent despite the poor mileage. The front (TW101) however, scalloped pretty bad after pushing the tire hard on the Tail of the Dragon. The vibrations from the imbalanced tire got so unnerving I decided to replace it at 7,500ish miles; I was worried the tire just wouldn’t get me home. Based on quality, I won’t say that I wouldn’t buy the another Trail Wing; the tires were fine, but considering what you pay for them, I feel there are simply better tires on the market.
- TW101, 100/90-19 Front: 7,736 miles/$104 = 74.3 Miles/Dollar
- TW42, 130/80-17 Rear: 4,241 miles/$138 = 30.7 Miles/Dollar
Continental Trail Attack 2
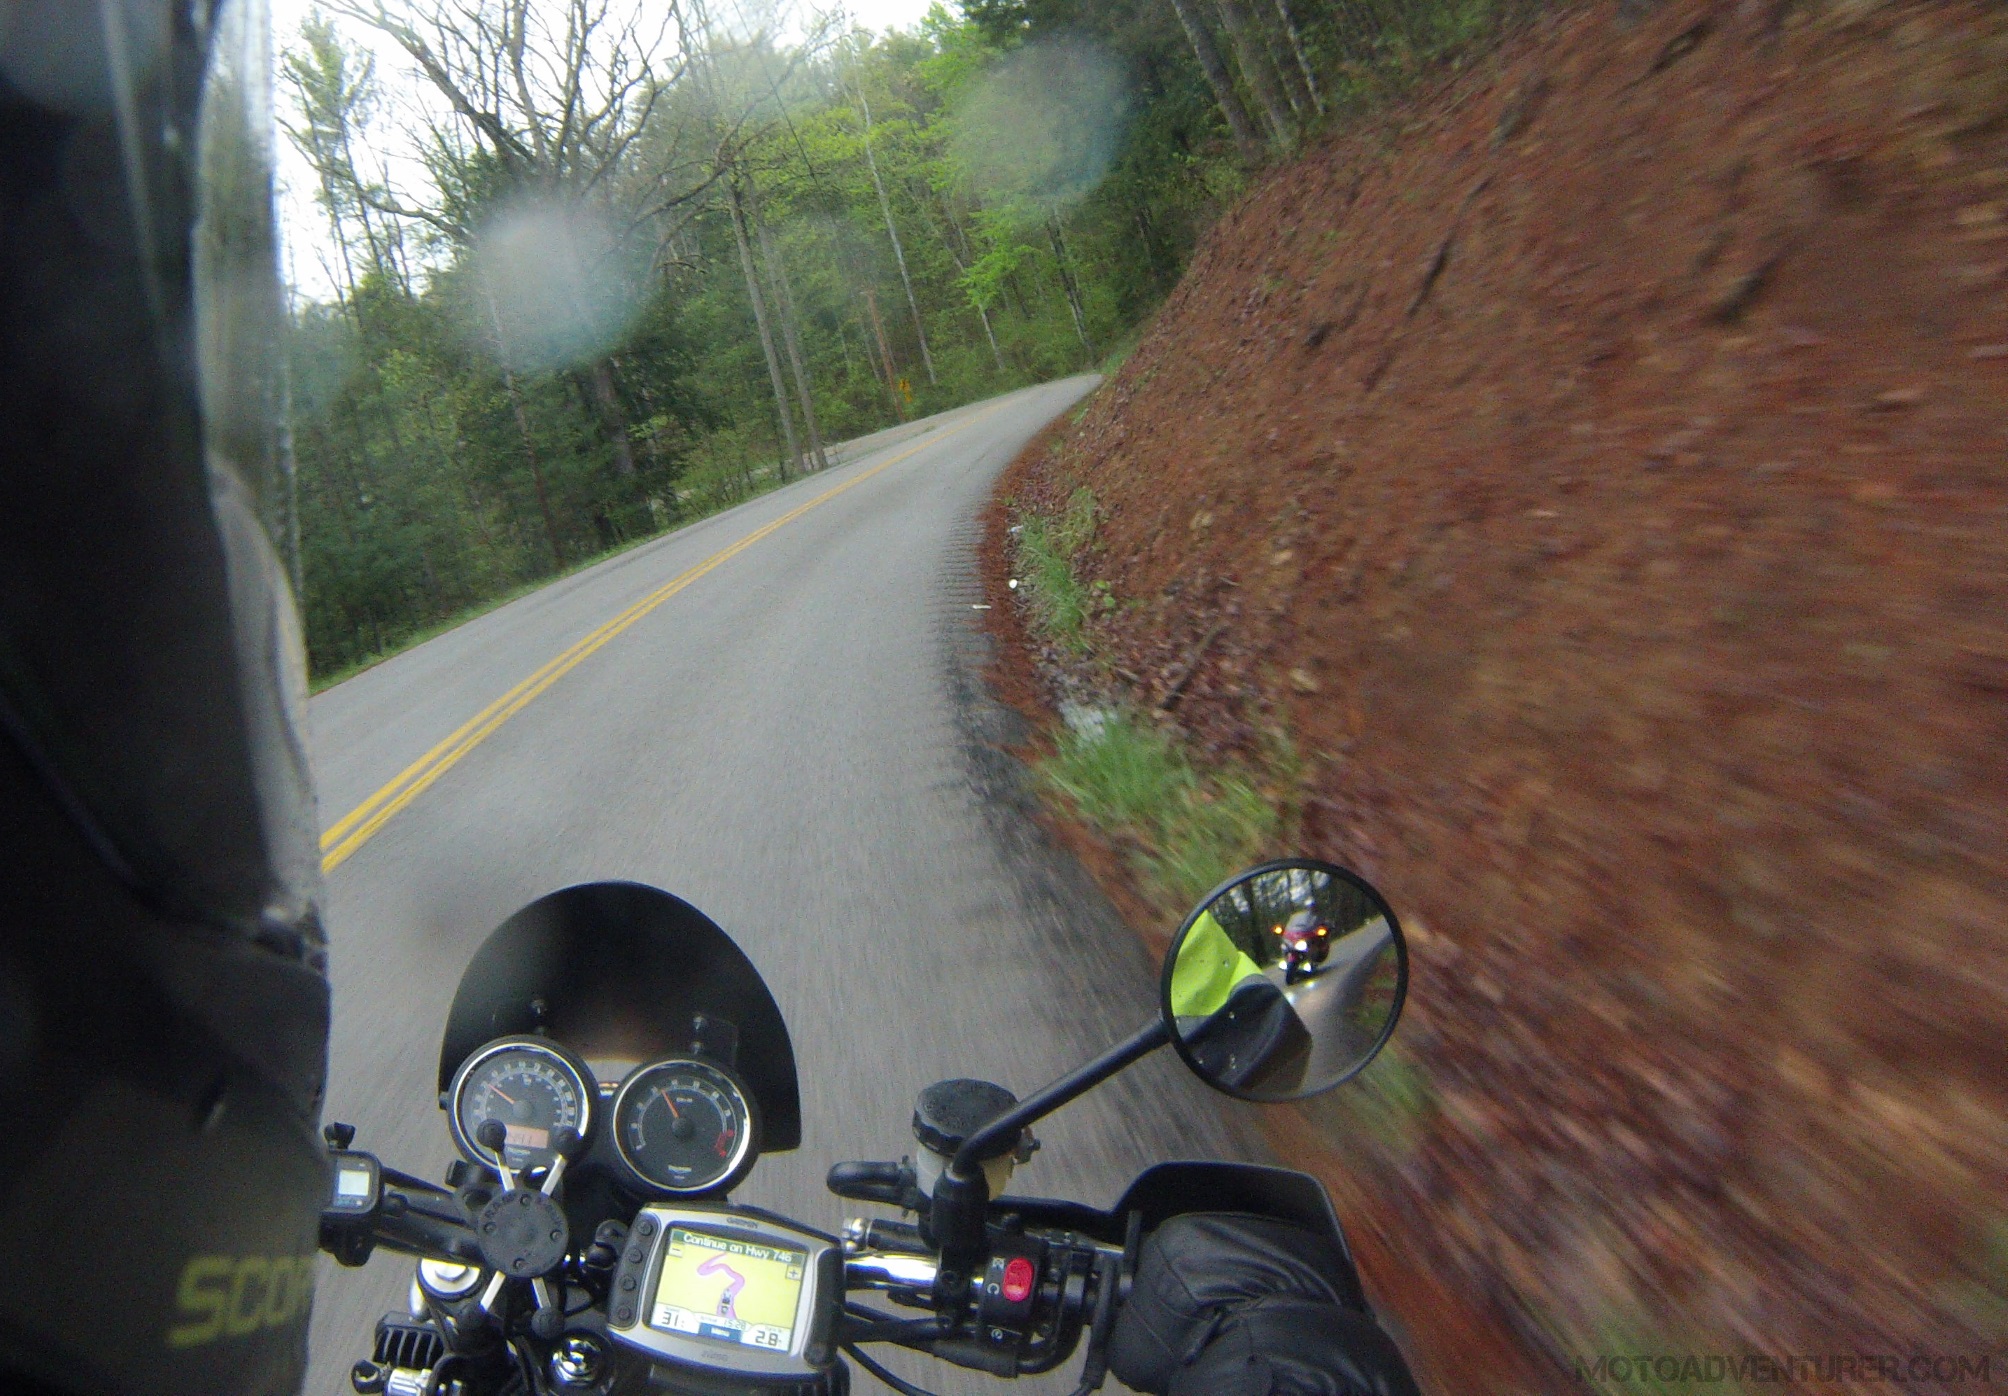
 While I actually replaced the rear Trail Wing with a Shinko 705 I’m going cover that tire more in a moment as I just mounted a full set. Just prior to The Dragon Raid last year I decided to pull the rear tire and replace it with a fresh Trail Attack 2 (TA2) considering I had a 2,000 mile trip ahead of me. The TA2 seemed to be comparable to both the Shinko 705 and Trail Wing, if not perhaps a bit more road oriented. When I mounted the TA2, I was still waiting to mount any off-road “crash” protection so I didn’t expect to wander down many dirt roads, so again, road behavior was the deciding factor. Riding down “The Hellbender”, North Carolina highway 28, at speed in the rain, the TA2 never faltered. During my week at the Dragon Raid,
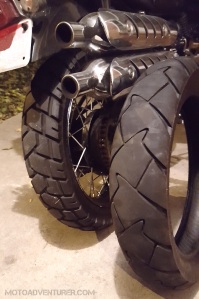 I flogged the Scrambler for all she had, and the TA2 delivered again and again. Similar to the Trail Wing, I assume the TA2 is all but helpless in any aggressive off-road conditions, but I can say that I had no issues navigating gravel trails.
In all weather conditions on-road, the TA2 is a great value tire. Weeks after the rally I finally pulled the TA2 after about 5,500 miles of abuse. If the situation ever arises again, I will have a tough time not choosing another TA2 for on-road only duty considering how well it gripped the road, rain or shine. Continental also ships these tires “pre-scrubbed” for lack of a better term, so they’re considerably “sticky” right out of the gate.
- Trail Attack 2, 130/80-17 Rear: 5,574 miles/$103 = 54 Miles/Dollar
Michelin Anakee 3
Per my previous comments about the Trail Wing front tire, in a pinch, I had to replace the tire last minute during the Dragon Raid with an Anakee 3. I’d already heard some pretty good things about the Anakee 3 on ADV Rider, so while untimely (and expensive), I planned on giving the Anakee a shot anyway.
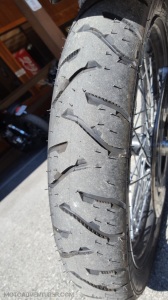 In various forums and groups I have described the Anakee 3 as a “flawless on-road tire”. I stand behind that label, if you’re not going off-road, I can’t recommend a better “Adventure” tire for your bike. I “scrubbed in” a new front over about 50 miles from Wheeler’s Performance to Franklin, North Carolina, at which point it was pretty much full hooligan mode for the rest of the week, including the before mentioned trip down the Hellbender in the rain. Like the Trail Attack 2, the Anakee 3 holds the line steadfast in the lean, doesn’t bat an eyelash at wet conditions, and has some pretty impressive wear life. Now, that said, as far as the Scrambler is concerned, the Anakee 3 “turn-in” behavior is diametrically different than the Trail Wing. Overall, the Scrambler takes a little “coaxing” to lean into the curves. That coaxing requires a bit of extra effort with the Anakee 3 mounted, but it behaved just fine otherwise. I will go as far as to say, that stubborn turn-in actually made the bike more stable in high-speed curves like the Blue Ridge Parkway and The Skyway.
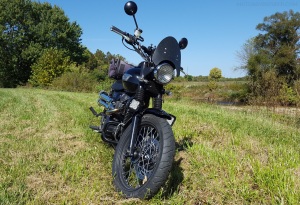 This winter I pulled the Anakee 3 early with about 9k miles so I could mount some aggressive knobbies. That Anakee was just past 50% wear from what I could tell, and was unquestionably the most evenly worn front tire I’ve ever seen. Despite the amazing mileage I got out of the ME888 on the Speedmaster, I always scalloped the front tire. I obviously did the same with the stock Trail Wings on the Scrambler, but despite all of the abuse, the Anakee looked fantastic. That great performance comes at a cost, the sidewall is incredibly stiff. I would not want to try to break a bead on an Anakee and patch a tube on the side of the road with a set of irons. These tires are also pretty pricey, however I will say among road tires, it’s probably worth what you pay.
- Anakee 3, 100/90-19 front: 9,305 miles/$138 = $67 Miles/Dollar
- Note: I pulled this tire with 40% or more tread left, I suspect you could get 14k miles out of this tire (~100 Miles/Dollar).
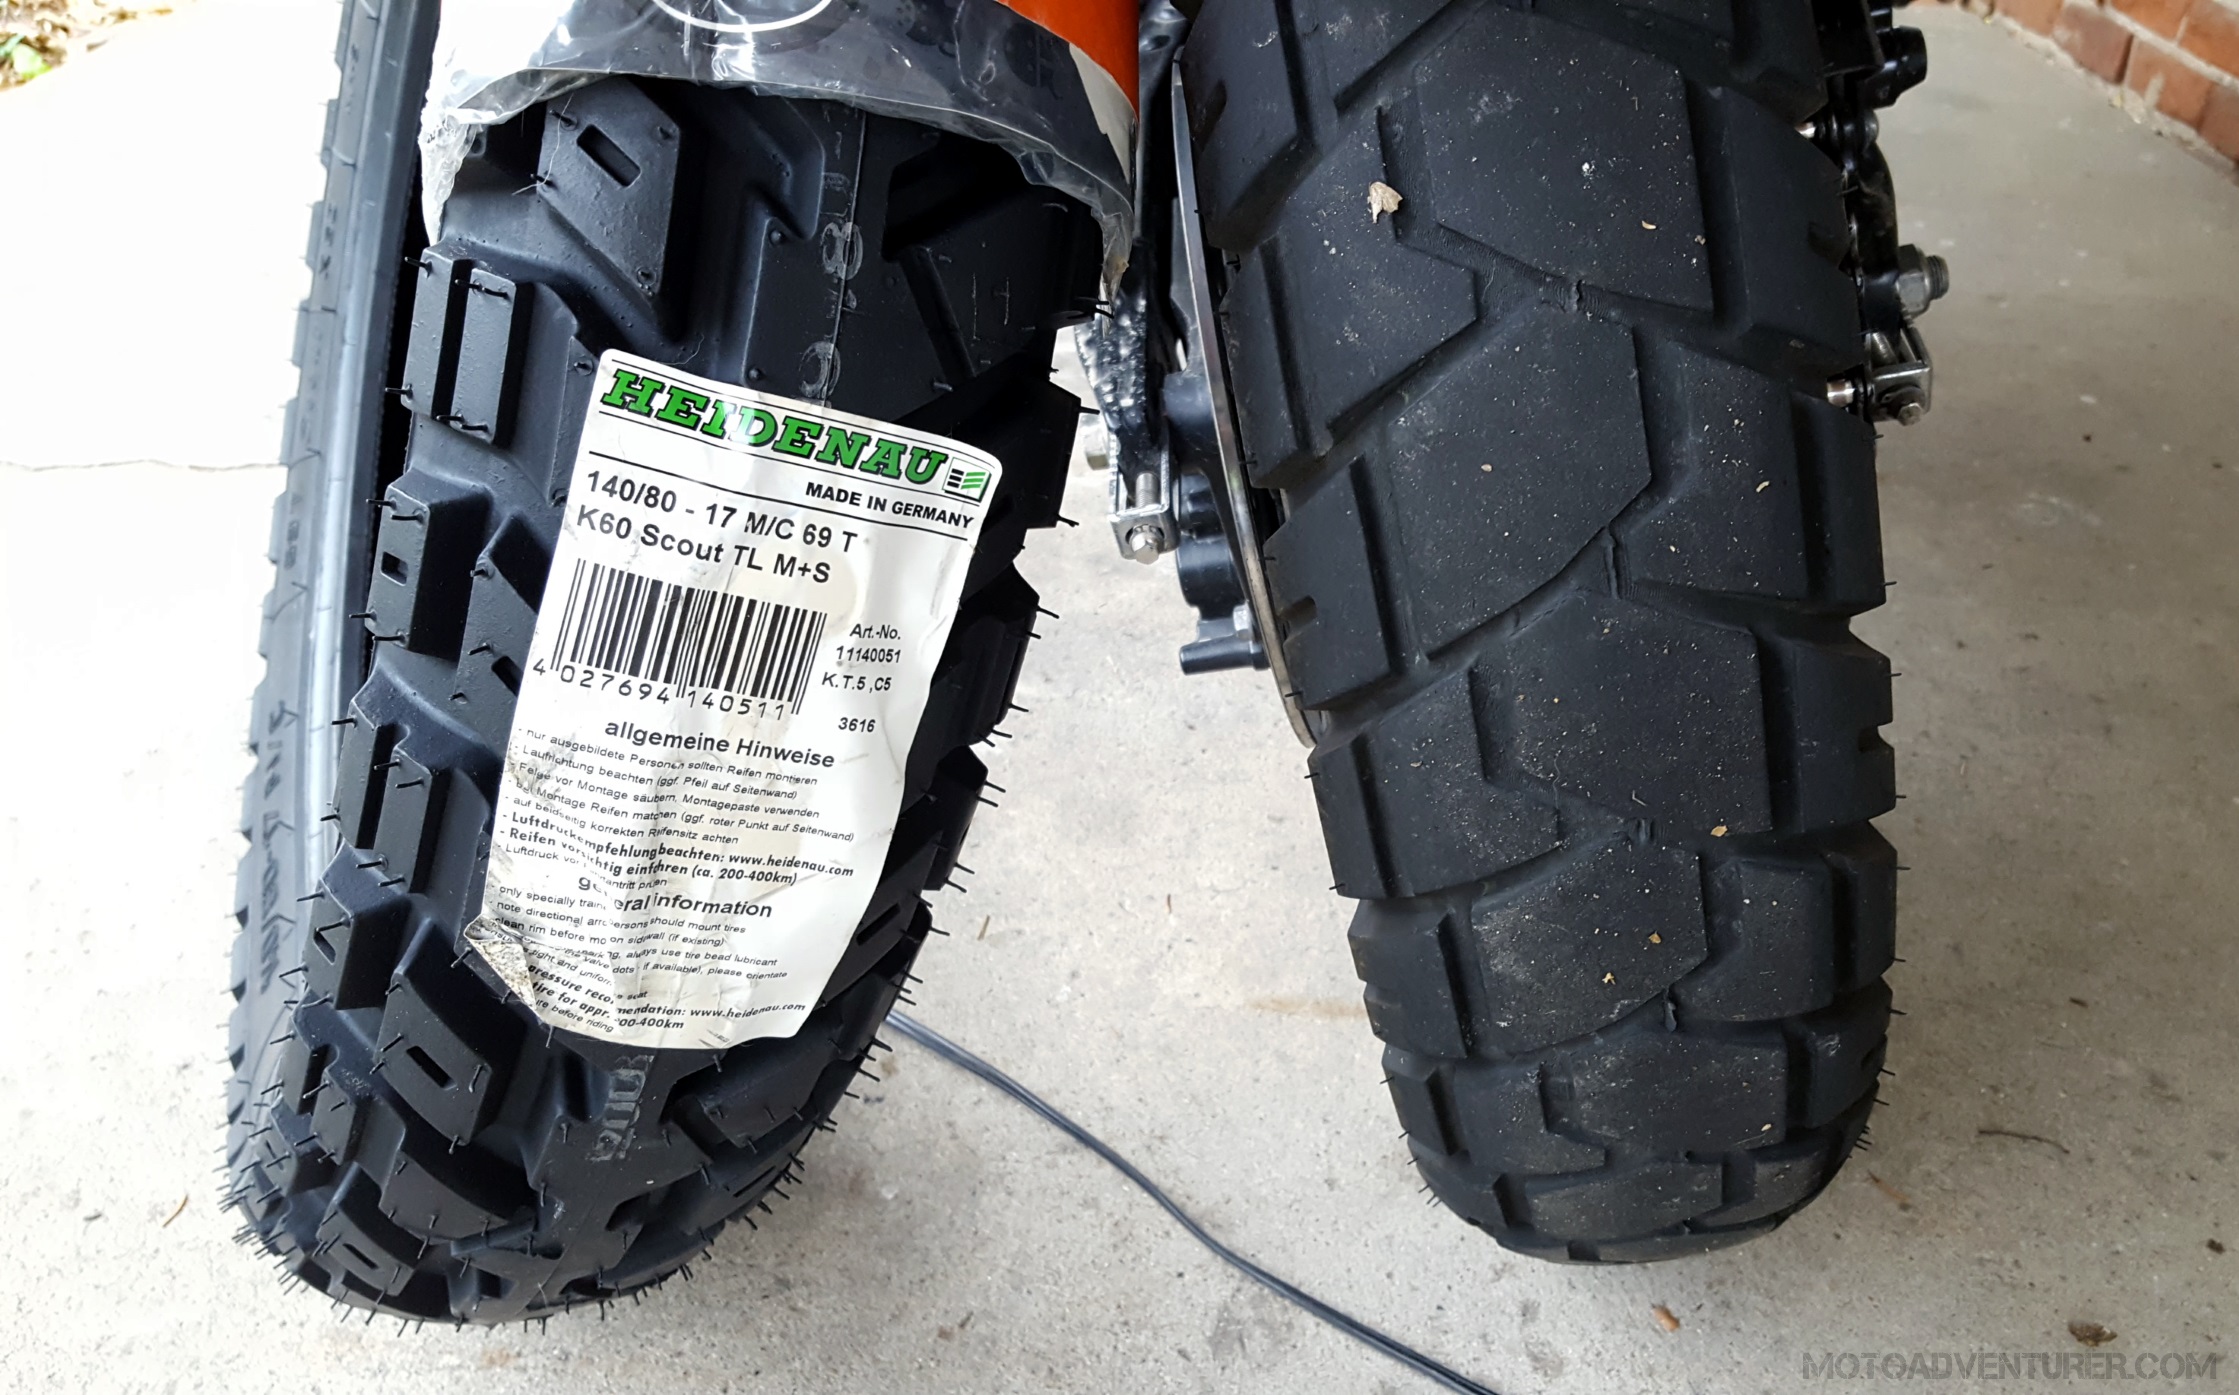
Heidenau K60 Scout
After I finished off the Trail Attack 2, I remounted the rest of the Shinko 705, but again, I’ll review the Shinko 705 in a moment. 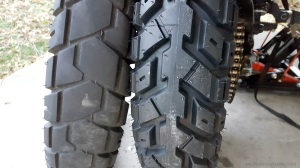 After the 705 rear was done, I bit the bullet and invested in a true “50/50” dual sport tire in preparation for more off-road riding. I had a buddy that went to Alaska and back on a set of Heidenau K60 Scouts; up until this point, I felt that all of the Scrambler tires were getting pathetic mileage compared to the tires on the Speedmaster, so I figured it was time to give the German’s a shot. After some back and forth on ADV Rider, I decided to bump the rear tire up one size to get the “center strip” tread pattern on the K60 Scout. The stock 130 width rear K60 has the typical “chevron” tread pattern, whereas the 140 and 150 width tires each have unique tread patterns including a large center strip for increased mileage.
I admit, mounting a Heidenau in December was a little concerning at first. 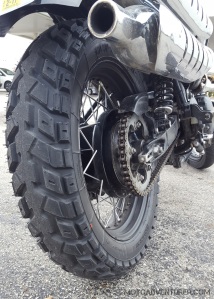 We’ve had some relatively mild winters in the past few years, so I suspected I would get some opportunities to go ride gravel in Shawnee Forest during the winter months, but the bike would probably spend some time parked. In addition, I was also a bit spooked by the somewhat “plastic” reputation of the K60; known for its longevity, many have claimed that the K60 is a bit untrustworthy in cold or wet conditions. While it did bite me the very first time I left the driveway (I’ll take responsibility for being foolish on brand new tires), the Scrambler did a really good job of keeping the rear tire warm and the K60 continued to impress me with dependable grip in adverse conditions.
On the other hand I was never crazy about the effect the 140 width and otherwise square profile had on steering behavior. 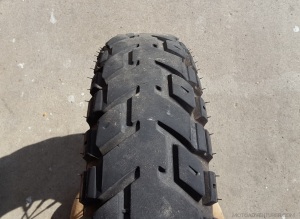 Early on, I realized that while I can still lean hard in the curves, there’s a “tipping point” where the bike wants to fall significantly faster as it reached the edge of the tire profile. Coupled with that, the 140 width made the turn-in even more lazy than normal. I will admit, the Anakee 3 didn’t help that, but it was still noticeable when I swapped out the front tire. The overall effect on steering is worsened by the fact that I found the K60 to “square-off” significantly sharper than most other motorcycle tires. I will take credit for a portion of that as I did a lot commuting to work more so than “joy riding”, considering it was winter in Ohio, but from what I’ve read, the squaring-off isn’t abnormal.
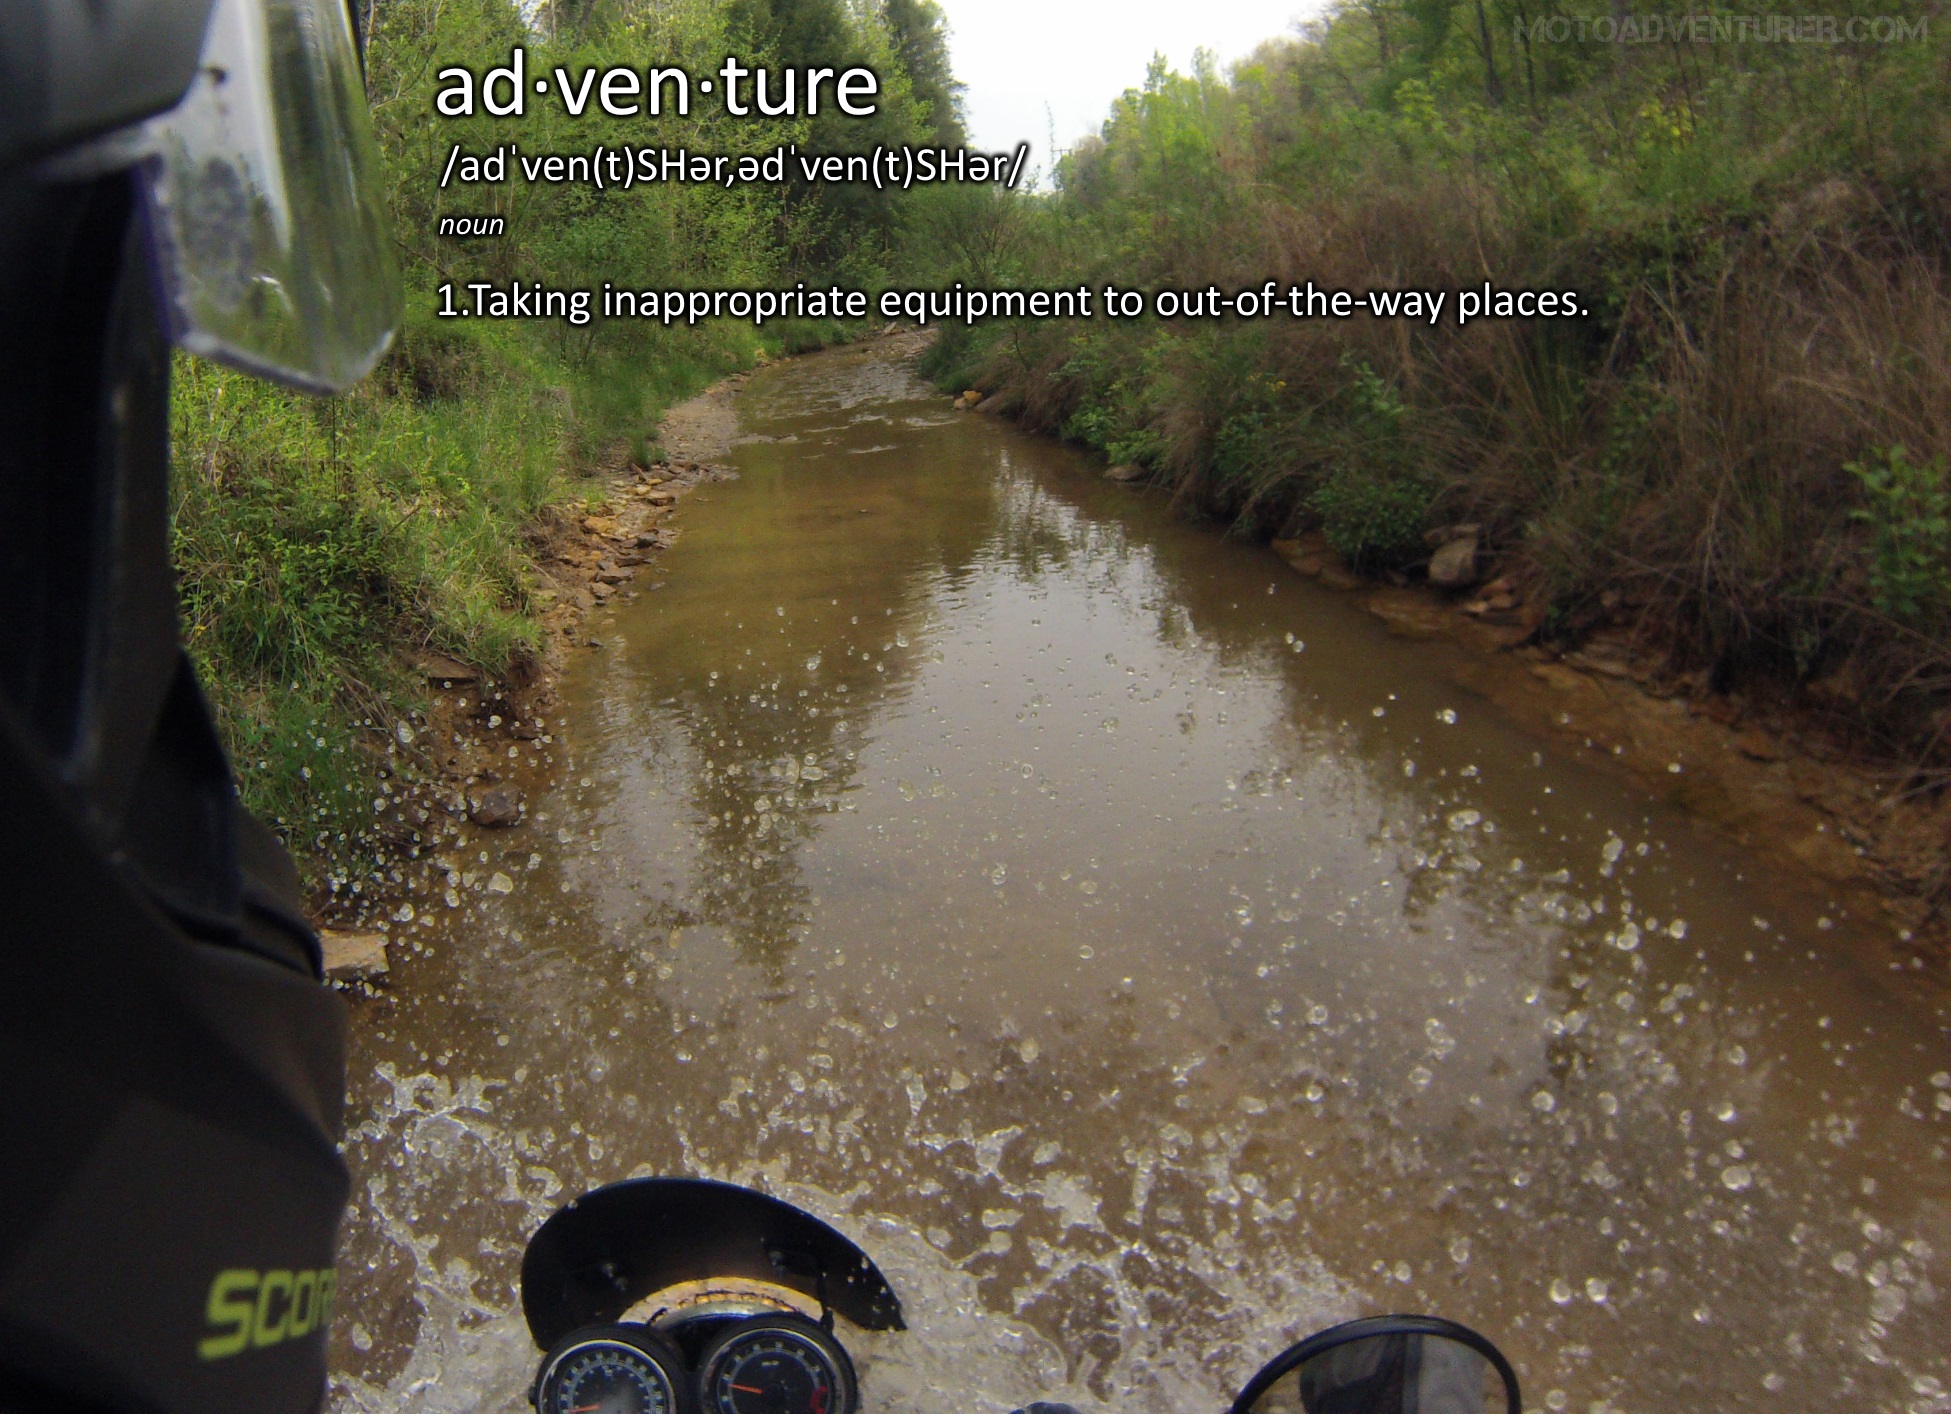
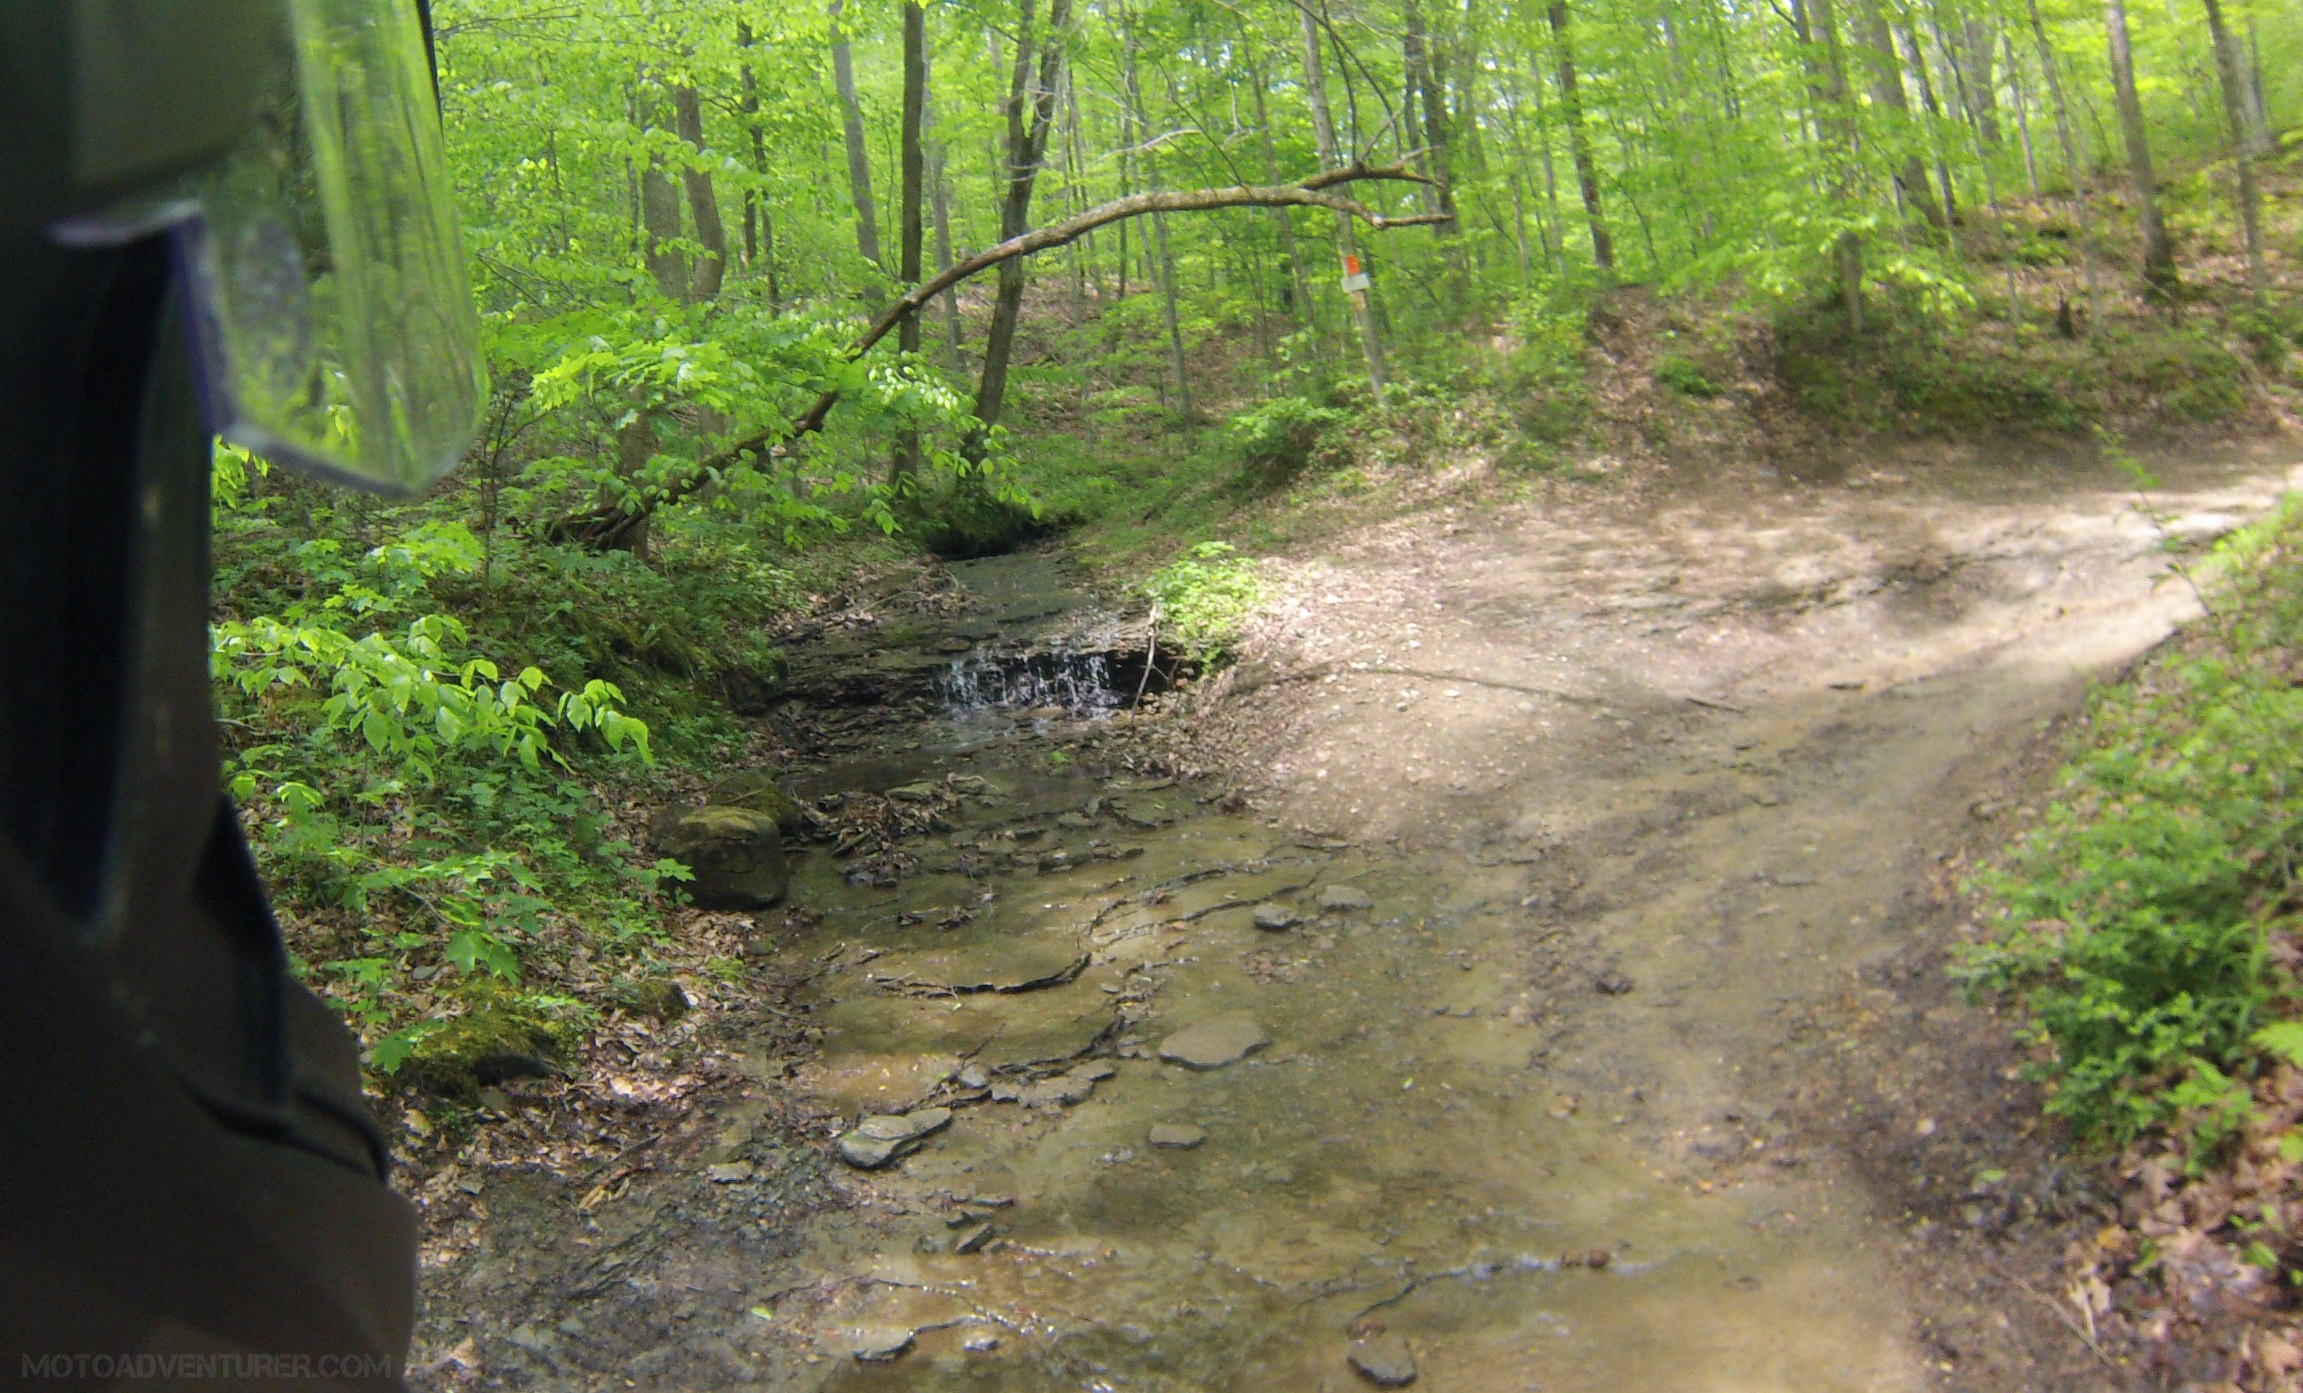
While I was a bit unimpressed with how the K60 affected on-road handling, the off-road prowess was quite the reverse. 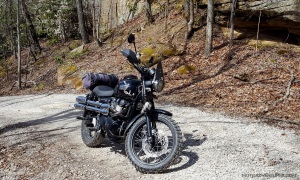 I found the K60 to be impressively reliable on gravel roads, even where the “marbles” were piled inches deep. Considering I was riding between January and April, I didn’t have many opportunities to ride a whole lot of gnarly stuff, so I’m still curious how well the K60 will handle mud like what I found on the Daniel Boone Backcountry Byway. That said, while burning down gravel roads in Shawnee State Forest, I was impressed how well the rear tire hooked up and “bit in” through the curves. I assume that the square profile that I found annoying on the street did a superb job of gripping the soil off-road; hence the sacrifice of running a 50/50 tire. In addition to corner grip, I found that the K60 had impressive “braking” power, even with the center-strip tread pattern. The Scrambler is quite the pig off-road (hence the tusks…), so burning down a hill, covered in gravel, is a frightening endeavor; fortunately I could press the rear brake with surprisingly significant force before the rear wheel would finally lock up.
Despite the excellent off-road prowess, the on-road manners degraded more and more as the center of the tire squared off. 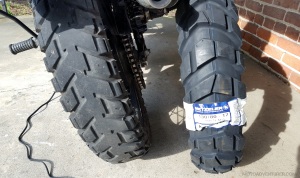 Around 5,000 miles it got to the point that freeway on-ramps were a bit treacherous as I felt like I was riding on a car tire. With the rear virtually square, the Scrambler really wanted to resist leaning into the turns; worse still, you could feel the “knobs” get squishy as the bike leaned over and the rear end would bounce around and sway with imperfections in the pavement. It finally got so bad around 5,500 miles I decided it just wasn’t “fun” anymore and replaced the tire. From new, the K60 has some significant tread depth, however I feel that the initial wear rate is extremely fast,
 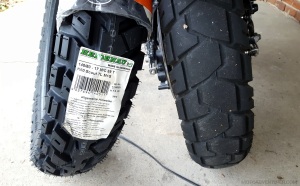 although it does slow as the tire begins to square off. Disappointed by the overall wear life, I actually measured the tread depth and did a little “back of the napkin” calculation on how long the tire would actually last considering I pulled the tire off before it reached the wear marks. If my crude science is remotely correct, I assume a Scrambler rider could potentially run a K60 rear tire for around 7,000 miles before the center strip reached the wear marks. I imagine that if someone spent more time riding off-road, didn’t hoon around on the highway, and saved the heavy throttle hand for the twisties, a given rider could get more miles. That said, I still don’t think the 140 width K60, mounted on a Scrambler, will ever achieve the 10,000 mile reports I’ve heard from big ADV bikes running the 150 width tire. At the same time, those guys also gripe about wet weather behavior, a problem I never experienced. In the end, I would potentially run the K60 again, but it would have to be under very specific circumstances, like a long trip that involved both dirt and heavy highway miles.
- Heidenau K60 Scout, 140/80-17 rear: 5,575 miles/$175 = 31.2 Miles/Dollar
**(If it lasted 7k miles, it would’ve been ~40 Miles/Dollar)
Shinko 804 Adventure Trail
As a treat to myself, I decided it was time to upgrade the front tire to match the more aggressive K60 rear. I’ve already covered a few facets of the 804 in my Stage 2 Upgrades post, but it’s worth mentioning again. When shopping for a more aggressive front tire I admit that I shied away from the K60 Scout considering what so many had said about wet weather grip. While I can handle the fishtail (that actually never happened), I like to be sure that the front end “sticks” when the weather turns to crap. As I previously mentioned, the Continental TKC80 “Twinduro” was an early contender considering its street credit. I have seen several guys with Triumph Tigers running a TKC80 front and K60 rear. I will also admit that I was fascinated by the Karoo 3 tread pattern from the Tiger 800 XCx release videos with Bear Grylls, however I quickly discovered that the 19” Karoo 3 was almost double the cost of a TKC80. Along with the Karoo 3, I looked at similar tires like the Mitas E-07 and E-09, but most were still considerably pricey against the TKC and 804. I should also mention that in this case, I was much less concerned about overall mileage versus grip, both on and off road.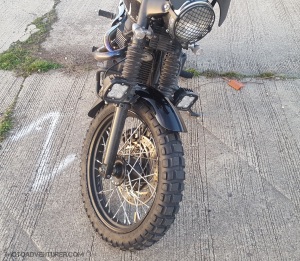 I wanted a knobby that I could trust taking to the office in the rain, just the same as crossing Spaas Creek Road. I figured if I could pin down a good front tire affordably, if I replace it the same time I replace the rear tire, no big deal. Considering my previous experience with the Shinko 705, I knew that Shinkos were pretty sticky out of the box, and the Shinko 804 knobby was just shade cheaper than the TKC; based on reviews, it seemed like the 804 was completely comparable to the TKC80 in reliability and overall grip.
With the help of some trusty zip ties, I spooned on the Shinko 804 in early March. At my earliest convenience I took the Scrambler down Anthony Road near Farmersville to get a feel for the bike in the dirt. 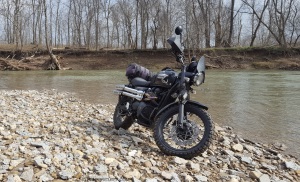 Getting off-road, legally, in and around Dayton is difficult, Anthony Road is the last un-improved road I’m aware of in Montgomery County that doesn’t lead to a dead-end private drive. I was immediately impressed with how confidence inspiring the 804 was in the gravel. Mind you, I just removed a 99% road-only tire, but it doesn’t change the fact that I’m scrambling a 500 pound (or more) street bike down a pot-hole ridden gravel county road… at speed. That early test obviously went well, and I further pushed the limits of the bike by taking it down an ATV trail, the adjacent creek bed, and then through the trails in Shawnee Forest later that day. In gravel the 804 is absolutely top notch for an ADV tire; but the true test was Spaas Creek road on the DBBB. Spaas Creek was absolutely terrifying with the Anakee 3 up front, sliding through the mud with the front forks going lock to lock was simply no fun at all.
 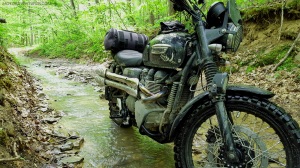 The 804 on the other hand was again confidence inspiring. There were several times in the mud on Spaas Creek, Pumpkin Hollow, and even the sand on Chop Chesnut Road where the Scrambler pushed the front end and the front tire started to skid. In all cases, seconds after feeling the “push”, the 804 hooked up and Rosie stayed upright. I’ll admit, the knobs on the TKC80 look more aggressive in depth and pattern, but the 804 got the job done.
As one can imagine, for such an aggressive adventure tire, there are some on-road sacrifices,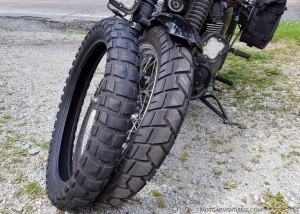 but not as bad as it could have been. I’ll admit, I never pushed the 804 as hard as I have any other front tire, rain or shine, but at no point did the 804 ever fade or skid on dry pavement (there was that one time…). I railed the 804 pretty hard through Kentucky for several consecutive weekends, and the 804 still held the line. That said, there were a few minor incidents where I made contact with paint on the dry roadway where I felt the front end slip a hair, and I will say that I felt the “hint” of a similar fade in the rain on at least one occasion, but that was a small price to pay for a reliable off-road tire. I will also add, the aggressive riding through the twisties came at a price;
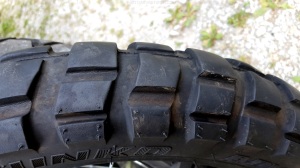 as I mentioned previously, I tend to scallop tires, the 804 was no exception. I will say, this isn’t all that surprising, to coax the scrambler into the lean, I tend to get my butt off the seat, so the bike is more upright and I have no doubt that pushes the front end though the turn, scuffing the tire. I will also say that it’s obvious that the 804 contact patch is significantly smaller than on-road tires, and any aggressive breaking (someone cuts you off in traffic) is going to accelerate the wear on the center knobs. That excessive wear started to cause some significant road noise on the highway around 5,000 miles or so.
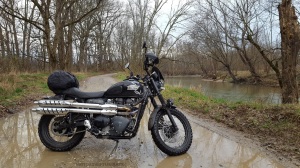 Contrary to the Anakee 3’s effect on steering, the 804 sharpened up the turn-in quite a bit. I had actually forgotten how nimble the front end was prior Anakee, that took a minute to get used to. Overall I was very happy with the way the front end handled with the 804, in all conditions, considering the flexibility that tire gave the Scrambler. I commuted, toured, and rode some of the gnarliest off-road routes I’ve ever seen with that tire, it was well worth what I paid for it, and I again pulled that tire early in preparation for another trip. It’s virtually guaranteed you will see the 804 on the Scrambler again, and at some point, I may even pair it with an 805 rear.
- Shinko 804, 100/90-19 Front: 6,884 miles/$74 = 93 Miles/Dollar
Metzeler Karoo 3
Speaking of the Shinko 805, as the K60 scout neared the end of its life, I was shopping for a more affordable replacement. Considering the K60 is viewed as a “50/50” tire, I figured I really needed something like a “60/40” tire, but from what I can tell, there are really only three varieties of “Adventure” tires: “Road Only”, “Gravel Sometimes”, and lastly, “Tires that are actually more suited for dirt than your heavy ADV bike really is” (guilty as charged).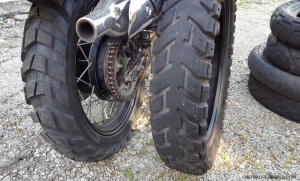 I really liked the Shinko 705, but it was simply not aggressive enough to handle the more technical off-road riding I like, but there doesn’t seem to be any other tire between the 705 and tires like the K60 Scout, Karoo 3, and Shinko 805. Left with no other alternative and considering how much I liked the 804, the 805 was an obvious front runner. The 805 would set me back about $95, which is pretty cheap for an ADV rear tire. I was a bit concerned with “lateral” handling on the 805 considering its big paddles, along with how it would handle the rain with such a small contact patch (similar to the 804), so I continued the search. As it turns out, the Karoo 3 in the 130 width is actually priced at $96 delivered; which is an absolute steal on a Metzeler from my perspective. I’m hoping this is a marketing strategy and not a near “close-out” price, but ultimately that price turned this debate into a two-horse race. After consulting with the folks over at Revzilla, I concluded that the Karoo 3 was probably the better choice of the two tires, considering the type of riding I wanted to do and the overall comparison in longevity.
Like the 804, another bag of zip ties and the Karoo 3 was on the Scrambler. Looking at the 130 width Karoo 3, it’s an absolute tractor tire; I figured it would rumble like crazy, and was surprised by how smooth the ride actually was once above 10mph. After experiencing the “car tire effect” of the aging K60 scout, the Scrambler felt like a whole new bike again with a properly sized, round tire on the back. It turned out that I mounted the Karoo 3 just days before I left for a week in eastern Kentucky. I ended up putting around 1,200 miles on the bike that week, including a 5 hour day in the rain. I was immediately impressed with how well the bike tracked and cornered, especially in the rain, despite the overly aggressive tread pattern.
 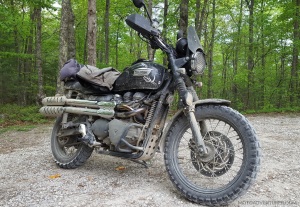 A couple weeks later I embarked on my trip to the DBBB, where the Karoo 3 really shined. With the 804 up front to steer through the muck, the Karoo 3 was indeed a tractor tire. With the deep paddles in the back, the Scrambler could claw right out of the nasty stuff at low speeds. I will say, in contrast to the K60, I did find that the Karoo 3 does tend to “drift” a little more laterally in the gravel. I assume the rounded profile and large paddles simply “roll” over the big marbles, whereas the chevron blocks of the K60 dig in. That aside, the on-road manners are by far more agreeable, and the lateral slide off-road seemed to be less and less noticeable with increased wear.
Honestly, I could go on and on about how much I like the Karoo 3; it has one of the most aggressive tread patterns among 50/50 tires, yet it handles the pavement in an almost identical fashion to the Trail Attack II. 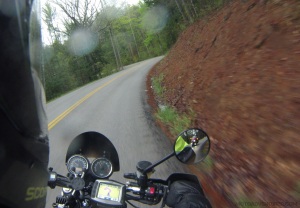 While I certainly didn’t push the Karoo 3 in the rain as hard as I did the Trail Attack, at no point was I worried that the rear end breaking loose at a stop or in a curve; and there were many opportunities for that to happen while wandering around Red River Gorge in the rain. I suspect that the Karoo 3 is probably way more aggressive than most Scrambler owners would ever need, myself included to some degree, but for the price of a rear tire, and the fact I pulled it a little early just after 4k miles, it strikes me as the best 50/50 compromise among ADV tires. Per my comments about swapping it out early, as 4k miles neared, I did begin to notice that the rear end was starting to vibrate a bit more at speed, similar to the “howl” of the scalloped 804 up front. From what I’ve read, that’s common among aggressive ADV tires as they wear unevenly when pushed hard on the pavement. I suspect I will eventually put both tires back on the Scrambler for “one last hurrah” before tossing them in the trash; I’m thinking that Karoo 3 probably has another thousand miles in it (and the 804 even more).
- Metzeler Karoo 3, 130/80-17 Rear: 4,333 miles/$96 = 45 Miles/Dollar
Shinko 705 Trail Master
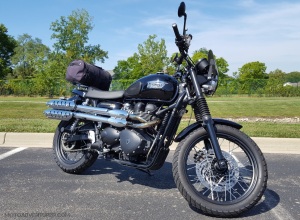 Saved the best for last? Maybe. As I mentioned, the first tire to replace the stock Trail Wing was actually the Shinko 705. As I am on the verge of some serious pavement riding, I decided to pull the aggressive 50/50 tires and put on a fresh set of “street” tires in preparation for the trip. Now that I have both front and rear tires mounted with over a thousand miles on them, I figured it’s better to review them as a set instead of just talking about the rear tire.
While I’ve seen the 705 marketed as an “80/20” dual sport tire, I will say that I feel that the 705 stands virtually alone between predominantly street oriented tires and the aggressive “50/50” shoes. 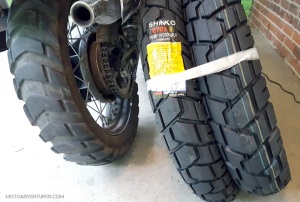 What sets the 705 apart in my opinion is the tread pattern combined with the tread depth. I will say that there are tires like the Trail Wing that offer an aggressive pattern, but the tread depth is so shallow, there’s no hope of shedding any mud. The 705 is by no means in a class with the Karoo 3 or the K60, but I have already heard of a Scrambler shod with 705s traversing the Kentucky Adventure Trail, so needless to say the tire has enough wherewithal to tackle more aggressive terrain than most of the “80/20” ADV rubber. I took the 705 (rear) through the trails at Shawnee Forest last November; while that ride wasn’t particularly eventful, I will say that despite the extreme wear, I still felt like the rear tire hooked up drastically better than the Anakee up front.
Coming off the Trail Wing, the Shinko delivered the same ride quality I was familiar with from the stock tire. 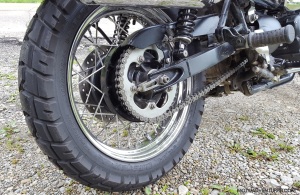 The 705 maintained comparable (if not better) grip in adverse weather and aggressive riding in dry conditions. Considering I pulled the 705 early for a trip to the Dragon Raid, and then remounted that tire to finish it off later, I will also say that the soft Shinkos are very compliant when using irons. Unlike some of the harder sidewalls I’ve dealt with (Anakee 3, Karoo 3, and the K60), I was able to break the bead with just body weight and a long tire iron. I recognize that’s good and bad, but it’s noteworthy in the event you’re trying to patch a tube on the side of the road.
Having just mounted a whole new set of 705s on the Scrambler, I can say that the machine has been transformed all over again.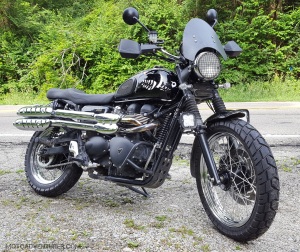 While the Karoo 3 is a jack of all trades tire, I was still a shade reluctant to push the bike to “maximum” in the curves for fear of a knob letting loose. With the 705 back on the bike, the proverbial “gloves are off” yet again. The 705 sticks like glue to dry pavement, virtually from “go”. I will mention that I upsized the front to a 110/80-19 as the 100/90 is not available in the 705 model, which has had a similar effect on the steering as the Anakee 3. I admit, the turn-in is a little sluggish again, however overall I feel that the bike is “planted” much better at speed with the larger front tire width. This setup is actually working out so well, I may consider sticking with that front tire size if it is available in other models when I replace the 705 later this year.
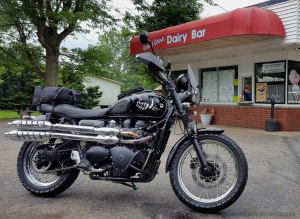 The set of 705s are on the Scrambler as I’m writing this, so I cannot comment on overall mileage for the front tire, or behavior in the rain. That said, last year I found the 705 rear to be a faultless street tire. I will say that it’s important to note that I was initially disappointed in the 4,000 miles of life I received out of the first Shinko I ran. However, after replacing that tire with several other models, I’ve come to the conclusion that the 705 is absolutely the best bang-for-buck dual sport tire you can buy.
- Shinko 705, 130/80-17 rear: 4202 miles/$65 = 64.6 Miles/Dollar
- Shinko 705, 110/80-19 front: $49, Mileage TBD

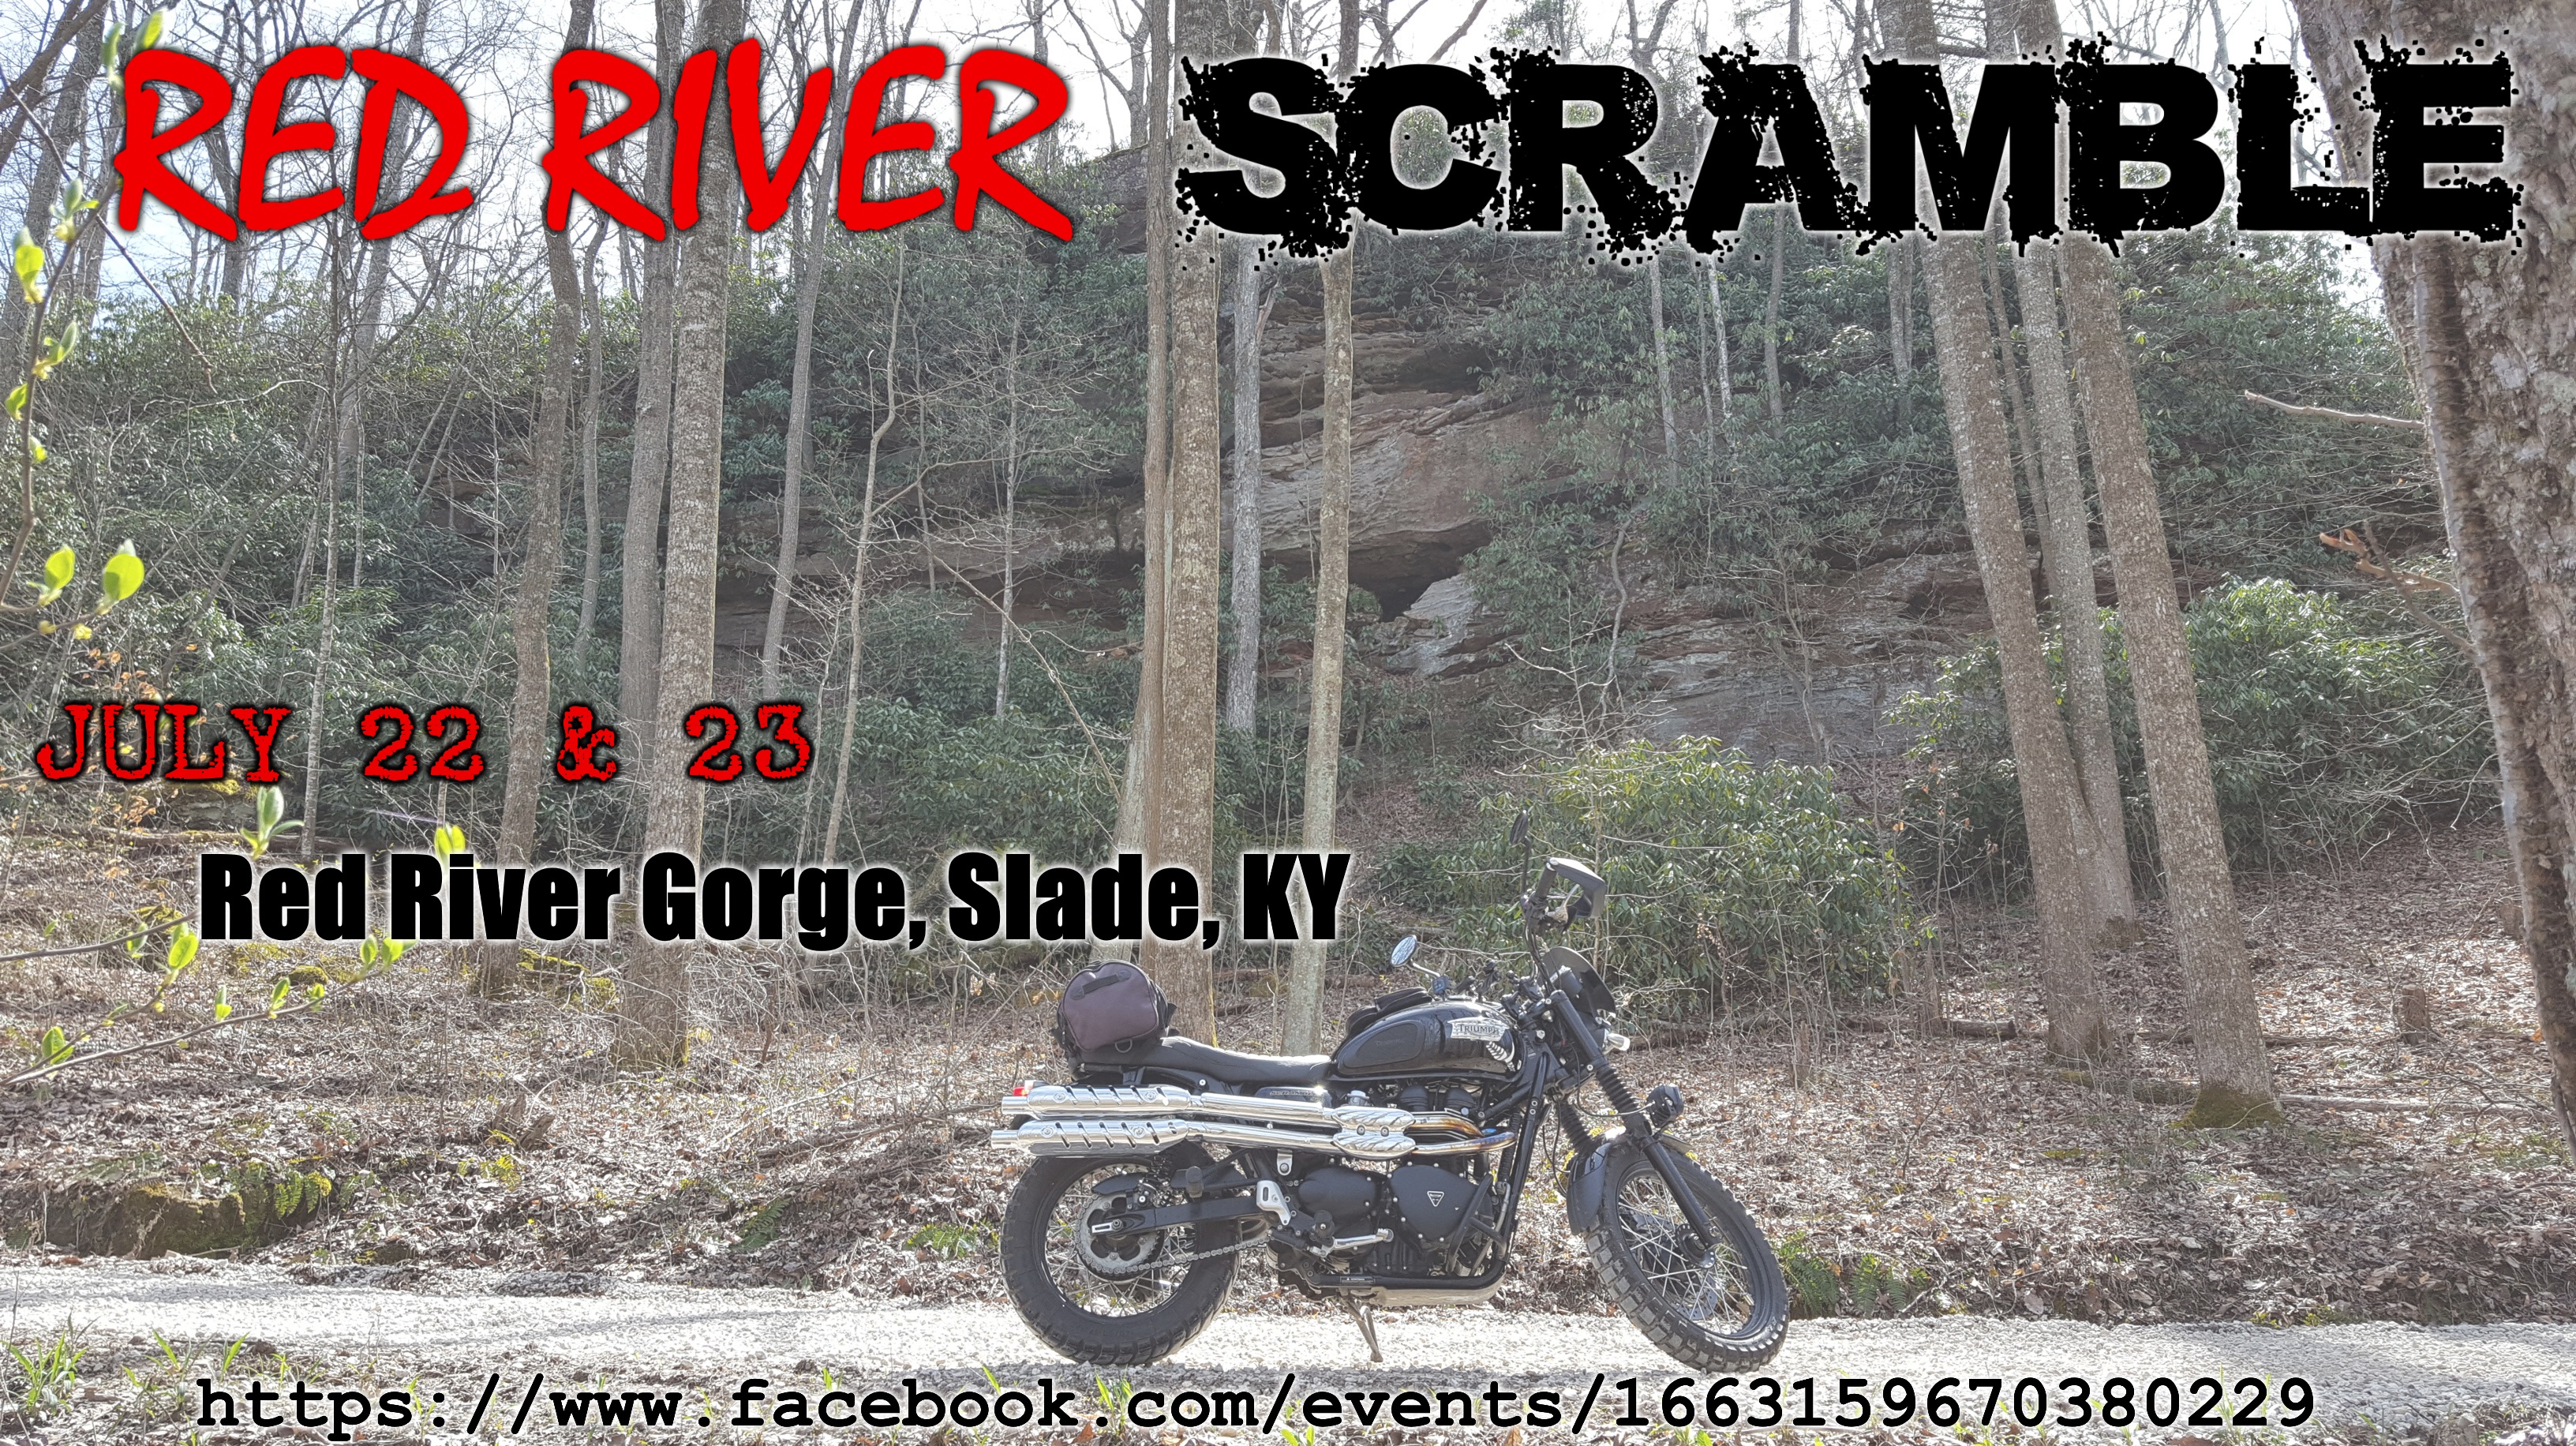
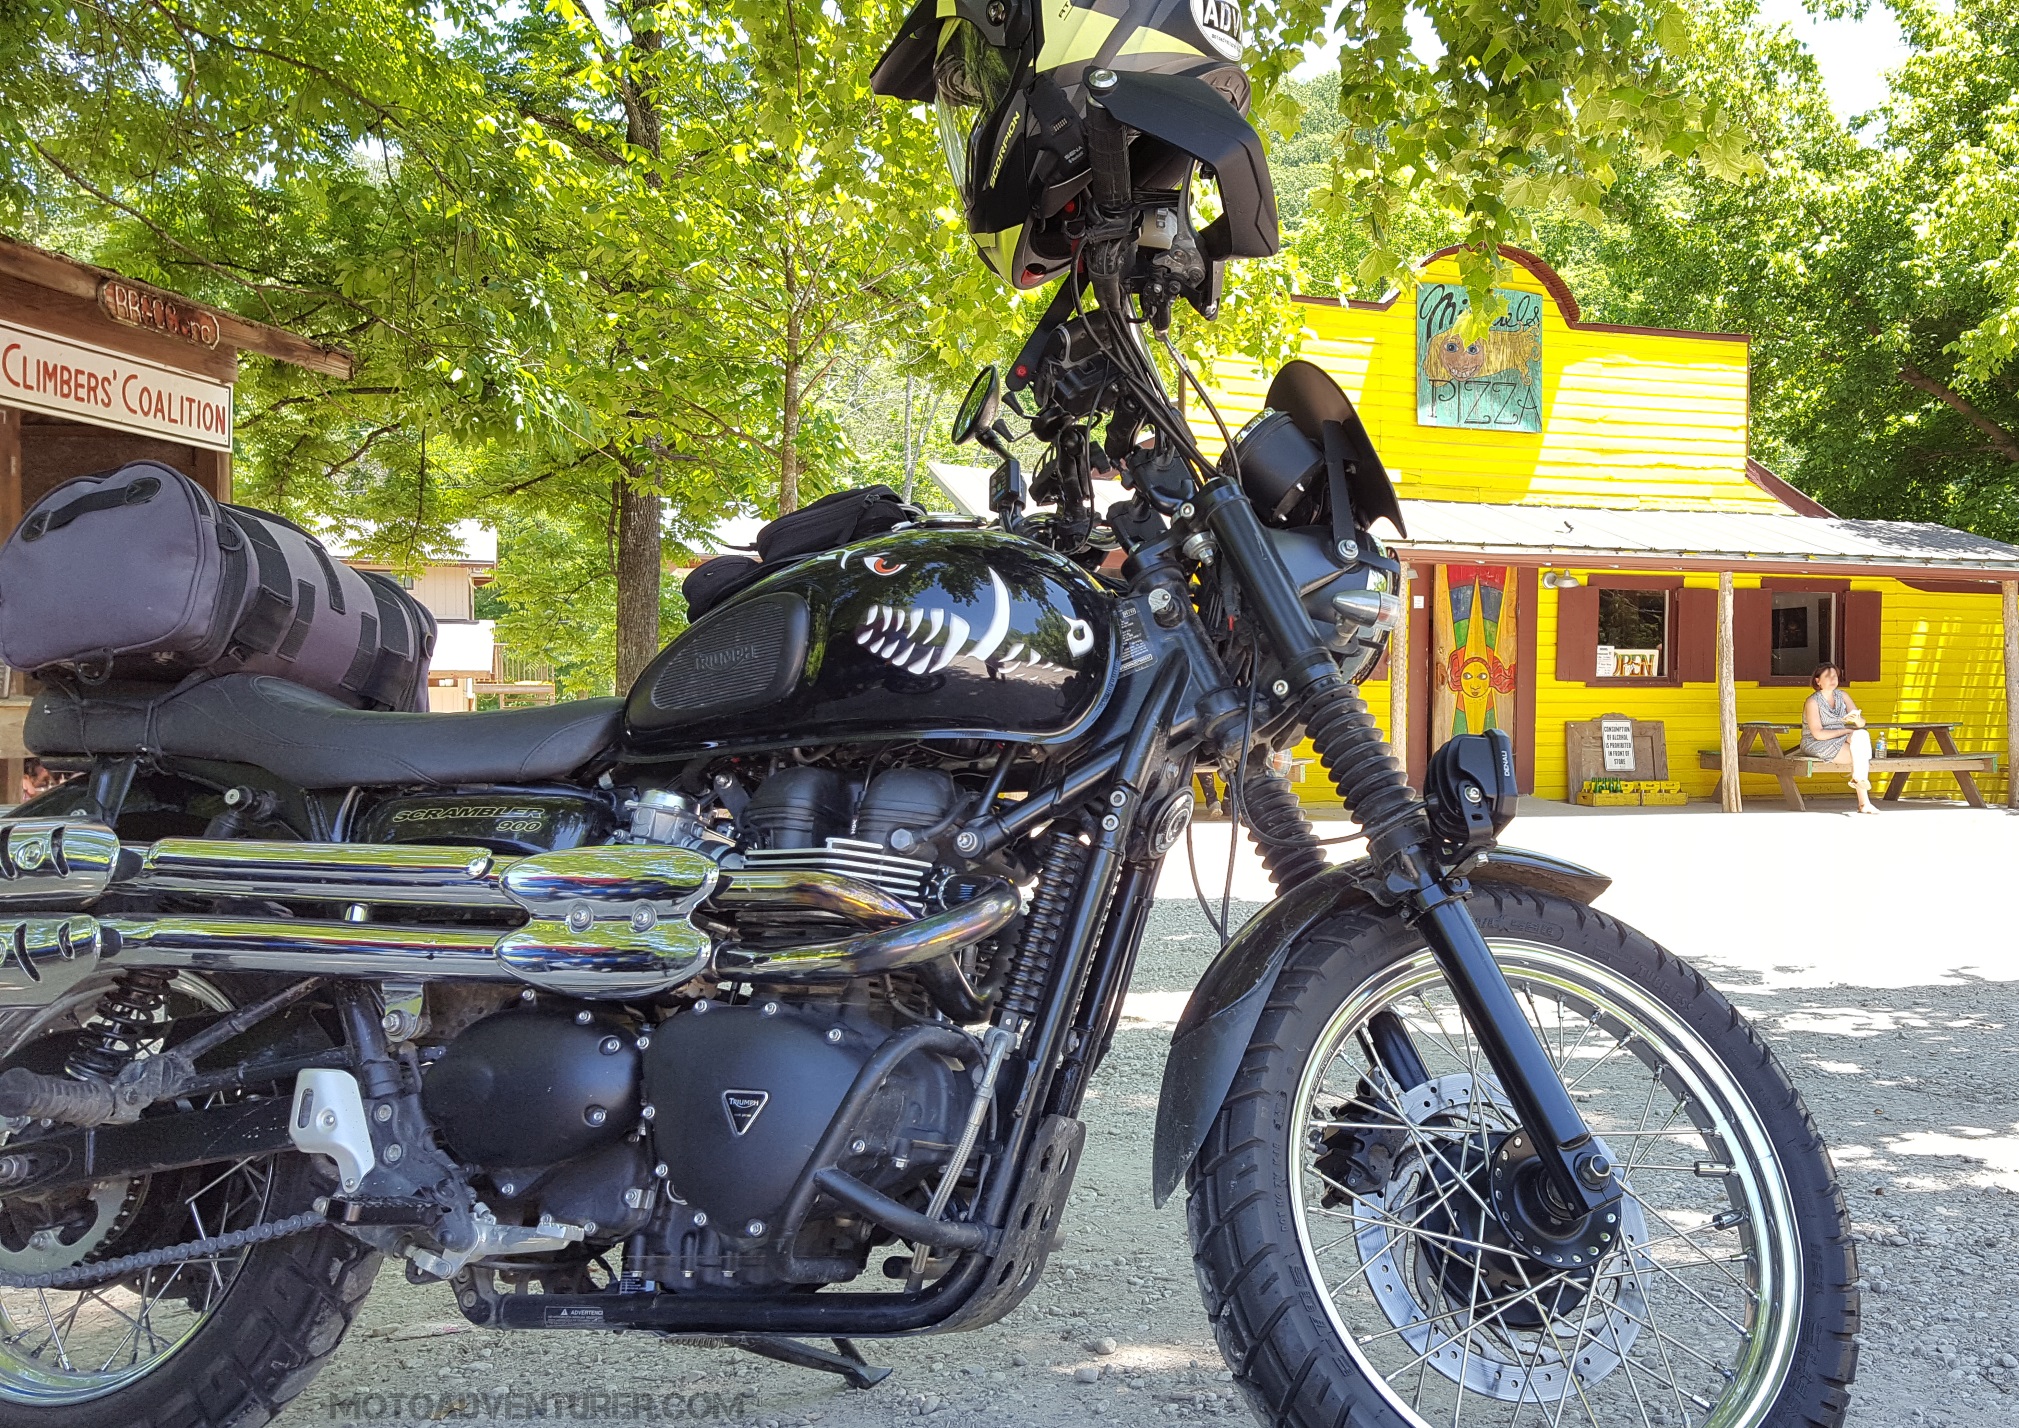 The Red River Scramble “Meetup” is just a few days away now. Per my comments, I’ll be at Miguel’s Pizza Saturday morning (7/22/17) for breakfast, from there I’ll direct folks to the type of riding they’re looking for, and I expect I’ll meet up with a few folks for a ride just after noon. In order to make things easier for first time visitors to the Gorge, I figured I would cover a few of the routes I’ve put together for the weekend. The following routes (and others) are posted on the Red River Scramble REVER group, and GPX Files are stored in a Google Drive Folder.
 First time visitors to Red River Gorge should not miss out on the opportunity to see one of nearly a hundred natural arches hidden around this part of Kentucky. While Natural Bridge is unquestionably one of the most popular tourist destinations in these parts, I recommend Sky Bridge to the motorcycle crowd. Natural Bridge is larger, and may arguably have a better view (arguably…), but if you’re dressed in motorcycle gear, the one mile hike to the top, or even the sky lift may be a bit warm.
  Sky Bridge on the other hand means you get a chance to take in a nice twisty ride around Kentucky Highways 15 and 715 and take a short walk out to the Sky Bridge to see majestic views of the gorge. Headed back down 715 you turn down 77 and take a trip through Nada Tunnel before heading back to the start point to meet up with other riders and head back out for another adventure.
 From my Moto Bucket List, the DBBB is a 100 mile dual-sport loop around Red River Gorge, about half of which is off road. Early this spring I tackled a little over half the DBBB and “proved” most of the attached GPX file. At the time, part of Furnace-Pilot road was closed, but I believe this GPX track is correct. However, I will need folks to run the southeast portion along Devil
  Creek and confirm if this track is as close as I think it is. I suspect that considering the limited time, it will be difficult to finish the entire loop in one afternoon, however riders with more off-road prowess than myself may get it done. I recommend heading north up KY-77 through the tunnel and then running the route counterclockwise, hitting Spaas Creek road first; that way you get through what I consider the harder (and most fun) sections before dark. For folks that want to tackle sections of the DBBB, but want to step up incrementally in difficulty, I have also built GPX tracks of the sections I have done, labeled “Easy”, “Medium”, and “Hard” (GPX Files found here).
 Up on the “Tarr Ridge”, 77 flows along the ridge line with wide, banked, sweepers you can see through; those sweepers start to give way to blind rises and tighter curves until 77 drops into the gorge and under the tree canopy. Once inside the DBNF boundary, the curves get tighter and blinder as you twist your way past 715, along the cliff-line and through Nada Tunnel. If you’re only going to ride one paved road while you’re in the gorge, 77 is that road.
 Chimney Top Rock Road juts almost dead north out into the gorge from KY-715 before you get to the Sky Bridge. The parking area for Chimney Top Rock trail sits at the end of the 3.7 mile gravel road. From the parking area it’s about a 600 yard walk out to “the point” of Chimney Top Rock. From the observation area, you have a 270° unobstructed view of the gorge, including Half Moon Rock, Hanson’s Point, the Red River, KY-715, and parts of the Sheltowee Trace. Looking south from Chimney Top Rock, Half Moon Rock is an unmistakable rock formation; for folks looking for a novice climbing adventure, head back to the parking lot for your bike.
  From the Chimney Top Rock parking area, ride slow about a half mile south until you see trash cans and a port-o-john to your left, there should be unmarked trail access to Half Moon Rock immediately to your right. From the road the trail goes about 650 yards until you get to the climb, from there look closely at the rocks for existing hand holds and footing for a short climb to a majestic, unobstructed, 360° view of the gorge. For folks that are looking for more deep woods hiking, be sure to take a ride up Tunnel Ridge Road, not far from the Slade gas station off KY-15. From Tunnel Ridge Road hikers have access to Gray’s Arch trail, D Boon Hut trail, and the Auxier Ridge trail.
 Once down from the top of 1812, riders can catch a bathroom break in Jackson at one of the local service stations. From there the route heads west across a scenic section KY-52 which runs parallel to an old rail line for several miles. Not far from Beattyville you turn north on KY-2016; easily my second favorite road in the area (others have suggested it is, in fact, the best). Twelve miles of (almost) completely unmarked Kentucky two-lane, KY-2016 slithers across “Big Andy” Ridge and has been referred to as a “roller coaster” by a few folks in my riding circle. Reminiscent of KY-746 in some ways, 2016 also runs along rural Kentucky farms and swaths of wooded areas, and is dotted with pump jacks and other oil industry equipment. From the top of 2016, KY-715 will take you west back to KY-11 and back into Slade.
 1057 is arguably the quintessential Appalachian backroad; cutting through valleys and creek beds among rural farms, trailers, and Appalachian derelicts. Barely two entire lanes, riders should be on guard for nonsensical road contours, the occasional gravel washout, wild turkeys, and even dogs sleeping in the roadway. 1057 sweeps south into “Furnace Junction” where it meets KY-213; I rode through this area many times and had no idea I was actually rolling right by a 19th century Kentucky relic. At the corner of KY-213 and Billing’s Cemetery road rests the dilapidated ruins of the Estill Furnace, remnant of the Kentucky ironwork industry, one of three furnaces in a five mile radius of Furnace Junction (I can provide GPS coordinates for those interested in seeing others nearby).
  KY-213 continues southwest in very similar fashion to KY-1057; be sure to slow down as you summit the ridge line and catch views of the adjacent cliffs to the west. At the bottom of KY-213 riders will meet the sporty end of KY-52 just out of Irvine. KY-52 headed east into Beattyville is arguably the fastest and most well-manicured road in the area. Along 52, riders will find some of the largest changes in elevation in the area, gorgeous vistas of the cliffs and foothills, and another smattering of bluegrass farms. KY-52 takes riders back into Beattyville where they can pick up KY-11 and swing back north to Slade.
 and adventure enthusiasts should still check out the Kentucky Adventure Tour (KAT). The KAT is a 1,000 mile dual-sport route around eastern Kentucky including parts of Virginia, West Virginia, and Tennessee. The DBBB and the KAT overlap for a short section in the north, but the KAT has extra “bonus” (hard) sections that are easily within range of the Red River Gorge area. If folks have the vacation time, this weekend is as good a time as any to start out in Slade and tackle the KAT the following week. At a minimum, off-roaders should download the KAT GPS tracks from Adventure Rider so they have access to the hard sections.